
Living in a studio apartment means your bed, sofa, desk, and dining table all share one open footprint. That freedom feels great at first, until your laptop ends up on the pillow and your dinner plate sits next to the laundry. The fix is not a bigger apartment. It is smart zoning, and few tools do it better than room dividers and curtains.
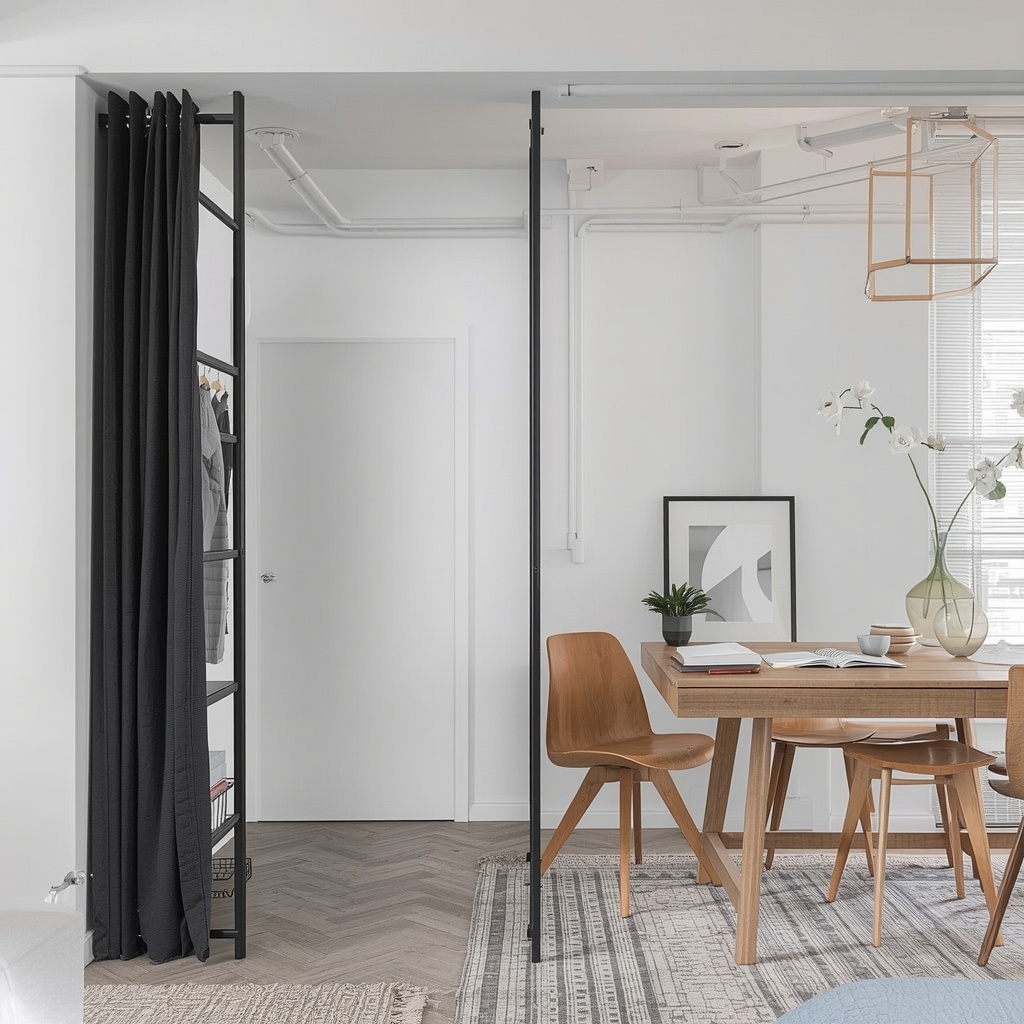
After years of designing small spaces for clients from Brooklyn walk-ups to Austin lofts, I have learned that visual boundaries change how a room feels and functions. A well-placed divider tells your brain where to sleep, where to work, and where to relax. In this guide, I will walk you through every option, from folding screens to ceiling-mounted curtain tracks, so you can create a studio layout that feels like a real home.
Why Zoning Matters in a Studio Apartment
An open floor plan without structure often feels cluttered, even when it is tidy. Without clear zones, every activity bleeds into the next. Your work stress follows you to bed, and your living area never truly feels like a place to unwind. Zoning gives each function its own territory, which makes the whole space feel larger and calmer.
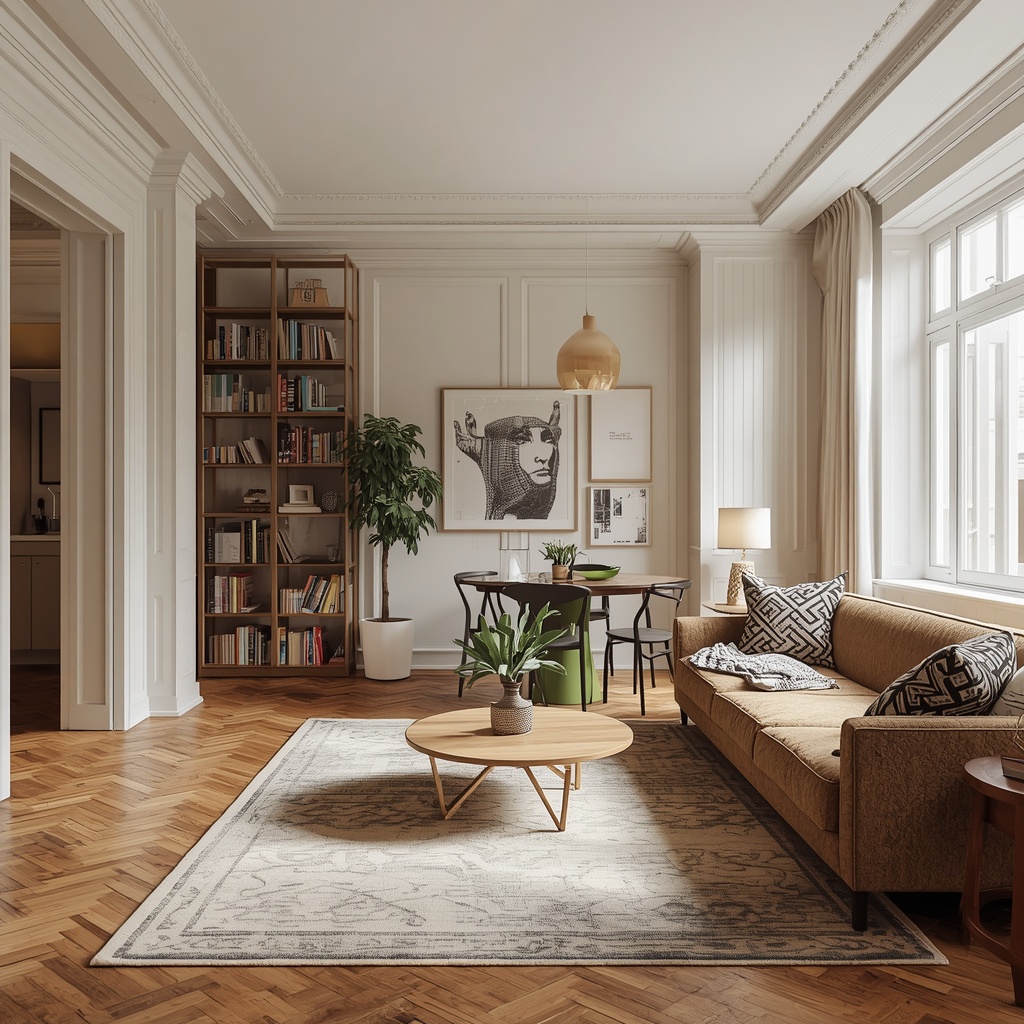
There is a practical side too. Dividers create privacy when guests visit, block light for sleep, soften echoes in sparsely furnished rooms, and hide clutter you do not want on display. Done well, zoning is the difference between a studio that feels like a dorm and one that feels like a curated, layered home.
“In a small space, every square foot has to earn its keep. Dividers let one room do the work of three without feeling crowded.”
Common Studio Apartment Zones
Before you buy anything, map out what you actually need. Most studio dwellers juggle some combination of these areas:
- Sleeping zone: Bed, nightstand, and a spot for clothes
- Living zone: Sofa or loveseat, media, and a coffee table
- Work zone: Desk, task lighting, and storage for supplies
- Dining zone: A small table, bistro set, or kitchen island seating
- Entry zone: A landing spot for keys, shoes, and coats
You rarely need to divide all five. Start with the biggest priority, usually separating the bed from everything else, and build from there.
Room Dividers vs. Curtains: Which Is Right for You?
Both options define space, but they behave very differently. Room dividers are freestanding or semi-permanent pieces. Curtains are soft, flexible, and often far more budget friendly. Your lease, ceiling height, and style goals will help you decide.
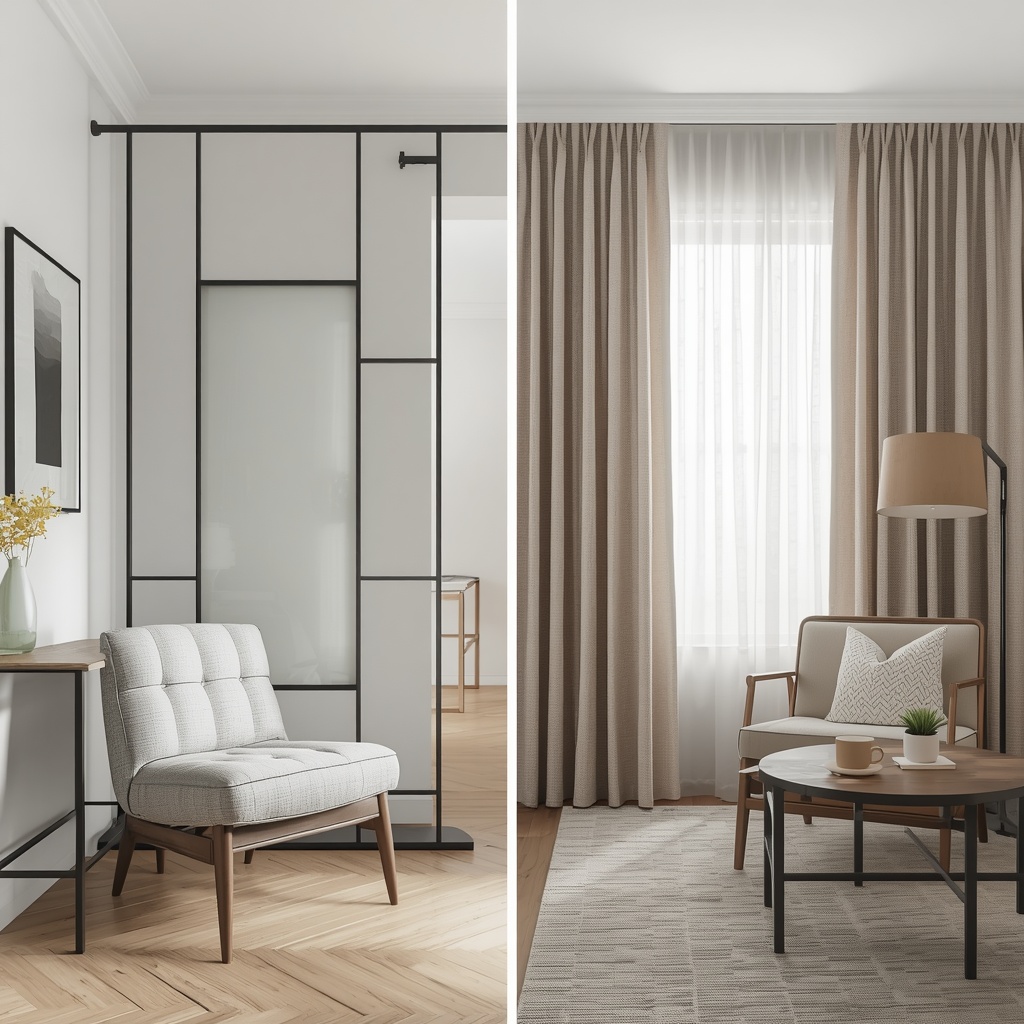
Here is a quick comparison to help you weigh the trade-offs:
| Feature | Folding Screen | Bookcase Divider | Curtain Divider | Sliding Panel |
|---|---|---|---|---|
| Average cost (US) | $60–$300 | $100–$500 | $40–$250 | $200–$900 |
| Privacy level | Medium–High | Low–Medium | Medium–High | High |
| Storage value | None | Excellent | None | Low |
| Renter friendly | Yes | Yes | Yes (with tension rod or track) | Depends on install |
| Light control | Medium | Low | High (with blackout lining) | Medium–High |
| Setup effort | None | Low | Low–Medium | High |
If you want flexibility and a softer look, curtains win. If you need storage, a bookcase divider is hard to beat. For maximum privacy with a modern feel, sliding panels are the premium choice.
Best Types of Room Dividers for Small Apartments
1. Folding Screens
Folding screens, also called privacy screens or room partitions, are the classic solution. They come in wood, bamboo, rattan, fabric, and metal, which means there is a style for every aesthetic. Because they fold flat, you can tuck them behind a dresser when you want an open feel for a party.
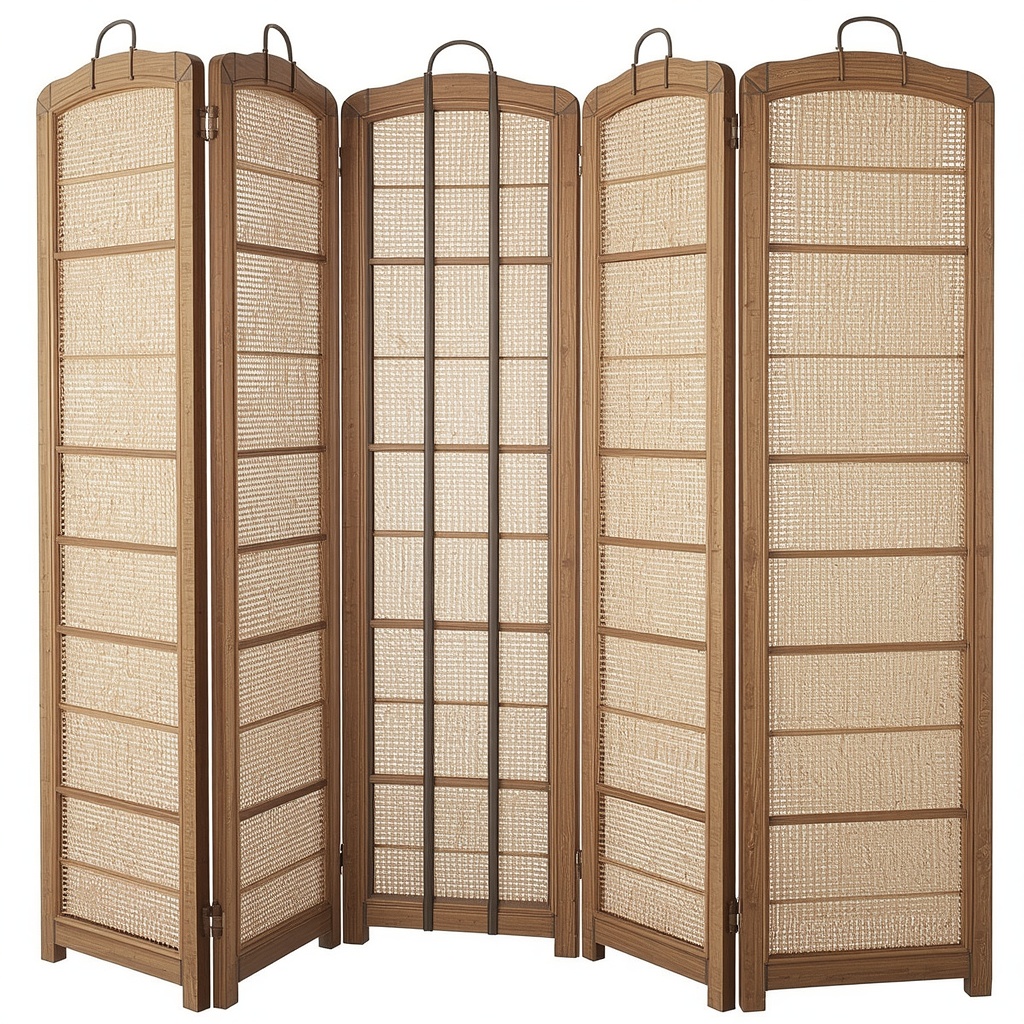
Look for at least three panels and a height of 5.5 to 6 feet so the screen actually blocks sightlines. A shorter screen works only if it is meant to be decorative.
2. Open Shelving and Bookcase Dividers
A low or mid-height bookcase pulls double duty as a divider and storage unit. Cube organizers, ladder shelves, and open-back bookcases let light pass through while still marking a boundary. Place the bookcase perpendicular to the wall to create a “peninsula” that wraps around your bed or desk.
Style the shelves with baskets, plants, and books at varied heights. Leave a few gaps so the unit does not feel like a solid wall.
3. Sliding Doors and Panels
Track-mounted sliding panels, including Japanese shoji-inspired designs and glass-and-metal partitions, are ideal if you own your place or have a flexible landlord. They let you open or close a zone in seconds and look architectural rather than temporary.
4. Plant Walls and Greenery Dividers
Tall plants like fiddle-leaf figs, snake plants, and rubber trees can form a living partition. Group three to five planters on a long, narrow stand or use a slatted trellis. Greenery softens hard lines and improves the vibe of a compact space, though it offers less privacy than solid options.
5. Pegboard, Slatted Wood, and Wire Grid Screens
For a modern, slightly industrial look, try a slatted wood screen or black wire grid divider. These designs are visually light, so they do not shrink your room, and they double as display space for art or hanging plants.
Curtains as Room Dividers: A Designer Favorite
Curtains are my go-to for clients who want a big visual impact on a small budget. They add softness, color, and texture, and they absorb sound, which is a real bonus in echoey studios with hardwood floors. A floor-to-ceiling curtain can turn a corner of the room into a cozy bedroom nook in an afternoon.
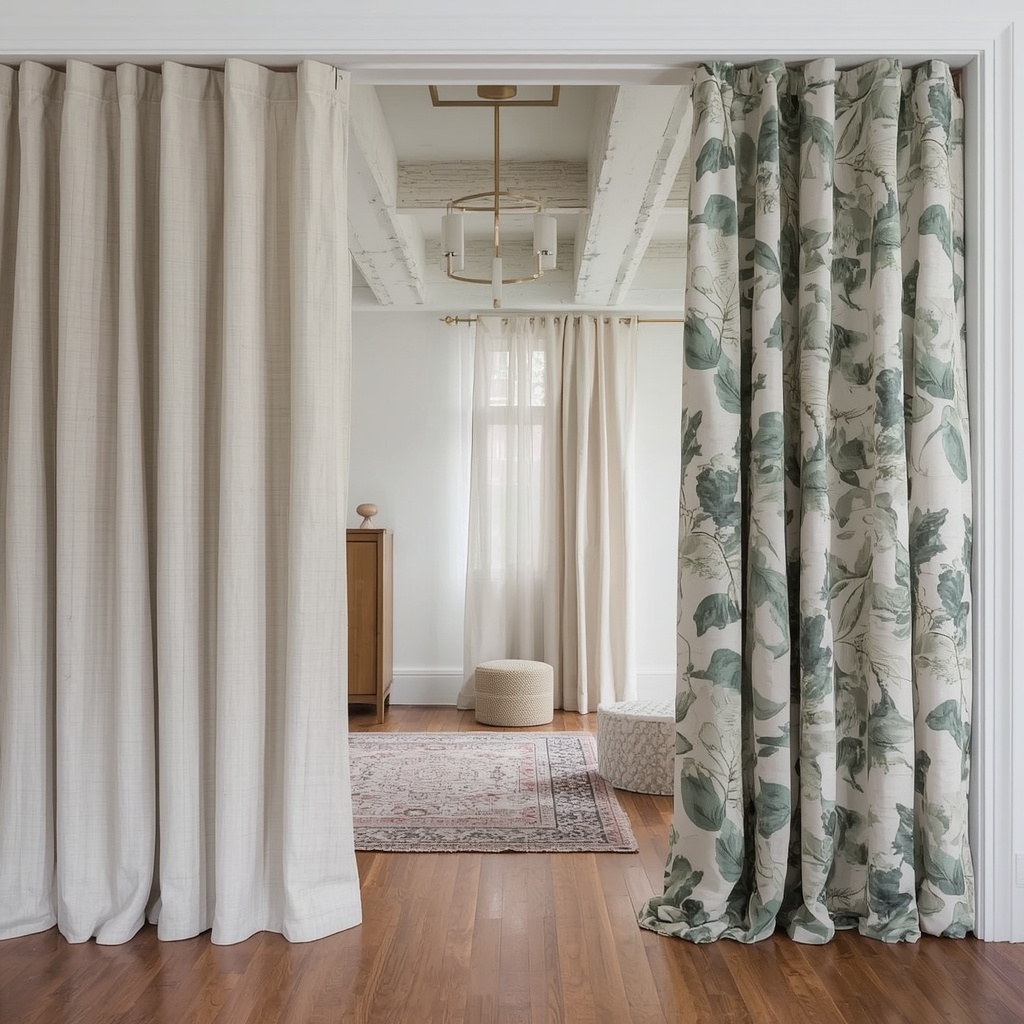
The secret is treating curtains as architecture, not as an afterthought. Hang them high, make them full, and let them pool slightly or just kiss the floor. A skimpy, short curtain reads as a makeshift fix, while a generous, well-hung one looks custom.
How to Hang Divider Curtains in a Rental
You have several renter-friendly hardware options:
- Ceiling-mounted tracks: The most polished look, but they need drilling. Ask your landlord or choose adhesive-mounted tracks for lightweight fabrics.
- Tension rods: Great for alcoves, hallways, and between two walls. Use heavy-duty rods rated for the weight of your curtain.
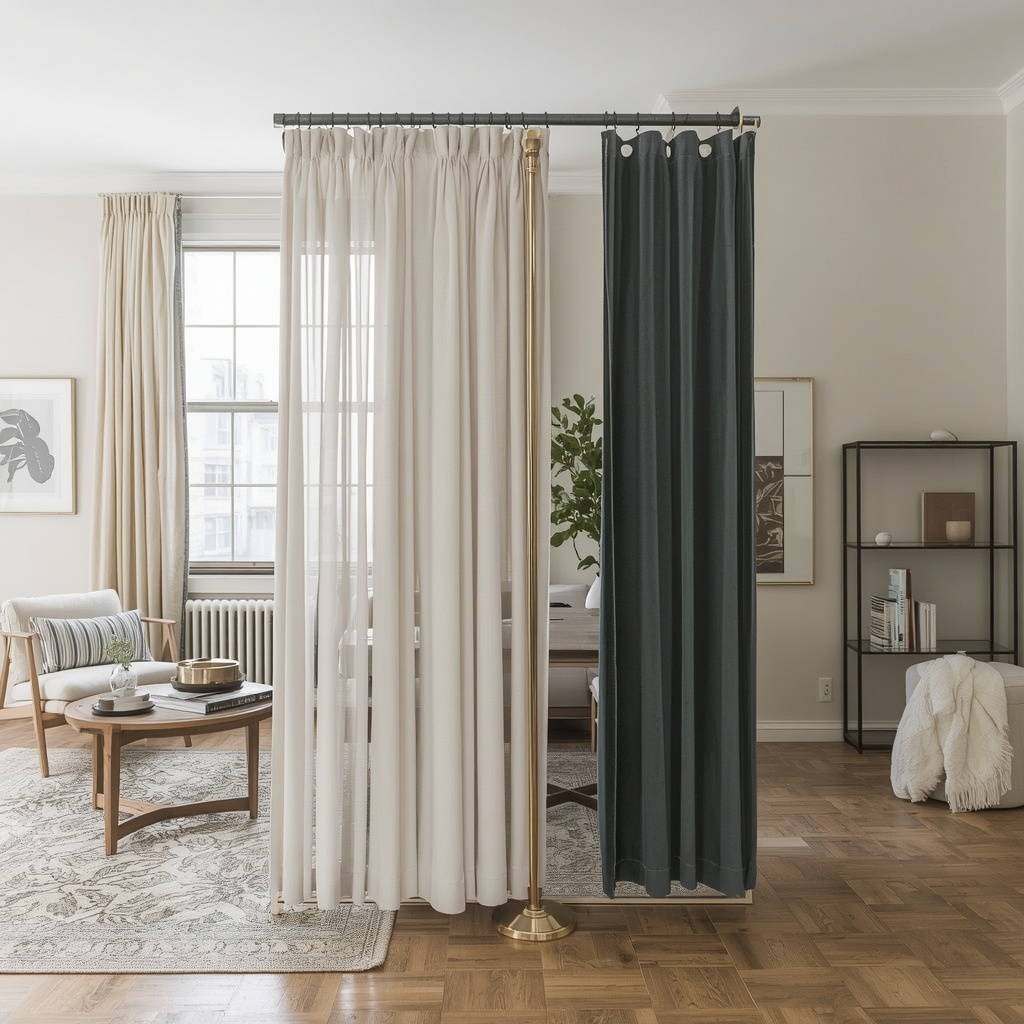
- Freestanding curtain stands: A weighted base and a horizontal bar create a portable divider with zero wall damage.
- Cable and wire systems: Minimalist, adjustable, and ideal for sheer or lightweight panels.
- Command-style hooks and ceiling hooks: Good for lighter fabrics and temporary setups.
Pro Tip from the Designer: Mount your curtain track or rod as close to the ceiling as possible and choose panels that are at least 2 to 2.5 times the width of the opening. Extra fullness creates elegant folds and makes a studio apartment feel taller and more luxurious. Save a few dollars on fabric quality, but never skimp on width.
Choosing the Right Curtain Fabric for Each Zone
Fabric choice affects privacy, light, sound, and mood. Use this guide when shopping:
| Fabric Type | Best For | Privacy | Light Filtering | Notes |
|---|---|---|---|---|
| Linen or linen blend | Living and dining zones | Low–Medium | Soft, diffused | Relaxed, textured look; wrinkles easily |
| Velvet | Sleeping zone | High | Excellent | Rich and heavy; absorbs sound |
| Blackout polyester | Bedroom nook | Very High | Near total | Great for shift workers and light sleepers |
| Sheer voile or cotton gauze | Work zones, airy dividers | Low | High | Keeps space bright and open |
| Cotton canvas | Entry or storage areas | Medium–High | Medium | Durable and easy to wash |
| Thermal-lined | Drafty windows and dividers | High | High | Helps with energy costs |
If you cannot decide, layer a sheer panel with a heavier panel on a double track. You get daytime brightness and nighttime privacy in one setup.
Zone-by-Zone Ideas for Your Studio Layout
Create a Cozy Sleeping Nook
The bed is the biggest visual item in a studio, so separating it is usually priority number one. Position your bed along a wall, then run a ceiling track or tall screen along the open side. If you want to keep natural light flowing, choose a semi-sheer divider and add blackout drapes only on the window side.
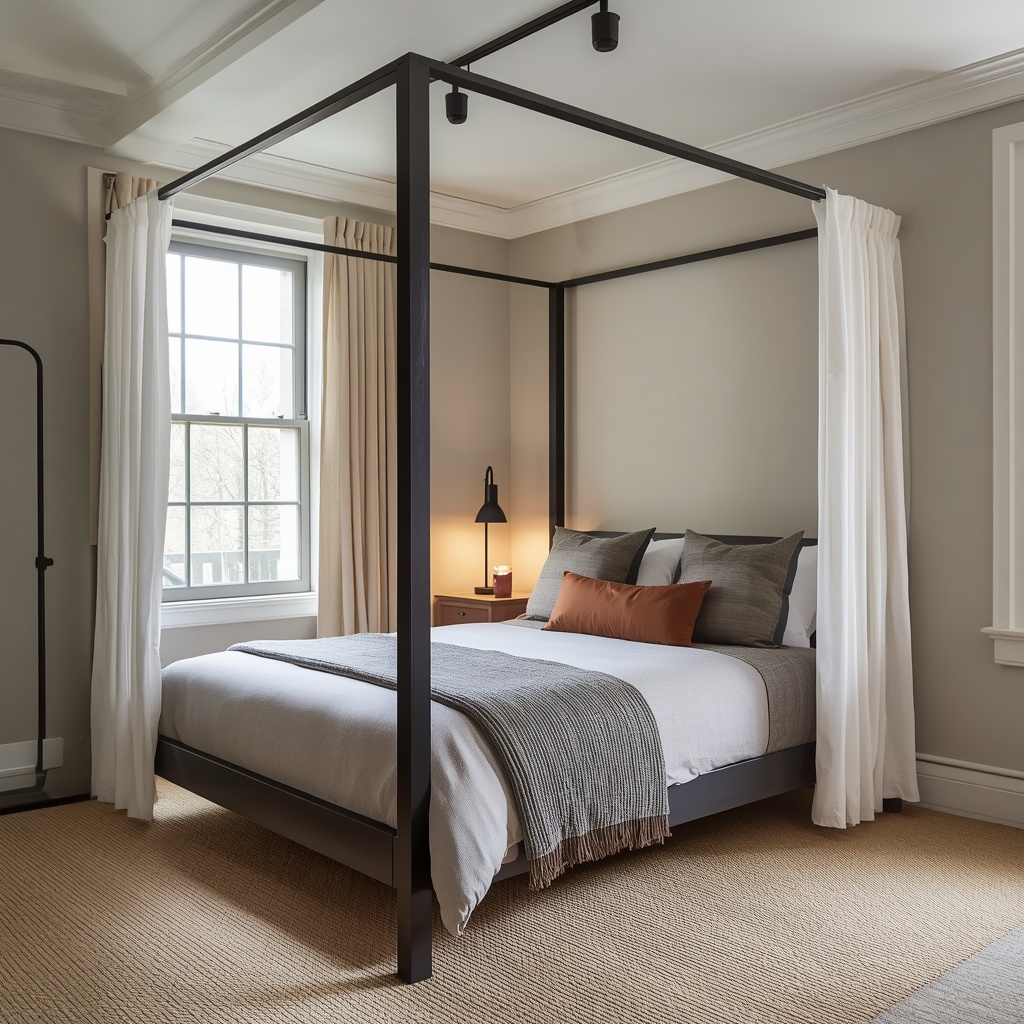
For tiny layouts, a four-poster-style curtain frame or a canopy rod creates a “bed within a room” effect. Add a warm bedside lamp and layered bedding to complete the retreat.
Define a Living Area
Anchor your living zone with an area rug, then use a console table or low bookcase behind the sofa as a subtle divider. This approach, known as floating furniture, defines space without blocking light. Pair it with a floor lamp and a few throw pillows in coordinating tones to tie the zone together.
Carve Out a Home Office
Working from home in a studio is tough when your desk faces your bed. Use a folding screen or a curtain on a tension rod to shield your workspace from view when the workday ends. Closing the “office” at 5 p.m. gives your mind a real signal to switch off.
Place the desk near a window if possible, add task lighting, and keep supplies in baskets or a rolling cart that can disappear behind the divider.
Set Up a Dining Corner
A small bistro table or a drop-leaf table near the kitchen often does the trick. You rarely need a full divider here. Instead, use a pendant light, a different rug, or a half-height shelf to suggest separation. If you cook often, a sheer curtain can hide the kitchen mess while you eat.
Build a Welcoming Entryway
Even a single slatted screen or a row of wall hooks and a bench can create an entry zone. This tiny area keeps shoes and bags from migrating into your living space and gives guests a polished first impression.
Color, Pattern, and Lighting Tips That Make Zones Work
Dividers are only half the story. How you style them shapes how the room feels. Keep these designer principles in mind:
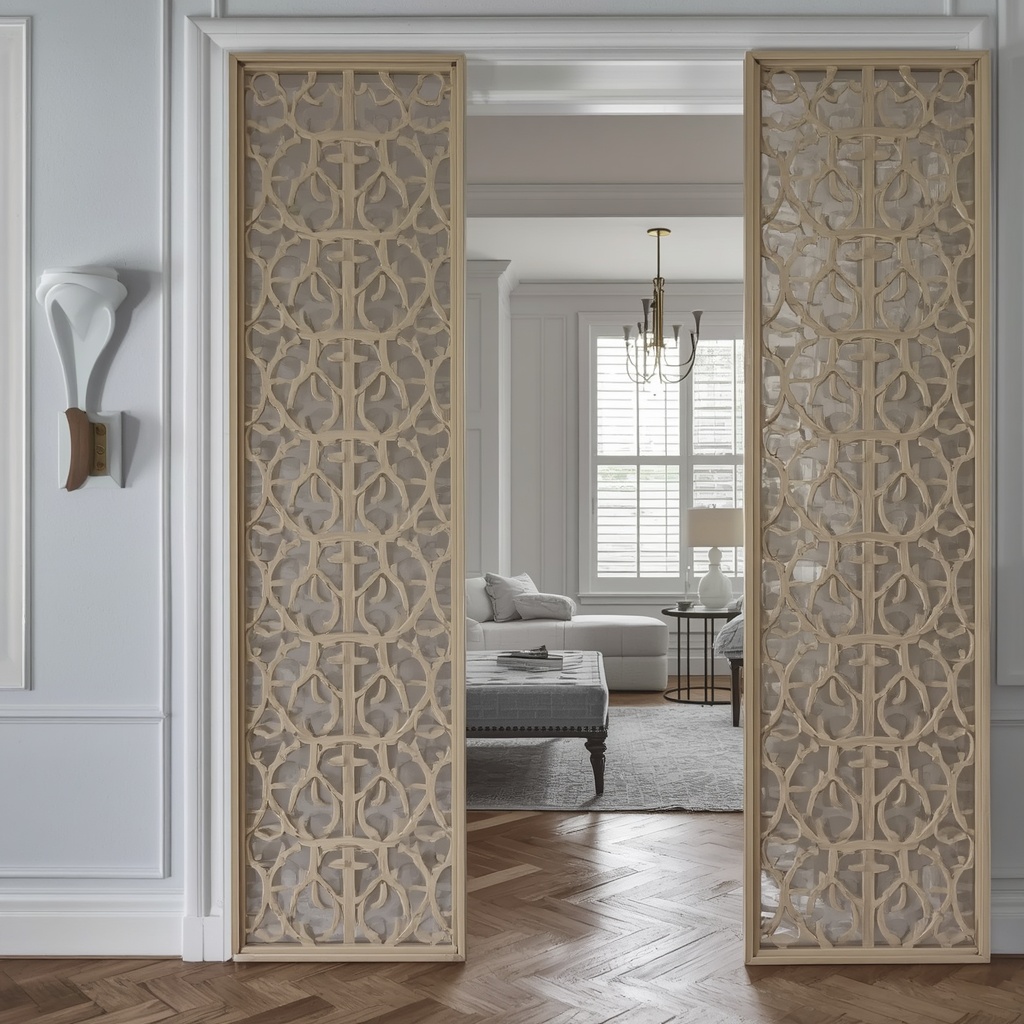
- Stay in one color family. Choose two or three tones across all dividers and curtains so zones feel connected, not chopped up.
- Mix textures, not too many patterns. Pair a textured linen curtain with a solid screen. One bold pattern is plenty in a small room.
- Go light and bright for tight spaces. Soft whites, warm neutrals, and muted sage or blue visually expand a room.
- Use lighting to mark zones. A table lamp in the bedroom, a floor lamp in the living area, and a pendant over the dining table separate spaces even without a physical barrier.
- Repeat materials. If your bookcase is oak, echo that wood in a picture frame or side table elsewhere.
“Good zoning is felt before it is seen. Light, texture, and scale do as much work as the divider itself.”
Budget Breakdown: What to Expect to Spend
You can zone a studio at nearly any price point. Here is a realistic look at costs for a typical 450 to 600 square foot apartment:
| Budget Level | Total Spend | What You Might Buy |
|---|---|---|
| Starter | $50–$150 | Tension rod, two curtain panels, secondhand folding screen |
| Mid-Range | $200–$600 | Ceiling track, blackout curtains, open bookcase, area rug |
| Premium | $800–$2,000+ | Sliding panels, custom curtains, built-in shelving, statement lighting |
For affordable, stylish finds, browse retailers such as IKEA for room dividers and curtain tracks, Wayfair for folding screens, and Target for budget-friendly curtains. For inspiration and design ideas, The Spruce and Apartment Therapy are excellent resources for small-space living.
Common Mistakes to Avoid
Even experienced decorators slip up in small apartments. Watch out for these frequent errors:
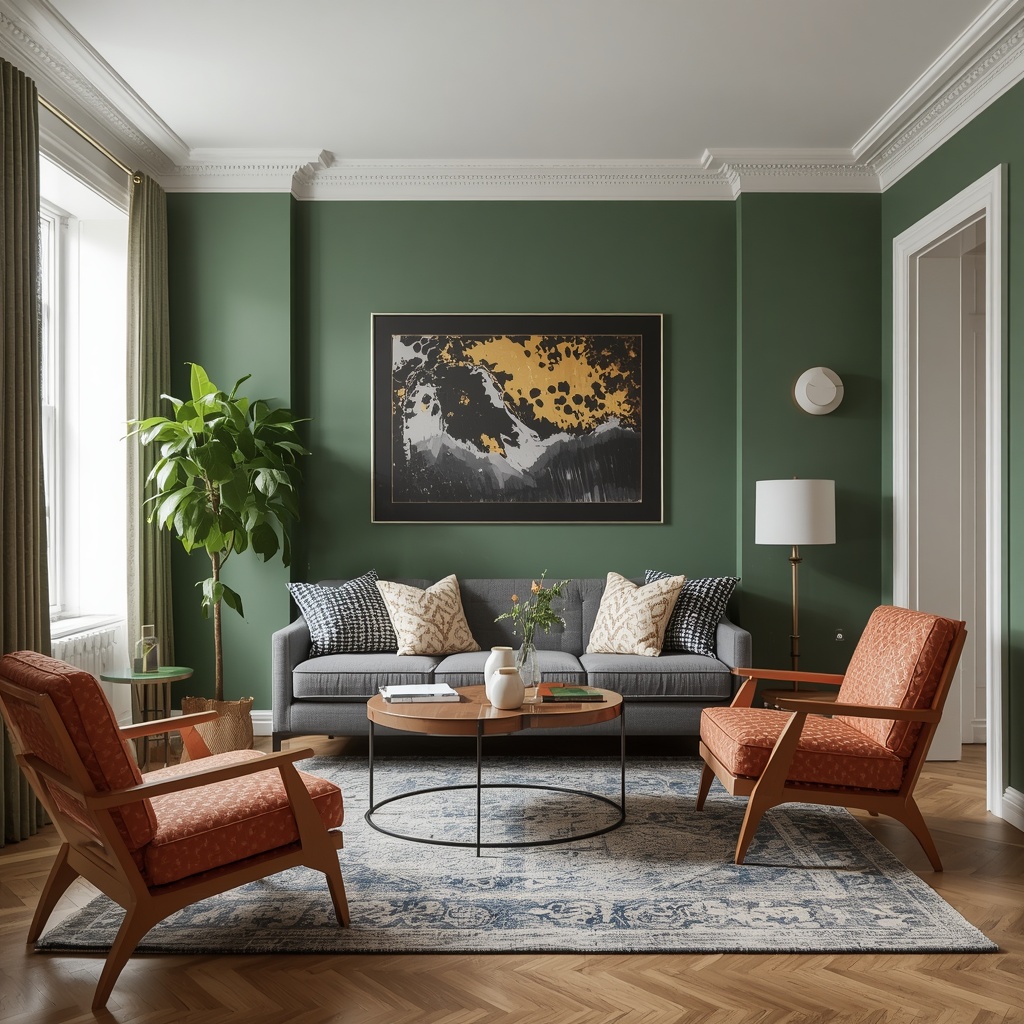
- Choosing a divider that is too small. A short screen looks like an accident, not a design choice.
- Blocking natural light. Place solid dividers perpendicular to windows, or choose sheer and open-back styles.
- Ignoring traffic flow. Leave at least 30 to 36 inches of walkway around furniture and dividers.
- Overcrowding the space. Not every zone needs a physical barrier. Sometimes a rug or lamp is enough.
- Forgetting about fire safety. Keep curtains and screens away from heaters, candles, and stoves.
- Skipping measurements. Measure your ceiling height, wall width, and window placement before you buy.
Step-by-Step: Create Your Studio Zones in a Weekend
Ready to get started? Follow this simple plan:
- Sketch your floor plan. Draw the room to scale and mark windows, doors, and outlets.
- List your must-have zones. Prioritize sleep, work, and relax areas first.
- Choose your divider type. Match your needs (privacy, storage, light) with the comparison table above.
- Measure twice. Confirm height, width, and clearance before ordering.
- Install hardware and hang curtains. Start with the tracks or rods, then add fabric.
- Layer in rugs and lighting. These finishing touches reinforce each zone.
- Edit and adjust. Live with the layout for a week, then tweak as needed.
Frequently Asked Questions
What is the best room divider for a studio apartment?
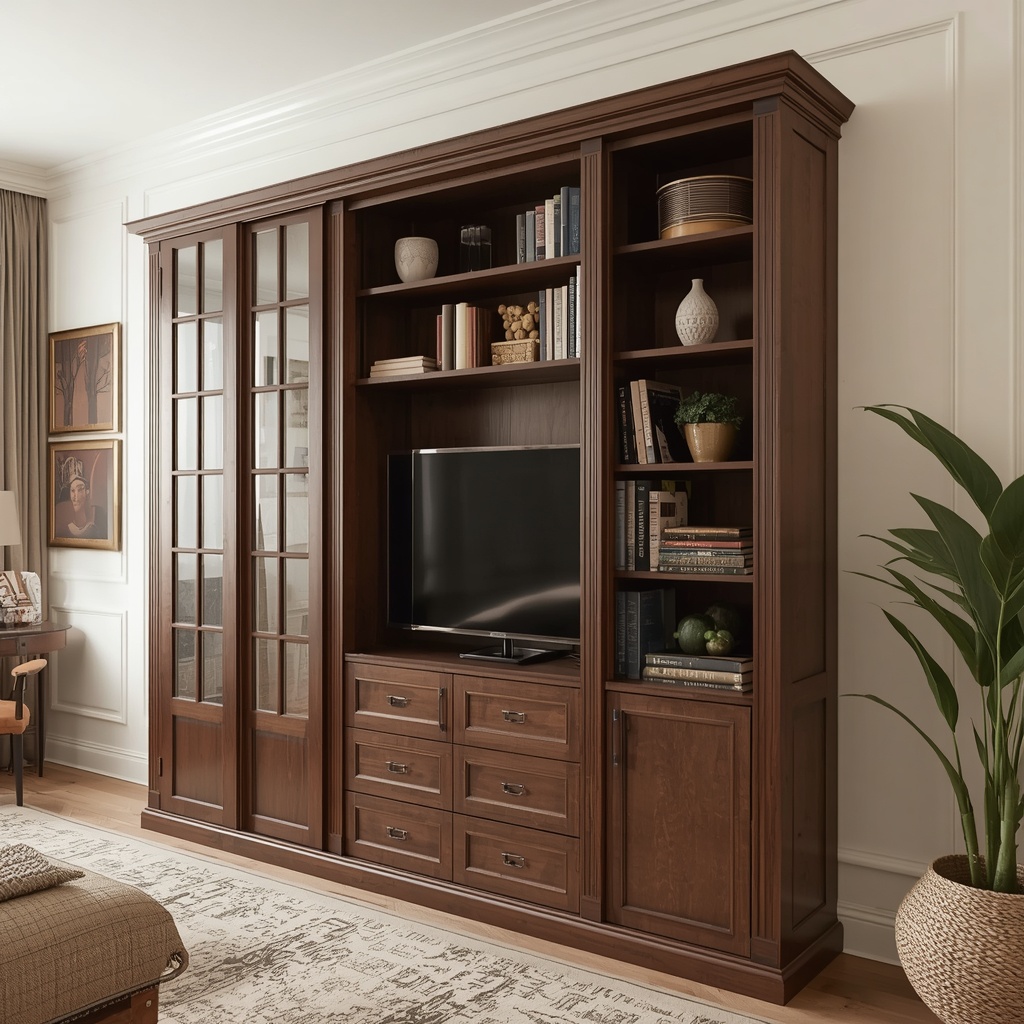
It depends on your goals. For storage, choose an open bookcase. For privacy and flexibility, a folding screen or ceiling-mounted curtain works best. For a premium, permanent feel, go with sliding panels.
Can I use curtains to divide a room without drilling?
Yes. Tension rods, freestanding curtain stands, and adhesive ceiling tracks all work without damaging walls, which makes them perfect for renters.
How do I make a studio apartment feel like it has separate rooms?
Combine physical dividers with visual cues. Use area rugs, distinct lighting, and consistent color palettes to give each zone its own identity.
Will room dividers make my studio feel smaller?
Not if you choose wisely. Semi-sheer curtains, open shelving, and slatted screens keep sightlines open and let light travel through the space.
Final Thoughts: Make Your Studio Feel Like Home
A studio apartment does not have to feel like one big, undefined room. With thoughtful room dividers and curtains, you can create a sleeping nook that feels private, a living area that feels welcoming, and a workspace that stays out of sight when the day is done.
Start small, experiment with one zone, and build from there. Whether you choose a graceful velvet curtain, a sculptural folding screen, or a storage-packed bookcase, the goal is the same: a home that supports how you actually live. Your studio has more potential than you think.