
By a home decor and interior design specialist | Small space lighting ideas for American homes
If you live in a city apartment, a starter home, or a house with a cozy bedroom, you already know the struggle. Small rooms can feel flat, boxy, and a little cramped, no matter how carefully you arrange the furniture. The surprising fix is rarely a bigger sofa or a new paint color. It is light, and where you put it.
As a designer, I tell clients the same thing every time: lighting is the cheapest way to change how a room feels. The right fixtures, bulbs, and placement can stretch walls, lift ceilings, and create the layered, three-dimensional look you see in magazine spreads. This guide walks you through exactly how to create depth in small rooms with lighting, step by step.
“Light is the first thing you design and the last thing people notice. When it’s right, the room simply feels bigger.”
Why Lighting Is the Secret to Depth in Small Rooms
Depth is the visual sense that a space has a foreground, a middle ground, and a background. In a large room this happens naturally. In a small room, a single overhead fixture floods everything evenly, which erases shadows and makes every surface look like it sits on the same plane. The result is a flat, boxed-in feel that makes square footage seem even tighter than it is.
When you introduce light at different heights and intensities, your eye travels around the room instead of stopping at the nearest wall. Bright corners suggest the space continues. Soft pools of light on a floor or a shelf create layers. This is the same trick theaters and photographers use, and it works beautifully for compact living rooms, bedrooms, kitchens, and entryways.
Key ideas you will learn in this guide:
- How to layer ambient, task, and accent lighting
- Which color temperatures make a room feel larger
- How to use wall washing, uplighting, and mirrors to push boundaries outward
- Room-by-room lighting plans you can copy
- Smart, budget-friendly upgrades and common mistakes to avoid
Start with the Three Layers of Light
Every well-designed room, regardless of size, relies on three layers: ambient, task, and accent lighting. Most small rooms only have the first, usually a lone ceiling fixture. Adding the other two layers is the single biggest step toward a room with real depth, and it does not require a renovation. Plug-in lamps and stick-on fixtures can do most of the work.
Think of the layers as a recipe. Ambient light is your base, the general glow that lets you walk around safely. Task light is focused and functional, like a reading lamp or under-cabinet strip. Accent light is the decorative sparkle that highlights art, texture, or architecture. Together they create contrast, and contrast is what our eyes read as depth.
| Lighting Layer | Purpose | Small Room Examples | Best Placement |
|---|---|---|---|
| Ambient | Overall illumination | Flush-mount fixture, recessed cans, torchiere floor lamp | Ceiling or corners |
| Task | Focused, functional light | Desk lamp, swing-arm sconce, under-cabinet LEDs | Work zones, beside seating |
| Accent | Highlight and drama | Picture lights, LED strips, mini spotlights | Art, shelves, textured walls |
How Many Light Sources Do You Need?
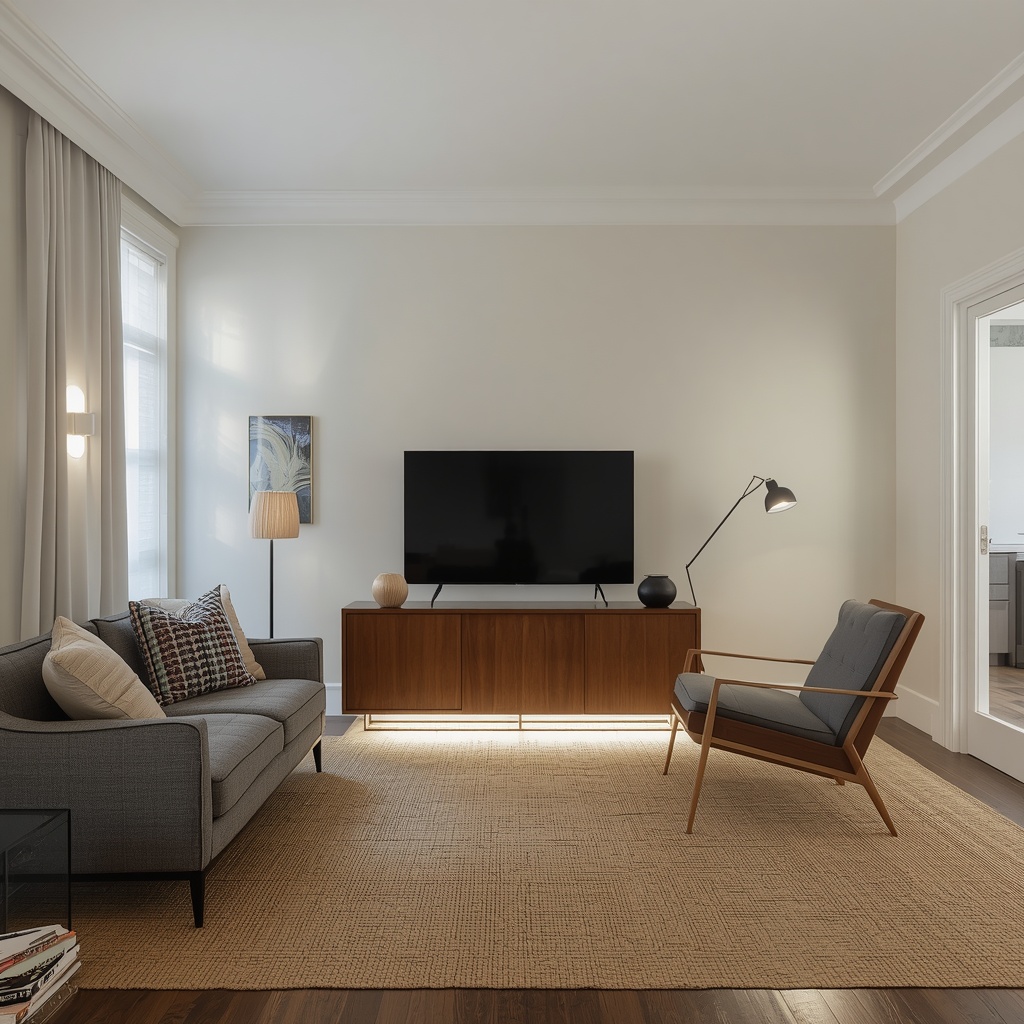
A good rule of thumb for small rooms is a minimum of three light sources at three different heights. For example, a living room might have a ceiling fixture (high), a table lamp (mid), and a floor-level uplight or LED strip behind a media console (low). Varying the height is what pulls the eye up, down, and across the space.
Do not worry about overcrowding. Slim sconces, clip-on lights, and compact lamps take almost no floor space, which is exactly why they suit small rooms. If you are short on outlets, look for rechargeable lamps or plug-in wall sconces with cord covers. Both give you flexible placement without calling an electrician.
Choose the Right Color Temperature and Brightness
Color temperature, measured in Kelvins (K), changes how spacious a room feels. Warm white light (2700K to 3000K) feels cozy and inviting, while cooler light (4000K and above) feels crisp and energetic. For most small rooms, I recommend staying in the warm to neutral range because it adds soft shadows and dimension rather than the harsh, flattening glare of cool bulbs.
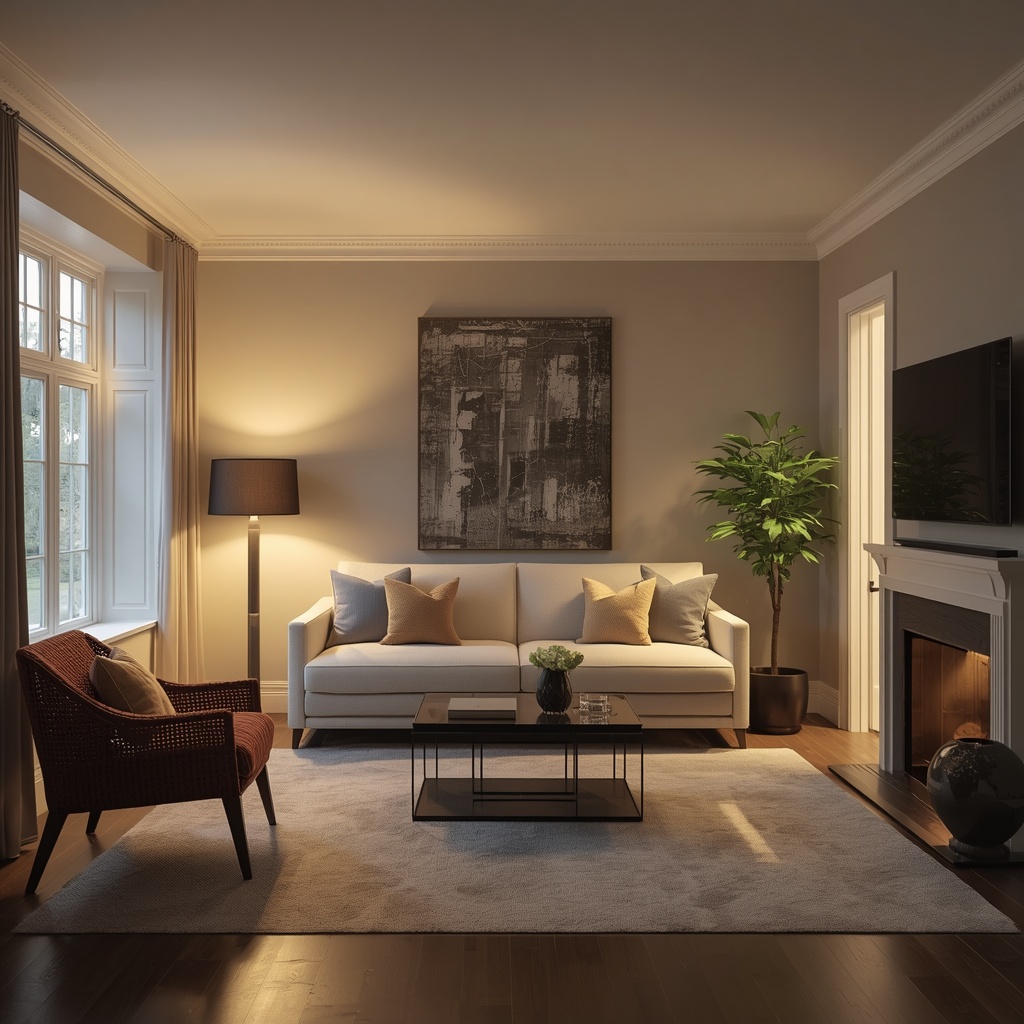
Brightness matters just as much. Lumens measure how much light a bulb produces, and small rooms often need less than people think. The goal is not maximum brightness but balanced brightness. A room lit evenly at a high level looks flat, while a room with bright and soft zones looks deeper and more expensive.
| Room | Recommended Color Temperature | Approximate Lumens per Sq. Ft. | Mood Created |
|---|---|---|---|
| Living room | 2700K to 3000K | 10 to 20 | Warm and layered |
| Bedroom | 2200K to 2700K | 10 to 20 | Calm and restful |
| Kitchen | 3000K to 4000K | 30 to 40 | Clean and bright |
| Home office | 3500K to 4000K | 30 to 50 | Focused and alert |
| Bathroom | 3000K to 3500K | 70 to 80 (vanity area) | Fresh and flattering |
| Entryway | 2700K to 3000K | 10 to 20 | Welcoming |
Match Your Bulbs Across the Room
One of the most common mistakes I see is mixing bulb temperatures in the same space. A cool white ceiling light next to a warm table lamp makes the room look patchy and unfinished. Choose one color temperature family for the whole room, or deliberately layer a slightly warmer accent light over a neutral base.

Look for a high Color Rendering Index (CRI) of 90 or above. High CRI bulbs show your paint, fabrics, and wood tones accurately, which makes textures look richer and adds visual depth. The U.S. Department of Energy offers helpful guidance on choosing efficient lighting, and ENERGY STAR lists certified LED bulbs that save money while performing well.
Pro Tip: Buy bulbs in the same brand and product line when you can. Even bulbs labeled “soft white” can vary noticeably between manufacturers, and matching them keeps your lighting layers looking intentional.
Use Wall Washing to Push the Boundaries Outward
Wall washing is the technique of lighting a wall evenly from top to bottom so it appears to glow. In a small room, this is a game changer. When walls are lit, they visually recede, and the room feels wider than the physical measurements suggest. Dark, unlit walls do the opposite, pressing inward and making the space feel like a box.

You can wash walls with recessed lights placed 12 to 24 inches from the wall, with track lighting aimed at the surface, or with simple plug-in uplights. Renters can try a slim floor lamp in the corner that bounces light up the wall and across the ceiling. Light-colored walls reflect the most, but even deeper hues look dimensional when they are gently graded with light.
Highlight Texture for Instant Dimension
Light that skims across a textured surface, like brick, shiplap, grasscloth, or a plaster finish, creates tiny shadows that read as depth. This is called grazing. Place a narrow-beam fixture close to the wall so the light rakes along the surface instead of hitting it head on. The more texture you have, the more dramatic and dimensional the effect.
If your walls are smooth, add texture through objects instead. A woven wall hanging, a ribbed ceramic vase, or a framed canvas with thick brushstrokes all catch directional light beautifully. Pair them with an adjustable picture light or a small spotlight, and you have created a focal point that gives the eye somewhere to land.
Draw the Eye Upward with Vertical Light
Low ceilings make small rooms feel squat, and the fix is to direct light upward. Torchiere floor lamps, wall sconces with upward-facing shades, and LED cove lighting all bounce illumination off the ceiling and create the sense of extra height. A softly glowing ceiling feels farther away than a dark one, even if the ceiling is only eight feet high.
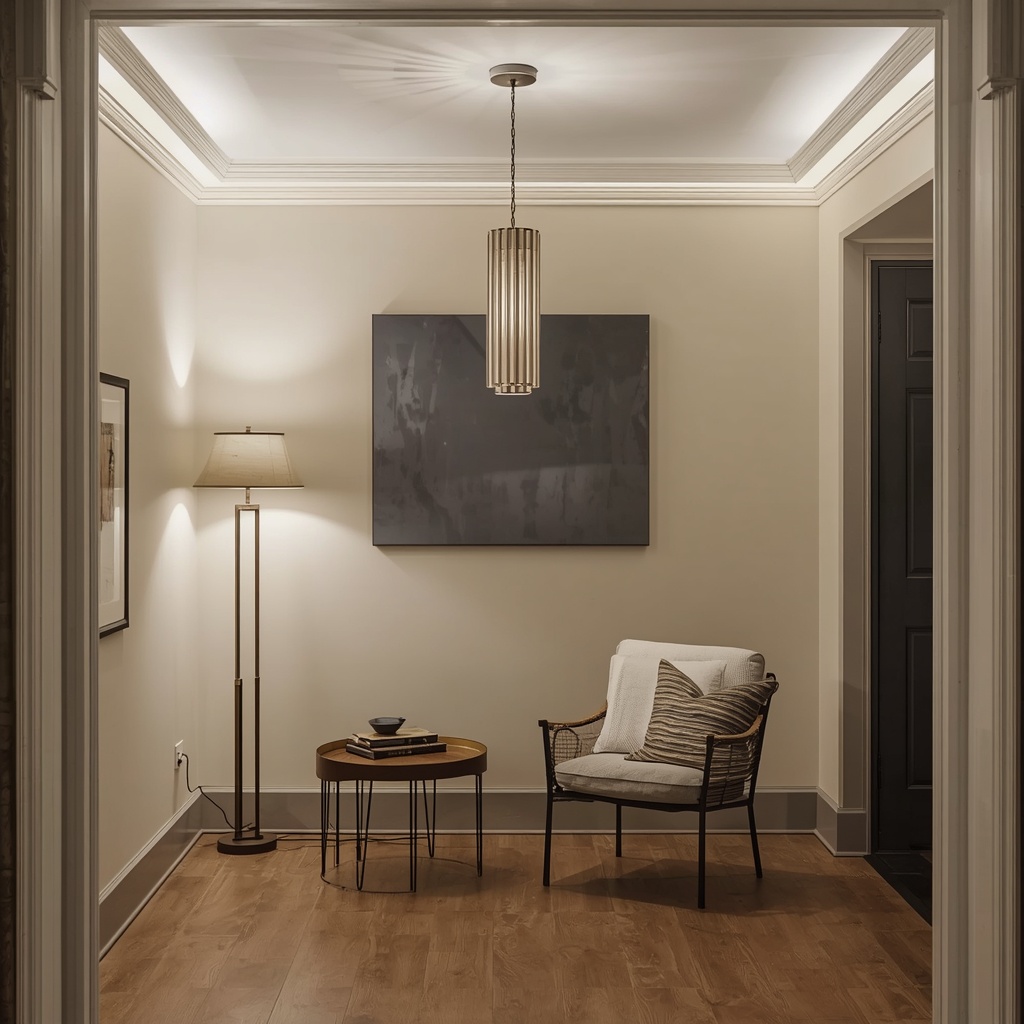
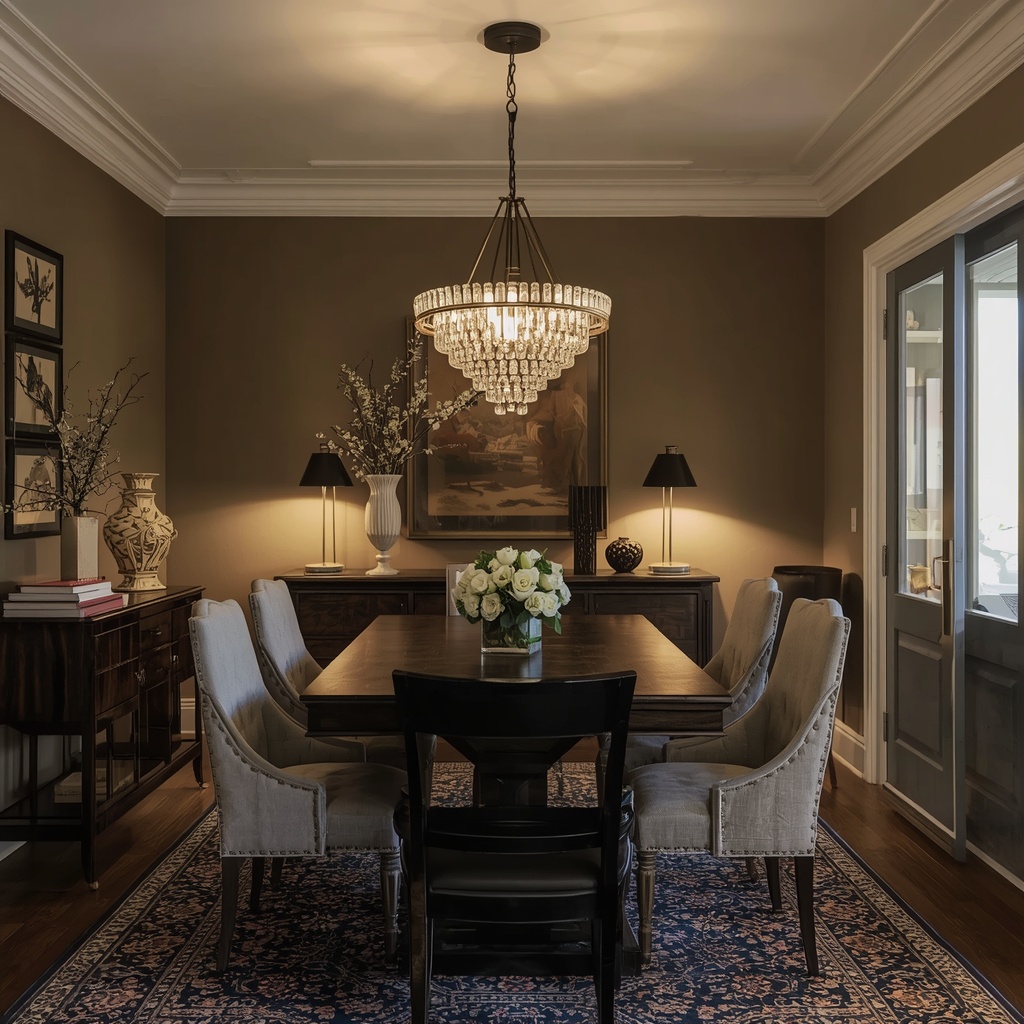
Vertical light also helps narrow rooms and hallways. Tall, slim fixtures such as arc lamps or pencil-thin floor lamps emphasize height without eating up floor space. Hanging a pendant or chandelier slightly higher than usual, as long as it clears the sightline, can also elongate the room and give a sense of grandeur on a small scale.
Best Fixtures for Small Rooms
- Semi-flush mounts: Add style without sacrificing headroom
- Plug-in wall sconces: Free up table and floor space while adding a mid-height layer
- Slim arc lamps: Reach over seating areas and double as ambient light
- LED strip lights: Tuck behind headboards, under shelves, or along crown molding
- Mini pendants: Perfect over nightstands or a narrow breakfast bar
- Clip-on or swing-arm lamps: Great for tight desks and bedside tables
Place Lamps Strategically to Layer the Room
Where you place a lamp matters as much as the lamp itself. A classic designer move is the lighting triangle: position three light sources so they form a rough triangle around the room. This ensures that no zone is left dark and that your eye bounces from one glowing point to the next, which builds a feeling of movement and depth.
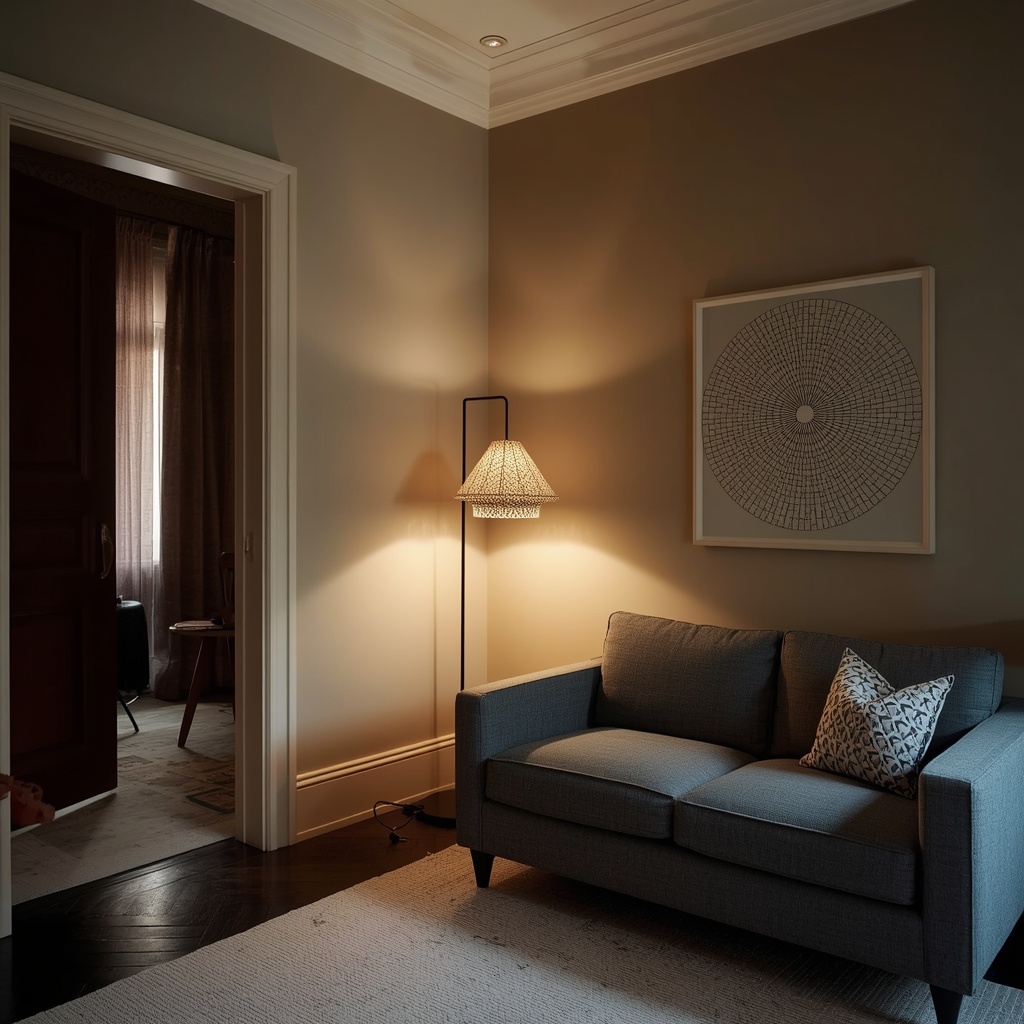
Push light into corners, which are usually the darkest and most neglected parts of a small room. A lamp in a dark corner makes the walls feel like they extend beyond it. Also consider lighting the space behind and beside furniture. A glow behind a sofa or a console table creates a background layer that separates the furniture from the wall.
“The dark corner is the enemy of a small room. Light it, and the walls step back.”
Quick Placement Checklist
- Put at least one light source in every corner you can see from the main seating area.
- Place lamps at different heights: floor, table, and wall level.
- Aim some light up, some light down, and some light across.
- Keep bulbs shielded or shaded to avoid glare in your direct line of sight.
- Use a dimmer on at least one fixture in every room.
Let Mirrors Multiply Your Light
Mirrors and lighting are the ultimate small-room duo. A mirror placed opposite or adjacent to a window or lamp doubles the light and creates the illusion of a second room reflected in the glass. This is one of the oldest tricks in interior design, and it still works because it adds true visual depth rather than just brightness.
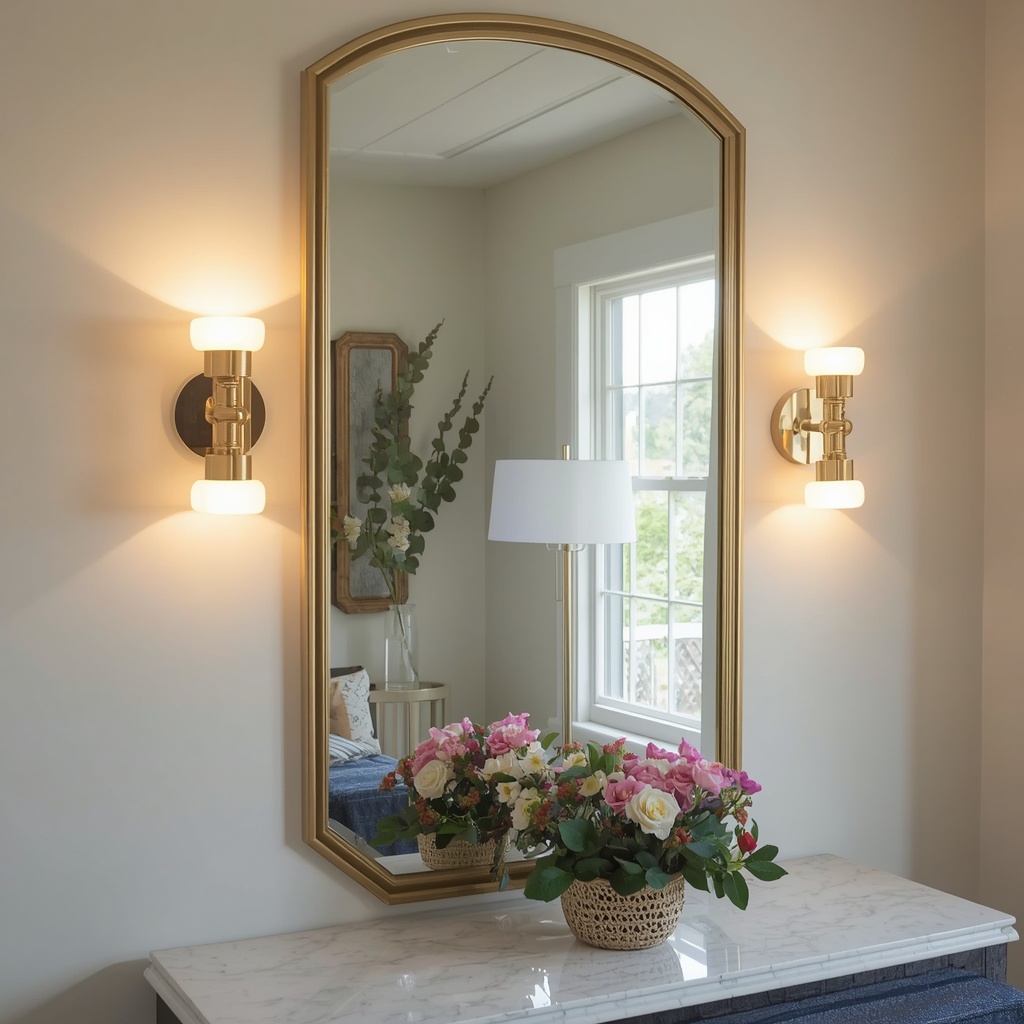
Placement is key. Hang a large mirror where it reflects an attractive view, like a lit corner, a piece of art, or a window, and never a cluttered closet or a bare wall. Pair a mirror with a sconce on each side, as you would in a vanity setup, to produce a soft, flattering glow that fills the whole wall.
Other Reflective Surfaces to Try
Mirrors are not your only option. Glossy tile, metallic lamp bases, glass tabletops, lacquered furniture, and brass or chrome accents all bounce light and add sparkle. Even a high-gloss paint on a ceiling or an accent wall can reflect lamp glow and add a subtle layer of depth.
Use reflective materials in moderation so the room feels polished rather than cold. A single mirrored tray on a coffee table, a glass-shaded lamp, or a metallic picture frame is often enough. Balance shiny finishes with matte textures like linen, wool, and wood so the light has soft surfaces to settle into as well.
Use Shadow and Contrast on Purpose
It sounds backward, but shadows are essential for depth. A room with zero shadows looks like a flat photograph. Gentle shadows define the edges of objects, show off texture, and give a room the layered feel that makes it interesting to look at. The goal is controlled contrast, not darkness.
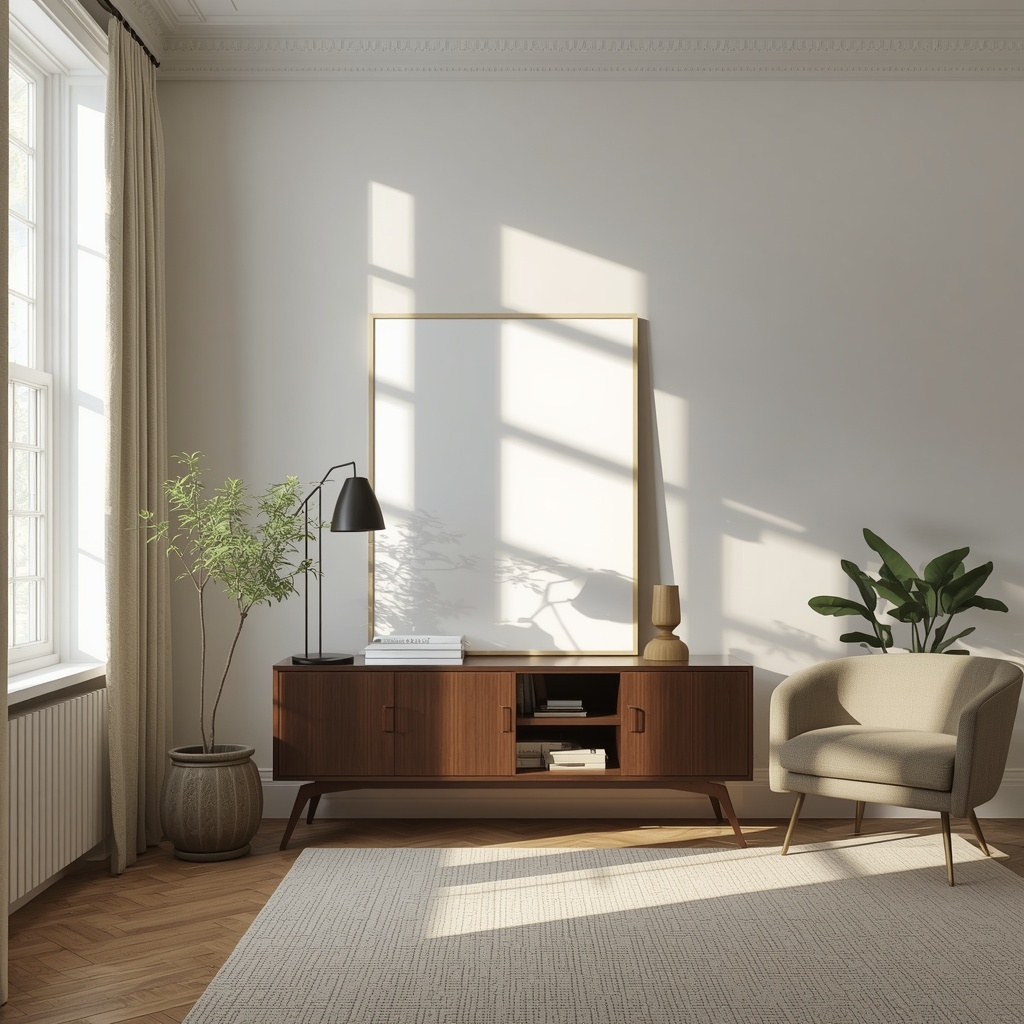
Create contrast by pairing brighter focal points with softer surroundings. Light a bookshelf or a piece of art a little more than the rest of the room, and the eye reads it as closer, while the dimmer areas feel farther away. This subtle hierarchy is what designers call a lighting scene, and it makes small rooms look composed and intentional.
Pro Tip: Squint at your room in the evening. If everything looks equally bright, you need more contrast. Turn off the ceiling light, add two or three lamps at varied heights, and notice how the room instantly gains dimension.
Room-by-Room Lighting Plans for Small Spaces
Every room has different needs, so here is how I approach the most common small spaces in American homes. Use these as starting points and adjust to your own layout, ceiling height, and style. All of these plans rely on the same principle: multiple sources at multiple heights.
| Room | Ambient | Task | Accent |
|---|---|---|---|
| Small living room | Flush mount with dimmer | Swing-arm floor lamp by sofa | LED strip behind TV, picture light over art |
| Small bedroom | Dimmable ceiling fixture | Plug-in sconces for reading | Warm LED under the bed frame or behind the headboard |
| Compact kitchen | Recessed or flush lights | Under-cabinet LED strips | Mini pendant or glass-front cabinet lights |
| Narrow hallway | Slim wall sconces | Not usually needed | Floor-level night lights or art spotlight |
| Small home office | Soft overhead light | Adjustable desk lamp | Shelf lighting or a small table lamp |
| Tiny bathroom | Flush mount | Vanity sconces at face height | Backlit mirror or LED niche light |
Living Room and Bedroom Tips
In a small living room, avoid relying on one ceiling fixture. Place a floor lamp near the sofa, a table lamp on a side table, and a small accent light on a shelf or console. This three-height approach creates a cozy, layered glow and makes the walls feel farther away.

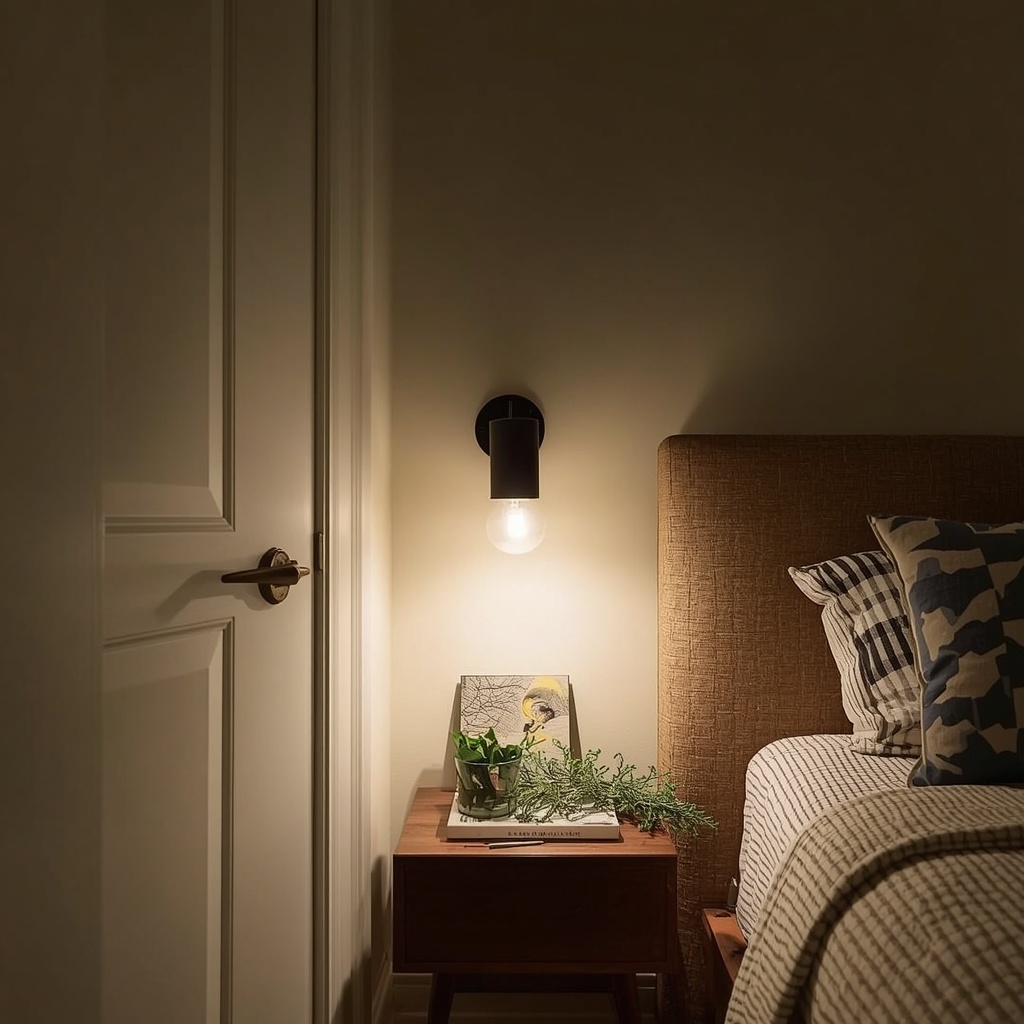
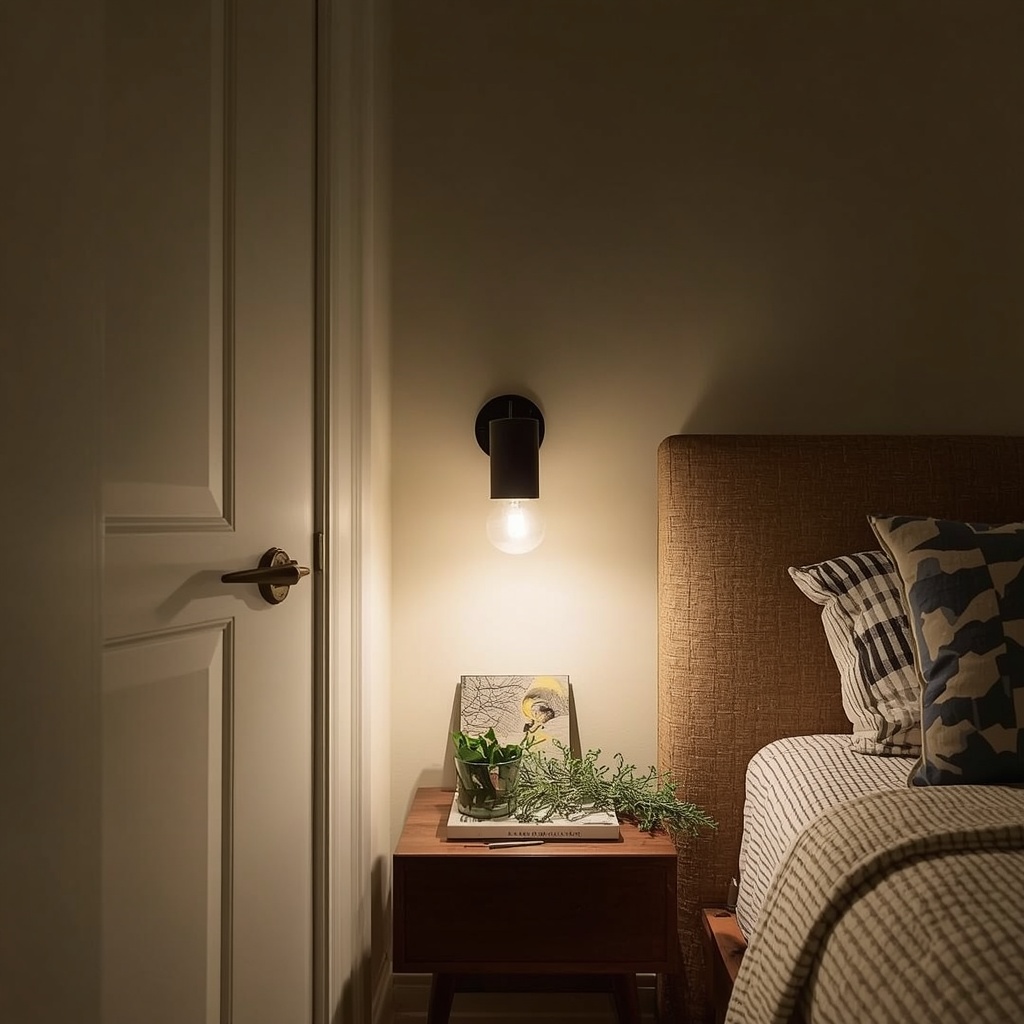
In a small bedroom, swap bulky nightstand lamps for wall-mounted sconces to free up surface space. Add a soft LED strip behind the headboard to create a halo effect that pushes the wall back. Keep bulbs warm, around 2700K, and put everything on dimmers so the room can shift from bright morning mode to relaxing evening mode.
Kitchen, Entryway, and Bathroom Tips
Compact kitchens benefit from layered task lighting. Under-cabinet LEDs brighten counters and cast light on the backsplash, which adds shine and dimension. A single mini pendant over a small island or breakfast nook adds a decorative layer and draws the eye to a focal point, making the room feel designed rather than merely functional.
Entryways and bathrooms are usually the smallest rooms in the house, so every light counts. Use a mirror with flanking sconces to double the glow, and add a small lamp or picture light in the entry to create a welcoming first impression. In bathrooms, light the face from both sides to avoid unflattering shadows.
Smart Controls and Dimmers: Your Secret Weapon
Dimmers are the most affordable way to add depth to any room. They let you adjust the balance between layers so you can brighten the task lights for cooking or reading and then drop the ambient level for a relaxed evening. A room that can change its mood throughout the day always feels bigger and more versatile.
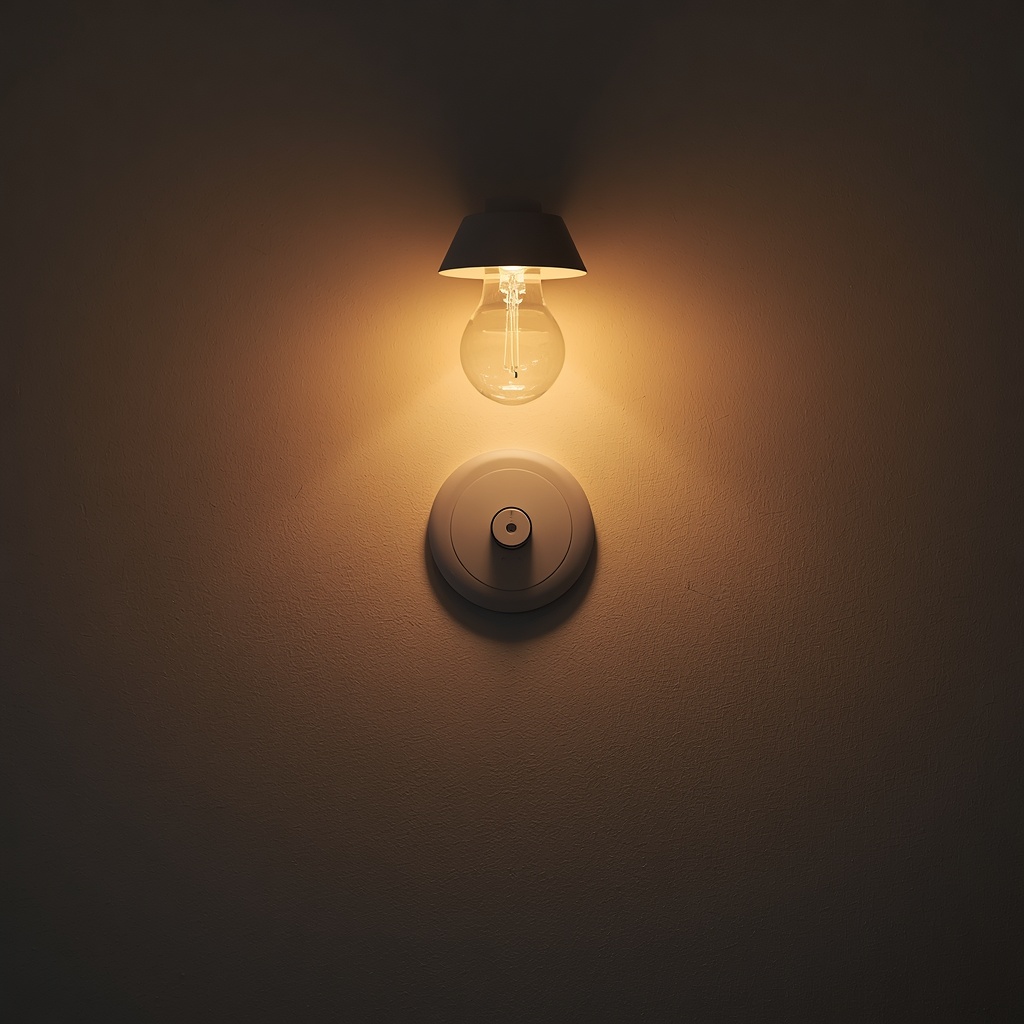
Smart bulbs and plugs take this a step further. You can set scenes, schedule lights to match your routine, and change color temperature with a tap on your phone. Many smart bulbs fit existing fixtures, making them perfect for renters. Just confirm that your bulbs are dimmable and compatible with your switch before you buy.
Budget-Friendly Lighting Upgrades
- Under $25: Plug-in LED strip lights, clip-on lamps, and warm LED bulbs
- $25 to $75: Plug-in sconces, arc or torchiere floor lamps, and smart bulbs
- $75 to $200: Semi-flush fixtures, hardwired sconces, and quality picture lights
- $200 and up: Recessed lighting, track systems, and full smart lighting setups
You do not need to do everything at once. Start with the darkest corner of your room, add a lamp, and see how it changes the space. Build gradually, swapping and testing until the layers feel right. Small, thoughtful changes often make a bigger difference than one expensive fixture.
Common Lighting Mistakes That Flatten Small Rooms
The biggest mistake is relying on a single overhead light. It casts even, shadowless illumination that makes walls and furniture blend together. Another common error is using bulbs that are too bright or too cool, which creates glare and makes a cozy room feel like an office or a hospital waiting area.
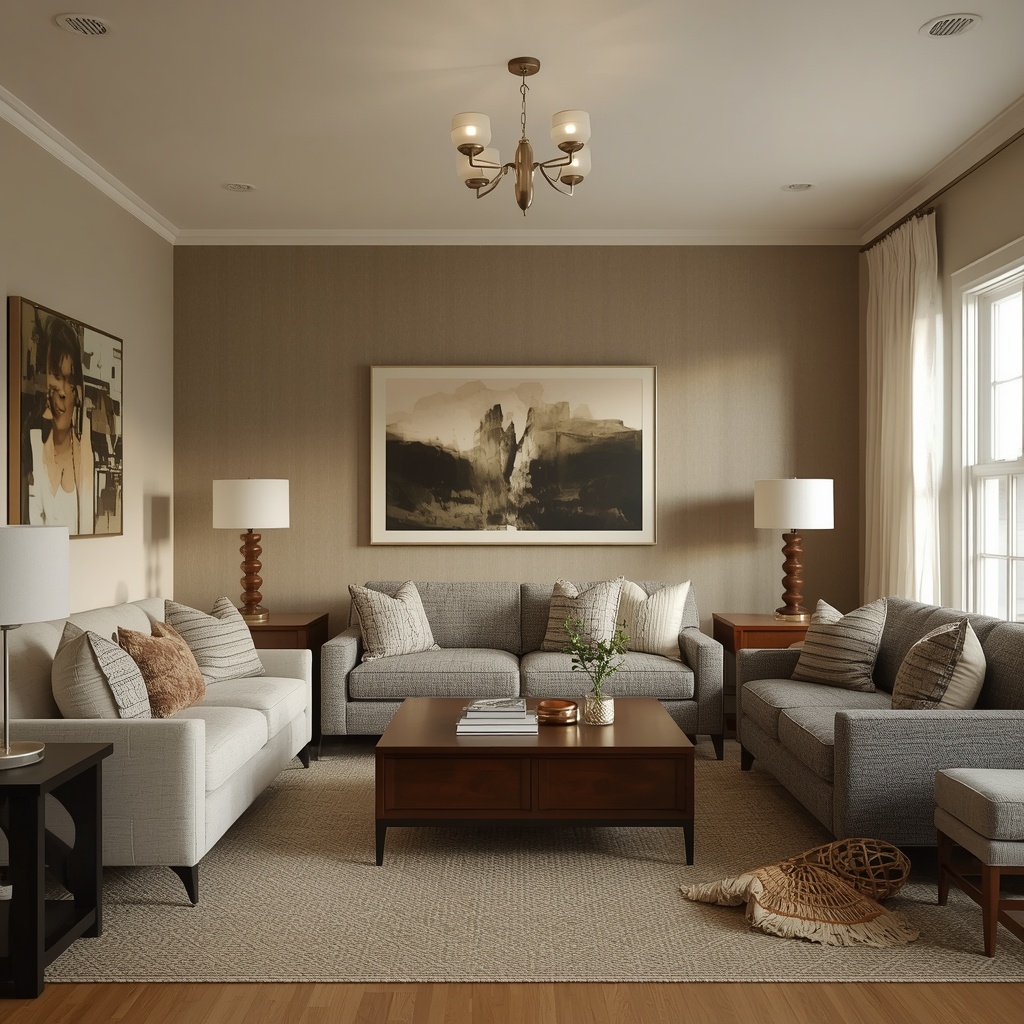
Other pitfalls include oversized fixtures that overwhelm the space, ignoring corners, hanging lights at the wrong height, and mixing mismatched bulb colors. Avoid these errors, and you will already be ahead of most homeowners. A quick audit of your current setup often reveals easy fixes you can make in an afternoon.
Mistakes to Avoid at a Glance
- Using only one ceiling fixture for the whole room
- Choosing bulbs that are too cool or too harsh
- Leaving corners and wall surfaces dark
- Installing oversized chandeliers or pendants in tight spaces
- Skipping dimmers
- Placing lights where they create glare in seating areas
- Mixing different bulb temperatures in one room
Frequently Asked Questions
What is the best lighting for a small room with no windows?
Focus on layered, warm lighting with plenty of wall washing and mirrors. Use a mix of ceiling, wall, and lamp sources at 2700K to 3000K, and add a large mirror to reflect light. LED strip lights and sconces can mimic the glow of natural light.
Does a small room need bright light to look bigger?
Not necessarily. Balanced, layered light creates a stronger impression of space than a single bright source. Light the walls and corners, add contrast, and use dimmers so you can fine-tune the brightness for each activity.
Can renters create depth with lighting?
Absolutely. Plug-in sconces, floor lamps, battery-powered picture lights, smart bulbs, and adhesive LED strips all deliver dramatic results with no permanent changes. They are also easy to take with you when you move.
Final Thoughts: Light Is Your Small Room’s Best Design Tool
Creating depth in small rooms comes down to a simple idea: layer your light, vary the heights, wash your walls, and let shadows and reflections do some of the work. You do not need a large budget or a renovation. A few well-placed lamps, a mirror, a dimmer, and a thoughtful plan can transform a boxy room into a space that feels open, warm, and beautifully dimensional.
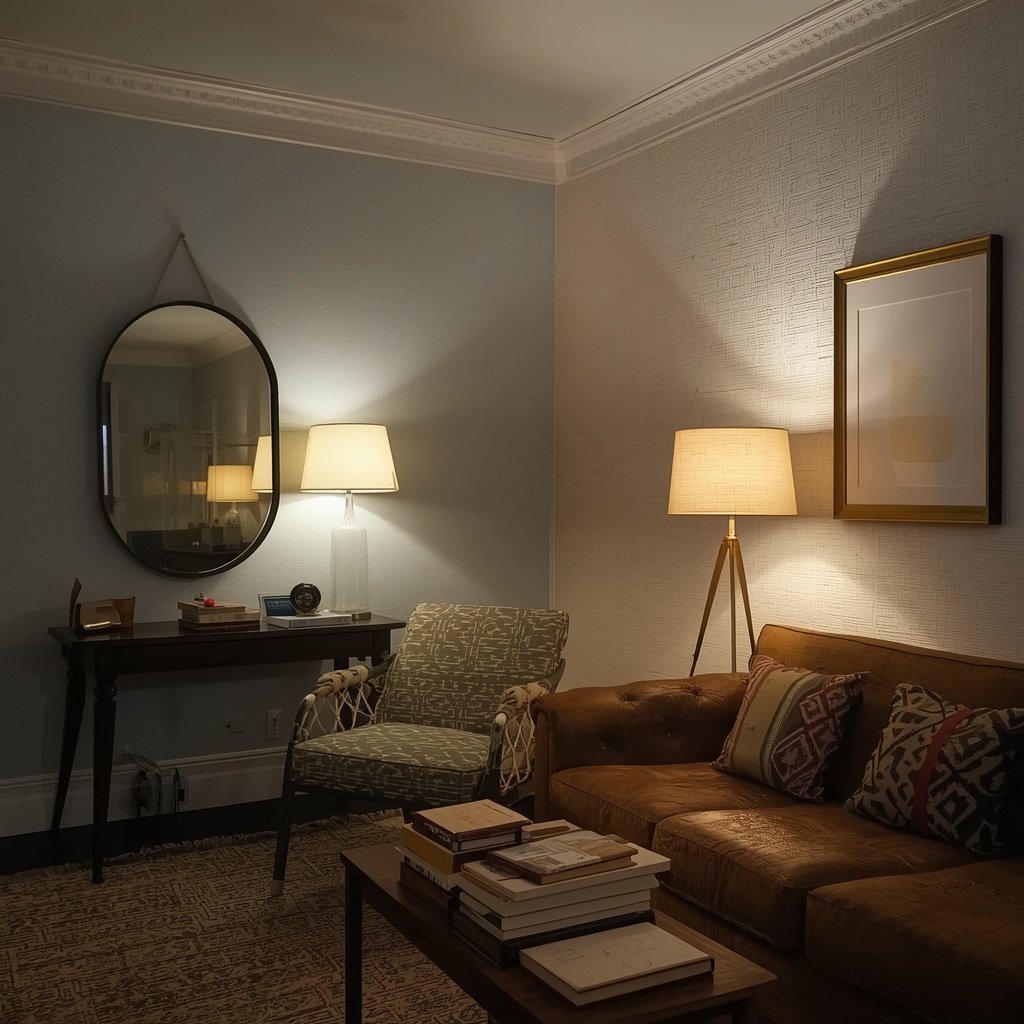
Start tonight. Turn off the overhead light, bring in a lamp or two, and see how the room changes. Notice where the dark corners are, where the walls look flat, and where your eye wants to rest. Then use the strategies in this guide to build your own layered lighting plan, one glowing layer at a time.