
Here is a secret that working interior designers rarely say out loud: many of the “custom” built-ins, walk-in closets, and designer credenzas in beautiful American homes started life as flat-pack boxes. The difference between a basic assembly and a high-end look is rarely the base piece. It is the finishing, the proportions, the hardware, and the styling decisions layered on top.

If you have ever scrolled past a stunning built-in library wall and wondered how much it cost, this guide is for you. Below, you will find the exact IKEA hacks I recommend to clients who want a luxury home aesthetic on a realistic budget, plus the materials, tricks, and mistakes to avoid. Whether you live in a Brooklyn apartment, a Texas ranch, or a California bungalow, these upgrades translate beautifully.
Why IKEA Hacks Work So Well for a Custom Look
IKEA furniture is built on a modular system with consistent dimensions, clean lines, and a neutral design language. That is exactly what makes it a perfect blank canvas. Because the carcasses (the boxes) are standardized, you can add trim, change fronts, swap hardware, and paint in ways that completely disguise the origin of the piece.

Custom cabinetry from a local woodworker can easily run $500 to $1,500 per linear foot. A well-executed IKEA hack often lands between $100 and $250 per linear foot, including upgrades. For homeowners and renters who want DIY home decor with a high-end payoff, that math is hard to ignore.
“Luxury is not about the price tag of the base. It is about proportion, texture, and the details that make people lean in for a closer look.”
Three things consistently separate a luxe hack from an obvious one: scale (go taller and fuller than the original), surface (paint, veneer, stone, or fabric), and hardware (the jewelry of furniture). Master those three and you are most of the way there.
The Golden Rules of a Luxe IKEA Hack
Before you pick up a drill, internalize these principles. They apply to every project below, from a simple nightstand to a full built-in wall.
First, never leave the original finish untouched on visible surfaces. Factory laminate and foil read as “flat-pack” the moment light hits them. Prime, paint, wrap, or veneer them so the surface has depth and a hand-finished feel.
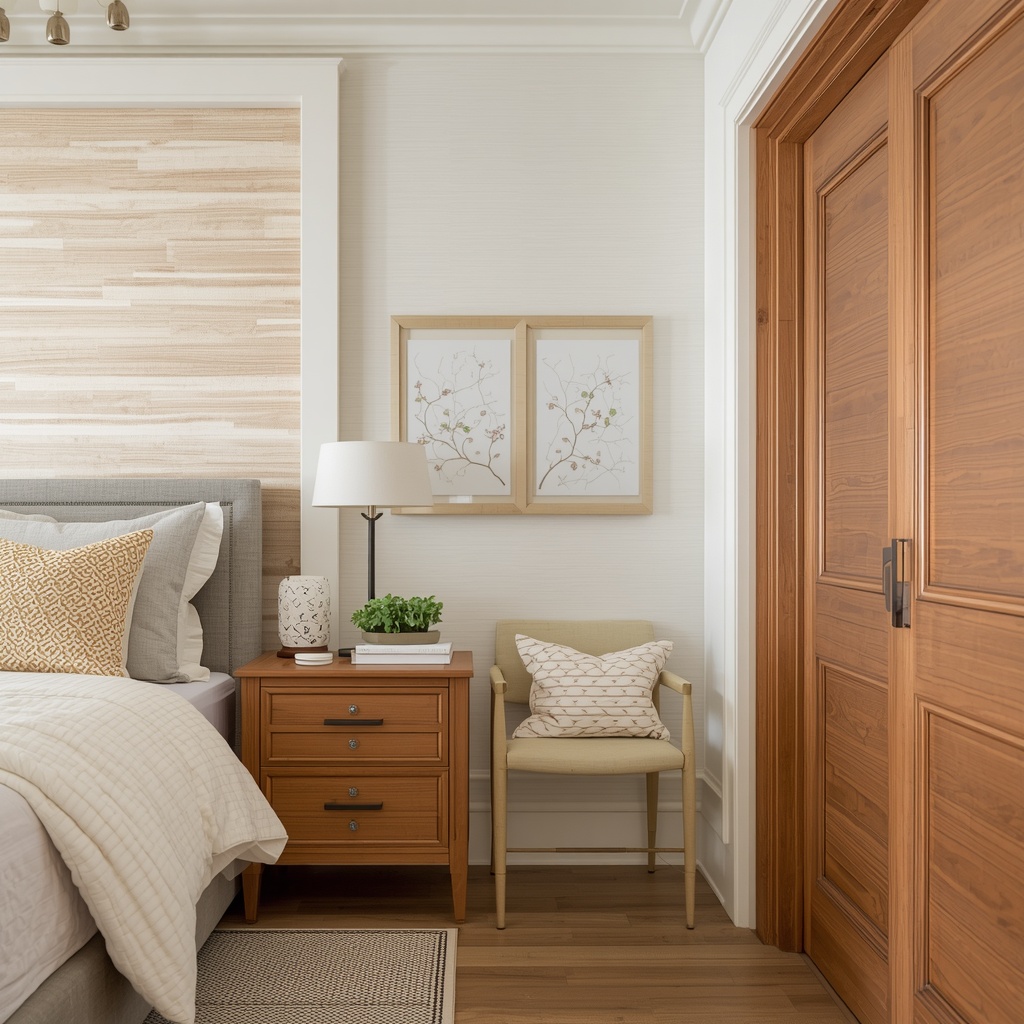
Second, close every gap. Custom cabinetry looks seamless because trim hides the joints between the furniture, the wall, the floor, and the ceiling. Filler strips, crown molding, baseboard, and caulk are the quiet heroes of every high-end built-in.
| Common “Cheap” Tell | The Luxe Fix | Approx. Cost |
|---|---|---|
| Visible factory-printed finish | Prime and paint with cabinet-grade enamel | $60–$120 |
| Gaps between unit and wall | Scribe molding and paintable caulk | $20–$50 |
| Stock knobs and pulls | Solid brass, bronze, or leather hardware | $40–$200 |
| Short, squat proportions | Add a plinth base and crown molding | $50–$150 |
| Flat, single-tone color | Layer paint, wallpaper, or fluted panels | $50–$200 |
| Thin, hollow doors | Replace with shaker or fluted-front doors | $100–$400 |
Pro Tip: Always test your paint on an inconspicuous spot first. IKEA surfaces vary (laminate, foil, particleboard), and each needs the right primer. A bonding primer such as a shellac-based or adhesion-grade formula will prevent peeling months later.
Hack #1: BILLY Bookcase to Built-In Library Wall
The BILLY bookcase is arguably the most hacked piece of furniture in the world, and for good reason. It is affordable, adjustable, and available in several heights and widths. Lined up in a row and dressed with trim, it becomes the jaw-dropping library wall you see in design magazines.
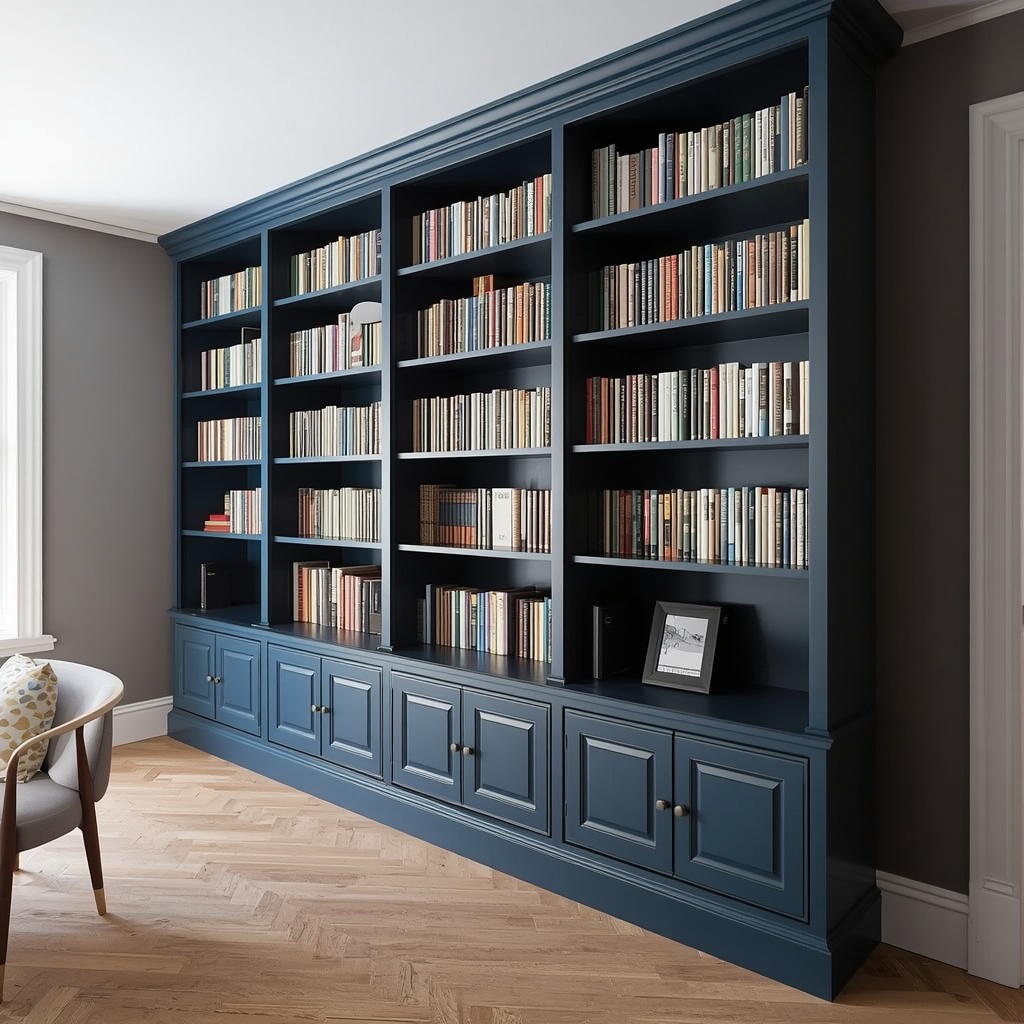
To build the look, place two or three BILLY units side by side and secure them to wall studs. Add a face frame of 1×2 poplar around the front edge, then install crown molding at the top and baseboard at the bottom to merge the unit with the room. Fill nail holes, caulk the seams, and paint everything in a deep, saturated color. Navy, forest green, charcoal, and warm greige are all reliable choices for a moody, sophisticated feel.
For extra drama, add LED strip lighting or picture lights, and consider glass doors on the upper portion. Style the shelves with a mix of books, ceramics, framed art, and a few sculptural objects, leaving breathing room so the wall feels curated rather than crowded.
What you will need:
- 2–3 BILLY bookcases (use the extra-tall add-on units if your ceiling allows)
- 1×2 poplar or MDF for the face frame
- Crown molding and baseboard
- Wood filler, paintable caulk, and bonding primer
- Satin or semi-gloss cabinet enamel
- Plug-in or hardwired LED shelf lighting
Hack #2: KALLAX to Floating Credenza
The KALLAX shelving unit is a favorite among minimalists, but its grid-like look can feel dorm-room casual. Turn it on its side, mount it to the wall, and suddenly you have a sleek, floating mid-century credenza that looks like it came from a high-end showroom.

Start by laying the unit horizontally and attaching a wood or veneer top that overhangs slightly. Cover the sides with matching veneer or paint the whole unit in a matte tone. Add cabinet doors or drawer inserts to a few cubbies for a mix of open and closed storage, which is exactly how designers keep a surface looking clean and intentional.
Finish it with tapered wooden legs for a freestanding option, or a wall-mounted rail for the floating effect. Pair it with a large mirror or oversized artwork above, and you have an entryway or living room focal point worth bragging about.
Pro Tip: Use real wood veneer edge banding on every exposed edge. It is inexpensive, iron-on, and instantly removes the “laminate” look from the corners where it matters most.
Hack #3: IKEA Kitchen Cabinets with Custom Fronts
If you want the biggest return on investment, look at the kitchen. IKEA’s METOD cabinet system is respected by designers for its sturdy construction, soft-close hardware, and flexible sizing. The secret to a luxury kitchen remodel is replacing the stock doors with custom fronts.
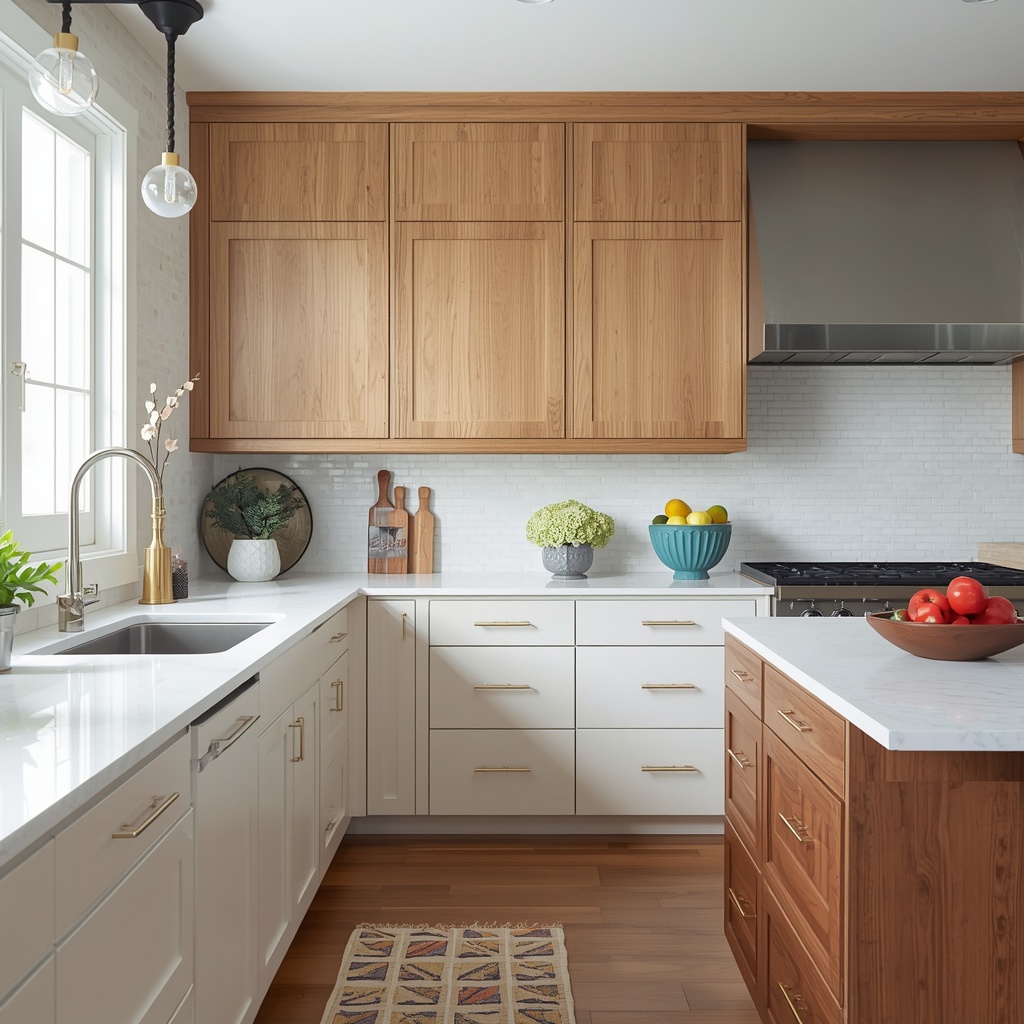
Several third-party companies make door and drawer fronts designed specifically for IKEA boxes. You can choose from shaker, slab, fluted, or inset styles in finishes like white oak, painted MDF, or walnut. This approach keeps the cost of the cabinet boxes low while delivering a bespoke look on the part everyone actually sees.
Pair the fronts with a thick stone-look countertop, a statement backsplash, and oversized brass pulls. Add a toe-kick finish in a matching material and a finished panel on the visible ends of your cabinet runs. These small details are what make a kitchen read as truly custom.
| Kitchen Upgrade | Budget Option | Splurge Option |
|---|---|---|
| Cabinet fronts | Painted MDF shaker | Rift-cut white oak slab |
| Countertops | Butcher block | Quartzite or honed marble |
| Backsplash | Zellige-look ceramic tile | Full-height slab backsplash |
| Hardware | Matte black pulls | Unlacquered brass bar pulls |
| Lighting | Plug-in under-cabinet LEDs | Hardwired puck and strip lights |
Hack #4: PAX Wardrobe to Boutique Walk-In Closet
The PAX wardrobe system is a favorite for clients who dream of a boutique-style closet. The frames come in standard widths and heights, and the interior fittings (drawers, shelves, rails, pull-out trays) are wonderfully customizable.

To elevate it, replace the stock doors with mirrored panels, fluted wood, or painted shaker fronts. Add crown molding to bring the unit up to the ceiling, then install interior lighting with motion sensors for that luxury-hotel feeling. Velvet-lined jewelry trays, leather pulls, and matching hangers make the inside as beautiful as the outside.
If you have a spare corner or a small room, you can build a dressing area by placing PAX units on three walls with a bench or ottoman in the center. A plush rug, a pendant light, and a full-length mirror finish the look.
Pro Tip: Measure your ceiling height at three points before ordering. Most rooms are not perfectly level, and adding scribe molding at the top will hide any variations for a seamless, built-in finish.
Hack #5: MALM or HEMNES Dresser to Designer Statement Piece
A basic dresser can become a conversation piece with a few thoughtful changes. The MALM and HEMNES lines offer simple silhouettes that respond well to paint, wallpaper, and hardware swaps.
Try painting the body in a rich, matte color and the drawer fronts in a contrasting shade, or wrap the fronts in grasscloth wallpaper or peel-and-stick fluted panels. Replace the standard pulls with oversized brass handles or sculptural ceramic knobs, and raise the piece on tapered or turned legs for added elegance.
For a more luxurious bedroom, consider adding a marble or stone-look top and a lined top drawer. These touches turn an everyday storage piece into a boutique-quality focal point that photographs beautifully.
Hack #6: LACK Side Table to Sculptural Stone-Look Accent
The LACK table is famous for being incredibly cheap, which is exactly why it is such a fun canvas for experimentation. Its simple square shape is a clean slate for texture-driven finishes that mimic expensive materials.
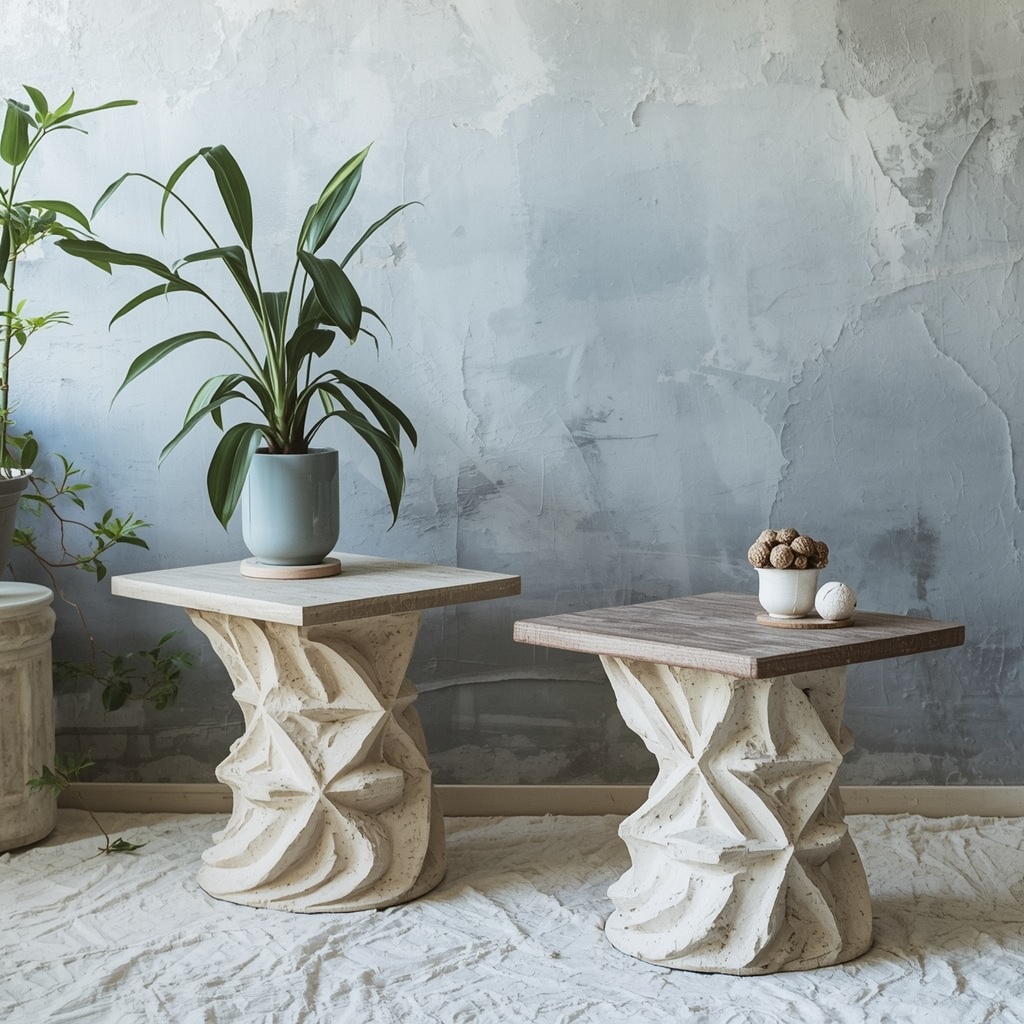
Wrap or cover the table in a travertine-look contact paper, a lime-wash plaster finish, or a textured spackle for a sculptural, Roman-inspired effect. Stack two or three together to create a pedestal base, then top with a wood or stone-look surface. The result looks like a one-of-a-kind designer coffee table or plant stand.
This is one of the fastest weekend projects on the list, and it is a wonderful starting point if you are new to IKEA hacking and want to build your confidence before tackling larger built-ins.
Hack #7: Lighting, Mirrors, and Décor That Look Expensive
Not every hack requires power tools. Lighting and mirrors can be some of the most transformative upgrades, especially for renters. Swap basic shades for linen, rattan, or pleated fabric versions. Add a gold or aged-brass finish to inexpensive frames and lamp bases using metallic spray paint.
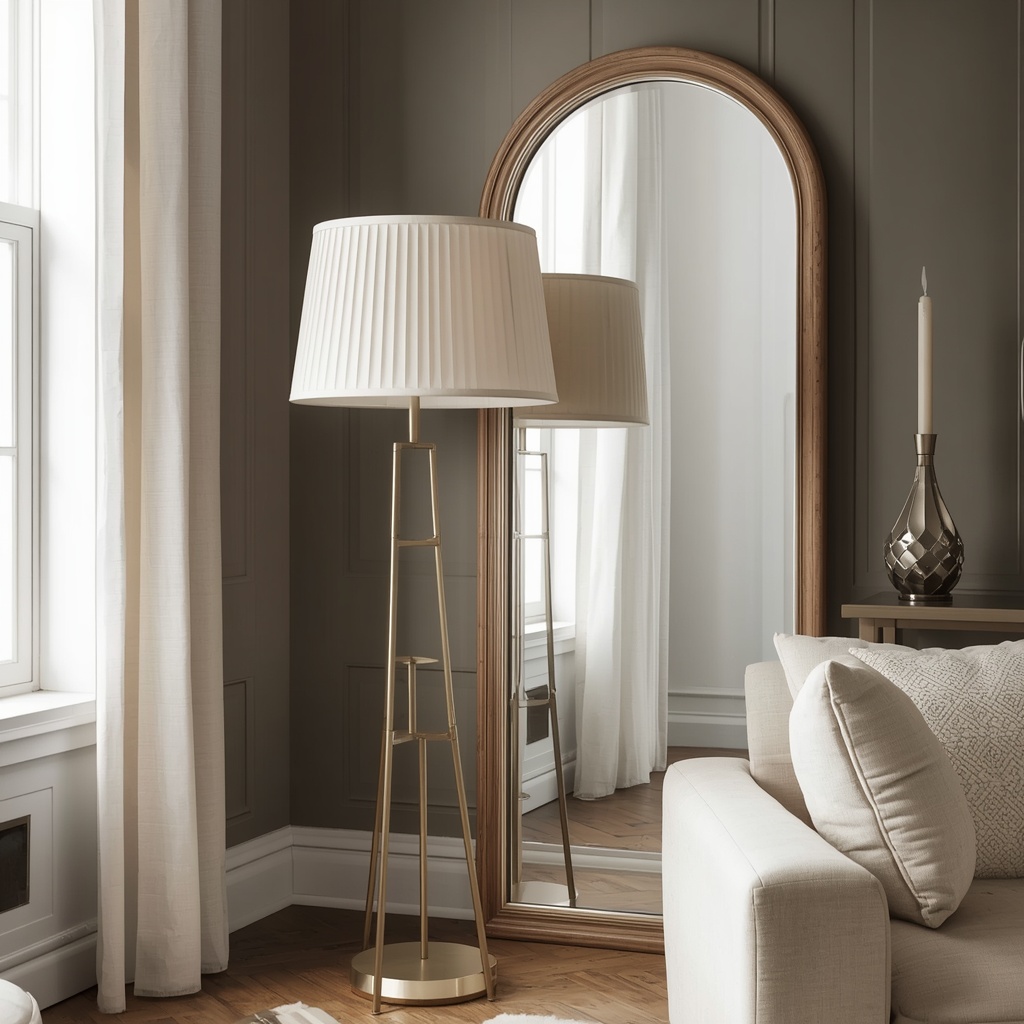
In terms of mirrors, an oversized arched or floor-length frame instantly makes a room feel grander. Add a wood or metal frame to a basic mirror for a custom look that costs a fraction of antique or designer versions.
Pro Tip: Warm white bulbs in the 2700K range create the soft, flattering glow associated with luxury interiors. Cool white bulbs flatten textures and can make even expensive finishes look sterile.
Hardware: The Jewelry of Your IKEA Hack
If you take only one piece of advice from this article, let it be this: change the hardware. Swapping basic knobs and pulls for high-quality alternatives is the fastest, most affordable way to elevate any piece of furniture.

Look for hardware with weight, texture, and finish. Heavier pieces feel more expensive in the hand, and finishes like unlacquered brass, aged bronze, and polished nickel develop character over time.
Hardware styles that read as high-end:
- Oversized bar pulls in unlacquered brass
- Leather strap or cane-webbed handles for a tailored look
- Ceramic or marble knobs for a collected, European feel
- Recessed finger pulls for a minimalist, modern aesthetic
- Mixed metals used intentionally, such as brass with matte black
For sourcing, explore specialty retailers and online marketplaces, as well as the IKEA website for official accessories and inspiration. Dedicated companies like Semihandmade, Reform, and Superfront create fronts, legs, and pulls made specifically for IKEA pieces.
Paint, Finishes, and Materials That Elevate Any Piece
Surface treatment is where your hack truly comes to life. The right finish can hide the original material entirely and give your furniture a handcrafted quality.
Finishes worth considering:
- Cabinet-grade enamel for a durable, factory-smooth painted surface
- Wood veneer for the warmth and grain of natural timber
- Fluted or reeded panels for architectural texture
- Grasscloth wallpaper on drawer fronts or the back of open shelving
- Limewash or plaster effects for a soft, European-inspired finish
- Stone-look or real marble tops for the ultimate luxe touch
| Finish | Best For | Difficulty |
|---|---|---|
| Cabinet enamel | Bookcases, kitchen fronts | Medium |
| Wood veneer | Credenzas, dressers | Medium |
| Fluted panels | Doors, drawer fronts | Easy–Medium |
| Grasscloth wallpaper | Shelving backs, drawers | Easy |
| Limewash or plaster | Side tables, accent pieces | Medium |
| Real stone top | Vanities, dressers | Advanced |
If you want to learn more about proper painting techniques, the Sherwin-Williams guide to painting cabinets is a helpful starting point, and resources from This Old House offer reliable step-by-step DIY instruction.
Cost Comparison: IKEA Hack vs. True Custom
Seeing the numbers side by side makes the value of an IKEA hack easy to appreciate. The estimates below are typical ranges for U.S. homeowners, though prices vary by region and material choices.
| Project | IKEA Hack Cost | Custom Cost | Approx. Savings |
|---|---|---|---|
| Built-in library wall (10 ft) | $800–$1,500 | $5,000–$10,000 | 70–85% |
| Floating credenza | $250–$500 | $1,500–$3,000 | 75–85% |
| Kitchen cabinets (10 ft run) | $2,000–$4,500 | $8,000–$15,000 | 55–75% |
| Walk-in closet system | $1,200–$2,500 | $5,000–$12,000 | 65–80% |
| Designer dresser | $200–$450 | $1,500–$3,500 | 80–90% |
Pro Tip: Spend your money where eyes and hands go. Splurge on hardware, countertops, and visible fronts, and save on the interior boxes and hidden structure.
Common IKEA Hack Mistakes (and How to Avoid Them)
Even the best ideas can fall flat if the execution is rushed. After years of working on residential interiors, these are the missteps I see most often.
Avoid these pitfalls:
- Skipping primer. Paint will peel from laminate without proper adhesion.
- Ignoring wall studs. Tall units must be anchored for safety, especially in homes with kids or pets.
- Choosing the wrong scale. Pieces that stop short of the ceiling look like furniture, not built-ins.
- Overdecorating. Luxury is edited. Leave negative space on shelves and surfaces.
- Mismatched finishes. Keep your palette cohesive across metals, woods, and paint colors.
- Rushing the trim. Poorly cut or uncaulked molding is the number-one giveaway.
If you are ever unsure about structural work, electrical wiring, or plumbing, consult a licensed professional. A DIY project should never compromise safety.
Styling Your Finished Hack Like a Designer
Once the build is complete, styling is what ties everything together. Think in layers: start with large anchor pieces, add medium-sized objects, and finish with small accents. Vary heights, textures, and materials to create visual rhythm.
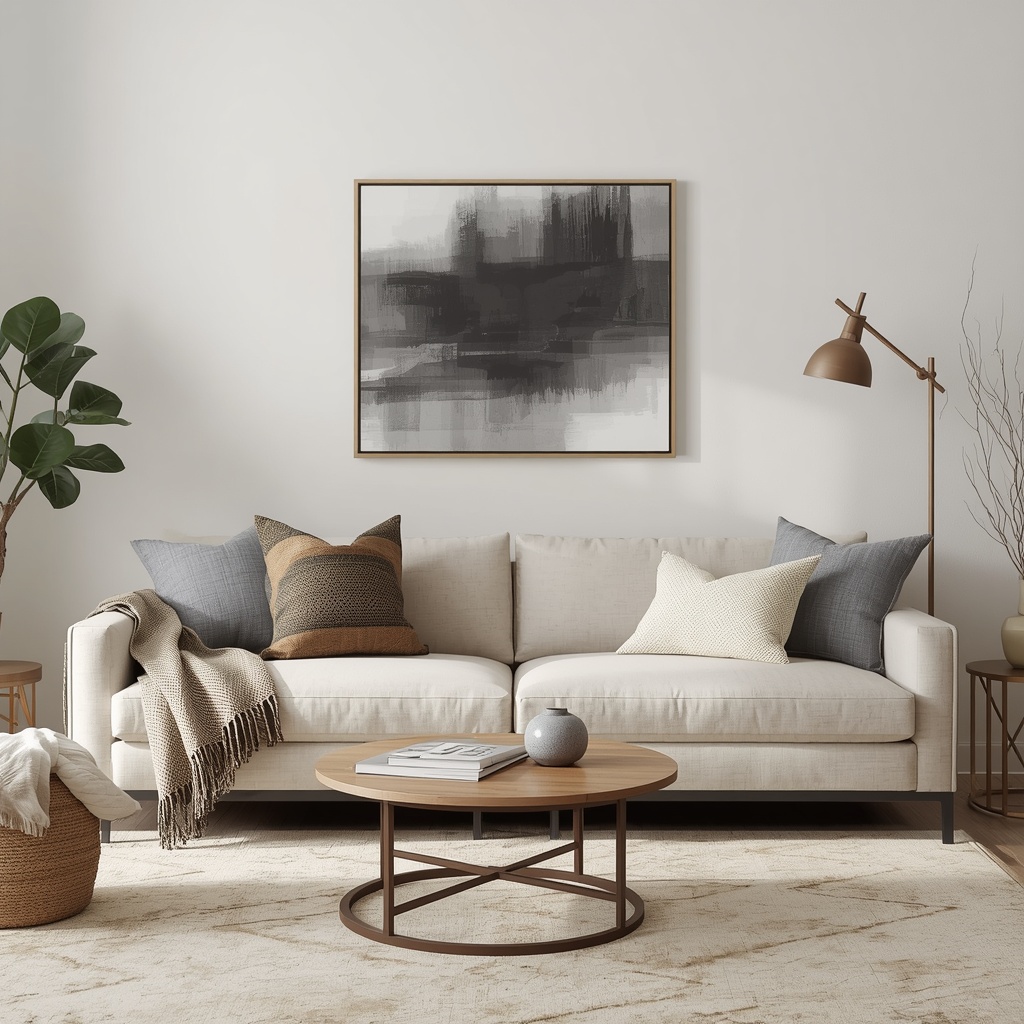
Use the “rule of three” for groupings, and mix organic elements like plants, branches, or stacked books with sculptural ceramics or metal accents. Add soft lighting, a textured throw, and a statement piece of art to make the space feel lived-in and layered rather than staged.
Frequently Asked Questions
Are IKEA hacks good for renters? Yes. Choose reversible upgrades such as peel-and-stick panels, new knobs, freestanding legs, and plug-in lighting. Always check your lease before drilling into walls.
What is the best IKEA piece for beginners? The LACK table and KALLAX shelving unit are the easiest starting points, thanks to their simple shapes and forgiving construction.
Will an IKEA hack hurt my home’s resale value? Well-executed built-ins and upgraded kitchens often add perceived value. Quality finishing is the key, so take your time with trim and paint.
How long does a typical hack take? Small projects take a weekend. Larger built-ins and kitchens can take several weeks, depending on your experience and the scope of work.
Final Thoughts: Make It Look Like You Spent a Fortune
The most beautiful homes are rarely the most expensive ones. They are the ones where every detail feels considered. IKEA hacks give you a smart, budget-friendly way to achieve that feeling, combining reliable construction with your own creativity and style.
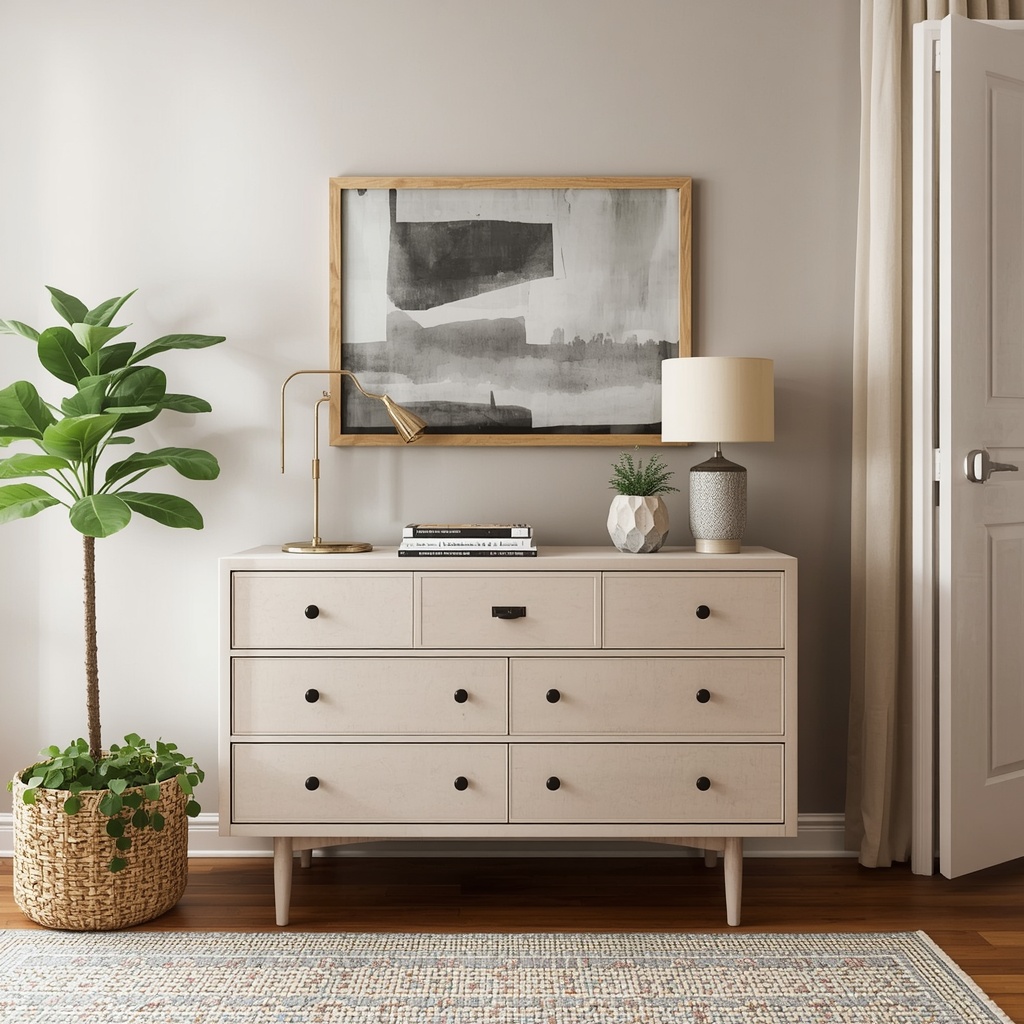
Start small, learn the techniques, and build toward bigger projects as your confidence grows. With the right paint, hardware, trim, and styling, your next “custom” piece may leave guests asking who your designer was. Pick one hack from this list, grab your tools, and begin transforming your home into the luxurious, personalized space you have been dreaming of.