
By a home decor and interior design specialist | Practical ideas for American homes, apartments, and condos
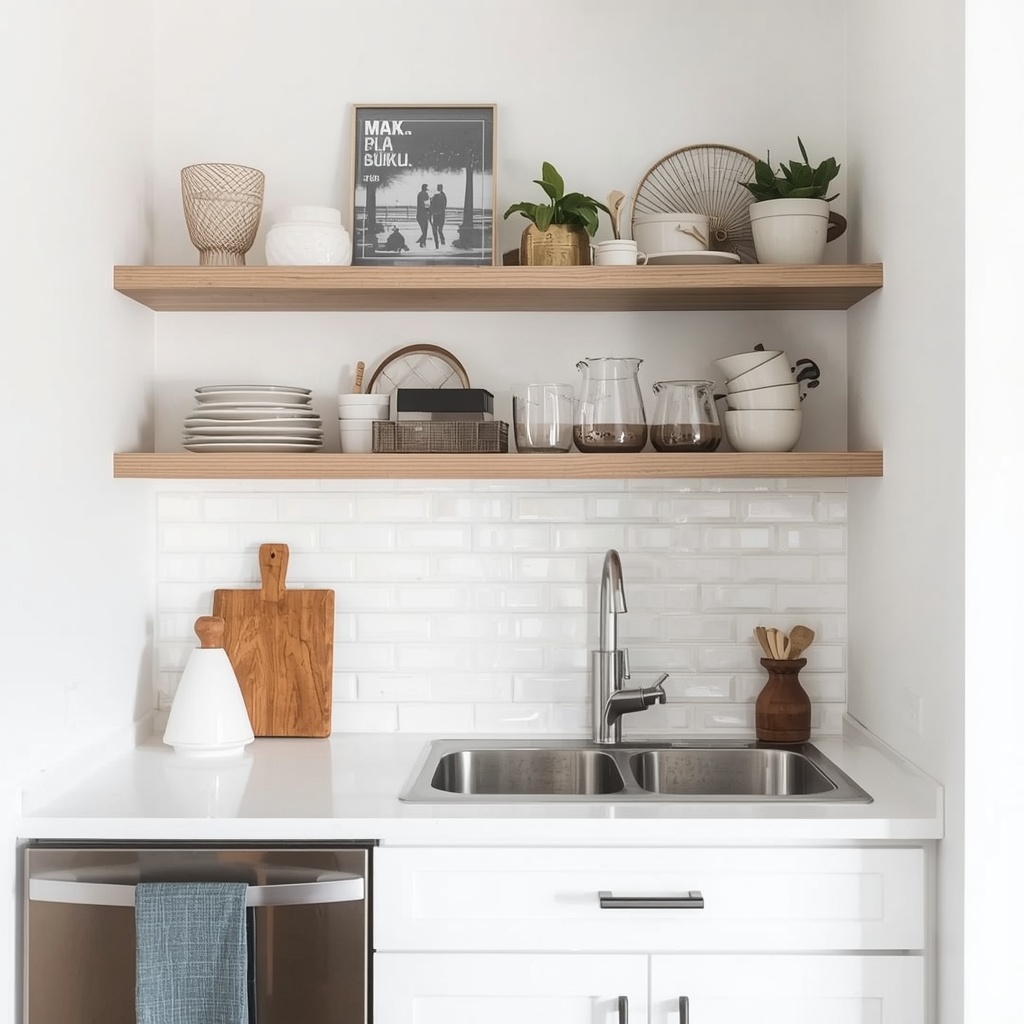
Open shelving is one of the fastest ways to make a compact kitchen feel lighter, taller, and more personal. Swap a bulky upper cabinet for a clean floating shelf, and the whole room seems to exhale. Walls feel farther away, light travels further, and your favorite pieces finally get to be seen.
But open shelving is also unforgiving. In a small kitchen, every mug, jar, and bowl is on display, and a few missteps can turn a charming look into visual clutter. This guide walks you through exactly how to style open shelving in small kitchens, from planning and layout to color, layering, and daily upkeep, so your shelves look intentional, stay functional, and fit your real life.
Why Open Shelving Works So Well in Small Kitchens
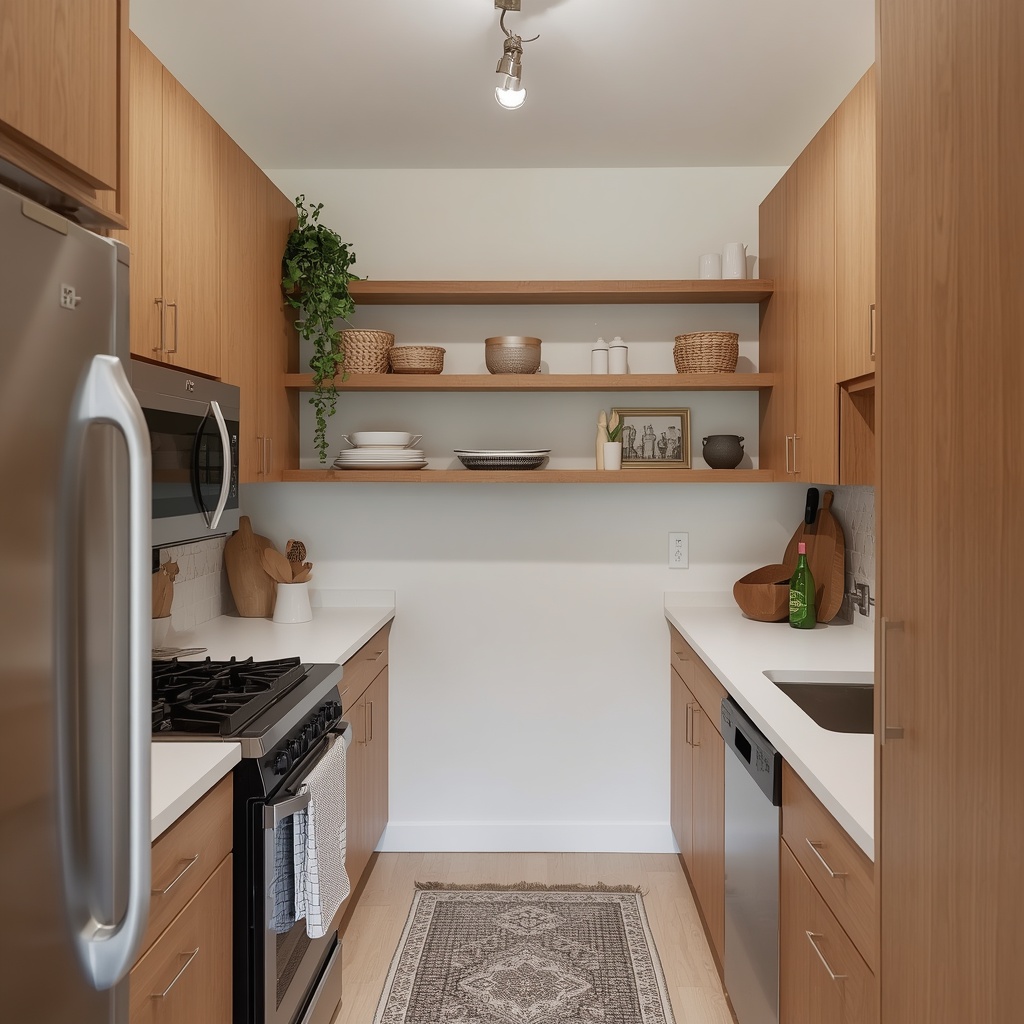
Solid upper cabinets create visual weight. In a galley kitchen, studio apartment, or narrow condo, that weight can make the space feel closed in. Open shelves remove the “boxy” barrier, which makes the ceiling appear higher and the walls appear deeper. That is why so many kitchen remodels and rental refreshes in the US now include at least one run of floating shelves.
There is a practical upside too. Everyday dishes, glasses, and cooking tools sit within arm’s reach, so you stop opening and closing doors while you cook. Shelves are also far more budget-friendly than full cabinetry, and they are one of the easiest kitchen upgrades for renters and DIYers who want a high-impact change without a full renovation.
“In a small kitchen, every inch has to earn its place. Open shelving earns its place twice: once as storage, and once as decor.”
Before You Style: Edit, Measure, and Plan
The most common mistake is styling first and planning later. Before you place a single bowl, take twenty minutes to decide what your shelves are actually for. Pull out everything you use weekly and everything you simply love to look at. Anything that fits neither category belongs in a closed cabinet, a drawer, or a donation bag.
Next, measure your wall and your items. Note the height of your tallest glassware, the diameter of your dinner plates, and the clearance above your counters. A good rule of thumb is to leave 14 to 18 inches between the countertop and the first shelf, so you can still use small appliances and prep food comfortably. Sketch your layout on paper or with painter’s tape on the wall before drilling anything.
Quick planning checklist:
- Decide the shelf’s job: daily-use storage, display, or a mix of both.
- Measure your tallest and widest items first.
- Mark stud locations so heavy dishware stays secure.
- Keep the shelf area near where you cook, pour coffee, or set the table.
- Leave breathing room on each shelf, roughly 30 percent empty space.
Choose the Right Shelves for Your Space
The shelf itself is part of your style. In a small kitchen, scale and material matter more than you might expect. Thick, chunky planks look gorgeous in a farmhouse kitchen, but they can overwhelm a tiny galley. Slimmer profiles, usually 1 to 1.5 inches thick, keep the look airy and modern.
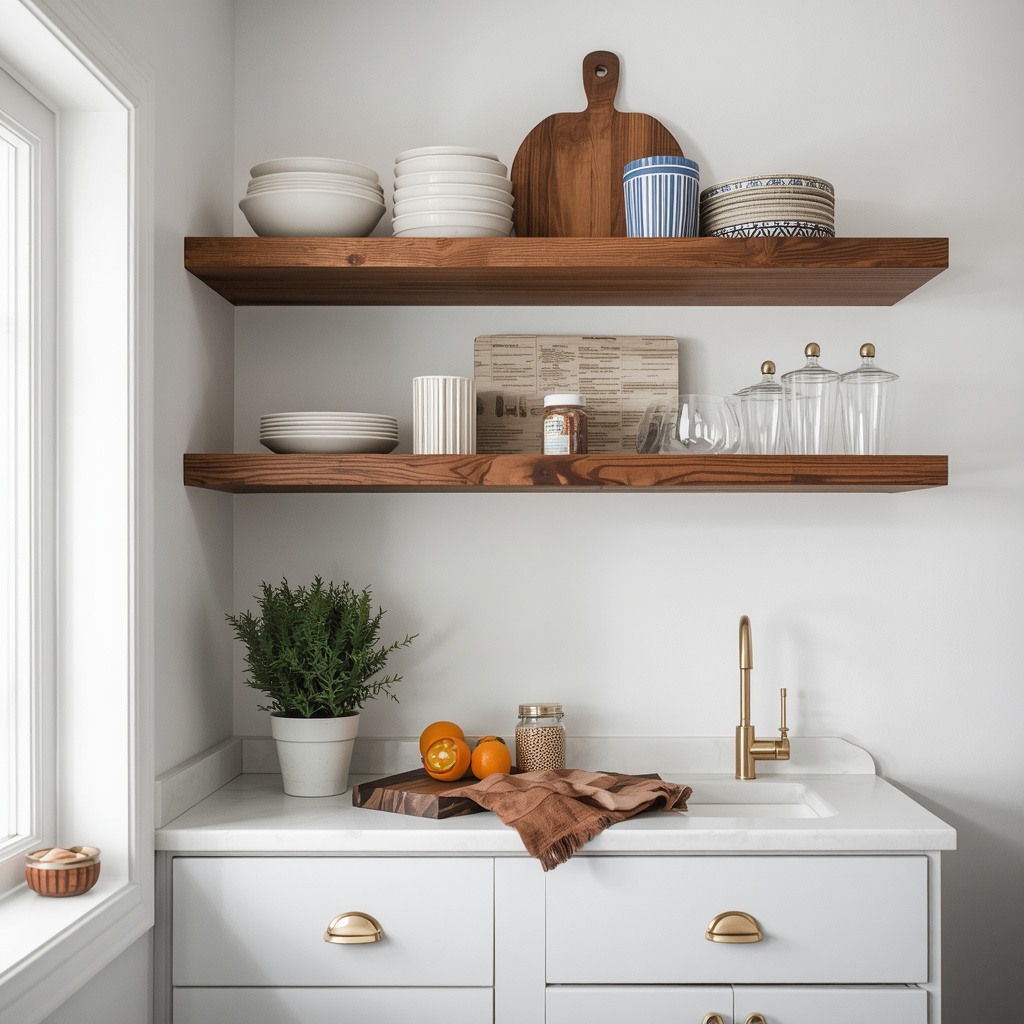
Depth is just as important. Most kitchens do well with shelves that are 8 to 10 inches deep, which holds dinner plates and bowls without sticking out into your workspace. If you are working with a very tight room, consider 6 to 8 inches for glasses, spices, and small jars.
| Shelf Material | Best For | Style Vibe | Maintenance |
|---|---|---|---|
| Natural wood (oak, walnut) | Warm, cozy kitchens | Scandinavian, farmhouse, mid-century | Seal annually to resist moisture |
| Painted wood (white or color-matched) | Making shelves “disappear” | Classic, coastal, minimalist | Wipe with a damp cloth |
| Stainless steel | Heavy cooking, busy households | Industrial, professional | Very low |
| Floating glass | Tiny, dark kitchens | Modern, airy | Frequent wiping for fingerprints |
| Black metal with wood | Visual contrast | Modern farmhouse, industrial | Occasional dusting |
| Marble or stone ledge | Backsplash accent | Luxe, European | Seal and avoid acidic spills |
If you want the shelves to feel like part of the architecture, match them to your wall color or your cabinetry. If you want them to be a feature, choose a contrasting material like warm wood against white subway tile. Both approaches work beautifully, so pick the one that suits your overall kitchen decor.
Start With a Cohesive Color Palette
Color is the secret weapon of well-styled open shelves. A limited palette instantly makes everyday kitchenware look curated rather than chaotic. Aim for two or three main colors plus one metallic or natural accent, and repeat them across the whole shelf.
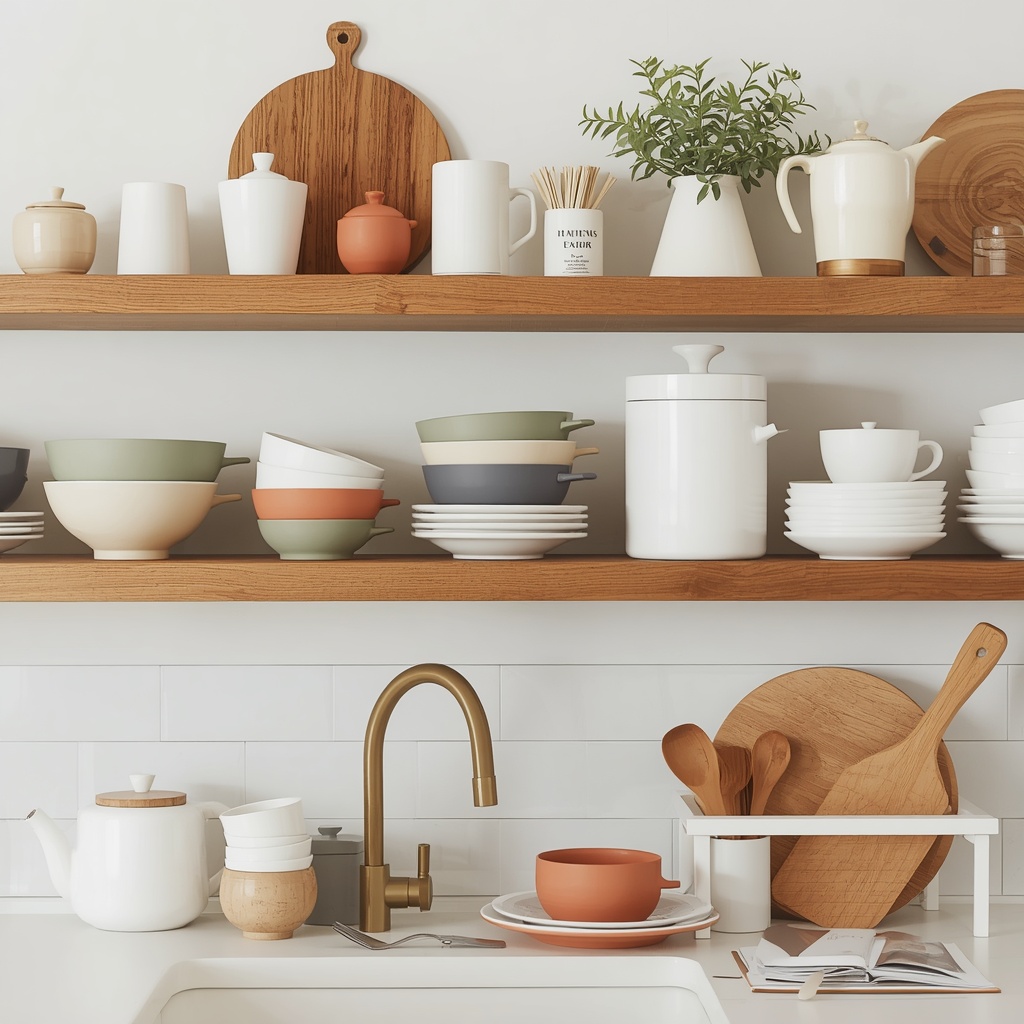
For most small kitchens, soft neutrals work best: white, cream, warm gray, and natural wood tones. These shades reflect light and keep the space feeling larger. If you love color, choose one hero shade, such as sage green, navy, or terracotta, and use it sparingly in three or four pieces.
Palette ideas that work in small kitchens:
- Coastal calm: white dishes, pale blue ceramics, light oak, brushed nickel.
- Warm minimalist: cream stoneware, walnut boards, matte black accents.
- Modern farmhouse: white plates, vintage crocks, black iron hooks, aged brass.
- Earthy organic: terracotta pots, sage green bowls, linen textures, rattan baskets.
- Bold and bright: all-white base with cobalt or mustard accent pieces.
The Golden Formula: Function First, Beauty Second
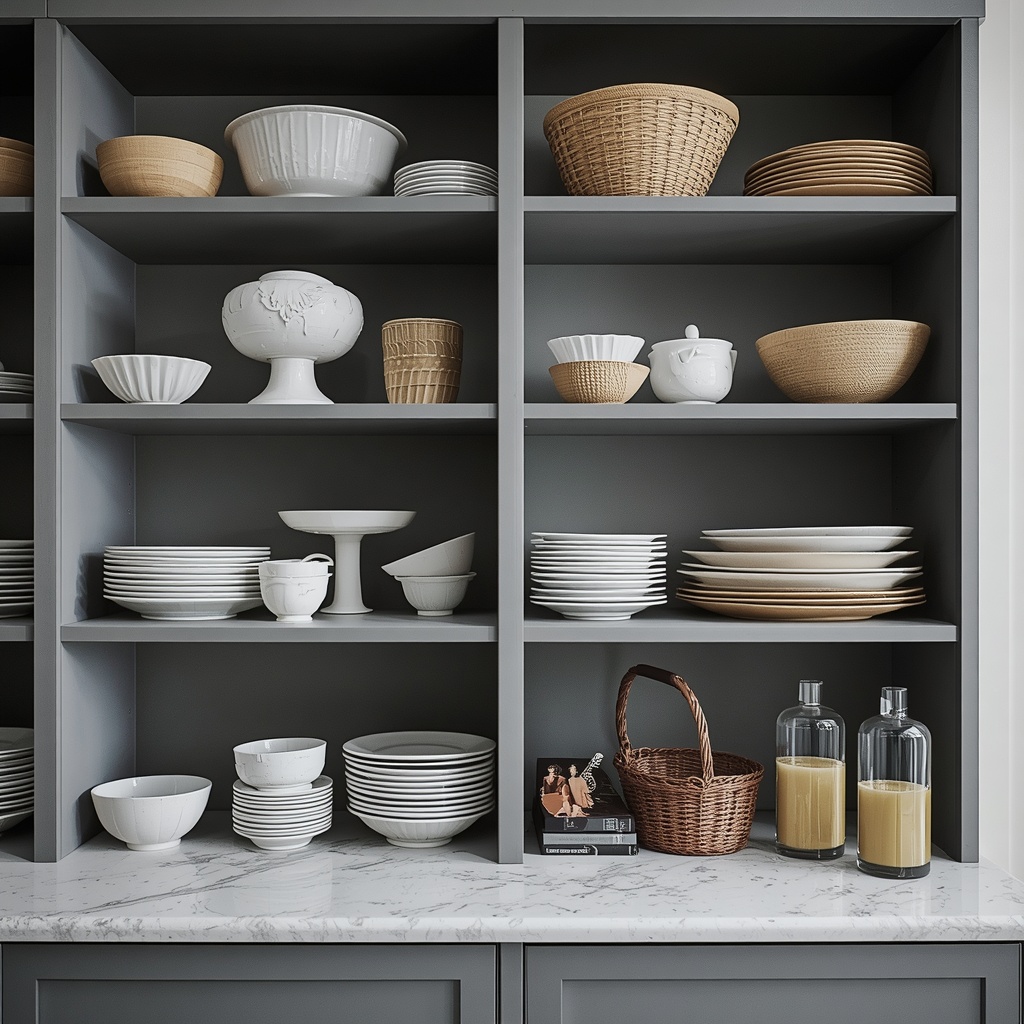
Great shelf styling in a small kitchen starts with usable items. Think of your shelves in three layers. The base layer is your everyday essentials: plates, bowls, and glasses in matching or coordinating sets. The middle layer adds texture and function, such as cutting boards, jars, and a few cookbooks. The top layer is the personality: a small plant, a framed print, or a special piece of pottery.
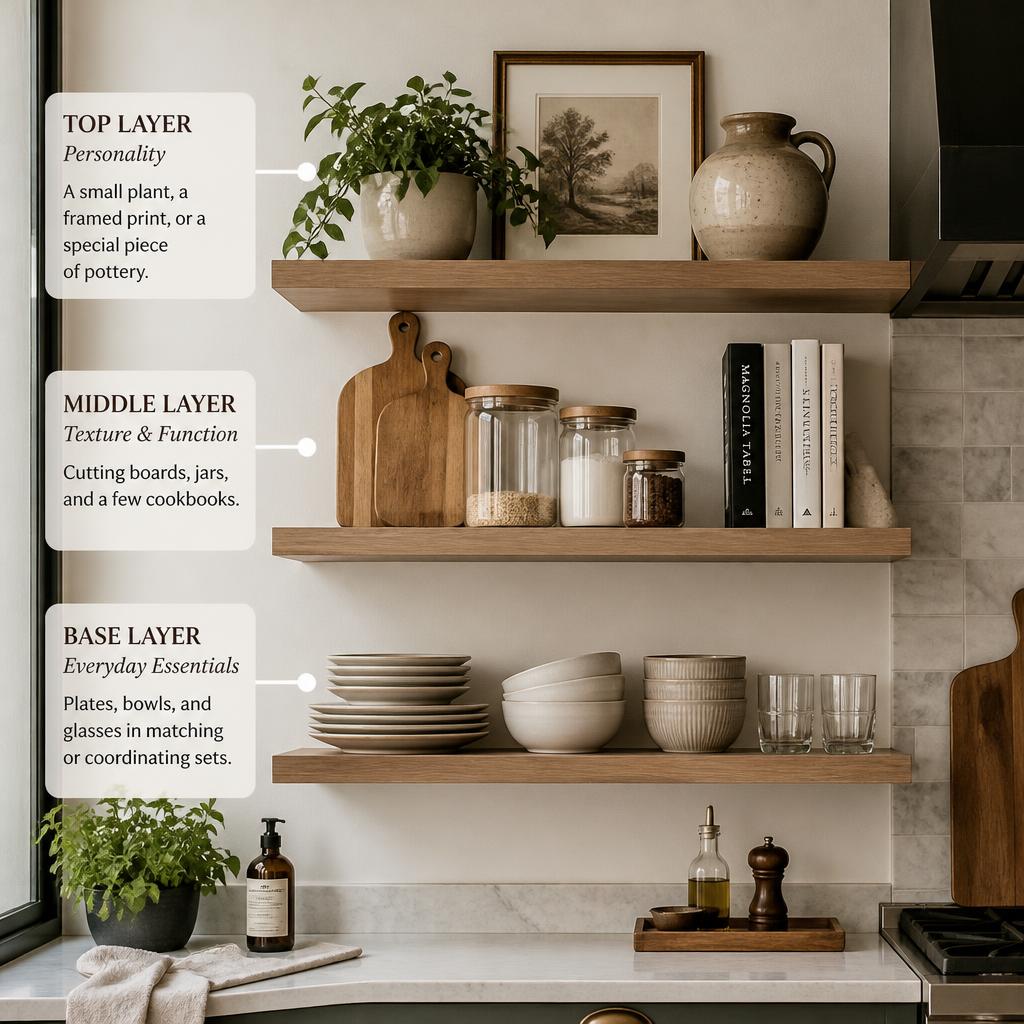
This layered approach keeps the shelves practical while still feeling designed. When you reach for a bowl every morning, the shelf stays in rotation and never turns into a dusty museum. That balance is what separates a lived-in, stylish kitchen from a staged photo that does not work in daily life.
Pro Tip: Use the “rule of three and odd numbers.” Group items in sets of three or five, and vary the height within each group, tall, medium, short. Odd-numbered groupings look more natural and balanced to the eye, and they stop shelves from looking rigid or cluttered.
How to Arrange Each Shelf Like a Designer
Start with your largest, most uniform items at the bottom or on the most heavily used shelf. Stack plates in neat piles of four to six, and line up bowls in the same direction. Uniform stacks create calm, rhythmic lines that anchor the shelf visually.
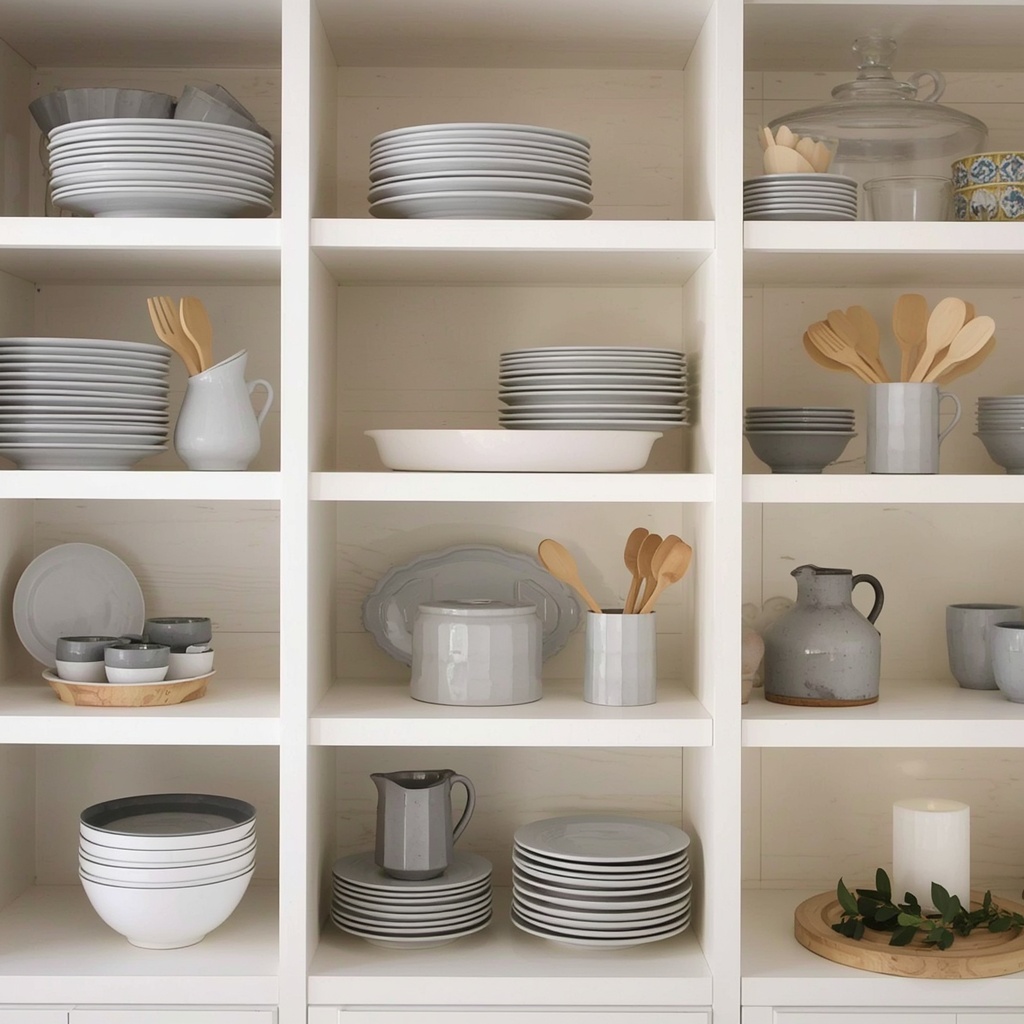
Next, add height variation. Place a tall item, such as a pitcher or a cluster of wooden spoons in a crock, toward one end. Then step down in height across the shelf, so your eye moves naturally from one piece to the next. Finally, fill the gaps with smaller touches like a candle, a small dish of salt, or a sprig of greenery.
A simple way to test your arrangement is to take a photo with your phone. The camera flattens the scene and quickly reveals where a shelf feels too heavy on one side, too crowded in the middle, or too empty at the end. Adjust, snap another picture, and repeat until the composition feels balanced.
Top-to-bottom shelf styling guide:
- Top shelf: lightweight, rarely used items such as decorative platters, baskets, or seasonal pieces.
- Middle shelf (eye level): your styled “hero” shelf with art, plants, and your prettiest ceramics.
- Lower shelf: daily-use dishes, mugs, and glasses within easy reach.
- Corner or end spots: a small vase, a cookbook stand, or a framed photo.
Smart Storage Ideas That Look Good on Display
In a small kitchen, open shelves have to work harder than their cabinet cousins. The trick is to make functional items beautiful. Decant dry goods like pasta, flour, rice, and oats into matching glass jars with airtight lids. Not only does this look tidy, it keeps pantry staples fresh and makes it easy to see what you are running low on.
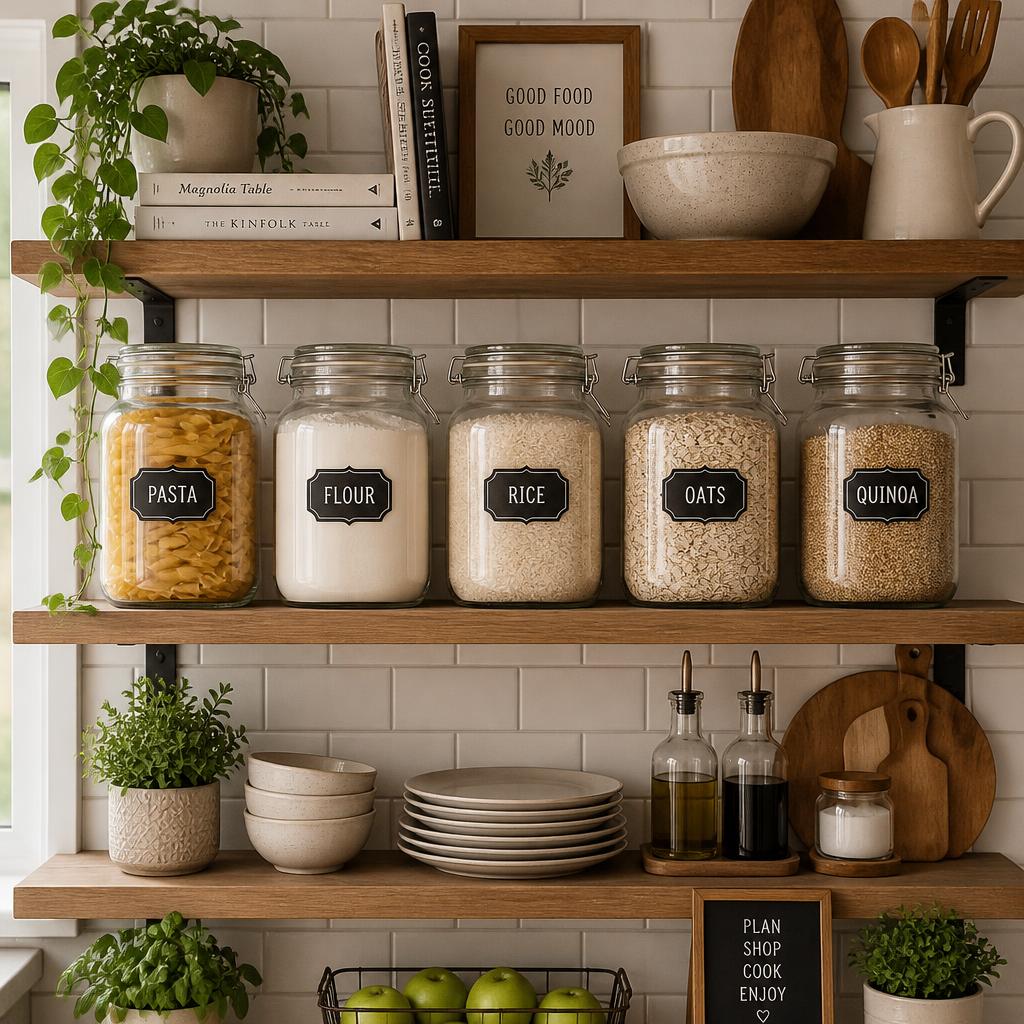
Labels add a polished finishing touch. Try simple chalkboard tags, minimalist printed labels, or hand-lettered stickers for a custom look. Keep the label style consistent across all jars so the shelf feels cohesive rather than random.
Baskets and trays are your best friends for corralling the less pretty essentials. A small wire basket can hold produce like onions and garlic, while a wood tray can group oils, salt, and pepper into one tidy “cooking station.” Containers like these also make cleaning easier, because you lift a single tray rather than moving ten little items.
| Item You Need to Store | Stylish Solution | Why It Works |
|---|---|---|
| Pasta, rice, flour, oats | Matching glass canisters with labels | Uniform look, keeps food fresh |
| Spices | Magnetic tins or small apothecary jars | Saves space, easy to scan |
| Cooking utensils | Ceramic crock or stainless steel pitcher | Adds height, keeps tools handy |
| Cutting boards | Leaned against the backsplash | Adds texture and warmth |
| Mugs | Hung from small hooks under the shelf | Frees up surface area |
| Oils and vinegars | Small tray with pretty bottles | Groups clutter into one vignette |
| Fruit and produce | Wire basket or wooden bowl | Adds color and a fresh look |
Mix Textures and Materials for Depth
A shelf full of only white plates can feel flat, even if it is neat. Texture is what makes a display feel rich and interesting. Combine smooth ceramics with rough stoneware, glossy glass with matte wood, and soft linen with cool metal.
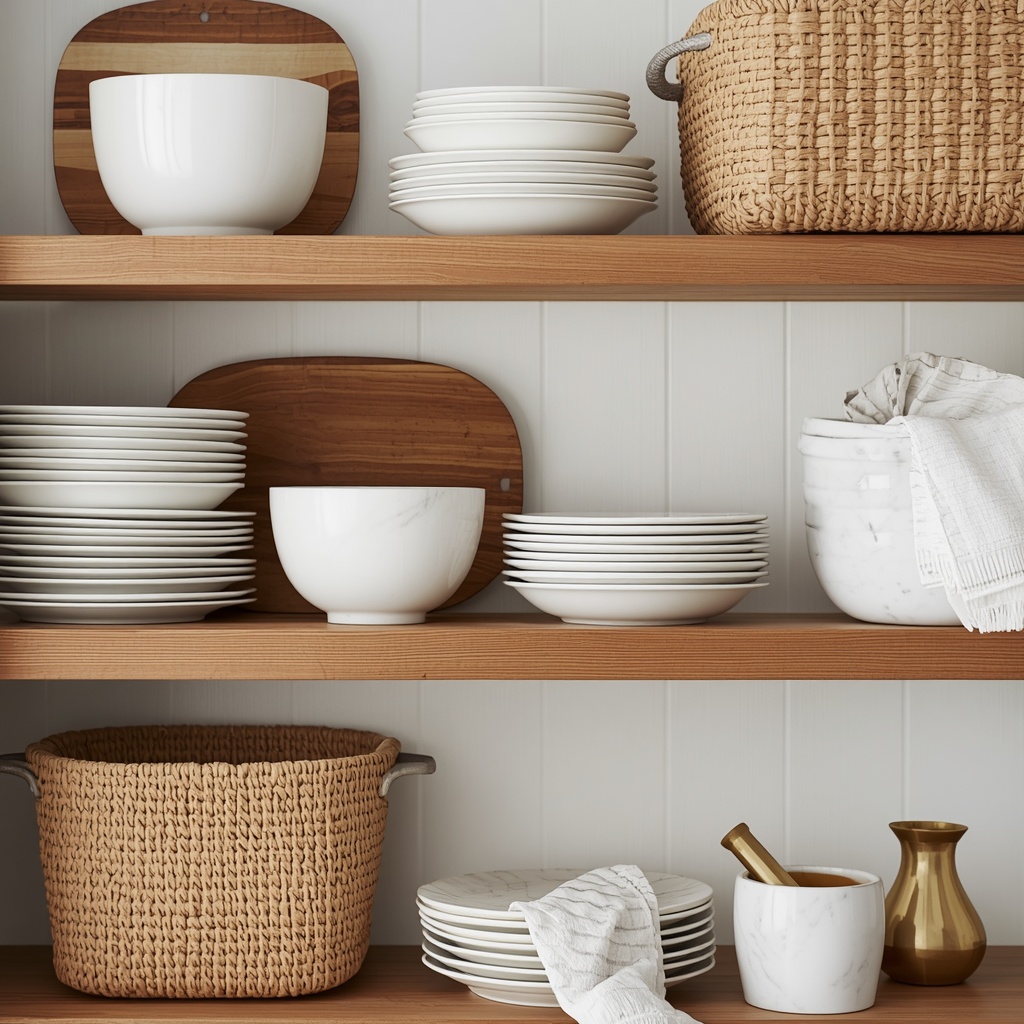
Think about including at least three different textures on every shelf. A wooden cutting board, a woven basket, and a ceramic bowl make an easy trio. A linen towel draped over a hook, a brass measuring cup, or a marble mortar and pestle can add an extra layer of tactile interest without taking up much room.
Easy texture combinations to try:
- Glazed ceramic + raw wood + woven rattan
- Clear glass + brushed brass + soft linen
- Matte black metal + white stoneware + natural stone
- Terracotta + sage green glass + jute
Bring in Greenery, Art, and Personal Touches
Plants instantly soften the hard edges of a kitchen. Herbs like basil, rosemary, and mint thrive on a sunny shelf and double as fresh ingredients. If your kitchen is low on natural light, choose forgiving options like pothos, snake plants, or even high-quality faux greenery.
Do not forget personality. A small framed print, a vintage cookbook, a handmade bowl from a trip, or a family heirloom pitcher makes your shelves feel like yours. These pieces tell a story, and that story is what guests remember.
“The best kitchens are not decorated, they are lived in and loved. Your shelves should reflect the way you cook, gather, and unwind.”
A good guideline is to keep decorative items to about one-third of what is on the shelf. The other two-thirds should be useful pieces that you actually reach for. That ratio keeps the display from feeling overly staged, and it keeps your small kitchen working hard.
Lighting That Makes Shelves Glow
Lighting is the most overlooked element of open shelf styling. Even the most beautiful arrangement looks dull in a dim corner. Under-shelf LED strips or small puck lights cast a warm glow on your countertop and highlight the items below.
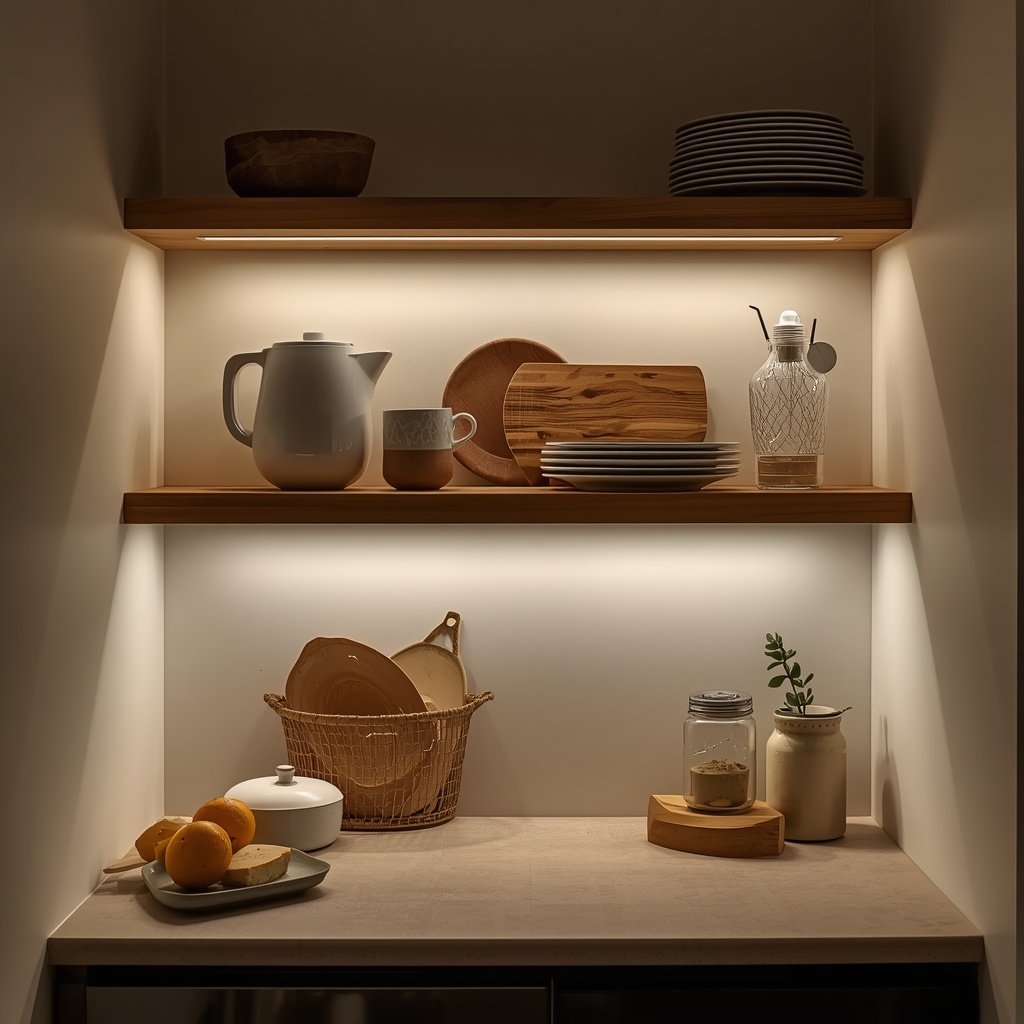
Choose warm white bulbs, around 2700K to 3000K, to make ceramics, wood, and food look inviting. Cool white light can feel clinical and make wood tones look washed out. If you cannot hardwire, plug-in or battery-powered LED strips are an easy fix, and they are especially handy for renters.
Pro Tip: Put your under-shelf lighting on a smart plug or dimmer. Bright, focused light is perfect for cooking, while a soft dimmed glow in the evening turns your open shelves into ambient decor.
Common Open Shelving Mistakes to Avoid
Even experienced decorators slip up when styling open shelves in tight spaces. The good news is that most issues are easy to spot and fix once you know what to look for. Here is a quick reference table of the biggest pitfalls and how to solve each one.
| Mistake | Why It Hurts | Easy Fix |
|---|---|---|
| Overfilling every inch | Creates visual clutter and stress | Leave about 30 percent empty space |
| Mixing too many colors and patterns | Looks chaotic in a small room | Stick to 2 to 3 colors plus one accent |
| Displaying mismatched plastic containers | Cheapens the whole look | Hide them in closed storage |
| Ignoring grease and dust | Open shelves attract kitchen grime | Keep shelves away from the stove, wipe weekly |
| Putting heavy items on thin shelves | Safety risk and sagging | Anchor into studs, check weight limits |
| Forgetting about balance | Shelves feel lopsided | Use symmetry or visual weight on both sides |
| Skipping lighting | Display looks dull | Add warm under-shelf LEDs |
Another thing to watch is shelf placement near your stove. Cooking grease settles on everything within a few feet of a burner, and constantly cleaning your dishes before use quickly becomes tiresome. If shelves must go near the range, reserve them for items that are easy to rinse, like glass jars and ceramic bowls, or keep the first few feet closed.
Style Ideas by Kitchen Type
Every small kitchen has its own personality and its own limits. Here are a few ways to tailor open shelving to the most common layouts across American homes.
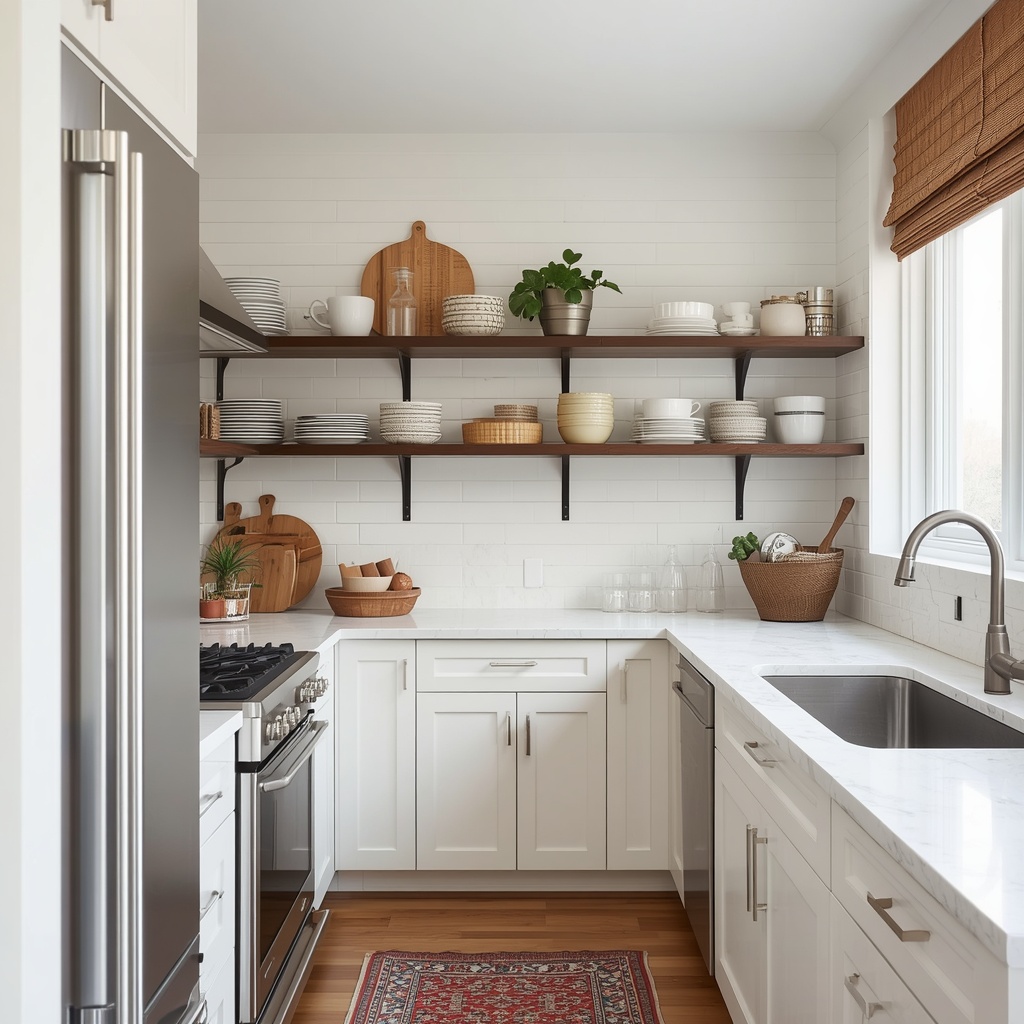
Galley kitchens. Choose one long shelf along the main wall rather than several short ones, which keeps lines clean and prevents a chopped-up look. Keep items slim and uniform so you do not feel boxed in.
Apartment and studio kitchens. Use shelves to separate the kitchen from living space visually. A shelf above the sink or a corner wall unit can double as storage and decor, and it looks great from the sofa.
Condo and townhouse kitchens. Consider pairing open shelves with a few upper cabinets, a mixed approach that gives you hidden storage plus visual breathing room.
Rental kitchens. Choose damage-free options like tension rods, adhesive hooks, and tabletop risers. Many renters also use removable, no-drill shelving brackets that can be patched when you move out.
Farmhouse and cottage kitchens. Lean into warm wood, enamelware, vintage crocks, and gingham or linen textiles. A rustic open shelf with a few vintage finds feels charming and welcoming.
Seasonal Styling: Keep Your Shelves Fresh
One of the joys of open shelving is how easy it is to refresh. Swap a few accessories each season, and the whole kitchen feels new without a major purchase. In spring, add fresh flowers and pastel dishes. In summer, display citrus in a wooden bowl and bring out light linen. In fall, introduce warm ceramics, small gourds, and amber glass. In winter, add candles, evergreen sprigs, and cozy woven baskets.
Keep the swaps small, about three to five items, so you maintain a consistent base look. This approach saves money and keeps your shelf styling feeling current all year. Store off-season pieces in a closet or a bin so your small kitchen stays uncluttered.
Maintenance: Keeping Open Shelves Clean and Stylish
Open shelves look best when they are easy to maintain. Set a simple weekly routine: wipe down the shelf surface, dust the front row of items, and rinse anything that has collected cooking residue. A microfiber cloth and a mild all-purpose cleaner handle most of the work in a few minutes.
Use the “edit as you go” habit. When you notice a piece you never use, move it out. When something gets chipped or stained, retire it. Over time, your shelves become a refined collection of favorites rather than a storage dumping ground. For deeper inspiration, browse real-home examples on Houzz, explore renter-friendly tips at Apartment Therapy, or find stylish containers at The Container Store and affordable shelving at IKEA.
Budget-Friendly Open Shelving Ideas
You do not need a designer budget to get a designer look. Reclaimed wood boards from a local salvage yard or lumber store can be cut to size and finished for a fraction of the cost of store-bought shelves. Thrift stores and flea markets are treasure troves for vintage pitchers, enamel pots, and unique ceramics that give your kitchen character.
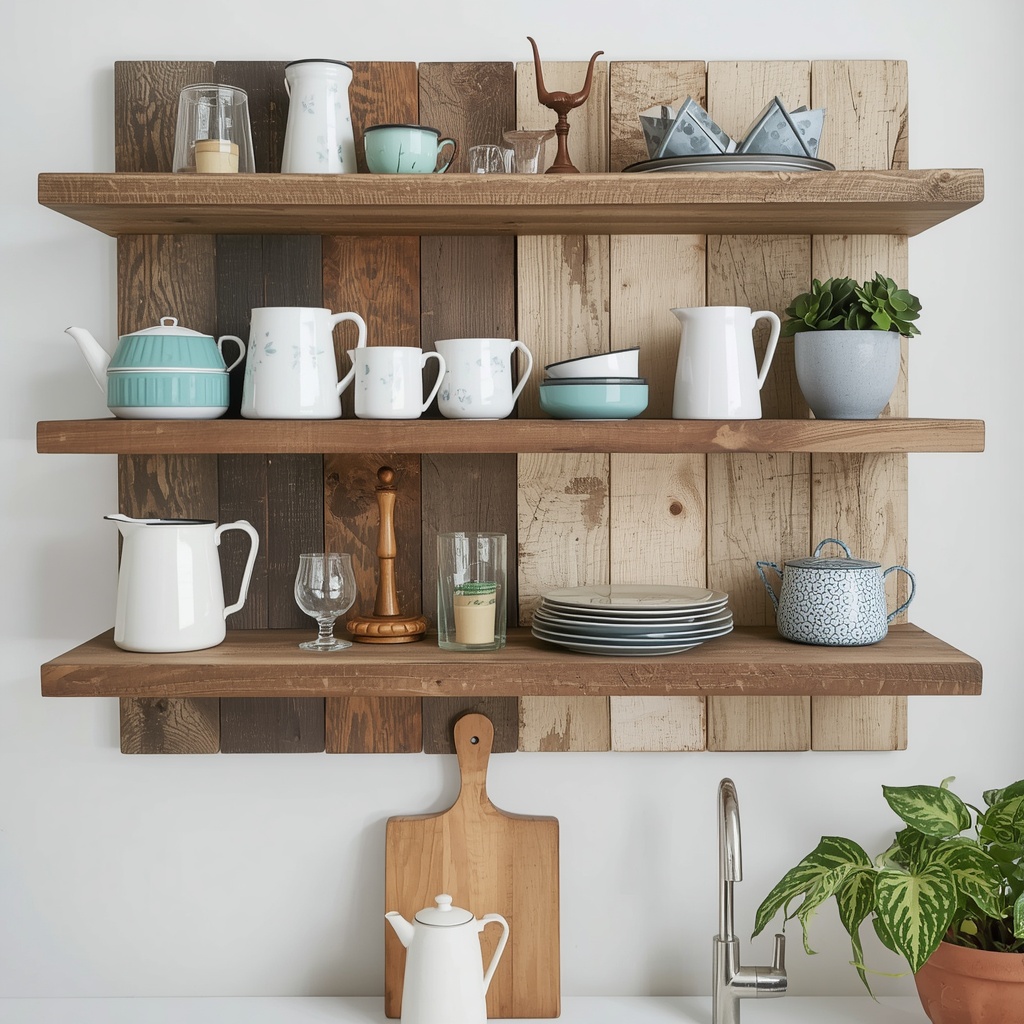
Affordable ways to elevate your shelves:
- Spray-paint mismatched bowls and vases in one cohesive color.
- Buy a matching set of white dishes and mix in two or three vintage accents.
- Use affordable glass jars from the dollar store, then label them.
- Add inexpensive peel-and-stick tile behind your shelf for a feature wall.
- Make a custom shelf with stained pine boards and basic black brackets.
Frequently Asked Questions
How many open shelves are right for a small kitchen? One to two shelves is usually perfect. Start small, live with them for a few weeks, and add another only if you truly need it.
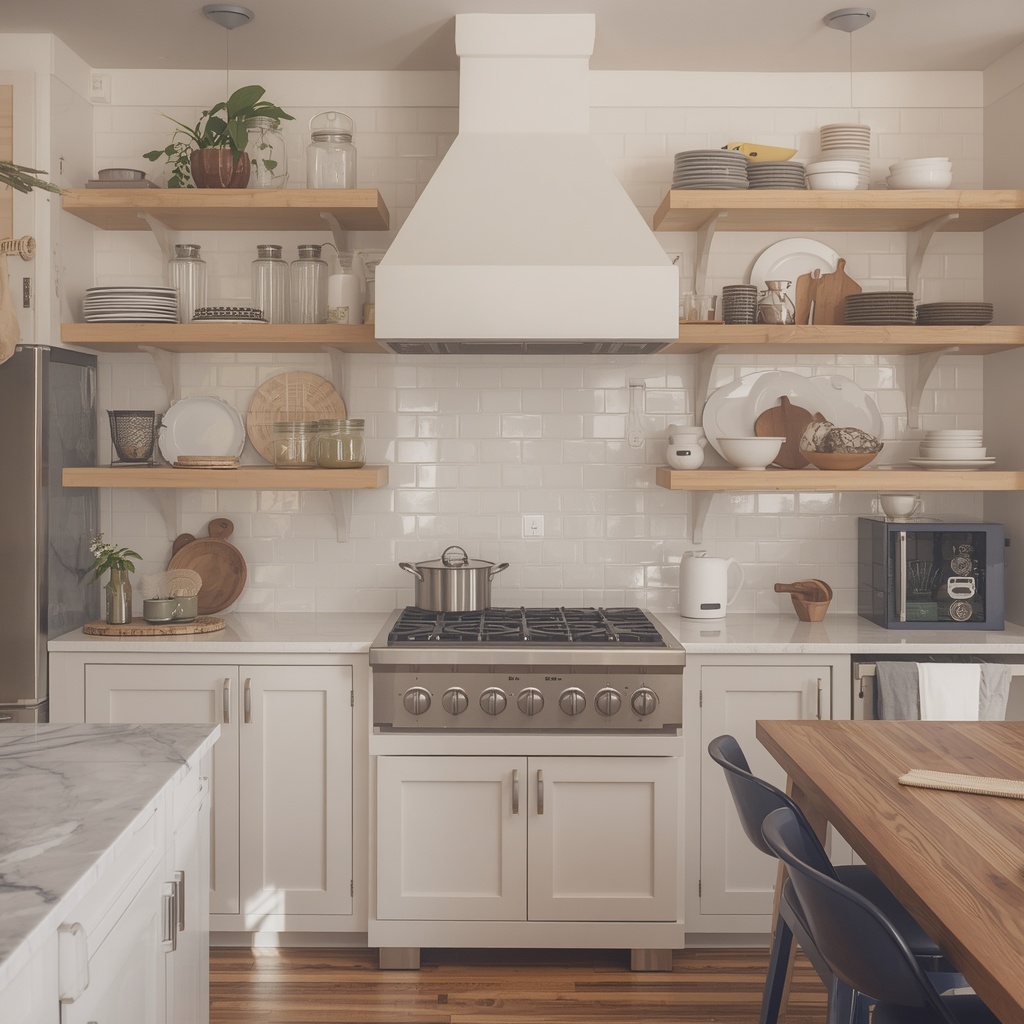
Are open shelves practical for everyday cooking? Yes, as long as you keep them stocked with items you use often and away from direct splatter. Daily-use dishes stay fresher and cleaner because they rotate frequently.
How do I stop open shelves from getting greasy? Place them away from the stove, wipe them weekly, and display easy-to-clean materials like glass and glazed ceramic. A range hood vented outdoors also helps tremendously.
Can I mix open shelving with upper cabinets? Absolutely. Many designers recommend pairing the two. Closed cabinets hide the less attractive items, while open shelves give you a spot to show off your best pieces.
Final Thoughts
Styling open shelving in a small kitchen is really about editing, balance, and a little personality. Start with a clear purpose, choose a limited color palette, layer function with beauty, and give each piece room to breathe. Add warm lighting, a touch of greenery, and a few meaningful items, and your shelves will feel both stylish and wonderfully practical.
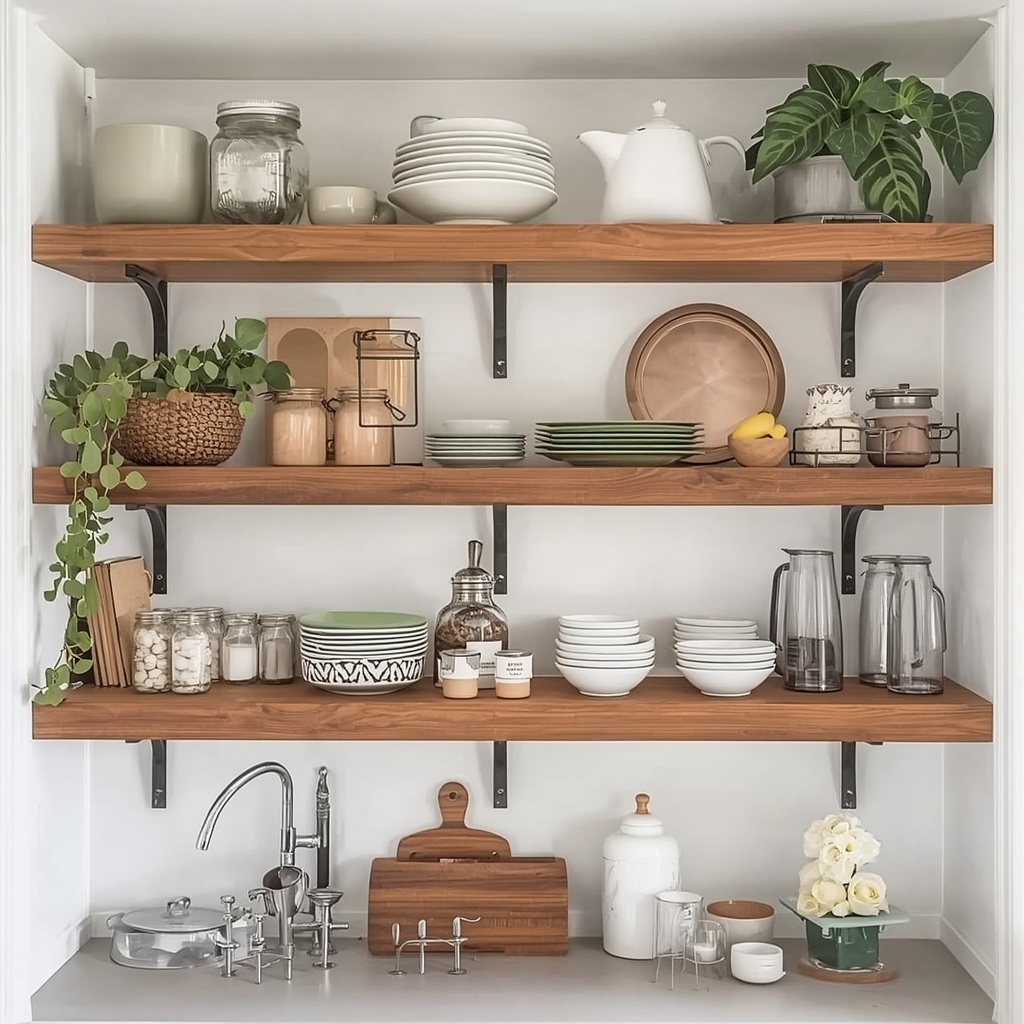
Remember that the best shelf design is the one that works for how you live. Begin with a single shelf, experiment with your arrangement, and adjust as you go. Before long, your compact kitchen will feel bigger, brighter, and more beautiful, proof that small spaces can deliver big style.