
Nothing undercuts a beautifully designed living room faster than a tangle of black cords snaking down the wall behind your television. As an interior designer who has walked into hundreds of American living rooms, I can tell you the wires are almost never the client’s fault — they’re just an afterthought. The sofa gets chosen with care. The rug gets debated for weeks. The cords? They get shoved behind the console and forgotten, until they become the first thing every guest notices.

The good news is that hiding TV wires and electronics is one of the most cost-effective upgrades you can make to a room’s overall design. It doesn’t require a renovation, a huge budget, or an electrician in most cases. It requires a plan. In this guide, I’ll walk you through the exact strategies I use with clients — from simple cord concealers to full in-wall wiring, from styling your media console to disguising your router — so your entertainment area finally looks as intentional as the rest of your home.
Why Cable Management Matters More Than You Think
Cable clutter isn’t just an eyesore; it’s a design problem that affects how a room feels. Visual noise pulls the eye away from your focal points — the art, the architecture, the furniture you actually paid attention to — and replaces it with chaos. A room can have a gorgeous sectional and a designer coffee table, but if there’s a nest of wires under the TV, that’s what people remember.
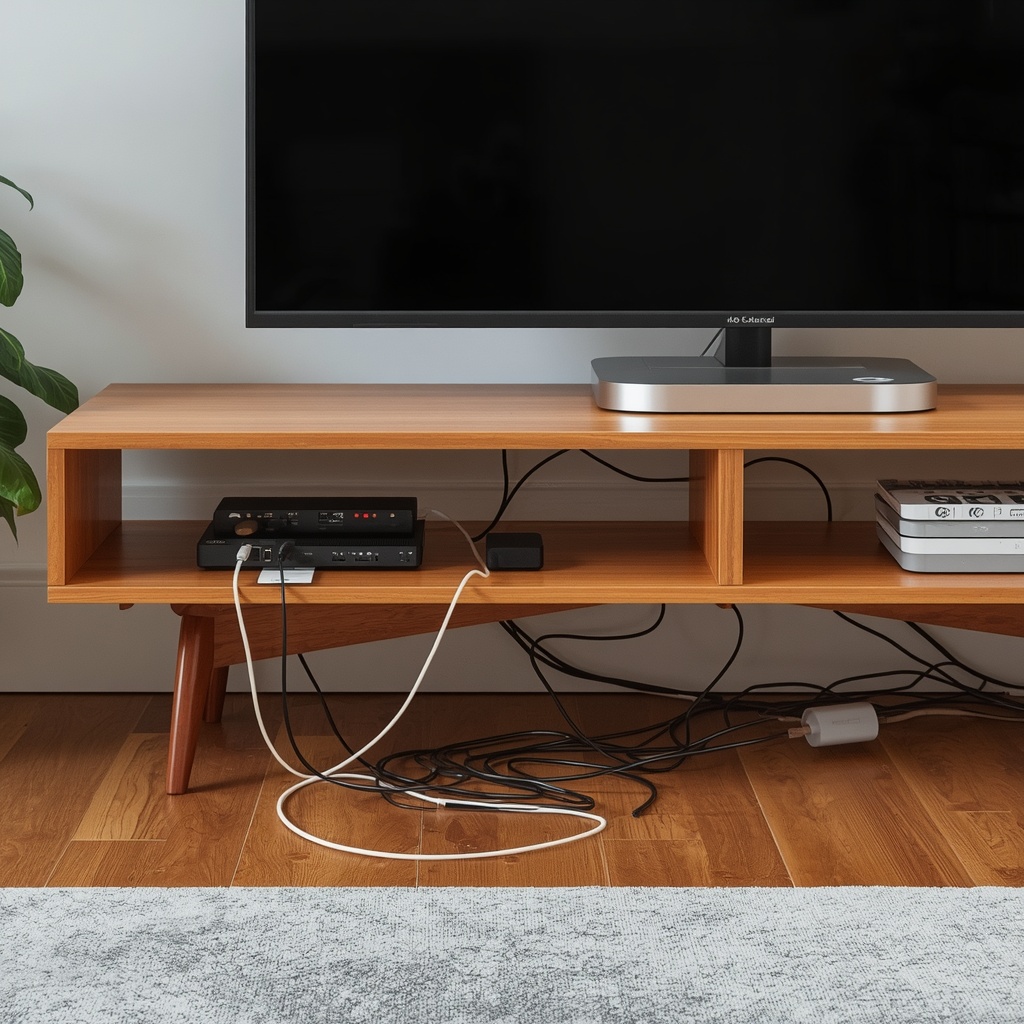
There’s also a practical safety angle. Loose cords are a tripping hazard, a magnet for dust, and an easy target for curious pets or toddlers. Cleaning up your wire situation genuinely improves the function of a room, not just the look of it.
“Good design is invisible until you notice its absence. The moment a client stops seeing wires is the moment they start seeing their room the way it was meant to be seen.” — a principle I repeat to nearly every client during a living room consultation.
Know Your Options: In-Wall vs. Surface-Mounted Solutions
Before you buy anything, it helps to understand the two broad categories of wire concealment. Your walls (literally) determine which approach makes sense.
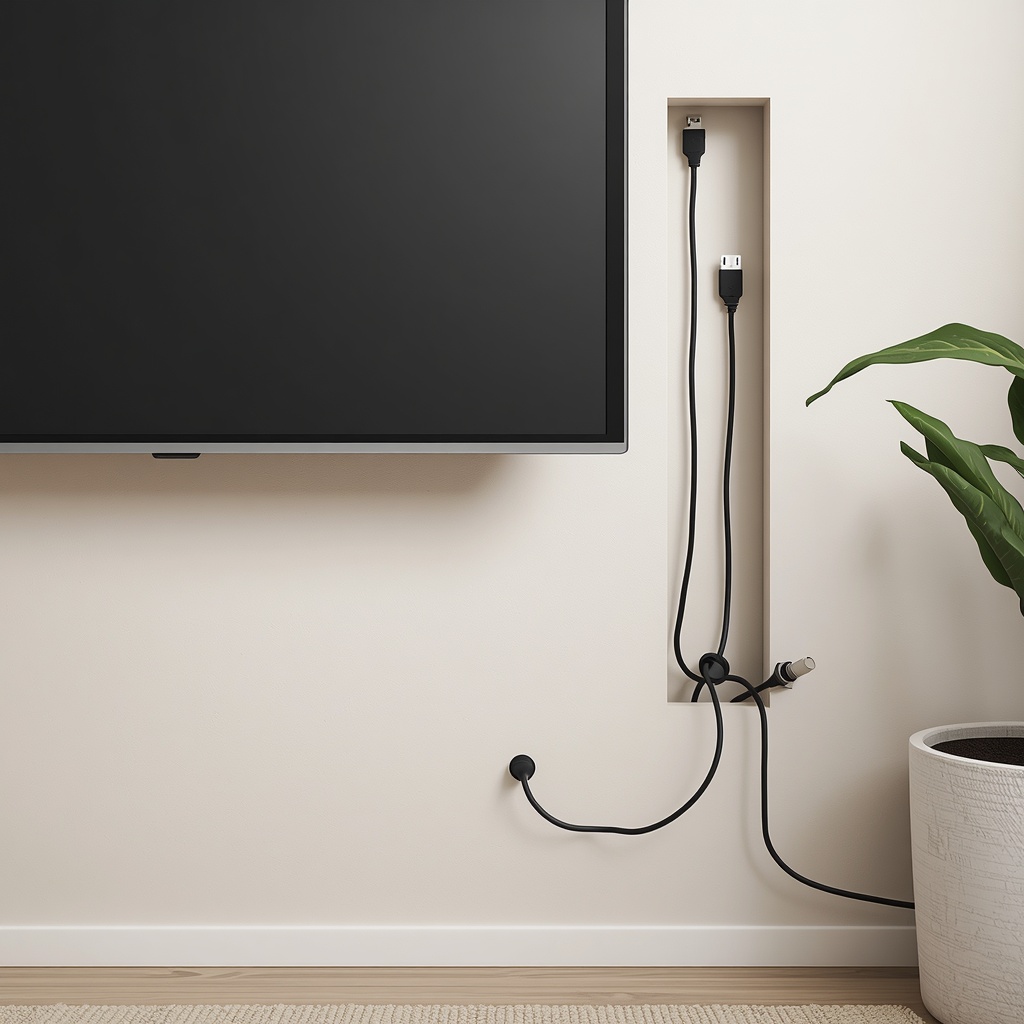
In-wall cable management routes wires through the wall cavity itself, from the TV mount down to an outlet near the floor. This is the cleanest possible look — zero visible cord, period. It typically involves an in-wall power kit and requires cutting two small holes in the drywall.
Surface-mounted solutions run cords along the wall’s surface, tucked inside a channel, raceway, or cover that’s painted or textured to disappear. This is the renter-friendly, no-drilling-into-studs option, and it’s come a long way in terms of looks.
| Method | Best For | Difficulty | Typical Cost |
|---|---|---|---|
| In-wall power & cable kit | Homeowners, mounted TVs | Moderate (DIY) to Professional | $30–$150 for kit; $150–$300 if hiring an electrician |
| Paintable cord raceway | Renters, drywall you can’t cut | Easy | $15–$40 |
| Cord cover / channel | Quick fixes, baseboards | Very Easy | $10–$25 |
| Furniture-integrated routing | Console-based setups | Easy | $0 (uses existing furniture) |
| Wireless/Bluetooth transmitters | Speakers, soundbars | Easy | $30–$80 |
The In-Wall Method: The Gold Standard for a Wire-Free Wall
If you own your home and your TV is wall-mounted, running cables inside the wall is the single most transformative fix. An in-wall power kit lets you plug the TV directly into an outlet hidden behind it, while a second low-voltage bracket near the baseboard holds your cable box, streaming device, or gaming console cords, routing them invisibly down to that same area.
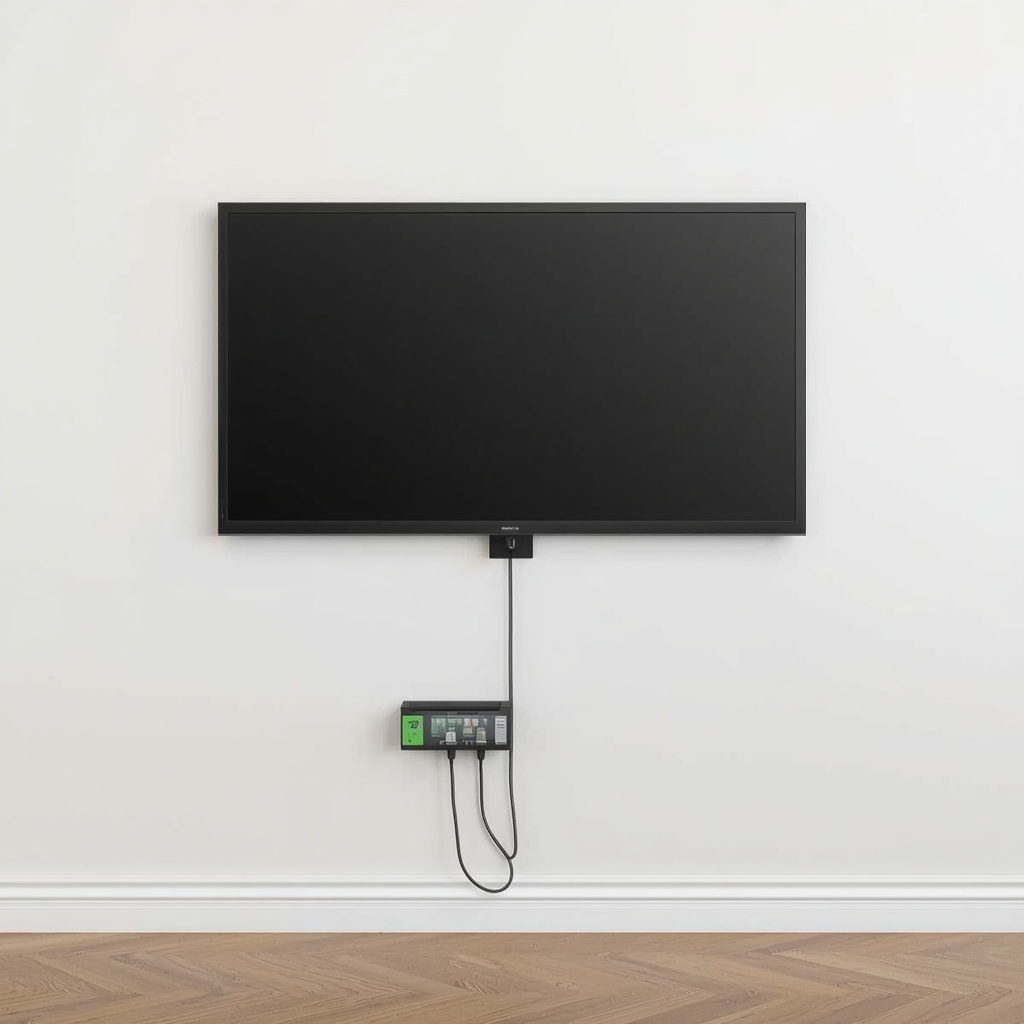
Here’s the general process, though I always recommend consulting a licensed electrician if you’re adding a new outlet rather than just routing existing power:
- Check for studs and obstructions. Use a stud finder to confirm the wall cavity is clear before cutting.
- Cut two openings. One behind the TV mount, one near an existing outlet or floor level.
- Install low-voltage brackets. These create a clean, code-compliant opening for the cables to pass through.
- Fish the cables through. A fish tape or rod makes this dramatically easier than trying to push cords by hand.
- Add an in-wall power kit if needed. This lets you plug into power from behind the TV without a visible outlet extension cord.
Pro Tip: Always check your local electrical code before installing an in-wall power kit — some municipalities require a licensed electrician for this step because you’re technically extending a power circuit inside the wall cavity, not just concealing a cord. It’s a small step that protects your home’s wiring and your insurance coverage.
Renter-Friendly Fixes: No Drilling Required
Not everyone can (or wants to) cut into drywall, and that’s completely fine — some of my favorite before-and-afters have come from renters using surface solutions well.

Paintable cord raceways are adhesive-backed channels that stick directly to the wall and can be painted to match, essentially disappearing into the drywall texture. Cord covers do something similar but are designed to sit flush along baseboards or corners, which is ideal if your outlet is near the floor rather than behind the TV. Cable sleeves — fabric or neoprene tubes that bundle multiple cords into one manageable strand — work beautifully when cords need to travel along furniture rather than the wall itself.
Command-strip cable clips are the unsung hero of small-space styling: a few dollars’ worth of adhesive clips can route cords along the back or underside of a console so nothing dangles into view. Combine a raceway on the wall with clips on the furniture, and you’ve solved 90% of the visible clutter without a single nail hole.
Styling the Media Console: Function Meets Design
Your TV console does more design work than almost any other piece of furniture in the room, because it has to hide equipment while still looking like a considered design choice. This is where interior design principles really come into play.
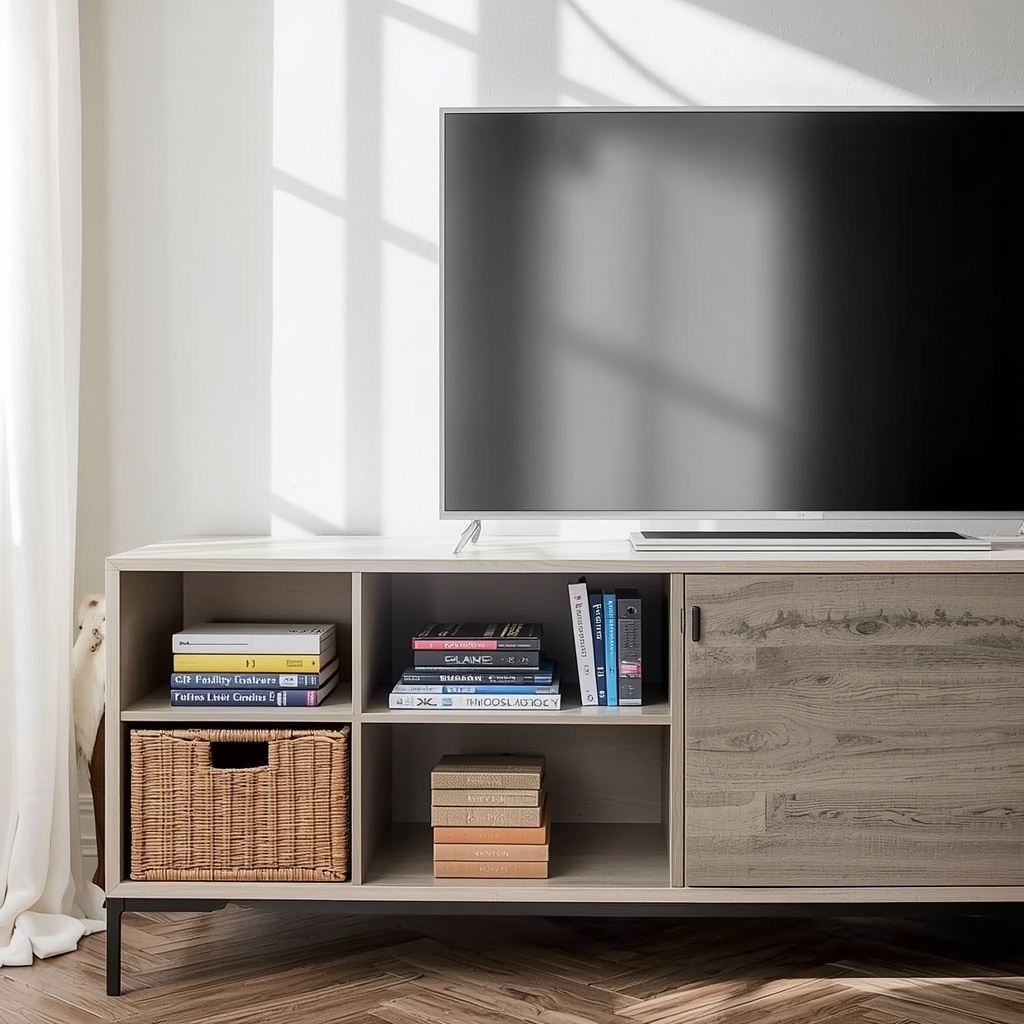
Look for a console with a closed cabinet section rather than fully open shelving — closed doors instantly conceal cable boxes, gaming consoles, and routers. If you already own an open-shelf console, woven baskets or fabric bins can create the same effect while adding texture to the room. Cut a small hole in the back panel (or use an existing cord grommet) so cables can pass through without looping around the outside of the furniture, and always leave enough back clearance for ventilation — electronics generate heat, and a fully sealed cabinet can shorten their lifespan.
A few style-forward pairings I recommend often:
- Mid-century consoles with tambour doors — the ridged wood doors add texture while fully concealing electronics.
- Media consoles with cord grommets built into the back panel, a small but genuinely useful detail to look for when shopping.
- Console tables with drawers for smaller items like remotes, streaming sticks, and chargers.
- Low-profile TV stands with a lower cabinet if you’re using a soundbar, so the entire audio setup disappears from view.
Don’t Forget the Router and Modem
Everyone focuses on the TV, but the router is often the ugliest object in the room — a blinking box with three or four antennas sticking out. It also needs airflow and can’t be fully boxed in, which makes concealment trickier.
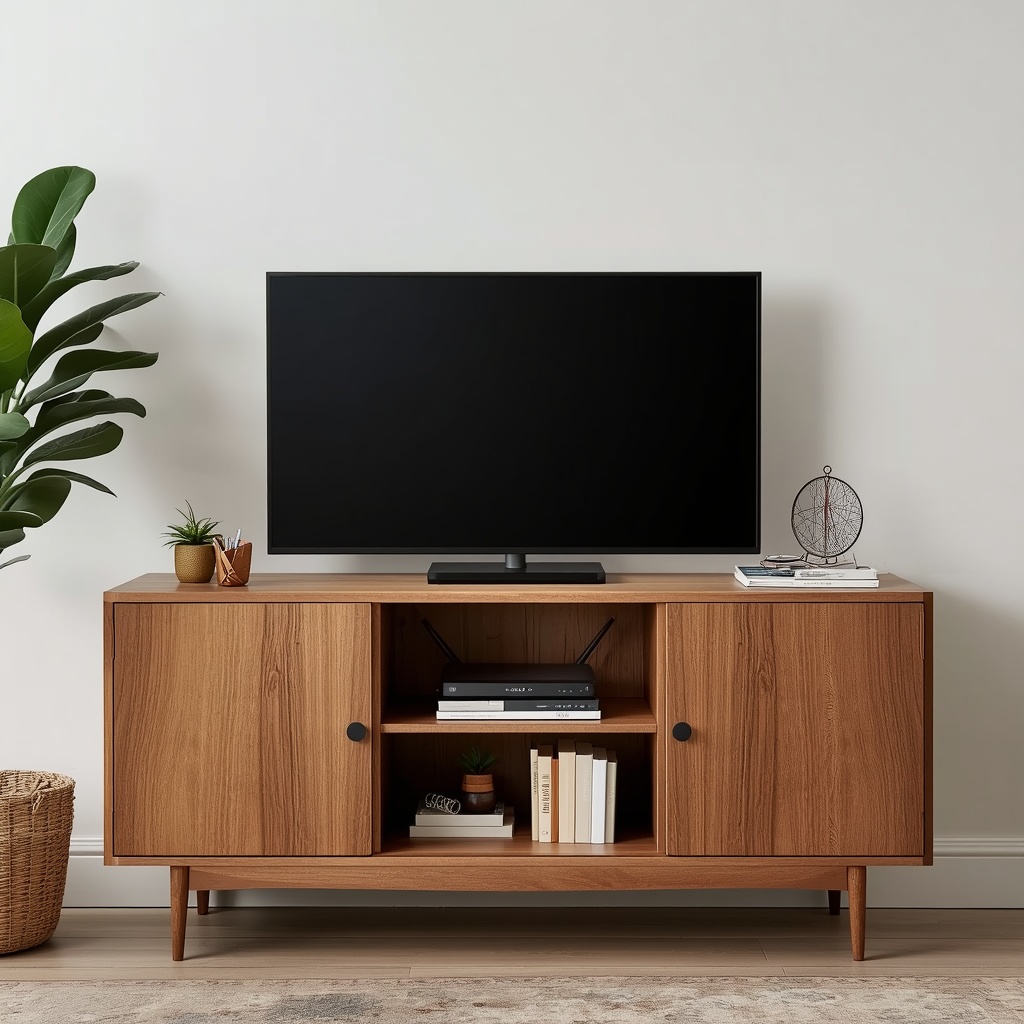
A router basket or vented decorative box solves both problems: it hides the unit while allowing enough airflow to prevent overheating and signal loss. Placing it inside a console cabinet works too, as long as the door isn’t solid wood on all sides — Wi-Fi signals weaken significantly when routers are fully enclosed in metal or dense materials. If your internet plan allows it, consider mesh Wi-Fi points instead of one central router; the individual pucks are small enough to sit on a shelf or tuck behind a plant without needing heavy-duty concealment at all.
Pro Tip: Keep at least two inches of open space around any router enclosure, and avoid stacking it directly on top of a modem or cable box — heat buildup from stacked electronics is one of the most common (and preventable) causes of Wi-Fi slowdowns and premature equipment failure.
Creative Design Solutions Beyond the Basic Cord Cover
Once the basics are handled, there’s room to get genuinely creative with how you disguise your entertainment setup.
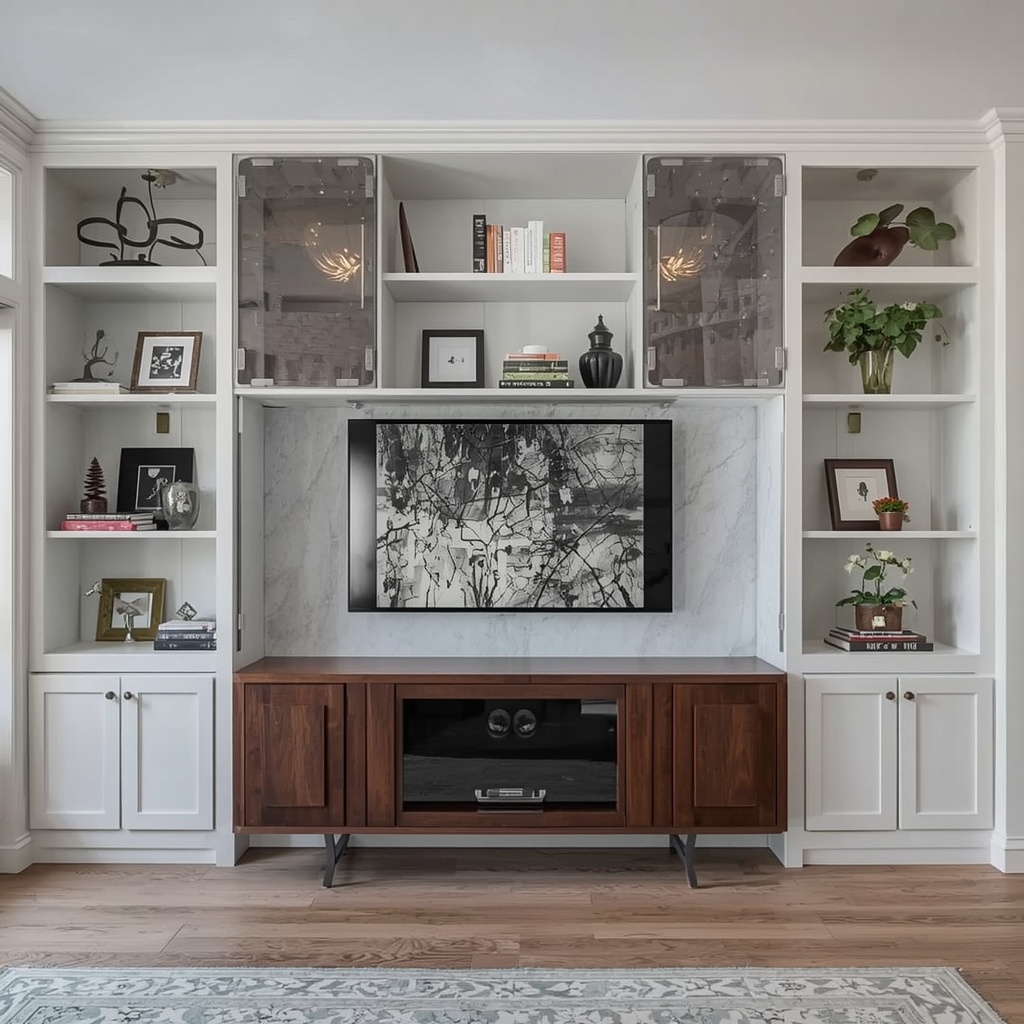
A gallery frame TV or a frame-mounted television that displays art when off is one of the most elegant modern solutions — it turns the television itself into a piece of decor rather than something to hide. A sliding barn door or panel in front of a media console can conceal the entire setup when it’s not in use, which works especially well in open-concept living and dining spaces. Built-in cabinetry, whether custom millwork or a modular shelving system, can be designed from the start with hidden channels for wiring, making it the most seamless (if most expensive) option.
For a softer approach, a tall floor plant strategically placed between the wall and the console can visually break up the line of sight to any remaining wires without a single tool required. And if you have a fireplace with a TV mounted above it, running the wiring down through the fireplace surround or a matching wood mantel keeps the whole wall looking architecturally intentional rather than retrofitted.
Quick Checklist: A Room-by-Room Cable Audit
Before you start buying products, walk through your space with this checklist in hand:
- [ ] Identify every device connected to the TV (cable box, gaming console, streaming stick, soundbar, gaming PC)
- [ ] Note where the nearest outlet is relative to the TV
- [ ] Decide between in-wall routing or surface-mounted concealment based on your lease/ownership status
- [ ] Measure the distance cords need to travel to choose the right raceway or sleeve length
- [ ] Check router placement for both aesthetics and signal strength
- [ ] Confirm your media console has adequate back-panel ventilation
- [ ] Bundle remaining loose cords with velcro ties or a cable sleeve
- [ ] Step back and view the wall from your main seating area to catch anything still visible
Common Mistakes to Avoid
Even well-intentioned cord-hiding projects can go wrong. Sealing electronics into a fully enclosed cabinet without ventilation is one of the most frequent issues I see — it looks clean for about a month before overheating starts shortening the life of your equipment. Another common misstep is choosing a cord cover color that doesn’t match the wall closely enough, which actually draws more attention to the wire’s path than leaving it alone would have.

Overlooking power strip placement is another quiet culprit; a hidden power strip that’s hard to reach becomes a hidden power strip nobody ever turns off, adding phantom energy use to your electric bill. And finally, measuring cords “by eye” rather than actually measuring the wall-to-outlet distance often results in buying a raceway or cable kit that’s too short, leading to an unnecessary second trip to the store.
Bringing It All Together
Hiding your TV wires and electronics isn’t about perfection — it’s about intention. A room where cables are managed thoughtfully feels calmer, looks more expensive than it cost, and lets your actual design choices, the sofa, the art, the lighting, take center stage the way they were meant to. Whether you go all-in with an in-wall power kit or start small with a paintable raceway and a woven basket for the router, every step you take moves the room closer to feeling finished.
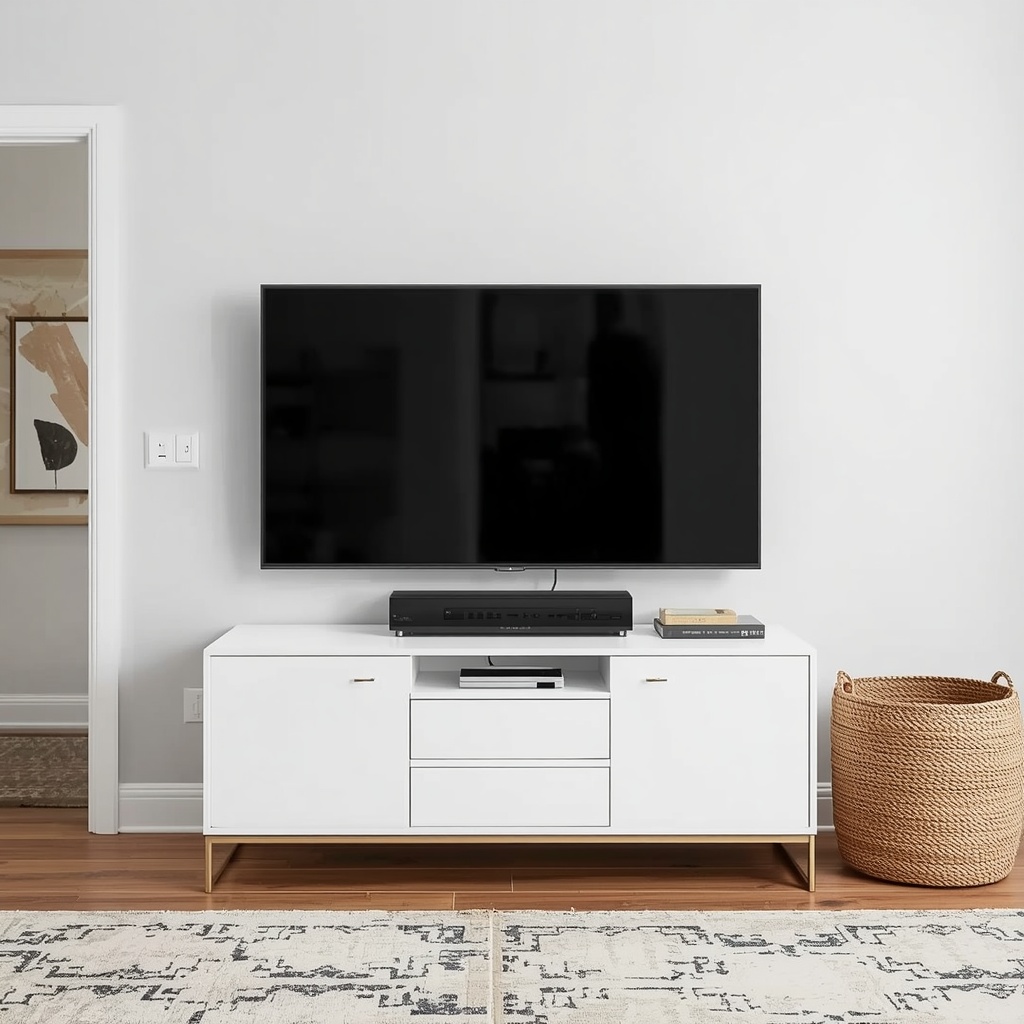
Start with one wall. Audit your cords, pick the method that fits your space and lease situation, and give yourself permission to do it in stages if needed. The payoff — walking into a living room where the television simply looks like it belongs — is worth every small effort along the way.