
If you have ever scrolled past a beautifully paneled entryway or a moody bedroom accent wall and thought, “I could never do that,” this guide is for you. Board and batten is one of the most beginner-friendly DIY wall treatments in home decor. It adds architectural character, hides imperfect walls, and costs a fraction of what a contractor would charge.
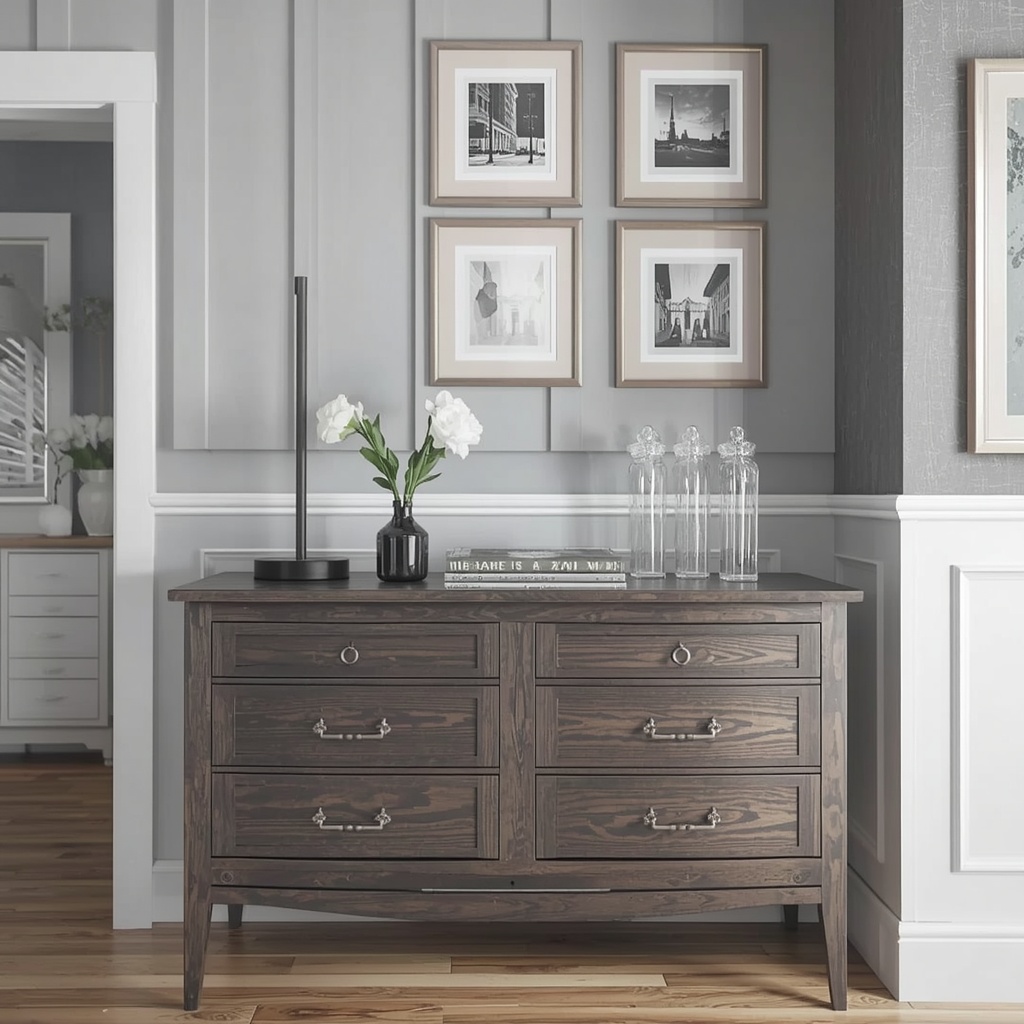
As an interior designer, I have installed this look in dozens of American homes, from small starter condos to sprawling suburban farmhouses. In this tutorial, I will walk you through every step: planning, measuring, cutting, installing, caulking, and painting. By the end, you will have a polished wall treatment that looks custom-built, even if this is your first project.
What Is Board and Batten (and Why Is It So Popular?)
Board and batten is a classic wall paneling style made of wide, flat boards (the “boards”) with narrow vertical strips (the “battens”) covering the seams between them. It began as exterior siding on barns and farmhouses, then moved indoors as a way to add texture, depth, and a cozy, traditional feel. Today it is a staple of modern farmhouse, transitional, and even contemporary design.
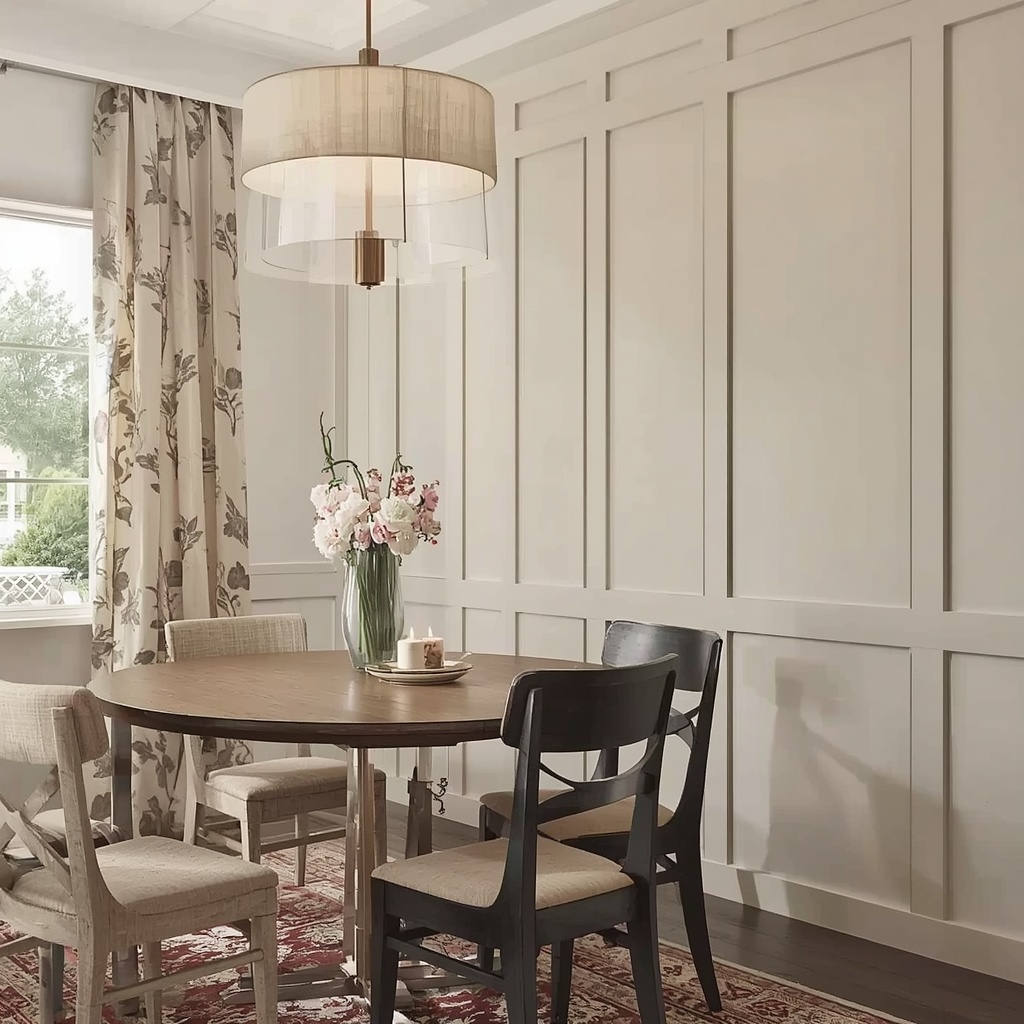
Its popularity comes down to impact versus effort. A single weekend can transform a flat, builder-grade wall into a focal point. The look is timeless, so it will not feel dated in five years. Better yet, the project requires only basic tools and simple math, which makes it ideal for first-time DIYers.
“A great wall treatment does not shout for attention. It quietly gives the whole room a sense of structure.”
Where Board and Batten Works Best
This wall treatment is incredibly versatile. Entryways and mudrooms are the most popular choices because the lower paneling protects walls from bags, shoes, and daily wear. Bedrooms use it behind the headboard to create a cozy, hotel-inspired accent wall. Dining rooms, hallways, staircases, and even bathrooms can benefit from the added character.
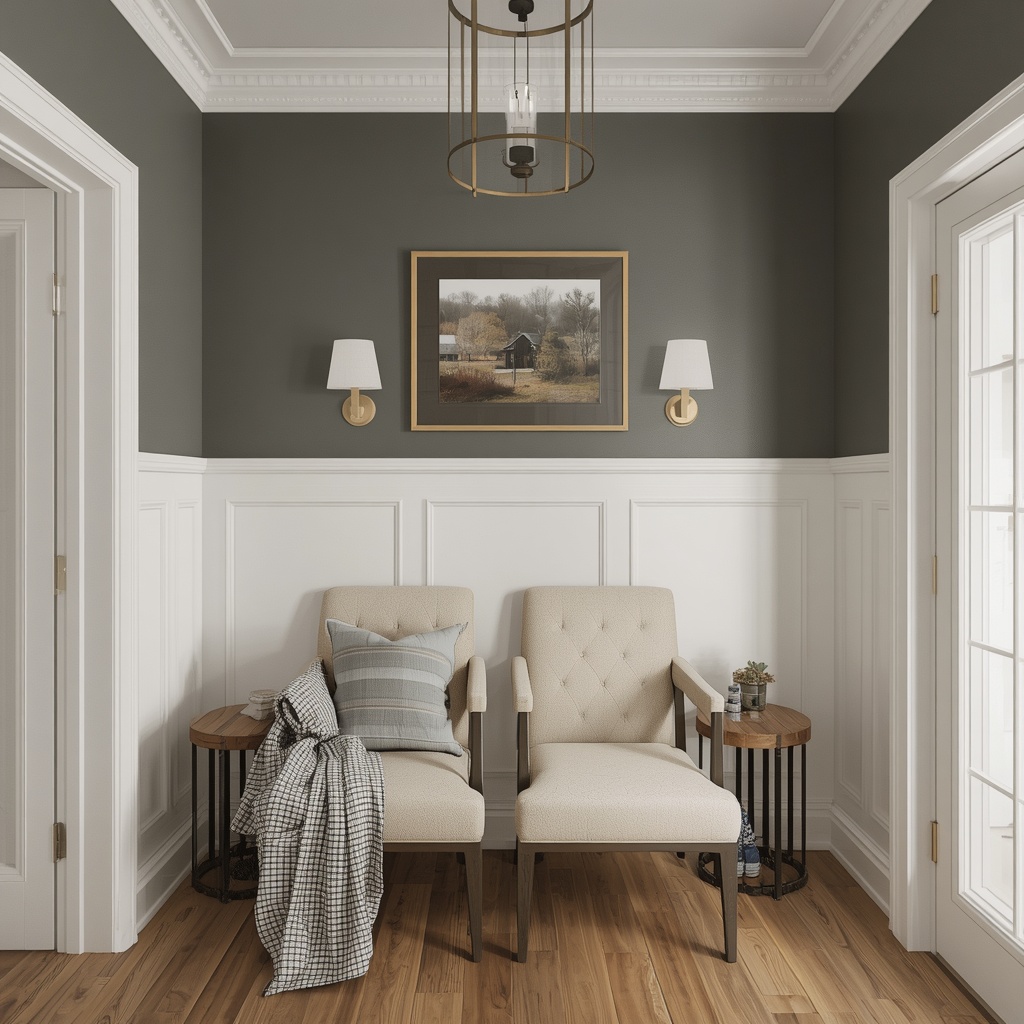
Think about the room’s purpose and ceiling height before you commit. Rooms with 8-foot ceilings look wonderful with panels that reach roughly two-thirds of the way up. Rooms with higher ceilings can handle full-height installations. Spaces with lots of moisture, like bathrooms, need moisture-resistant materials such as PVC trim or MDF with a quality primer.
Here are my favorite spots to try this DIY accent wall:
- Entryway or foyer: adds a welcoming first impression and hides scuffs
- Primary bedroom: a cozy backdrop for the bed that replaces a headboard
- Dining room: pairs beautifully with a chair rail and statement lighting
- Hallway or staircase: turns a forgettable passage into a design moment
- Nursery or kids’ room: soft colors create a calm, charming wall
- Home office: a bold color adds depth for video calls
Choosing Your Board and Batten Style
Before buying lumber, decide which look fits your home. The style you choose changes the spacing, the height, and even the materials. Traditional board and batten uses narrow, evenly spaced vertical strips. Modern versions use wider spacing and crisp lines. Shaker-style (also called picture frame molding) uses rectangular frames and feels a bit more formal.
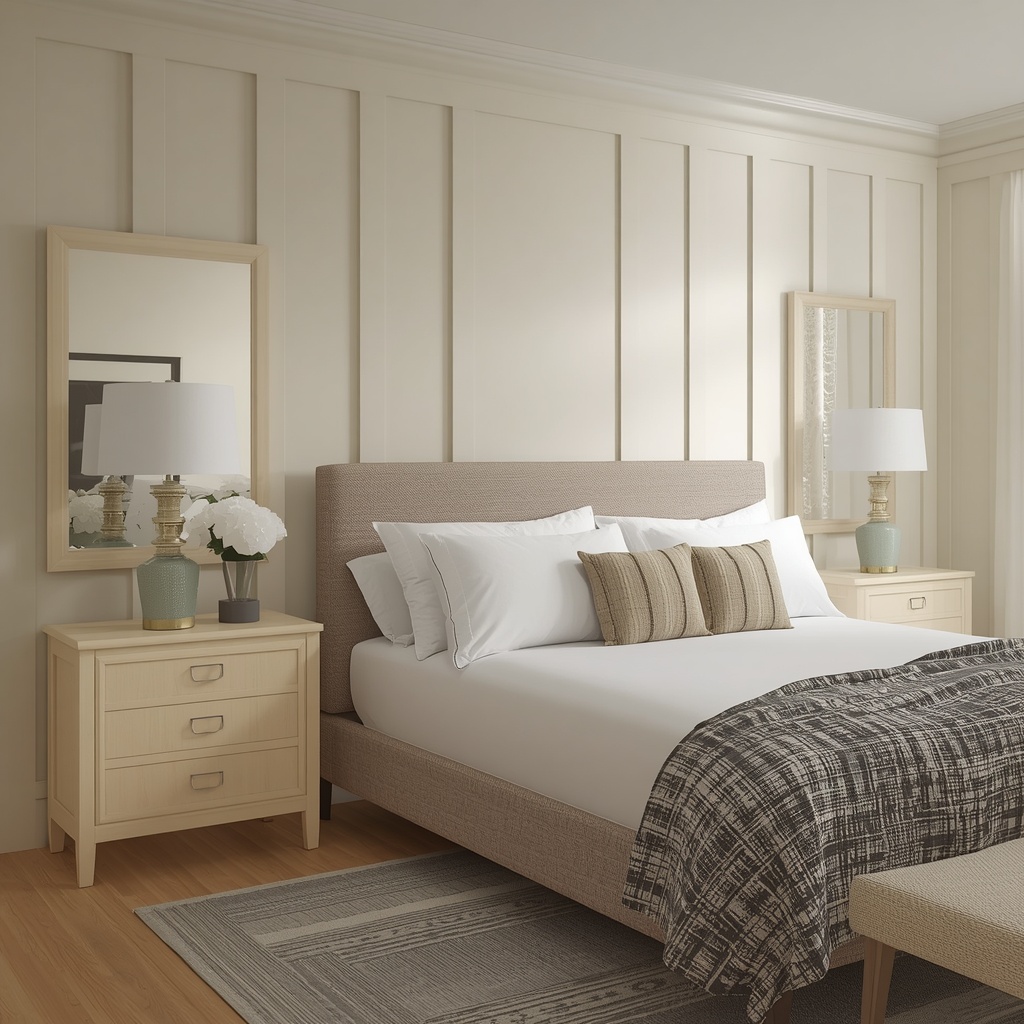
One of the best things about this project is that all three styles use the same basic skills. Once you master measuring, cutting, and nailing the first wall, you can switch styles easily on the next one. Use the comparison below to find your match.
| Style | Look and Feel | Best For | Difficulty |
|---|---|---|---|
| Classic Vertical Battens | Traditional, farmhouse charm | Entryways, bedrooms, mudrooms | Beginner |
| Modern Wide-Spaced | Clean, minimalist, architectural | Contemporary living rooms, offices | Beginner |
| Shaker / Picture Frame | Formal, elegant, detailed | Dining rooms, hallways, stairs | Intermediate |
| Half-Wall with Ledge | Practical, cottage-style | Mudrooms, bathrooms, kids’ rooms | Beginner |
| Full-Height Dramatic | Bold, high-end, luxurious | Bedrooms, high-ceiling rooms | Intermediate |
Pro Tip: Tape painter’s tape on the wall in your planned pattern and live with it for a day or two. Seeing the proportions in real light is the cheapest way to avoid a layout you regret.
Tools and Materials You’ll Need
You do not need a professional workshop to install board and batten. Most of these items are available at your local hardware store, and you may already own several. Gathering everything before you start keeps the project moving and prevents frustrating mid-project trips to Home Depot or Lowe’s.
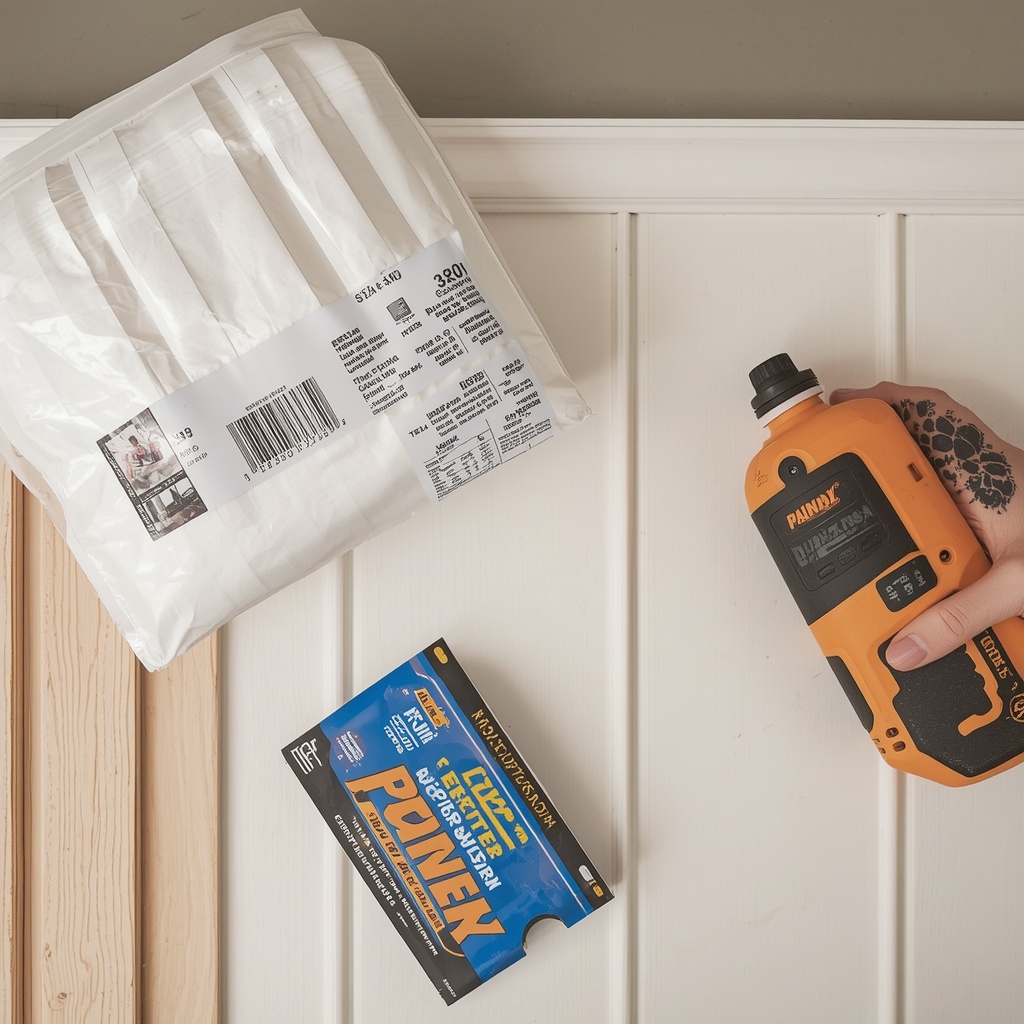
For materials, MDF boards are the most budget-friendly choice and paint beautifully, while pine offers a more natural look and holds up well in busy areas. Primed 1×3 or 1×4 boards work well for battens, and a 1×6 or 1×8 board is ideal for the top and bottom rails. Choose straight boards by sighting down each one in the store.
Tools checklist:
- Tape measure and pencil
- 4-foot level (a laser level is a great bonus)
- Stud finder
- Miter saw or hand saw with a miter box
- Brad nailer (rent one if you do not own it) with 2-inch nails
- Caulk gun and paintable caulk
- Wood filler and a putty knife
- Sandpaper (180 to 220 grit)
- Paint roller, angled brush, and painter’s tape
- Safety glasses and a dust mask
Materials checklist:
- 1×3 or 1×4 primed MDF or pine boards (for battens)
- 1×6 or 1×8 boards (for the top and bottom rails)
- Construction adhesive
- Primer and high-quality interior paint (satin or semi-gloss)
- Optional: cap molding or a small shelf ledge for a finished top
Planning Your Layout: The Math Made Easy
Good planning is what separates a professional-looking accent wall from a wobbly one. Start by measuring the wall’s width and height, then decide how tall the paneling will be. A common rule of thumb is to cover about two-thirds of the wall height, which makes the proportions feel balanced and intentional.
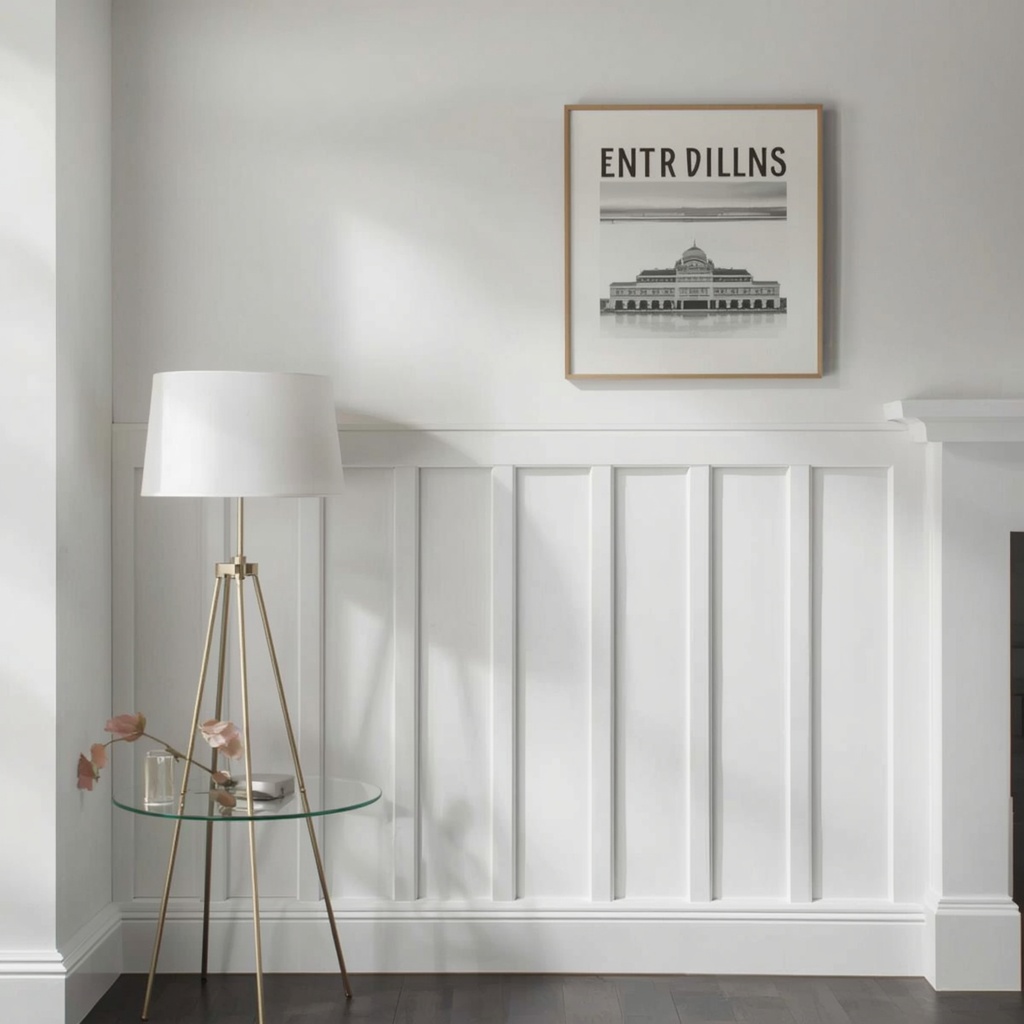
Next, decide how many battens you want and how far apart they should be. Most designers space battens between 12 and 16 inches apart, measured center to center. Subtract the width of the end battens from the total wall width, divide by your desired spacing, and round to the nearest whole number. Adjust until the spacing looks even from edge to edge.
Here is a quick reference for estimating how many battens you will need:
| Wall Width | Spacing (Center to Center) | Approx. Number of Battens |
|---|---|---|
| 8 feet (96 in) | 12 inches | 9 |
| 10 feet (120 in) | 14 inches | 9 |
| 12 feet (144 in) | 16 inches | 10 |
| 14 feet (168 in) | 16 inches | 11 |
| 16 feet (192 in) | 16 inches | 13 |
Pro Tip: Always buy about 10 to 15 percent more lumber than your math says. Miscuts and warped boards happen to everyone, and a second trip to the store costs more than the extra boards.
Step-by-Step: How to Install Board and Batten
Now for the fun part. Work slowly through each step, and remember that the wall does not need to be perfect underneath. Caulk and paint hide a surprising number of small flaws, which is exactly why this is such a forgiving project for beginners.
Step 1: Prep the wall. Remove outlet covers, switch plates, and any baseboards you plan to replace. Wipe down the wall, fill holes, and lightly sand any rough spots. Use the stud finder to mark every stud with painter’s tape so you can nail into solid framing later.
Step 2: Mark your horizontal line. Measure up from the floor to your chosen height and draw a light level line across the wall. Use your level carefully. Floors and ceilings are rarely perfectly flat, so always trust the level instead of measuring from the ceiling.
Step 3: Install the bottom and top rails. Cut your wide boards to length, apply a thin bead of construction adhesive to the back, and press them into place along your line. Secure them with brad nails into the studs. The top rail should sit directly on or just above your marked line.
Step 4: Mark and cut the battens. Measure the space between the rails, then cut all battens to the same length. Cut one first and test it, because the gap may vary by a fraction of an inch. Use that test piece to check the rest.
Step 5: Install the battens. Mark your spacing on the top and bottom rails, then place the first batten at one end and check that it is plumb. Apply adhesive, press into place, and nail at each stud and near the ends. Work across the wall, checking level often.
Step 6: Add the finishing details. Install a cap piece or small shelf along the top rail to give the panels a polished edge. Many designers use a simple piece of 1×2 trim with a small beveled edge, which also creates a handy ledge for framed art.
Pro Tip: Use a scrap piece of wood cut to your exact batten spacing as a spacer block. It lets you place each batten quickly and keeps every gap identical without re-measuring.
Caulking, Filling, and Sanding for a Seamless Finish
This stage is where the magic happens. Fill every nail hole with wood filler, let it dry according to the label, and sand it smooth. Then run a thin bead of paintable caulk along every seam where the boards meet the wall, each other, and the rails. Smooth the caulk with a damp finger or a caulk tool.
Patience pays off here. Caulk looks messy at first but disappears once painted, giving the wall that seamless, built-in look. Avoid applying too much, because thick globs shrink and crack as they dry. Let everything cure fully, usually a few hours, before you reach for the paint.
Painting Your Board and Batten Wall Like a Pro
Prime first, especially on raw MDF or pine. Primer seals the wood, prevents bleed-through, and helps your final color look rich and even. Use a small foam roller for the flat surfaces and an angled brush to cut in along the edges and grooves. Apply at least two thin coats of paint rather than one heavy coat.
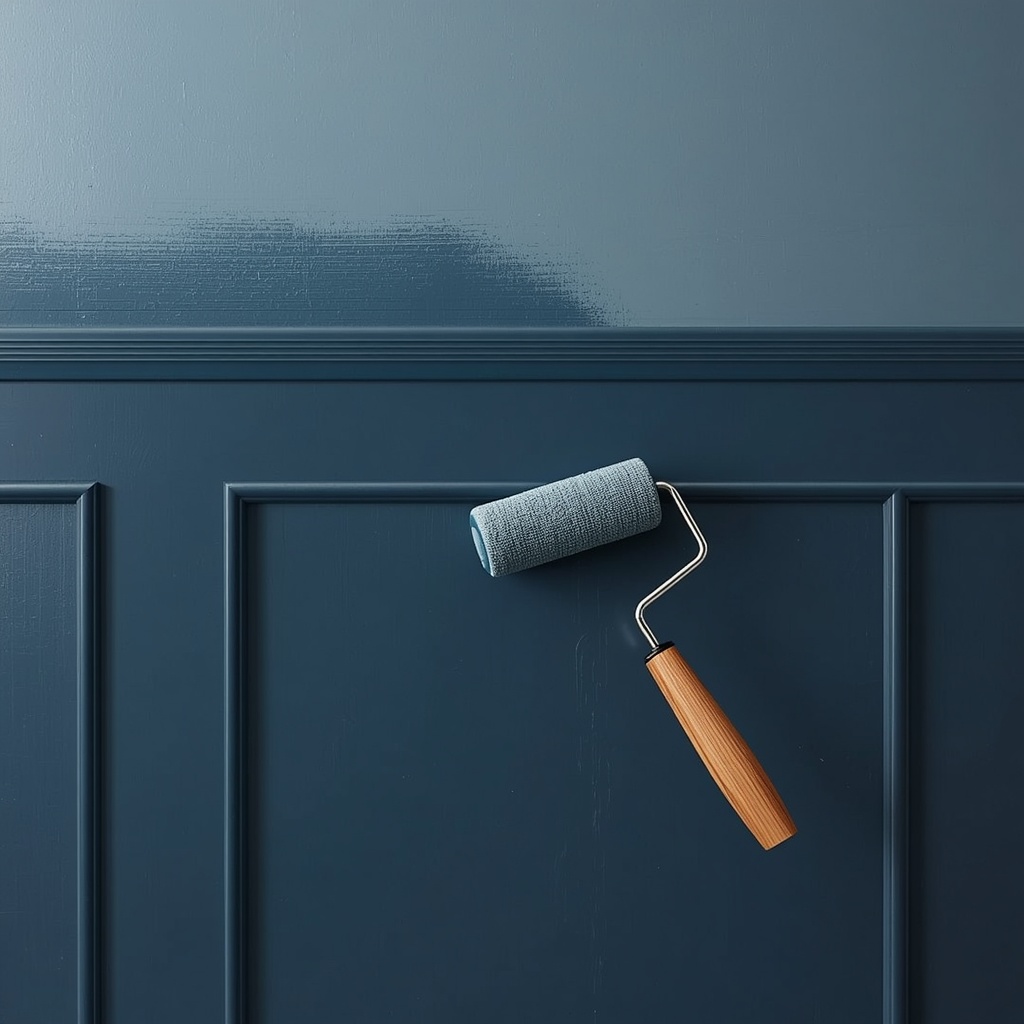
For the finish, satin or semi-gloss is the best choice. These sheens resist scuffs and wipe clean easily, which matters in busy entryways and kids’ rooms. Many designers paint the paneling and the wall above it the same color for a seamless look, while others contrast the colors for extra drama. Premium paint from brands like Benjamin Moore or Sherwin-Williams offers strong coverage and durability.
Board and Batten Paint Color Ideas
Color sets the entire mood of your wall treatment. Soft whites and warm neutrals keep the look bright and timeless, while deep, saturated shades create a cozy and dramatic backdrop. If you are nervous about committing, test large swatches on the wall and watch them throughout the day, since natural light changes everything.
Here are some popular color directions for American homes:
| Mood | Color Family | Great For |
|---|---|---|
| Bright and Airy | Crisp white, soft cream | Entryways, nurseries, small rooms |
| Warm and Welcoming | Greige, warm taupe | Living rooms, hallways |
| Moody and Dramatic | Deep navy, forest green, charcoal | Bedrooms, dining rooms, offices |
| Calm and Coastal | Soft sage, misty blue | Bathrooms, bedrooms |
| Bold and Modern | Black, deep terracotta | Accent walls, powder rooms |
Pro Tip: Paint the wall before you hang art, lighting, and hooks, then add decor last. A fresh coat on a finished wall with hardware already installed is the number one cause of sloppy edges.
Common Beginner Mistakes (and How to Avoid Them)
Even experienced DIYers stumble on a few predictable issues. Most come from rushing the planning stage or skipping small prep steps. The good news is that every one of these mistakes is easy to prevent once you know what to look for, and most are fixable if you catch them early.
Keep this list handy before you start nailing boards to the wall:
- Skipping the stud finder: nails in drywall alone will loosen over time
- Trusting the ceiling or floor: always use a level, not the room’s edges
- Uneven spacing: do the math first and dry-fit a few battens
- Too much caulk: thin, smooth beads give the cleanest finish
- Painting without primer: raw wood soaks up paint and looks blotchy
- Forgetting outlets: extend electrical boxes with spacers so covers sit flush
How Much Does a DIY Board and Batten Wall Cost?
One of the biggest reasons homeowners love this project is the price. Hiring a carpenter for custom paneling can run several hundred to a few thousand dollars, depending on the wall size and your location. Doing it yourself cuts labor costs entirely, so you only pay for materials and a few rental tools.
A typical 10-foot accent wall costs roughly $100 to $250 with MDF boards, paint, caulk, and supplies. Add another $30 to $60 if you need to rent a nailer or buy a miter saw blade. Time-wise, most beginners finish in one to two weekends, including drying time for paint and caulk.
| Expense | Estimated Cost (10-ft Wall) |
|---|---|
| MDF or pine boards | $60 to $130 |
| Construction adhesive and nails | $10 to $20 |
| Caulk and wood filler | $10 to $15 |
| Primer and paint | $25 to $60 |
| Tool rental or extras | $0 to $60 |
| Total | $105 to $285 |
Maintaining Your Board and Batten Wall
Caring for your finished wall is simple. Dust the grooves with a microfiber cloth or soft brush every few weeks, and wipe away fingerprints and scuffs with a damp sponge and mild soap. Because you used satin or semi-gloss paint, the surface should clean up easily without damaging the finish.
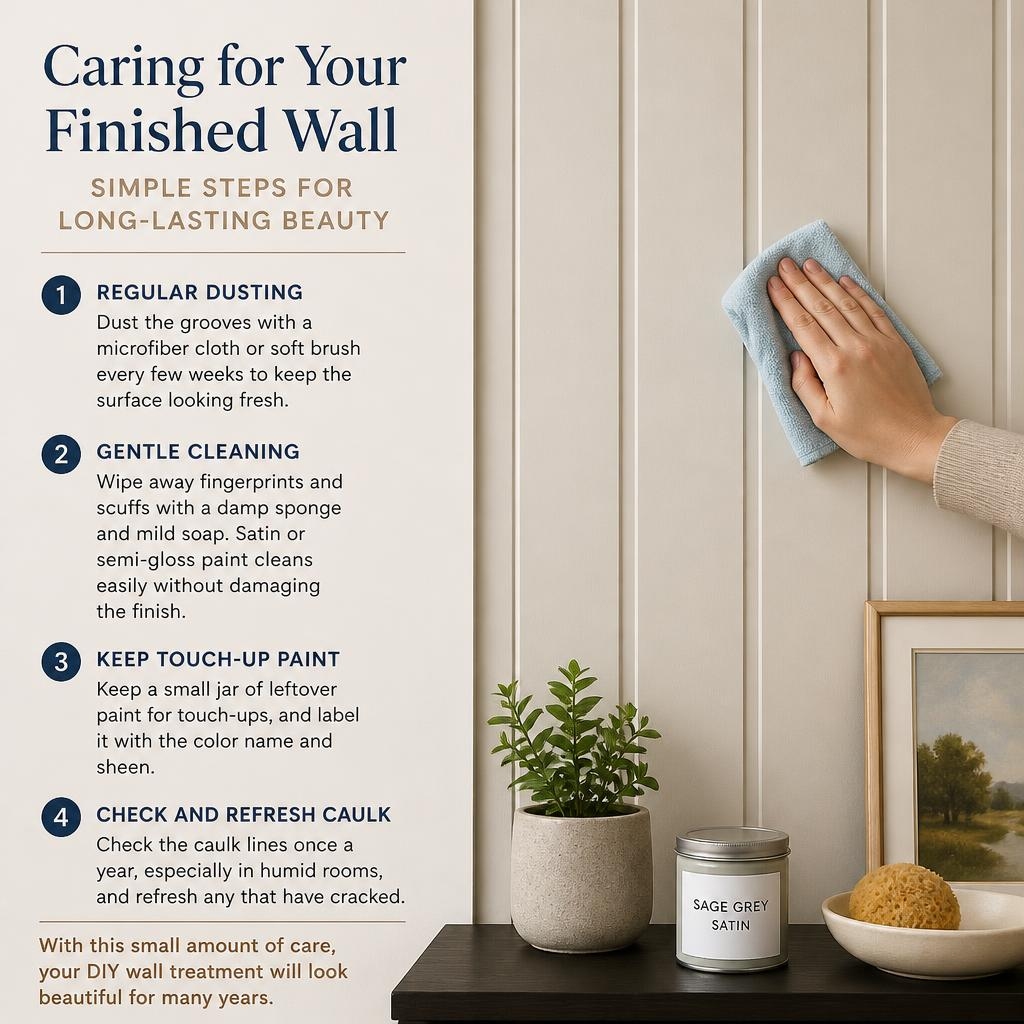
Keep a small jar of leftover paint for touch-ups, and label it with the color name and sheen. Check the caulk lines once a year, especially in humid rooms, and refresh any that have cracked. With this small amount of care, your DIY wall treatment will look beautiful for many years.
Frequently Asked Questions
Can I install board and batten on textured walls? Yes. Construction adhesive and nails hold the boards firmly, and caulk fills small gaps. For heavy texture, lightly skim or sand high spots first so the boards sit flat.
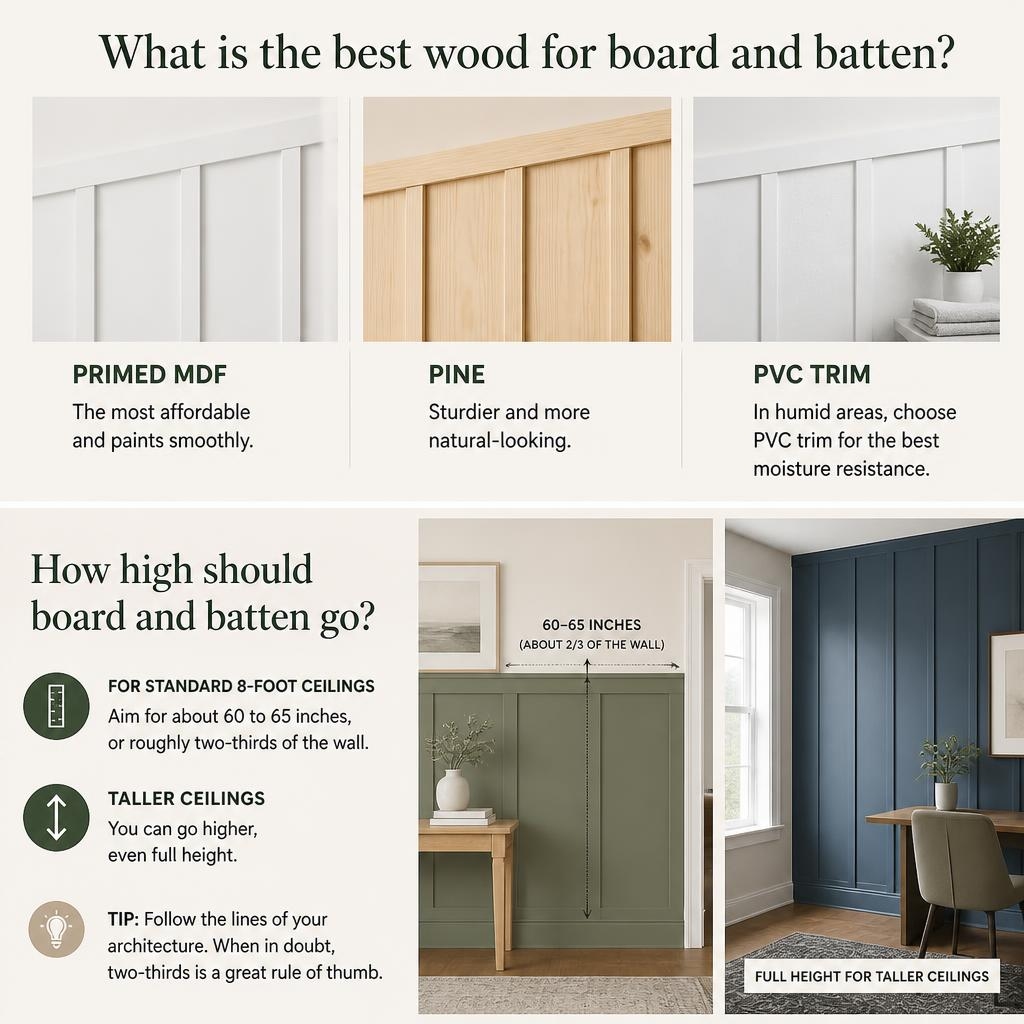
What is the best wood for board and batten? Primed MDF is the most affordable and paints smoothly. Pine is sturdier and more natural-looking. In humid areas, choose PVC trim for the best moisture resistance.
How high should board and batten go? For standard 8-foot ceilings, aim for about 60 to 65 inches, or roughly two-thirds of the wall. Taller ceilings can go higher, even full height.
Do I need a miter saw? Not necessarily. Board and batten uses mostly straight cuts, so a hand saw with a miter box works well. A miter saw simply makes the work faster and cleaner.
Final Thoughts: Your First Statement Wall Awaits
Board and batten proves that a small amount of planning and a weekend of effort can completely change how a room feels. You do not need advanced carpentry skills, only patience, a level, and a willingness to measure twice. The result is an architectural, high-end look that adds real character and value to your home.
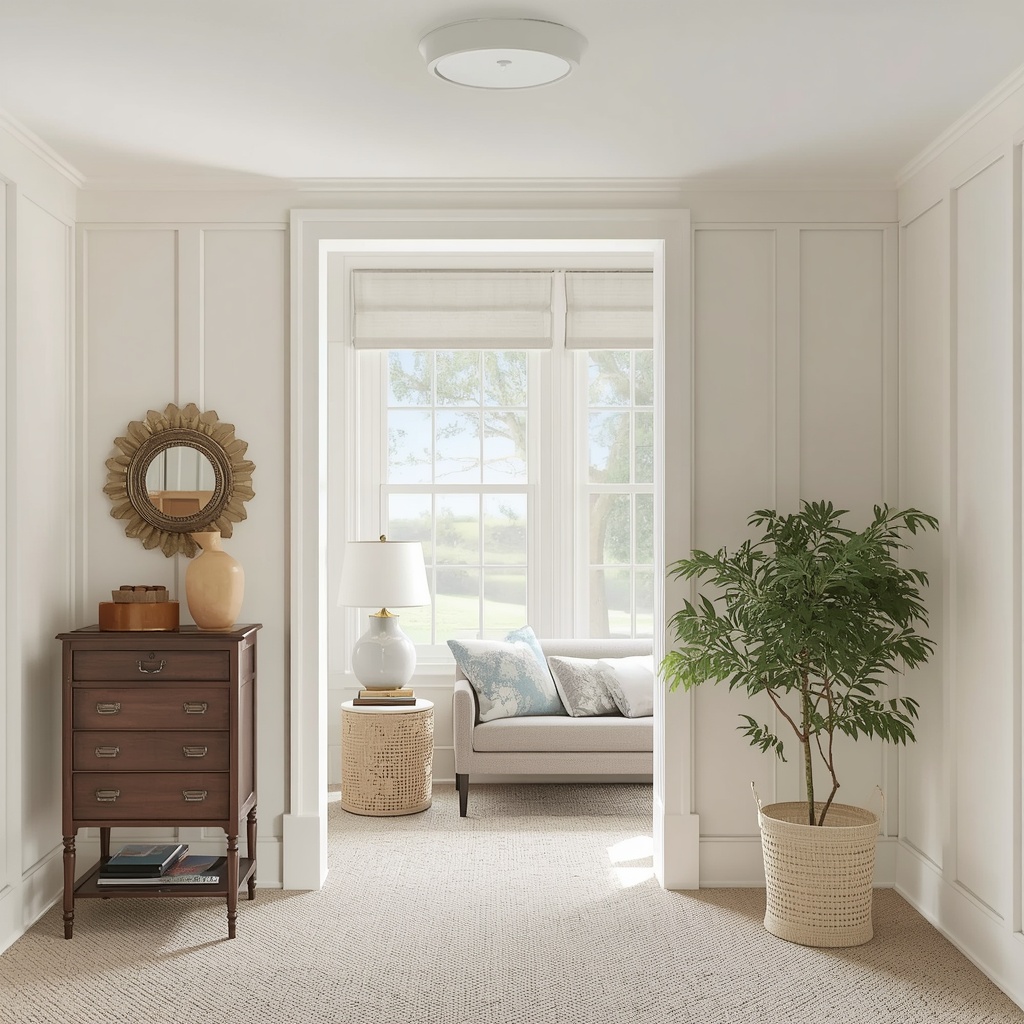
Start with a small wall, like an entryway or a bedroom accent wall, and build your confidence from there. Once you see how transformative this project is, you will probably start eyeing every blank wall in your house. Grab your tape measure, pick your favorite paint color, and make your home decor vision a reality.