Here is a secret I share with every client: bare walls cost you more than art does. A blank wall makes even a beautiful room feel unfinished, and it is the number one reason a house looks like a rental instead of a home. The good news is that you do not need a gallery budget to fix it. With a little strategy, a few clever shortcuts, and a free weekend afternoon, you can turn empty drywall into the most talked-about feature in your space.
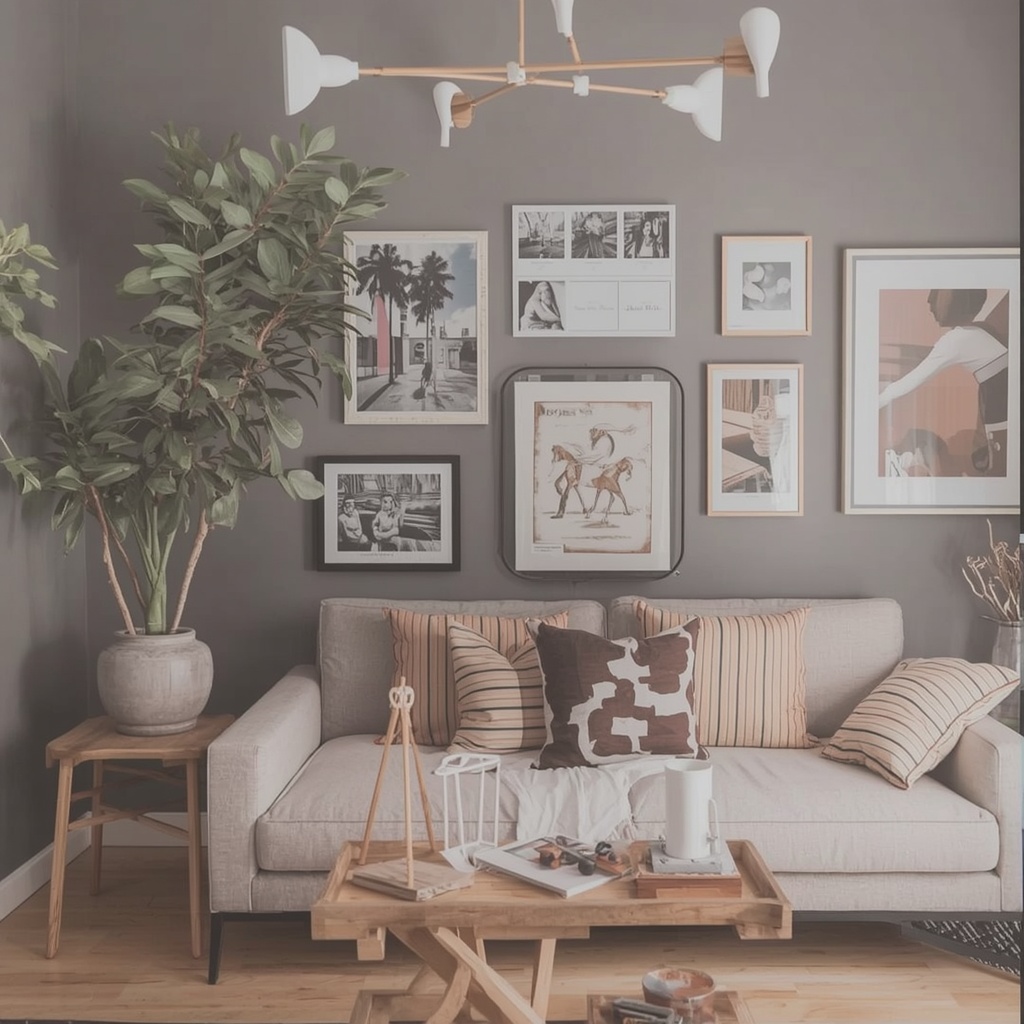
After years of styling homes across the US, from tiny city apartments to sprawling suburban family rooms, I have collected the wall decor ideas that deliver the biggest visual payoff for the smallest price. In this guide, you will learn how to plan your layout, where to find affordable art, how to make cheap prints look custom, and how to avoid the mistakes that make budget decor look, well, budget. Grab a tape measure and let’s get started.
Why Wall Art Is the Smartest Budget Upgrade
Wall art is the fastest way to add personality, color, and texture without a renovation. Unlike new furniture, it does not take up floor space, and unlike paint, it can move with you when you do. A single well-chosen piece can set the mood for an entire room, which is why designers often start with the art and build the color palette around it.
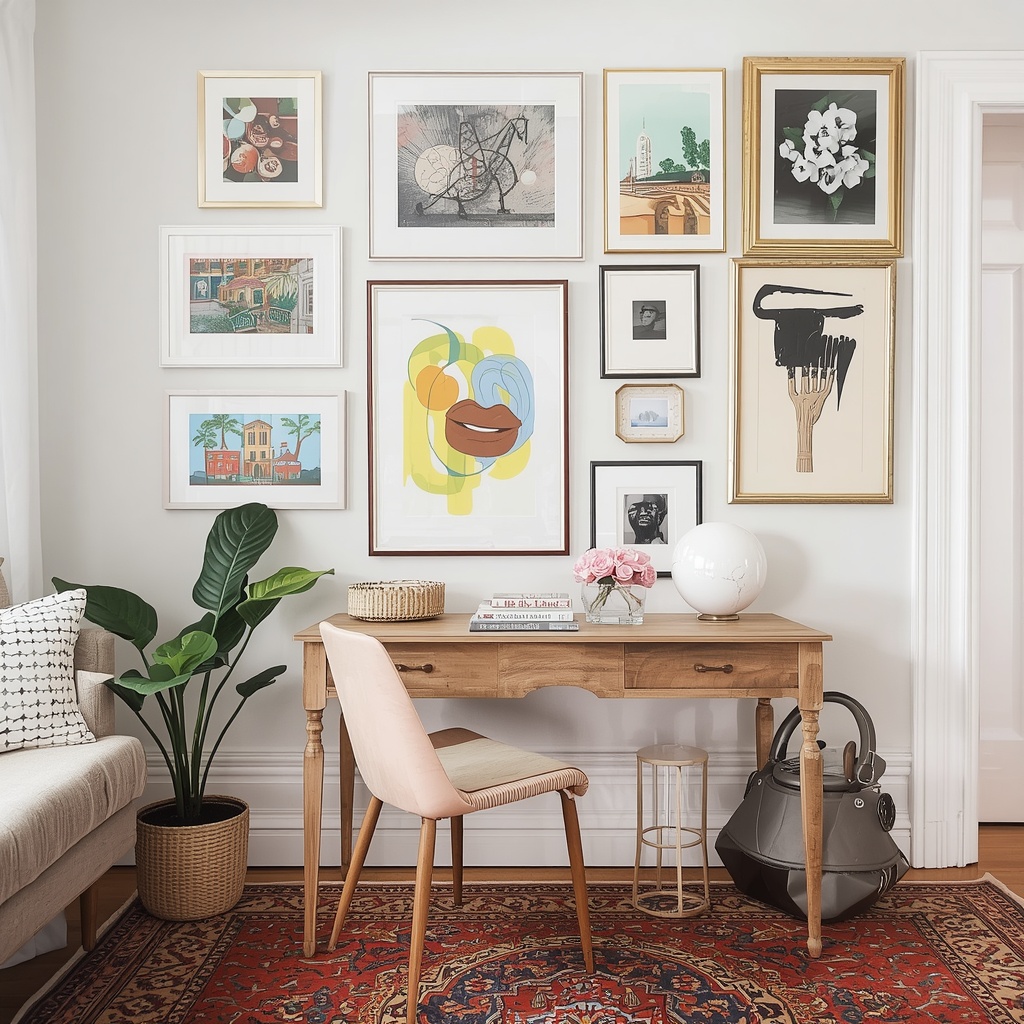
There is also a psychological payoff. Rooms with layered, personal decor feel more welcoming and look more expensive, even when the individual pieces cost very little. Think of your walls as a free-form canvas for your story: travel photos, kids’ drawings, thrifted finds, and handmade pieces all belong. The goal is not perfection, it is intention.
Designer’s rule of thumb: Expensive-looking rooms are rarely about expensive things. They are about repetition, scale, and care in the details.
Start With a Plan: Scale, Color, and Style
Before you buy a single print, take ten minutes to plan. The most common budget decor mistake is hanging art that is too small for the wall. Tiny frames floating on a big expanse look lost, and no amount of styling will rescue them. A simple guideline is that your art, or art grouping, should fill roughly two-thirds of the width of the furniture beneath it.
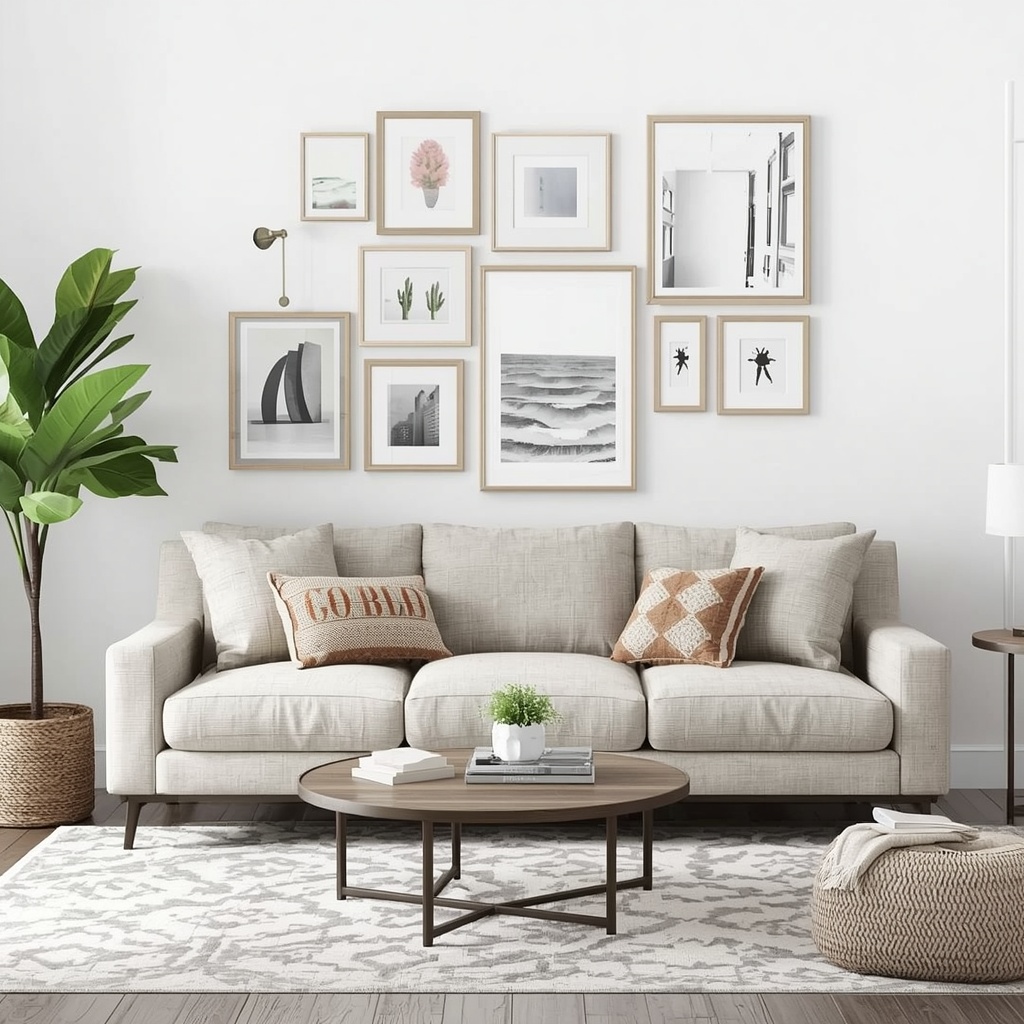
Next, choose a loose color palette of three to four shades pulled from your existing rugs, pillows, or drapes. This keeps mismatched pieces feeling cohesive, which is the secret behind every great gallery wall. Finally, decide on a style direction, such as modern farmhouse, coastal, mid-century modern, boho, or minimalist, so every purchase supports one clear look.
Use this quick sizing guide when you shop:
| Wall Location | Ideal Art Size or Coverage | Hanging Height (Center of Art) |
|---|---|---|
| Above a sofa (84″ wide) | 55″ to 60″ wide total | 57″ from floor |
| Above a queen bed | 50″ to 60″ wide total | 8″ to 10″ above headboard |
| Above a console table | 2/3 the table width | 6″ to 8″ above surface |
| Staircase wall | Follow the stair angle | Keep 57″ at eye level |
| Dining room buffet | 2/3 the buffet width | 6″ to 8″ above surface |
Hack 1: Build a Gallery Wall for Under $100
A gallery wall is the ultimate budget-friendly wall decor idea because many small, inexpensive pieces add up to one dramatic statement. The trick is to treat the collection as a single large artwork. Mix frame sizes, but keep one unifying element, such as all black frames, all natural wood, or all white mats with different frames.
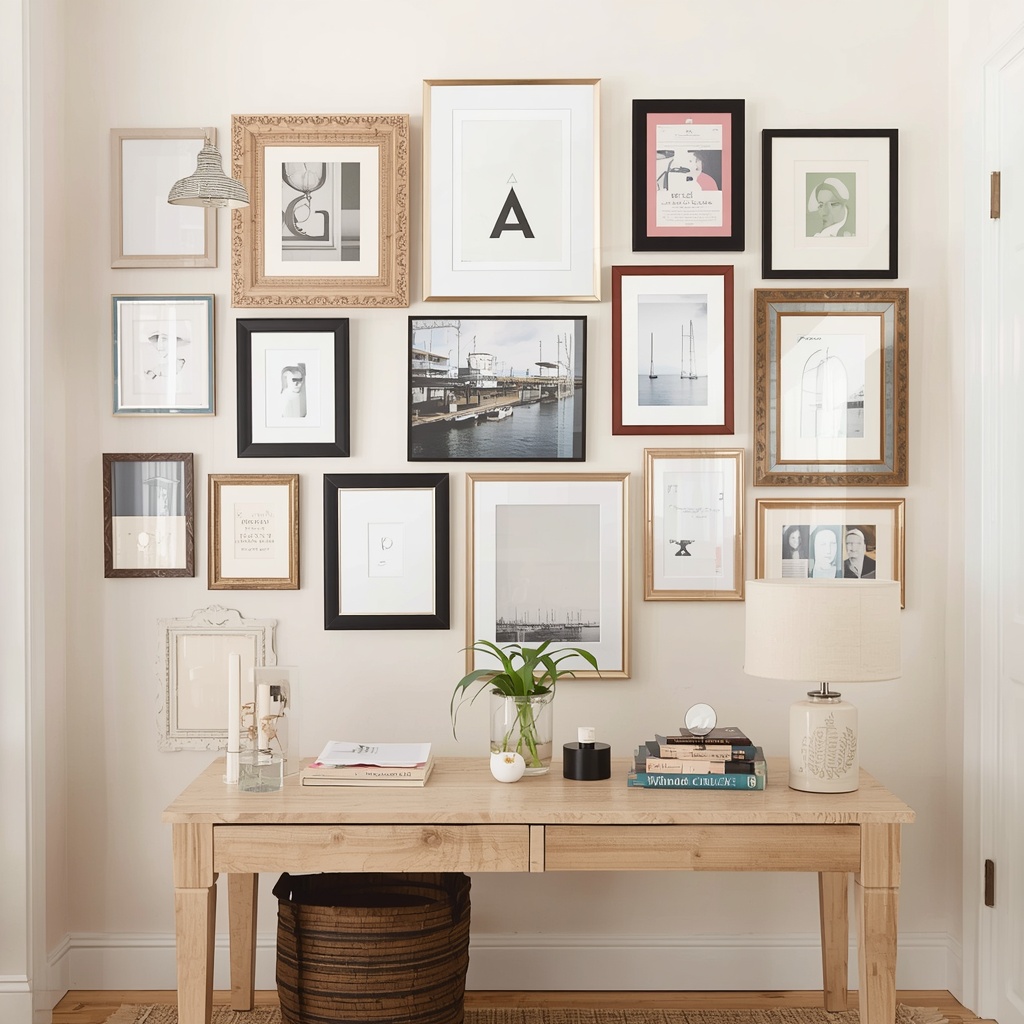
Before you pick up a hammer, trace each frame onto kraft paper, cut out the shapes, and tape them to the wall. Rearrange until the spacing feels right, keeping about two inches between pieces. This simple paper-template trick saves you from patching extra nail holes and gives you a preview of the finished layout for free.
What a $100 gallery wall might include:
- Six to eight frames from IKEA, Target, or Walmart ($5 to $15 each)
- Free printable art or inexpensive digital downloads ($0 to $20 total)
- Picture-hanging strips or small nails ($5 to $8)
- One or two found objects, such as a woven basket or a small mirror
For affordable frame options, browse IKEA’s picture frame collection for clean, modern styles at low prices.
Hack 2: Print Free and Low-Cost Digital Art
Digital downloads are the best-kept secret in budget home decor. Instead of paying $80 for a framed print, you can buy a downloadable file for a few dollars and print it yourself or at a local shop. Sites like Etsy offer thousands of printable wall art designs, from botanical illustrations to abstract line drawings to vintage posters.
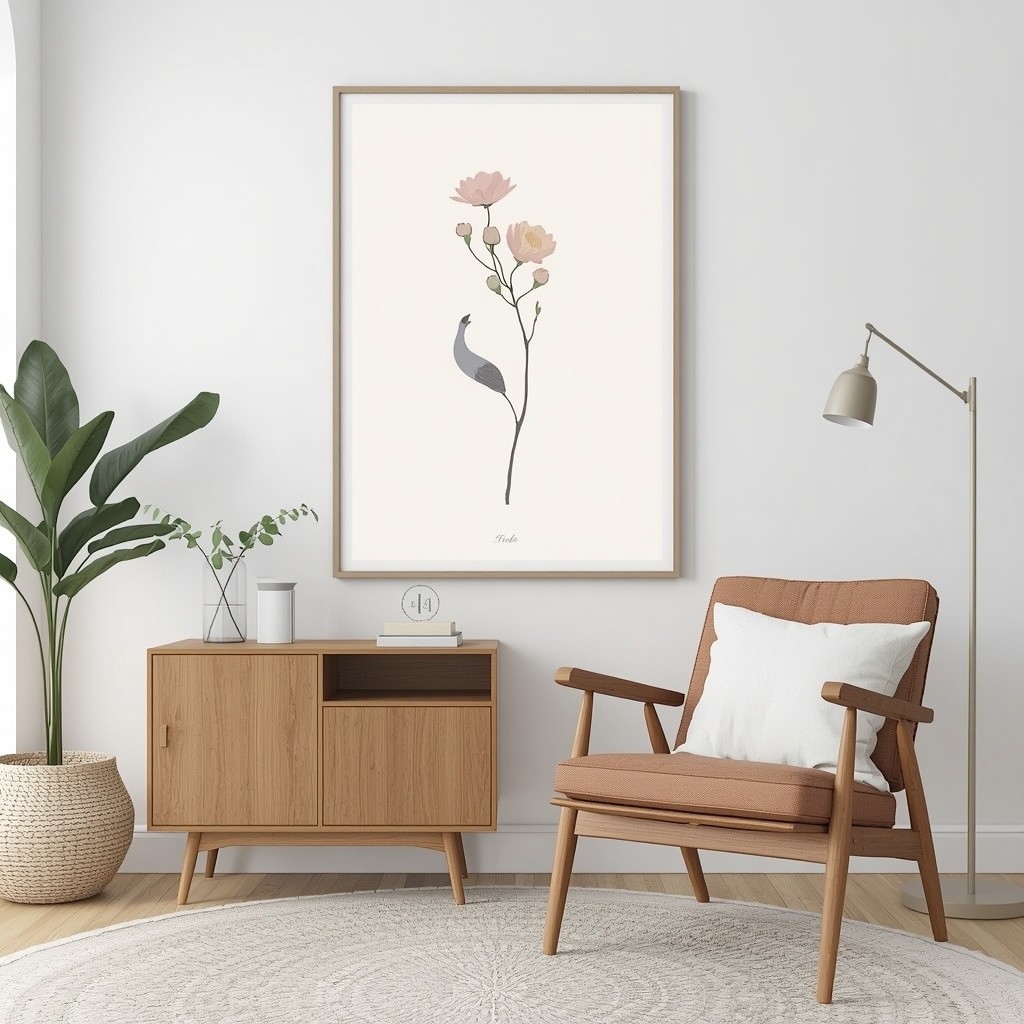
For free options, Unsplash offers high-resolution photography you can print as large-format landscapes or moody black-and-white shots. Public domain collections from museums such as the Metropolitan Museum of Art also let you download classic paintings at no cost. Send the file to a print shop for engineer prints or poster paper, and you can create oversized art for a fraction of retail.
Pro Tip: For a luxe look, print on matte paper rather than glossy. Glossy finishes reflect light and look cheap, while matte stock mimics the soft texture of fine art prints. Use a heavier paper weight, around 80 lb or higher, so the print hangs flat.
Hack 3: Frame It Like It’s Expensive
Framing is where budget art either shines or falls flat. A $3 print in a thoughtful frame will always look better than a $50 print in a flimsy one. The good news is that you can create a custom-framed look without paying custom-framing prices.
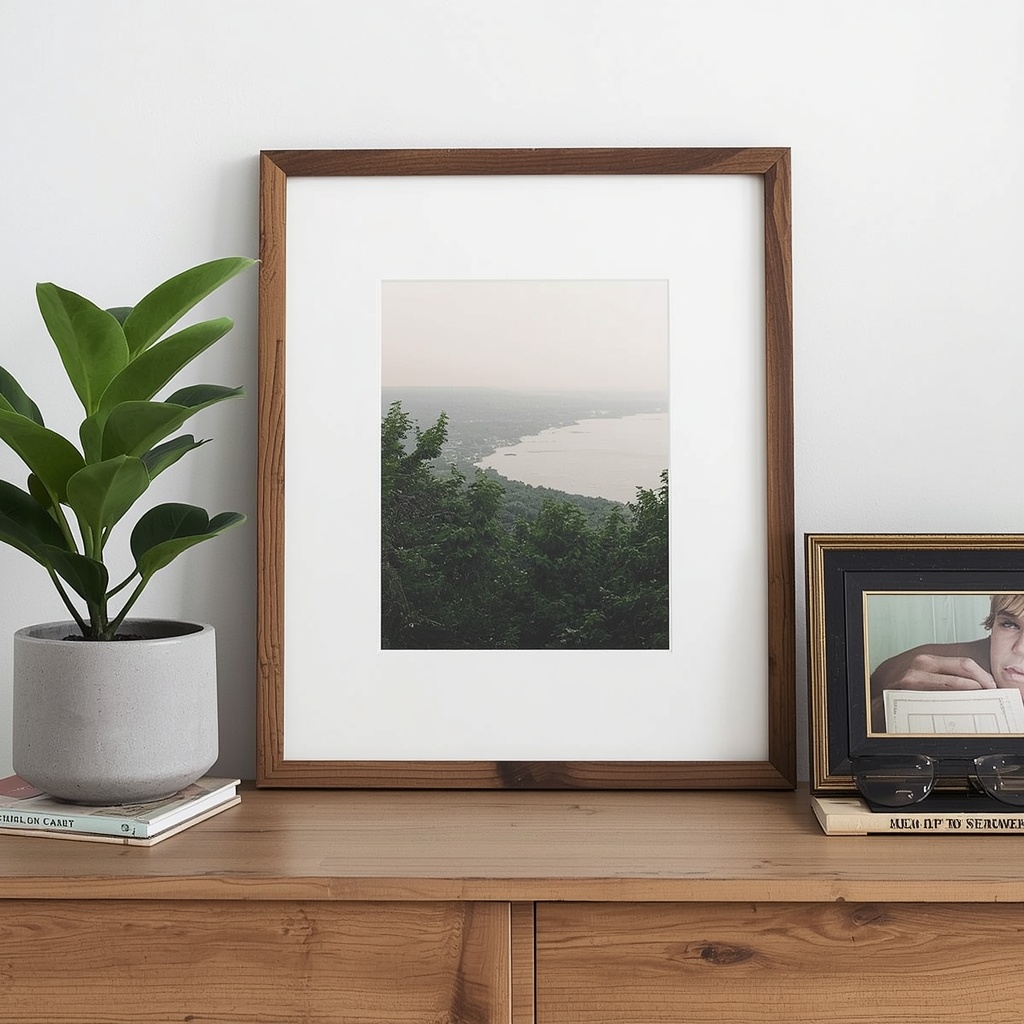
The single best upgrade is adding a mat. A wide white or off-white mat around a small print makes it feel substantial and gallery-ready. You can buy pre-cut mats in standard sizes for just a few dollars, and a large frame with an oversized mat can make a modest 5×7 print look like a centerpiece. Swap out thin plastic frames for thrifted wood ones, then refresh them with a coat of black, brass, or walnut-stain paint.
Quick frame upgrades that cost almost nothing:
- Spray paint old frames in matte black or antique gold for an instant cohesive look.
- Add a mat with a wide border to make small art feel important.
- Replace the glass with acrylic if you are hanging art in a kid’s room or high-traffic hallway.
- Use rub-on gilding wax to give plain wood frames a vintage brass edge.
- Float the print between two panes of glass for a modern, minimalist effect.
Hack 4: Create DIY Abstract Canvas Art
You do not need to be an artist to make abstract art. In fact, some of the most popular DIY wall art projects rely on simple techniques that anyone can master in an afternoon. Large canvases are expensive in stores, often $150 or more, but a blank canvas from a craft store costs a fraction of that, especially when you use a coupon.
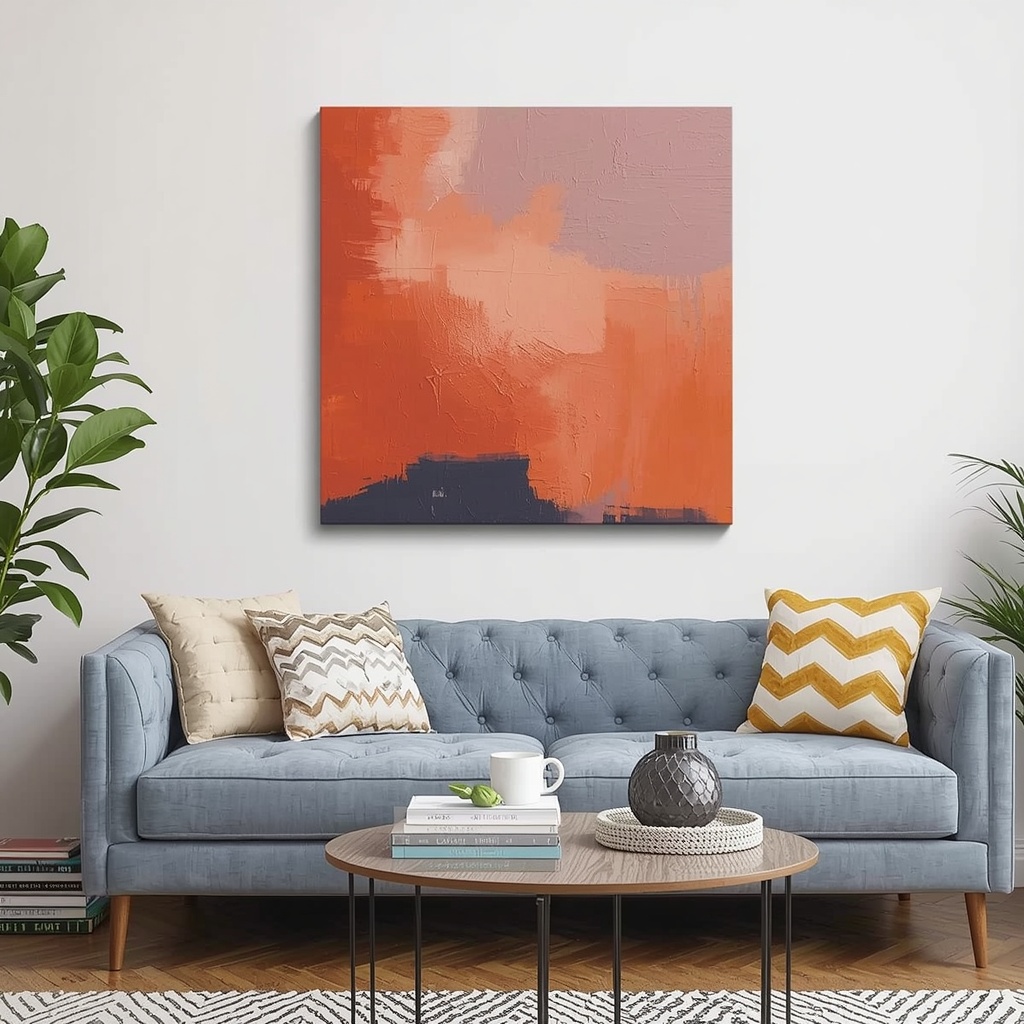
Try a color-block design with painter’s tape, a texture piece built from joint compound and a putty knife, or a simple wash of two complementary paint shades blended wet-on-wet. Sample-size wall paint, usually under $5, is perfect for this because you can mix and match colors that already exist in your room. The result is a one-of-a-kind piece that matches your decor perfectly.
Why it works: Abstract art is forgiving. There is no wrong way to hang a brushstroke, which makes it ideal for beginners.
Three beginner-friendly DIY wall art ideas:
- Color-block canvas: Tape off geometric shapes and fill them with two or three paint colors.
- Textured plaster art: Spread joint compound in sweeping arcs, let it dry, then paint it a warm neutral.
- Fabric stretch art: Staple a beautiful remnant or vintage scarf over a wood frame or stretcher bars.
Hack 5: Shop Thrift Stores, Flea Markets, and ReStores
Secondhand shopping is a designer’s favorite way to find character. Thrift stores and estate sales are full of original paintings, vintage frames, and mirrors that would cost hundreds at a boutique. Look past the dated subject matter and focus on the bones: interesting frames, good scale, and quality materials.
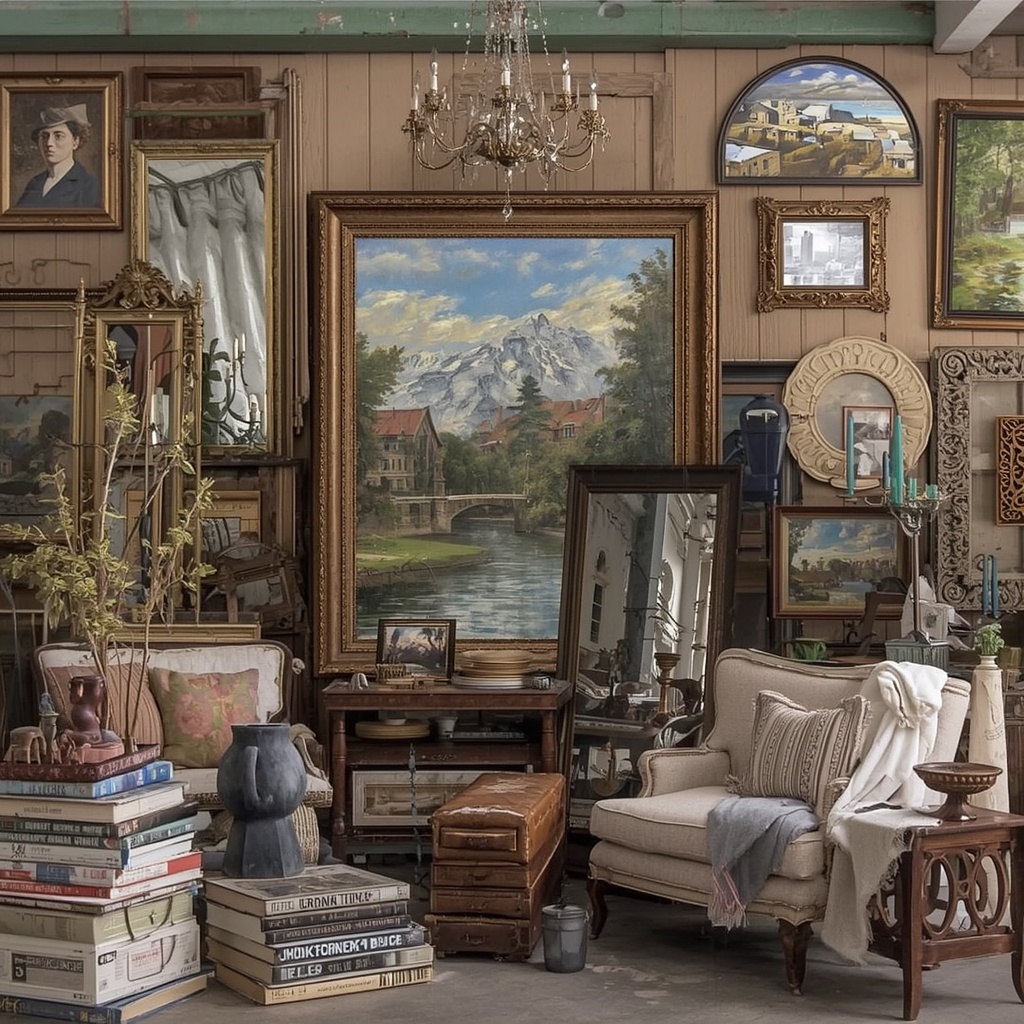
Check out your local Habitat for Humanity ReStore for salvaged mirrors, architectural pieces, and reclaimed wood that can double as art. At flea markets, bring a tape measure and a small phone flashlight, and do not be afraid to negotiate. A dull landscape painting in a gorgeous frame can be repainted, reframed, or even covered with a new print, so you get high-end frames at thrift prices.
Thrifting checklist for wall art:
- Solid wood or metal frames (avoid warped or cracked ones)
- Mirrors with ornate edges that can be repainted
- Vintage botanical, nautical, or map prints
- Interesting textiles like tapestries or embroidered pieces
- Wood trays, plates, and wall baskets for 3D texture
Hack 6: Turn Fabric, Wallpaper, and Textiles Into Art
Some of the most striking budget wall decor does not come from the art aisle at all. A single yard of designer fabric, a pretty tea towel, or a roll of peel-and-stick wallpaper can become a showstopper when framed or stretched. Because these materials often come in bold patterns, they provide instant color and visual interest.
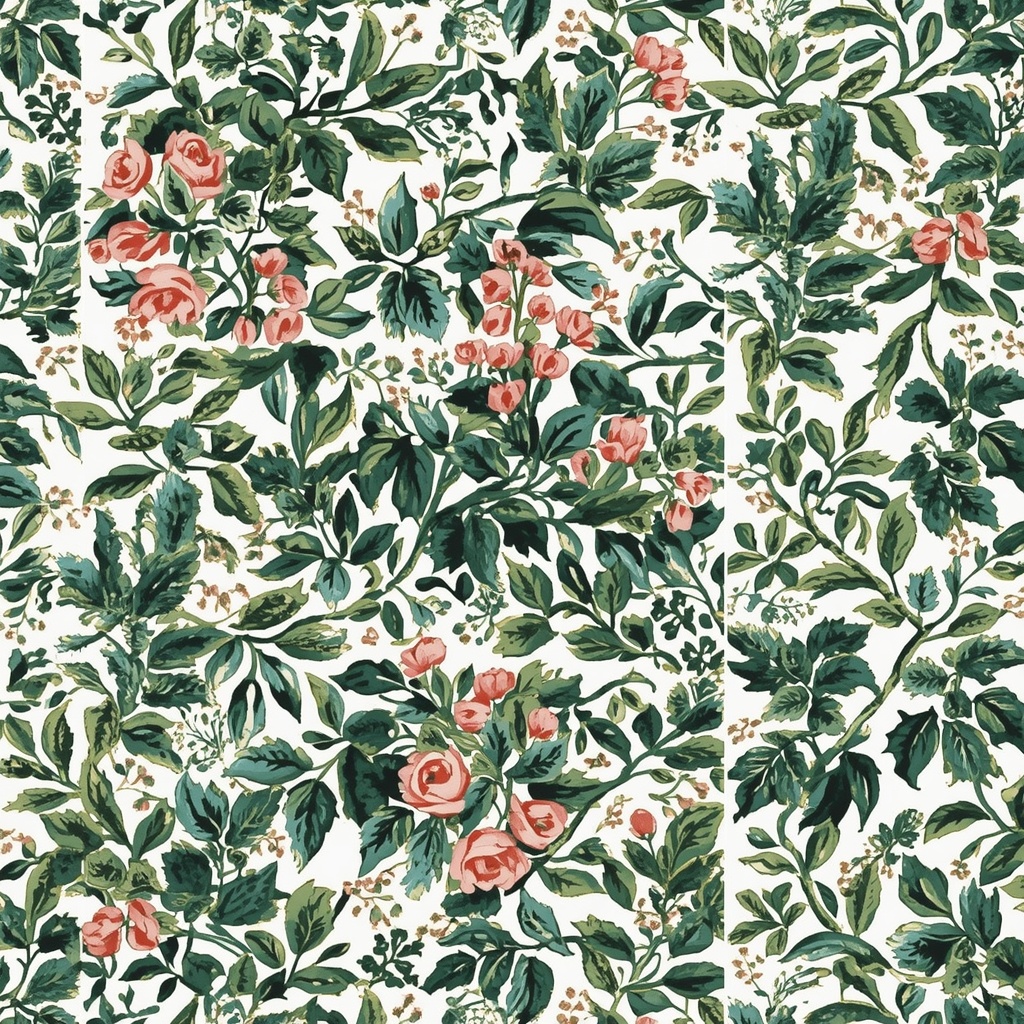
For a renter-friendly twist, use removable wallpaper to cover the back panel of a bookshelf or to build a faux headboard behind a bed. You can also frame wallpaper samples in a grid for an eye-catching pattern wall. Most wallpaper retailers offer small sample squares for a few dollars each, and the same trick works with fabric swatches, which makes this one of the most affordable ways to add pattern and color.
Hack 7: Think Beyond Frames With Mixed Media
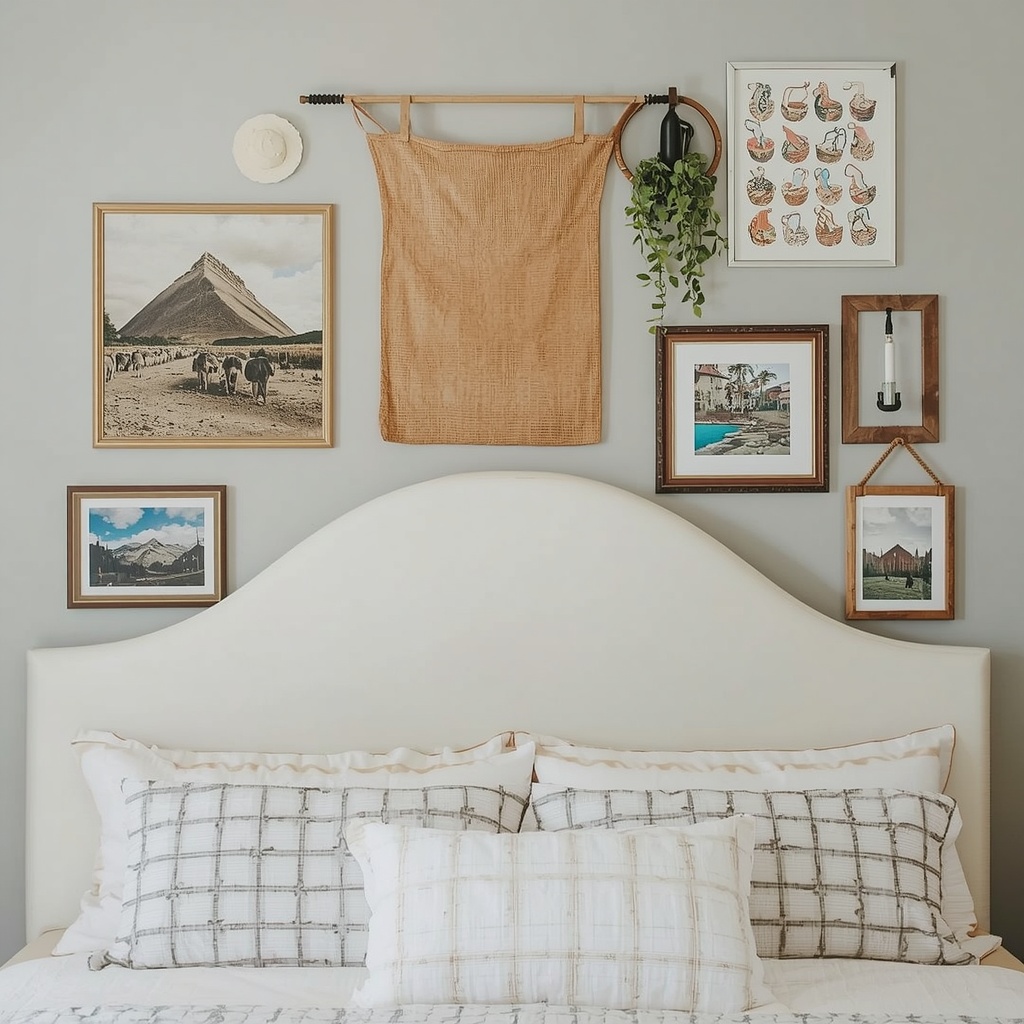
Great walls are layered. Beyond traditional framed art, you can add depth with objects that have texture, shape, and shadow. Woven baskets, ceramic plates, macrame hangings, and sculptural mirrors all break up the flat plane of a wall and make a space feel collected over time instead of bought in a single trip.
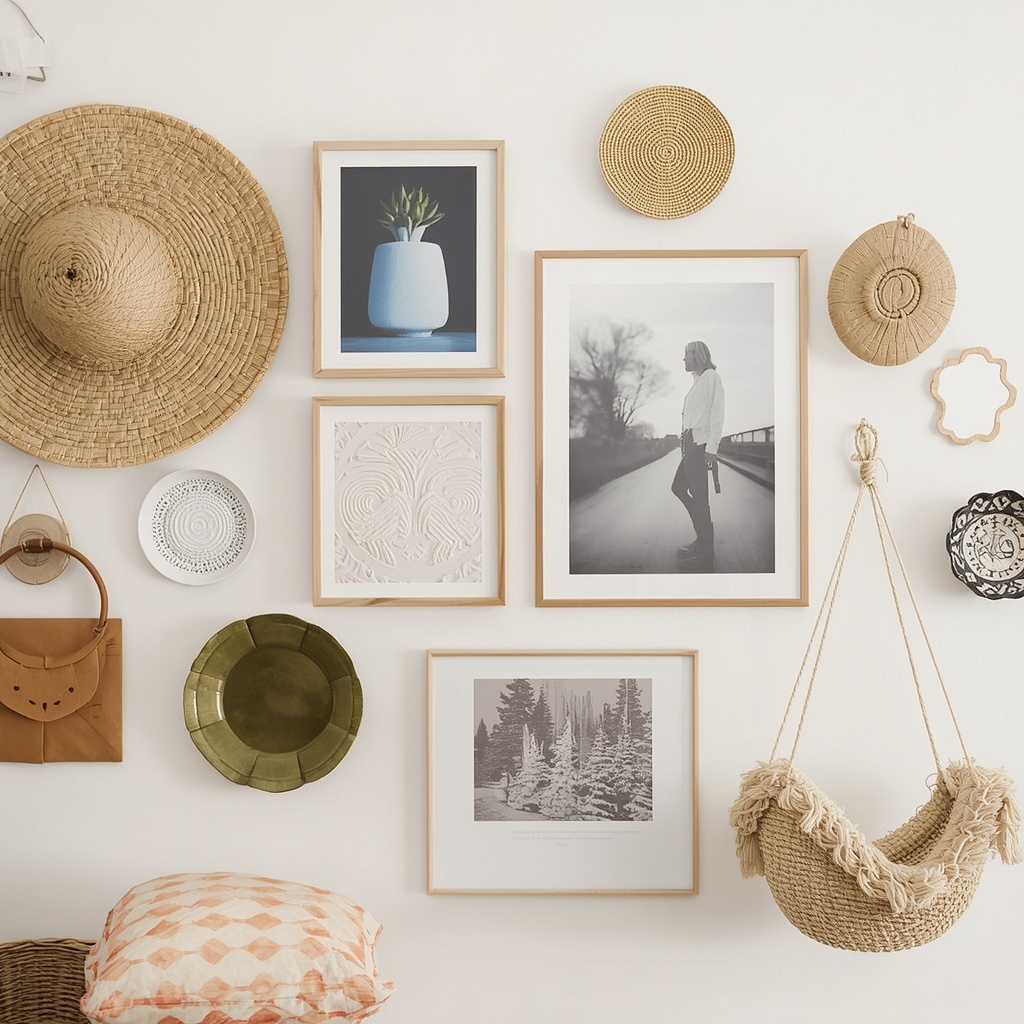
Group items in odd numbers, three or five, and vary the heights and finishes. A round mirror beside a rectangular print, flanked by a wicker basket, creates a pleasing contrast of shapes. This mixed-media approach also works well for filling awkward spaces like the area above a door, a long hallway, or the wall beside a staircase.
Pro Tip: When mixing materials, repeat one color or finish at least three times across the grouping. Three black elements, for example, will tie together a basket, a frame, and a mirror so the display feels intentional rather than random.
Hack 8: Make a Statement With Paint
If your budget is truly tiny, paint is the most powerful wall art tool you have. A quart of paint costs under $30, and with painter’s tape, you can create arches, stripes, color-blocked panels, or an oversized circle behind your bed or sofa. The impact is bold, modern, and surprisingly sophisticated.
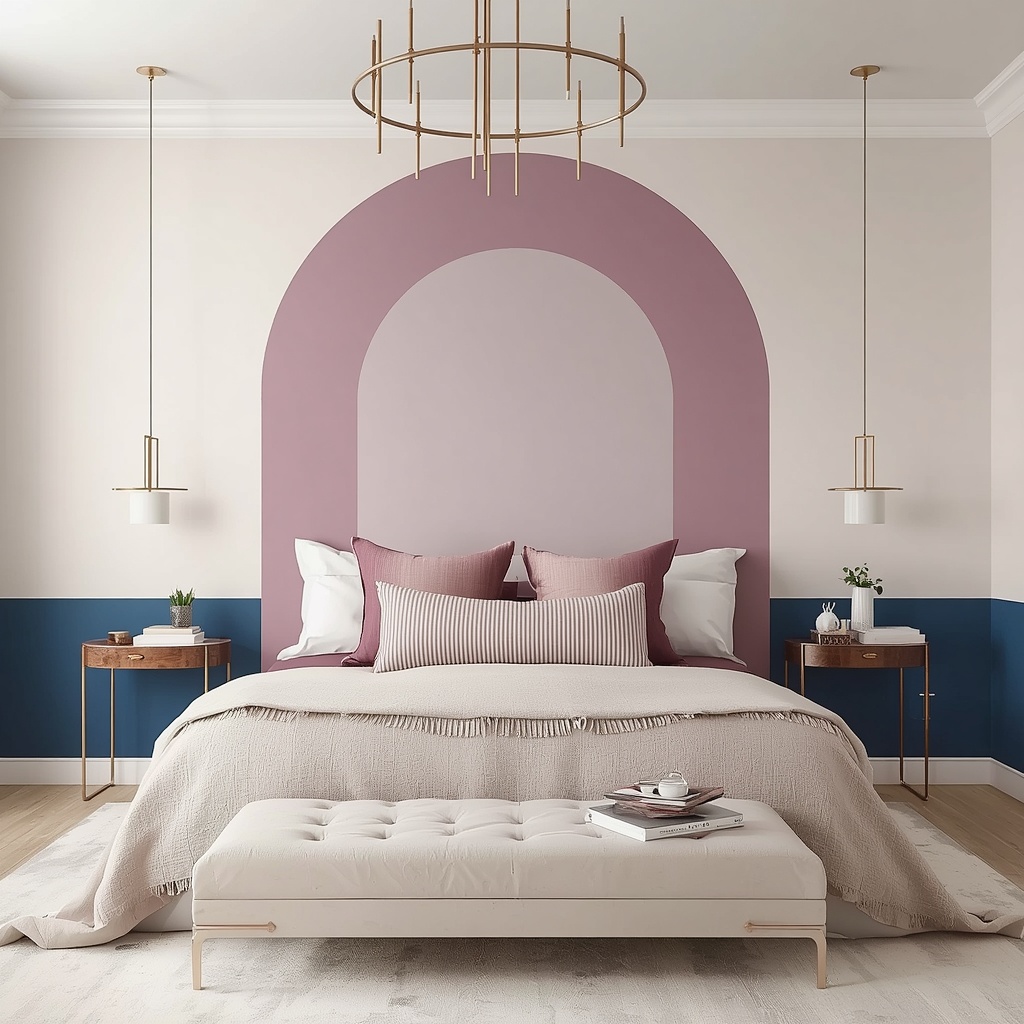
A painted arch behind a console table or headboard has become a popular design trend, and it requires only tape, a string compass, and one afternoon. For a softer approach, try a limewash finish or a two-tone wall where the lower half is a deeper color than the upper half. Either way, you are creating architectural interest without lifting a single frame.
| Paint Idea | Estimated Cost | Time Needed | Skill Level |
|---|---|---|---|
| Painted arch | $25 to $40 | 3 to 4 hours | Beginner |
| Color-block wall | $30 to $50 | 4 to 5 hours | Beginner |
| Two-tone wall | $40 to $60 | 5 to 6 hours | Intermediate |
| Limewash finish | $50 to $90 | 6 to 8 hours | Intermediate |
Room-by-Room Wall Art Ideas on a Budget
Every room has different needs, so let’s break down where your art dollars will go the furthest. Start with the rooms your guests see first, then work your way through the private spaces.
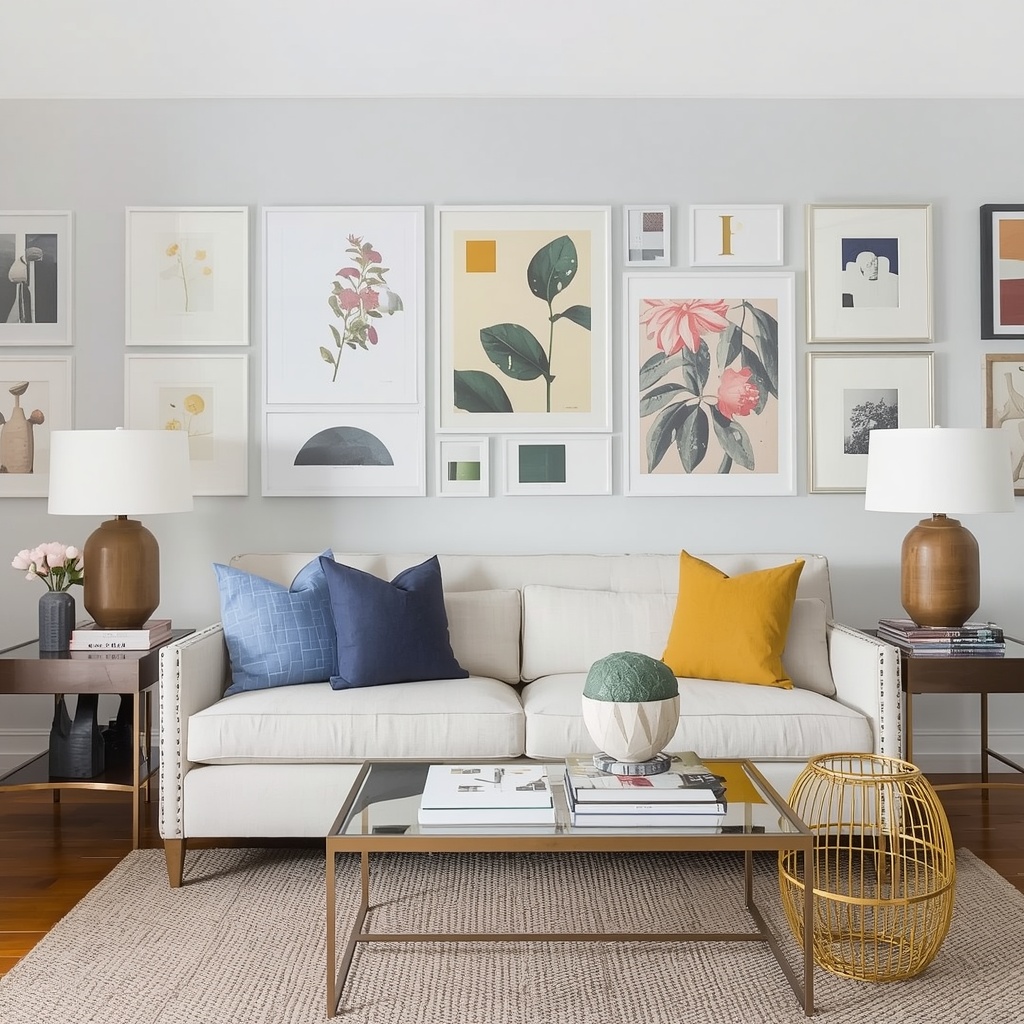
In the living room, go bold. This is where an oversized piece or a large gallery wall belongs, since it anchors your seating area and sets the tone for the whole home. In the bedroom, choose calming art in soft tones, and consider hanging a large piece above the headboard to create a focal point. In the kitchen and dining room, think food-friendly subjects like botanicals, vintage produce prints, and framed cutting boards. In the bathroom, pick moisture-resistant art, such as acrylic prints or sealed canvases, and keep paper art safely behind glass. In the entryway, a mirror paired with a small gallery is both practical and welcoming.
Common Wall Art Mistakes to Avoid
Even the best budget hacks can fall flat if you fall into a few classic traps. The most common is hanging art too high. The center of your artwork should sit at about 57 inches from the floor, which is average eye level, and art above furniture should hang 6 to 8 inches above it so the two feel connected.
Another mistake is buying everything in a matching set, which can feel like a catalog page instead of a lived-in home. Mix eras, textures, and subjects. Finally, do not overcrowd. Give your pieces breathing room, and remember that negative space is part of the design. Leaving a little blank wall can make the art you do hang look more important.
Quick-check list before you hammer:
- Is the art roughly two-thirds the width of the furniture below it?
- Is the center of the piece around 57 inches from the floor?
- Do the colors pull from at least one other element in the room?
- Have you tested the layout with paper templates?
Renter-Friendly Ways to Hang Art Without Damage
If you rent, you can still have a beautiful, personalized wall. Damage-free hanging strips, such as Command strips, hold surprisingly heavy frames and peel off cleanly when you move. For larger pieces, lean them on a dresser, console, or the floor, which is a gorgeous, effortless designer look.
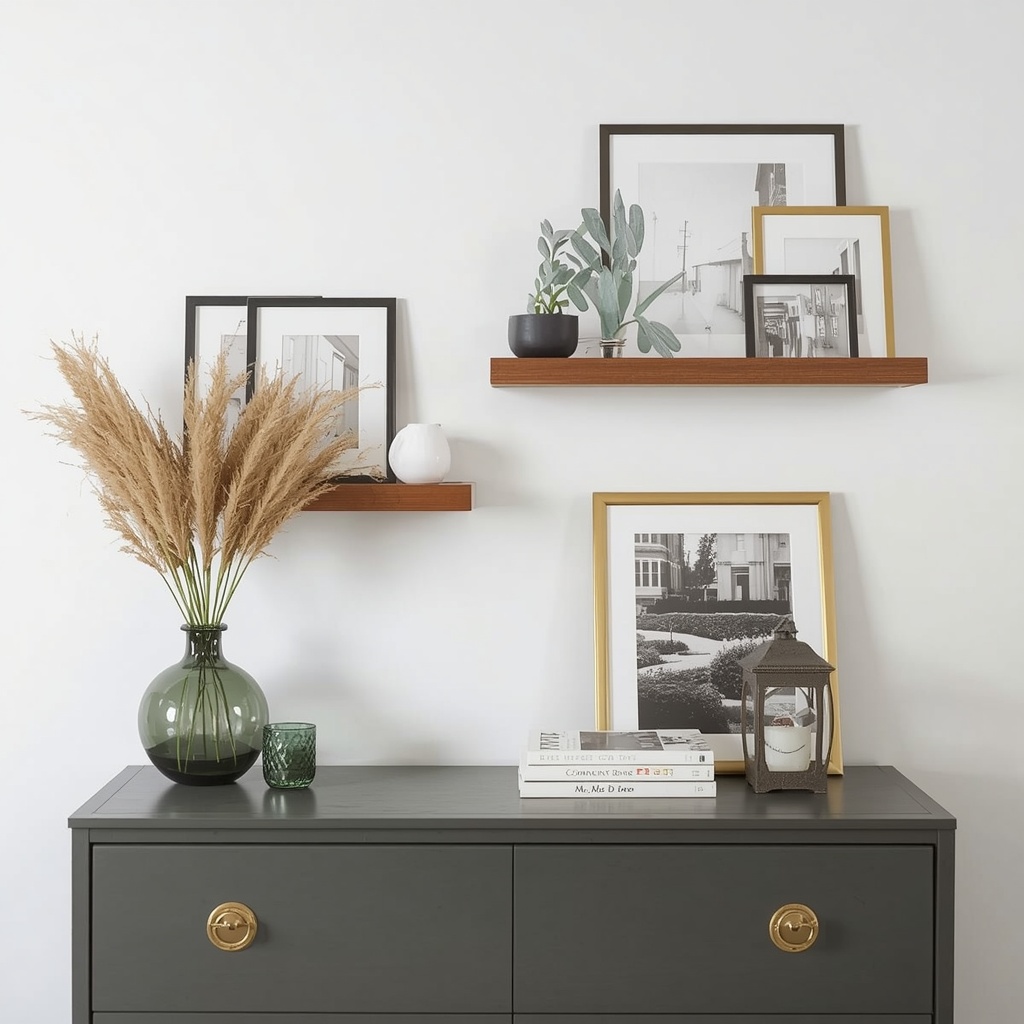
Picture ledges and floating shelves are also fantastic for renters because you can swap art in and out without making new holes. Layer a few frames on a ledge, mix in a small plant or candle, and you have a flexible display that changes with the seasons. Just remember to follow the weight limits on any adhesive hardware and test strips in an inconspicuous spot first.
Budget Breakdown: What Each Hack Really Costs
Wondering how far your money will actually go? Here is a quick comparison of the hacks in this guide, so you can pick the ones that fit your wallet and your timeline.
| Hack | Typical Cost | Visual Impact | Best For |
|---|---|---|---|
| Gallery wall | $50 to $100 | High | Living rooms, hallways |
| Digital downloads | $5 to $25 | Medium to High | Any room |
| Upgraded frames and mats | $10 to $40 | Medium | Elevating existing art |
| DIY abstract canvas | $15 to $35 | High | Bedrooms, entryways |
| Thrift store finds | $5 to $30 | Medium to High | Eclectic, vintage styles |
| Fabric or wallpaper art | $10 to $30 | High | Accent walls, offices |
| Mixed-media groupings | $20 to $60 | High | Awkward or narrow spaces |
| Painted murals and arches | $25 to $60 | Very High | Bold statement walls |
Pro Tips From a Designer’s Playbook
Over the years, a few small habits have made the biggest difference in my clients’ homes. First, step back and look at your wall from across the room before you commit to any nails. Distance reveals problems with spacing and scale that you simply cannot see up close.
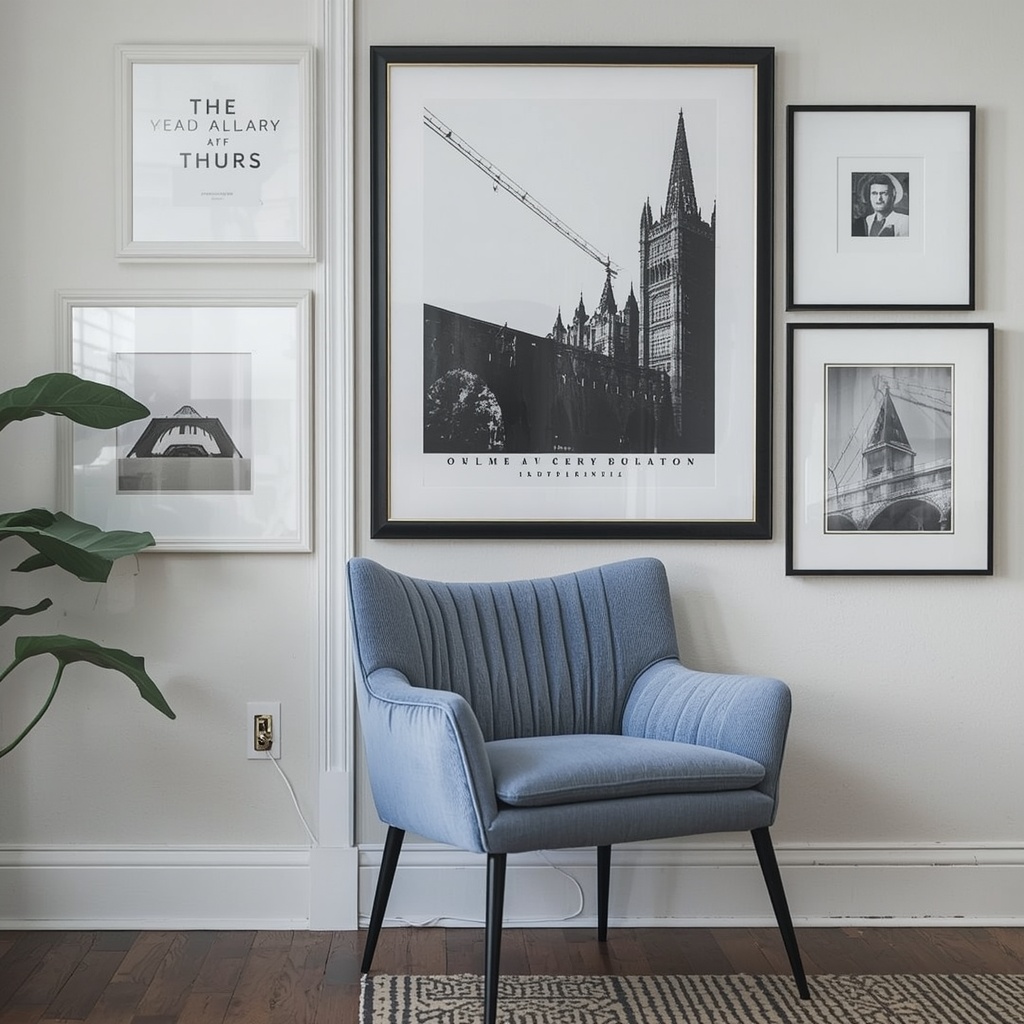
Second, light your art. A small clip-on picture light or a plug-in wall sconce makes even a $10 print look like a museum piece. Third, rotate seasonally. Keep a small stash of prints in a drawer and swap them every few months for a fresh look at no added cost. Finally, trust your own taste. The best wall decor is the kind that makes you smile when you walk in the door.
Pro Tip: Take a photo of your wall after you arrange the layout. Photos flatten the view the way a camera does, which makes it easy to spot lopsided spacing or one piece that feels too heavy.
Frequently Asked Questions
How do I make cheap wall art look expensive? Focus on framing, scale, and lighting. A wide mat, a quality frame finish, and a small picture light can transform inexpensive prints into something that looks custom.
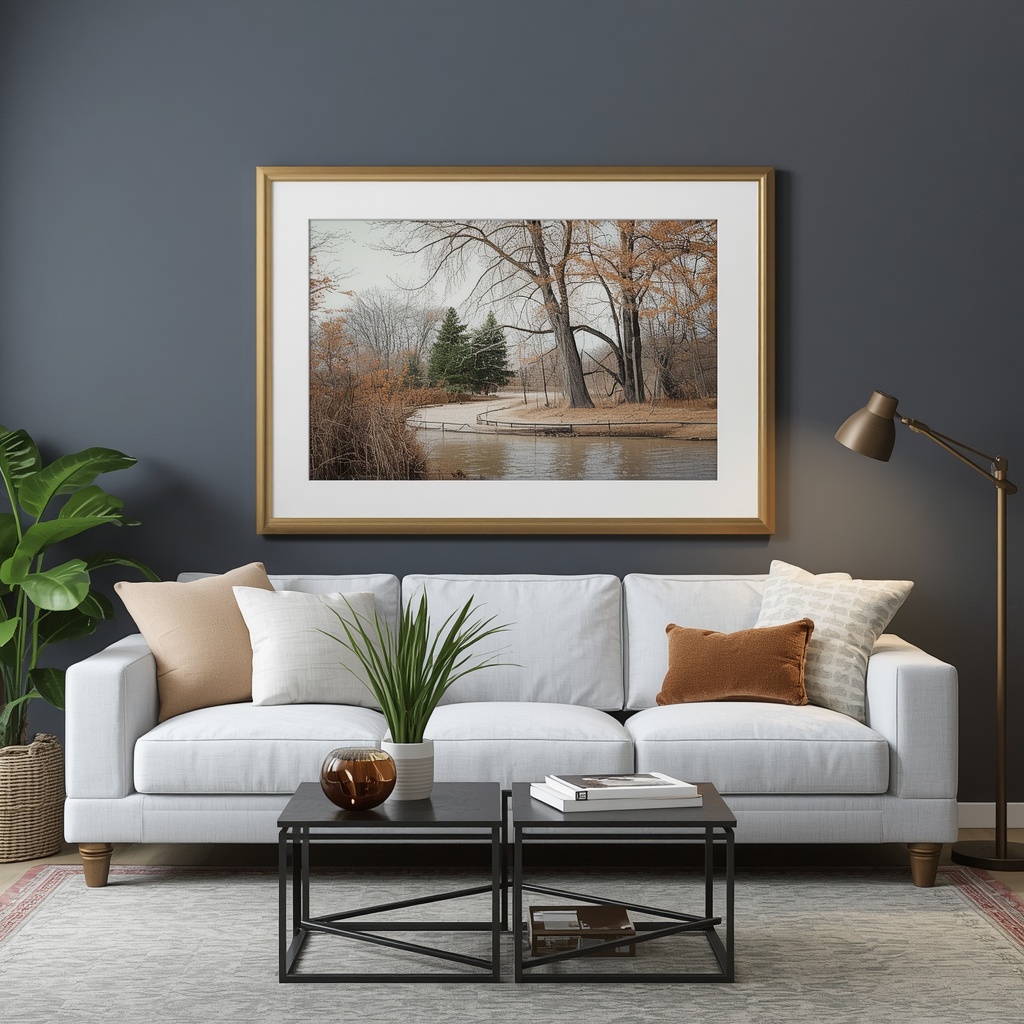
What size art should I hang above my couch? Aim for art or a grouping that spans about two-thirds the width of the sofa, hung 6 to 8 inches above the back cushions.
Where can I find free printable wall art? Public domain museum collections and free stock photo sites like Unsplash offer high-resolution images you can print legally for personal use. Always check the license before printing.
How many pieces should be in a gallery wall? Five to nine pieces is a comfortable range for most walls. Fewer than five can feel sparse, while more than nine can feel cluttered unless you have a very large wall.
Final Thoughts: Big Impact Doesn’t Need a Big Budget
Great wall art is not about spending more, it is about choosing with intention. Whether you build a gallery wall from thrifted frames, print a free landscape photo, or paint a bold arch behind your bed, each of these budget-friendly wall art hacks proves that style is about creativity, not cost.
Start with one wall this weekend. Measure, plan, and pick a hack that excites you. Once you see how a few dollars and a little effort can transform a blank wall, you will start noticing opportunities in every room. Your home should tell your story, and your walls are the perfect place to begin.