
There’s a particular kind of magic in eating dinner outdoors as the sky turns amber and the air cools. A garden dining space turns an ordinary backyard into a private retreat — somewhere between a restaurant patio and a secret garden. You don’t need acres of land or a professional landscaping crew to get there.
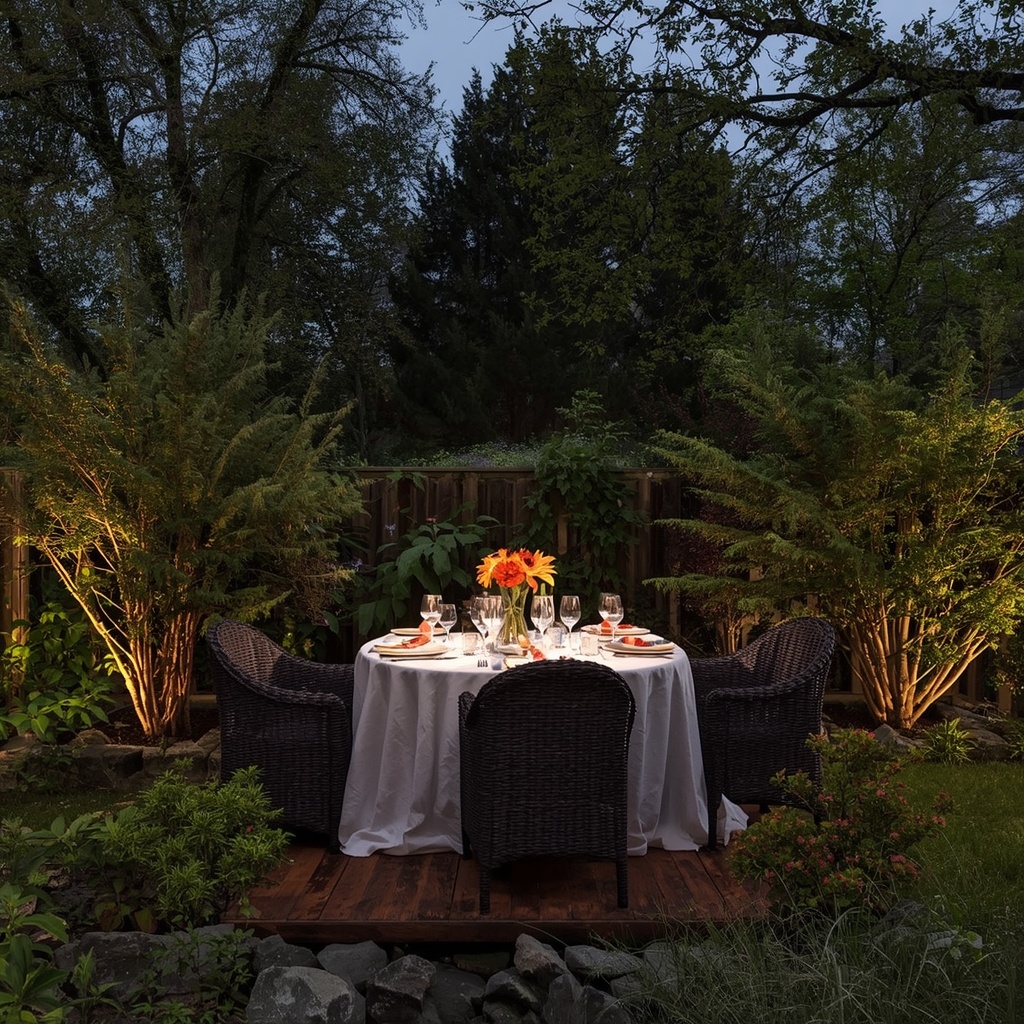
With the right layout, furniture, lighting, and greenery, even a modest patio or side yard can become the most requested seat in the house. Below, I’ll walk you through seven practical, designer-approved steps for building an intimate outdoor dining nook that feels curated, cozy, and completely yours.
“A garden should make you forget, for a moment, that you’re still in the city.” — a sentiment every good outdoor dining space should live up to.
Why an Intimate Garden Dining Space Matters
Outdoor dining areas aren’t just a trend — they’re one of the highest-return additions you can make to a home. A well-designed patio dining space extends your usable square footage, gives you a dedicated spot for slow mornings and long dinners, and adds real value if you ever sell.
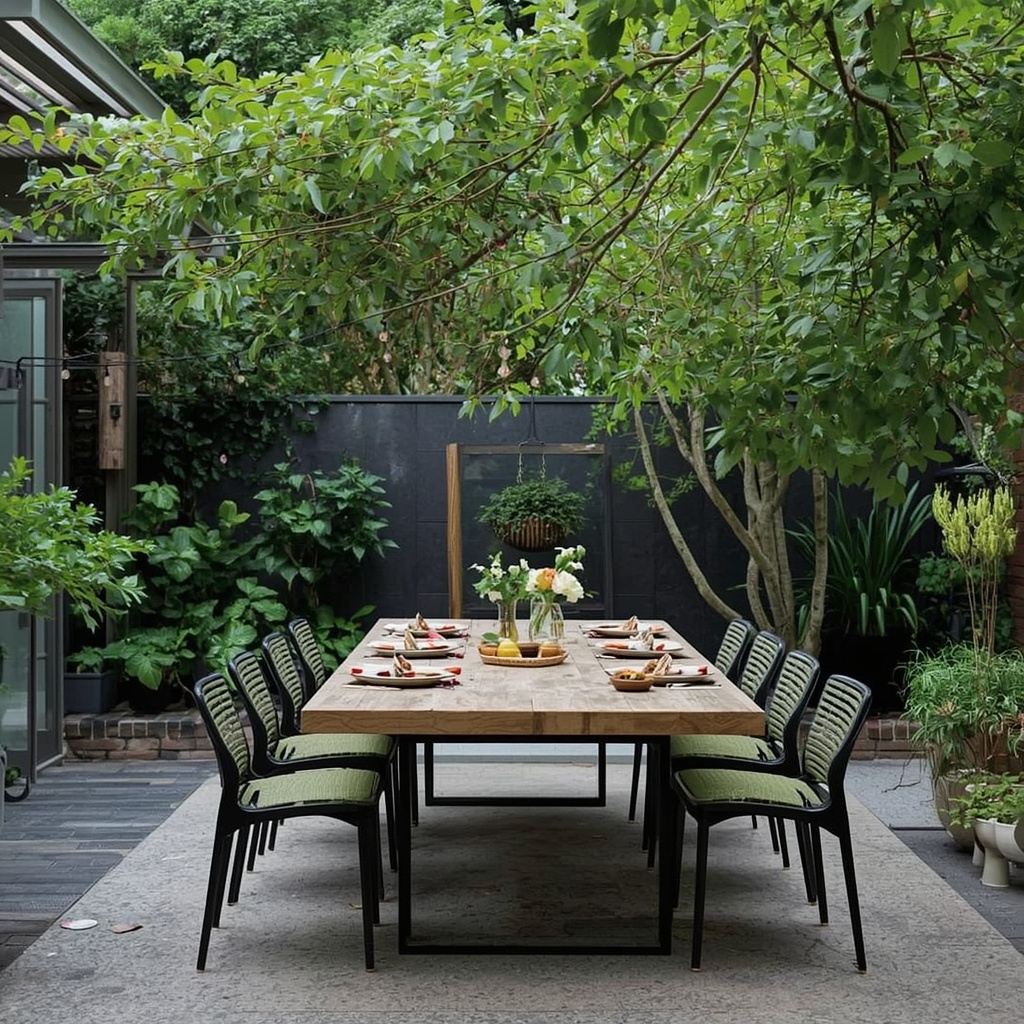
More than that, it changes how you use your home. Meals eaten under string lights, surrounded by potted herbs and the sound of rustling leaves, simply feel different than meals eaten indoors. That sense of occasion is exactly what “intimate” means in design terms: a space scaled for connection, not for crowds.
Pro Tip: Before buying a single item, sit in your yard at the time of day you’ll actually use the space most (usually early evening). Note the sun angle, wind direction, and views — this fifteen-minute exercise will save you from expensive layout mistakes later.
Step 1: Choose the Right Location
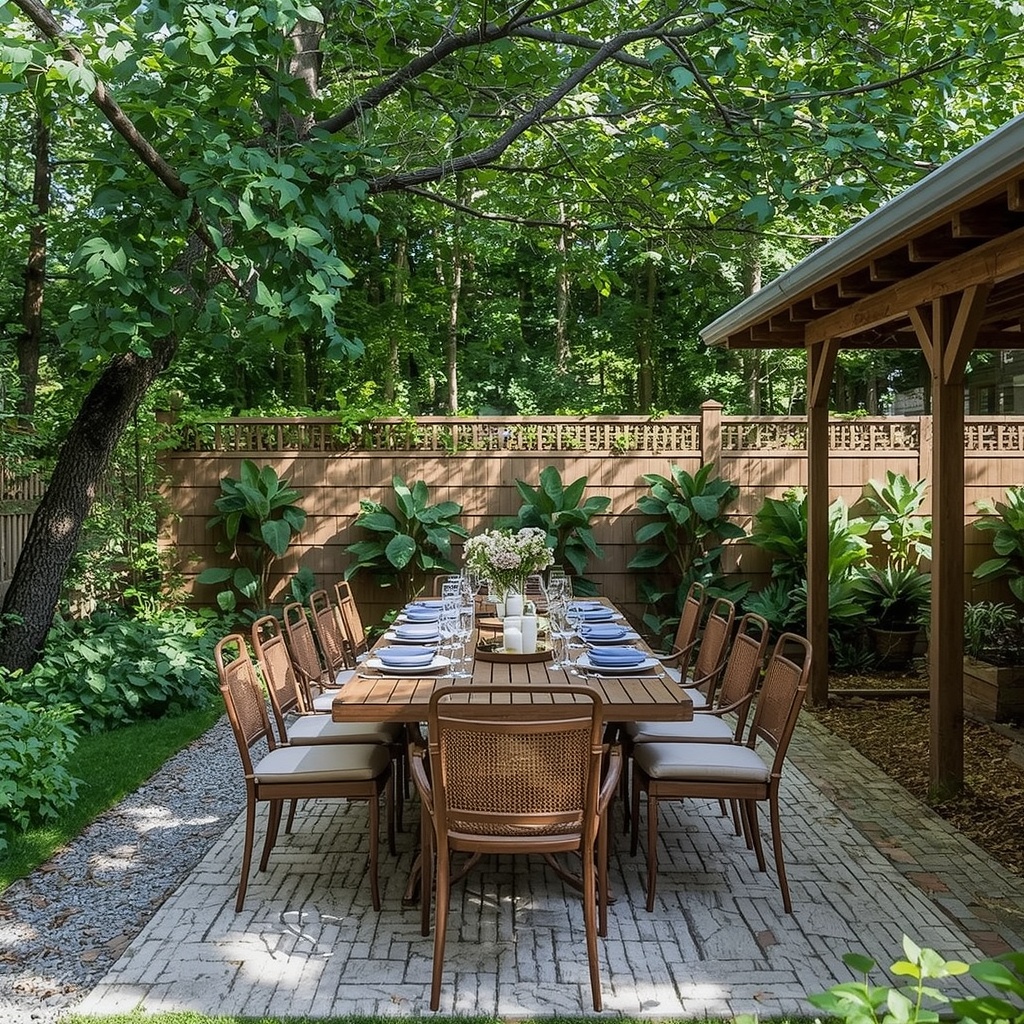
Location is the foundation of every successful outdoor dining nook. Look for a spot that feels naturally enclosed — near a fence line, tucked beside a hedge, or framed by existing trees. These natural boundaries do half the work of creating intimacy before you’ve added a single piece of furniture.
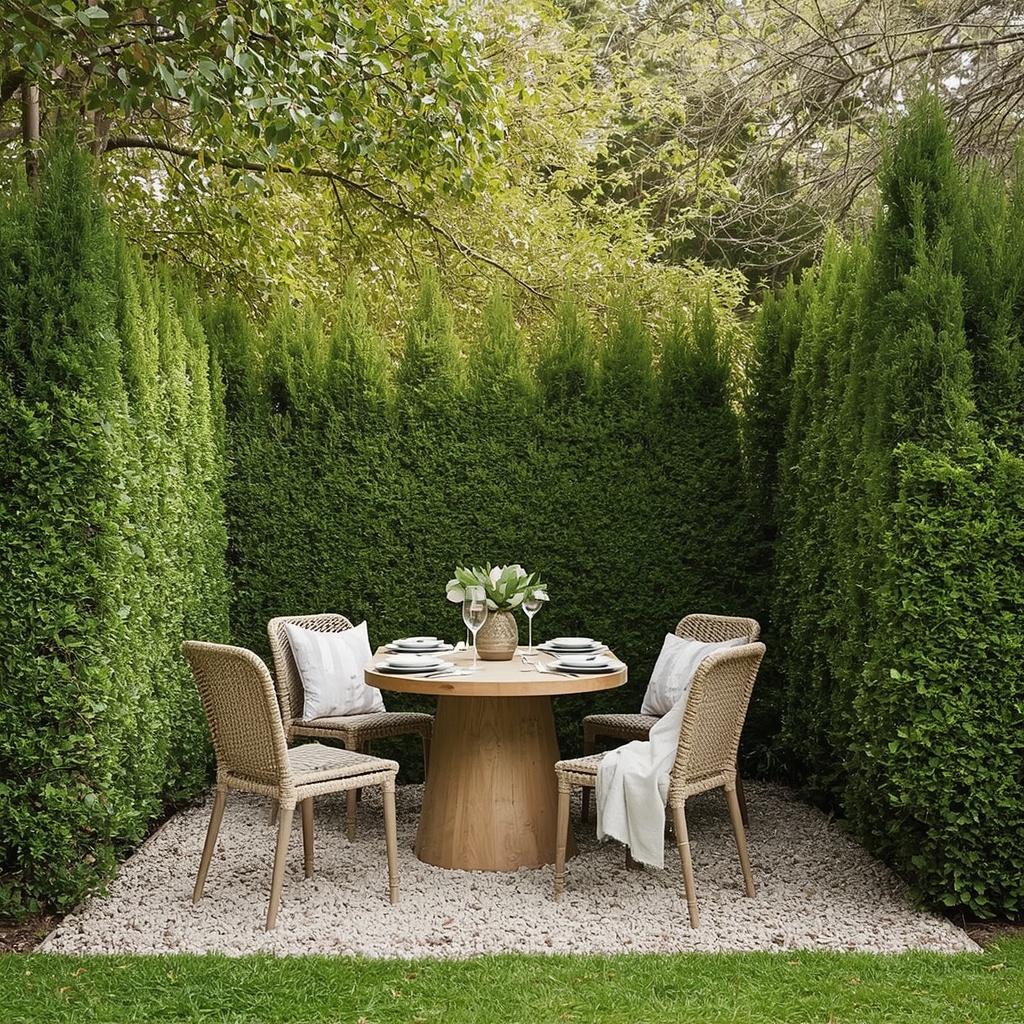
Avoid placing your dining area in the dead center of an open lawn, where it will feel exposed rather than cozy. Instead, aim for a corner or edge of the yard that offers a sense of shelter on at least two sides, ideally with some shade during peak afternoon sun.
| Location Type | Pros | Best For |
|---|---|---|
| Near the house (patio/deck) | Easy kitchen access, existing hardscape | Small yards, frequent weeknight use |
| Under a mature tree | Natural shade, dappled light | Warm climates, romantic ambiance |
| Corner of the yard | Maximum privacy, garden views | Larger lots, entertaining |
| Side yard nook | Hidden, unexpected surprise | Narrow or awkward lots |
Step 2: Define the Space with Structure
Once you’ve picked a location, give it physical boundaries. A pergola, arbor, lattice screen, or even a simple row of tall planters signals “this is a room” without walls. This structural definition is what separates a true dining space from furniture that just happens to be sitting outside.
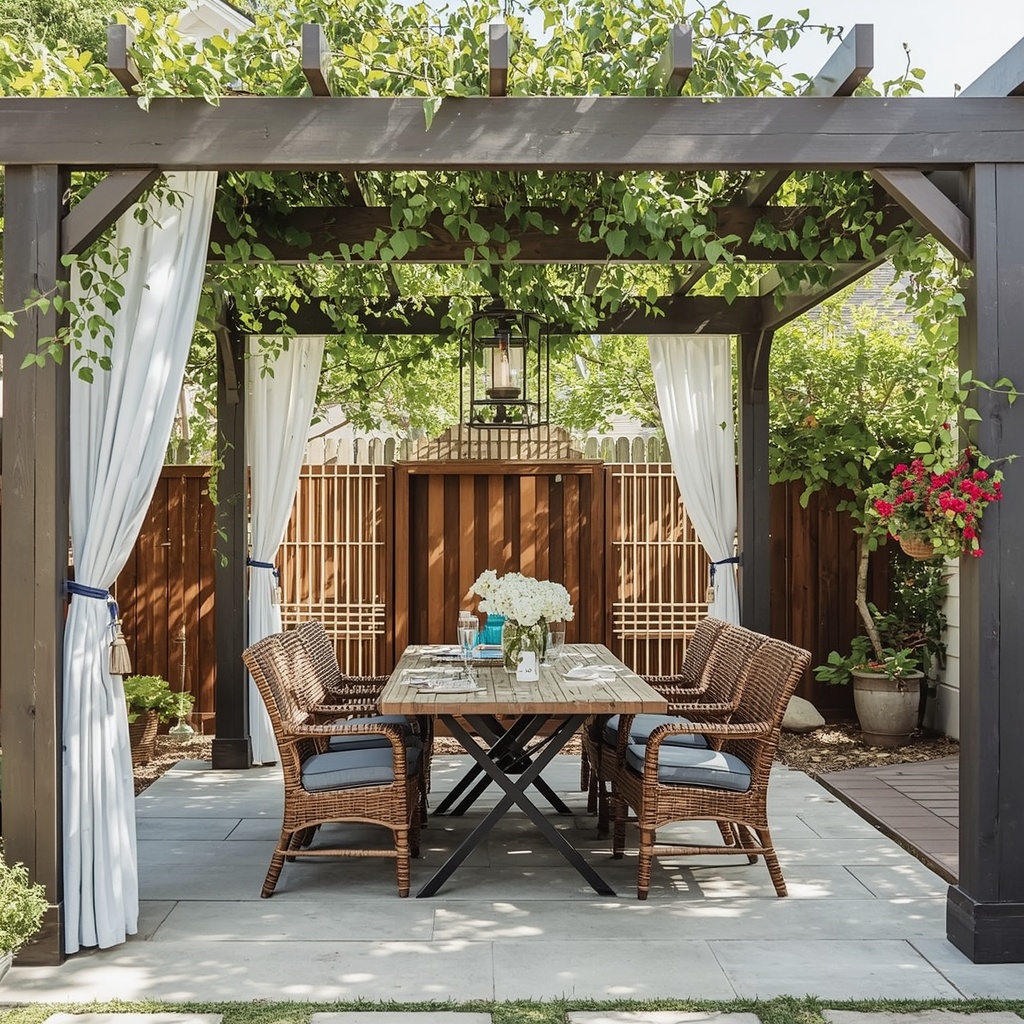
Vertical elements do double duty: they create privacy from neighbors and provide a framework for climbing vines, string lights, or fabric drapery. If a full pergola isn’t in the budget, consider a freestanding arbor kit or bamboo screening panels, both of which are budget-friendly and weekend-installable.
Structural options worth considering:
- Wooden pergola — classic, sturdy, supports climbing plants
- Metal arbor — slim profile, modern look, lower maintenance
- Bamboo or reed screening — inexpensive, quick privacy fix
- Tall potted grasses or bamboo — softens edges, no construction required
- Outdoor curtains on a rod — adjustable privacy and shade
Pro Tip: If you’re renting, skip anything requiring permanent installation. Freestanding pergolas and heavy planters give you the same enclosed feeling without touching the property’s structure.
Step 3: Select Furniture That Fits the Scale
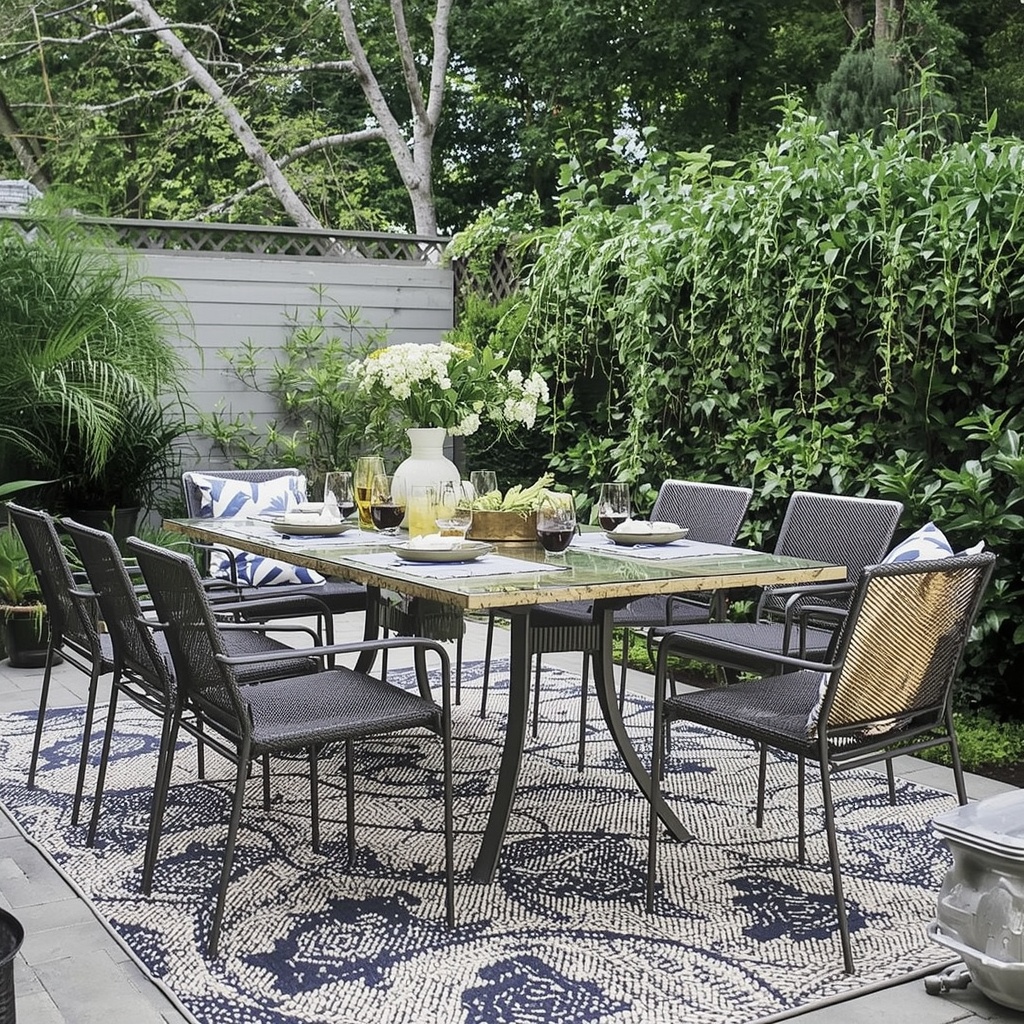
Intimacy is largely a matter of proportion. A table built for ten will never feel cozy, no matter how beautifully it’s styled. For a true intimate garden dining space, scale your furniture to four to six people, and choose pieces with a smaller visual footprint — think bistro tables, round tops, or a compact rectangular table with backless benches.
Material matters just as much as size. Teak, eucalyptus, and powder-coated aluminum all hold up well against weather while keeping a refined look, whereas untreated wood or basic plastic sets can feel disposable and won’t last more than a season or two outdoors.
| Material | Durability | Maintenance | Style Feel |
|---|---|---|---|
| Teak | Excellent | Low | Warm, classic |
| Eucalyptus | Very good | Low-medium | Natural, casual |
| Powder-coated aluminum | Excellent | Very low | Modern, sleek |
| Wrought iron | Good (rust risk) | Medium | Traditional, romantic |
| Rattan/wicker (synthetic) | Good | Low | Relaxed, coastal |
Step 4: Layer in Lighting for Ambiance
Nothing signals “intimate dinner” faster than good lighting, and nothing ruins the mood faster than a single harsh overhead bulb. The trick is layering: combine ambient, task, and accent lighting rather than relying on one source.
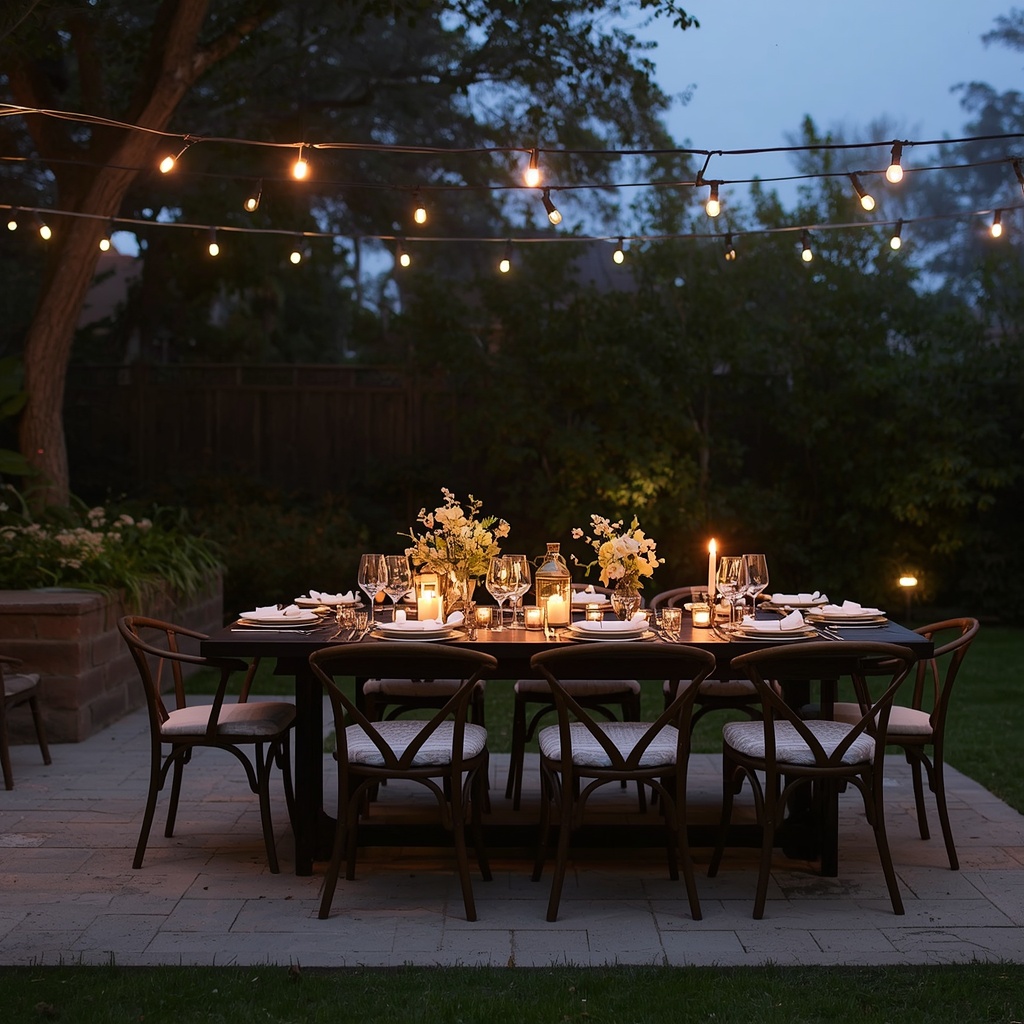
String lights overhead create a warm ceiling of glow, lanterns or candles at table height add flicker and softness, and low path lighting guides guests to the table without flooding the whole yard in brightness. Aim for warm-white bulbs (2700K or lower) — anything cooler will feel more like a parking lot than a dinner party.
| Lighting Type | Placement | Effect |
|---|---|---|
| String lights | Overhead, along pergola beams | Warm, celebratory glow |
| Lanterns/candles | Table centerpiece | Intimate, flickering light |
| Solar path lights | Along the walkway | Safe, subtle guidance |
| Uplights | Base of trees or shrubs | Dramatic, layered depth |
Pro Tip: Put your string lights on a smart plug or timer. You’ll get consistent ambiance every evening without remembering to flip a switch, and most units cost less than $15.
Step 5: Add Greenery and Fragrance
Plants are what transform a furnished patio into an actual garden. Layer your greenery at different heights — tall shrubs or trees for the backdrop, mid-height potted plants around the seating area, and low, fragrant herbs or flowers near the table itself.
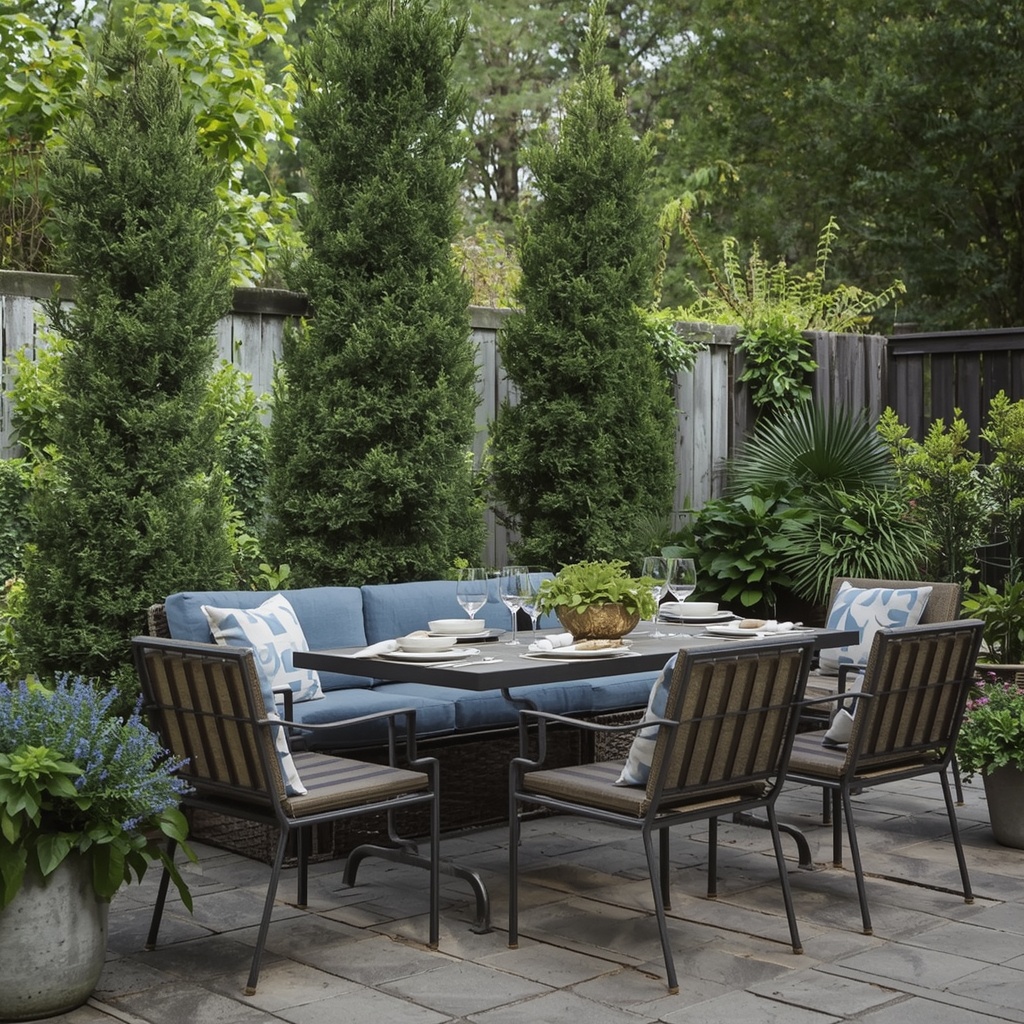
Fragrance is an underused design tool outdoors. Jasmine, lavender, rosemary, and gardenia all release scent in the evening air, adding a sensory layer that photos and Pinterest boards simply can’t capture. Even a few pots of mint or basil double as both décor and dinner ingredients.
Fragrant and low-maintenance options to consider:
- Lavender (full sun, drought-tolerant)
- Jasmine vine (trained along a pergola or trellis)
- Rosemary (upright variety works well in pots)
- Sweet alyssum (low border planting, honey scent)
- Citronella geranium (bonus: helps repel mosquitoes)
Step 6: Layer in Textiles and Comfort
A garden dining space should feel as comfortable as your living room, not like you’re perched on a folding chair. Outdoor-rated cushions, a woven rug underfoot, and linen napkins on the table all add the tactile warmth that turns “furniture in a yard” into a genuine room.
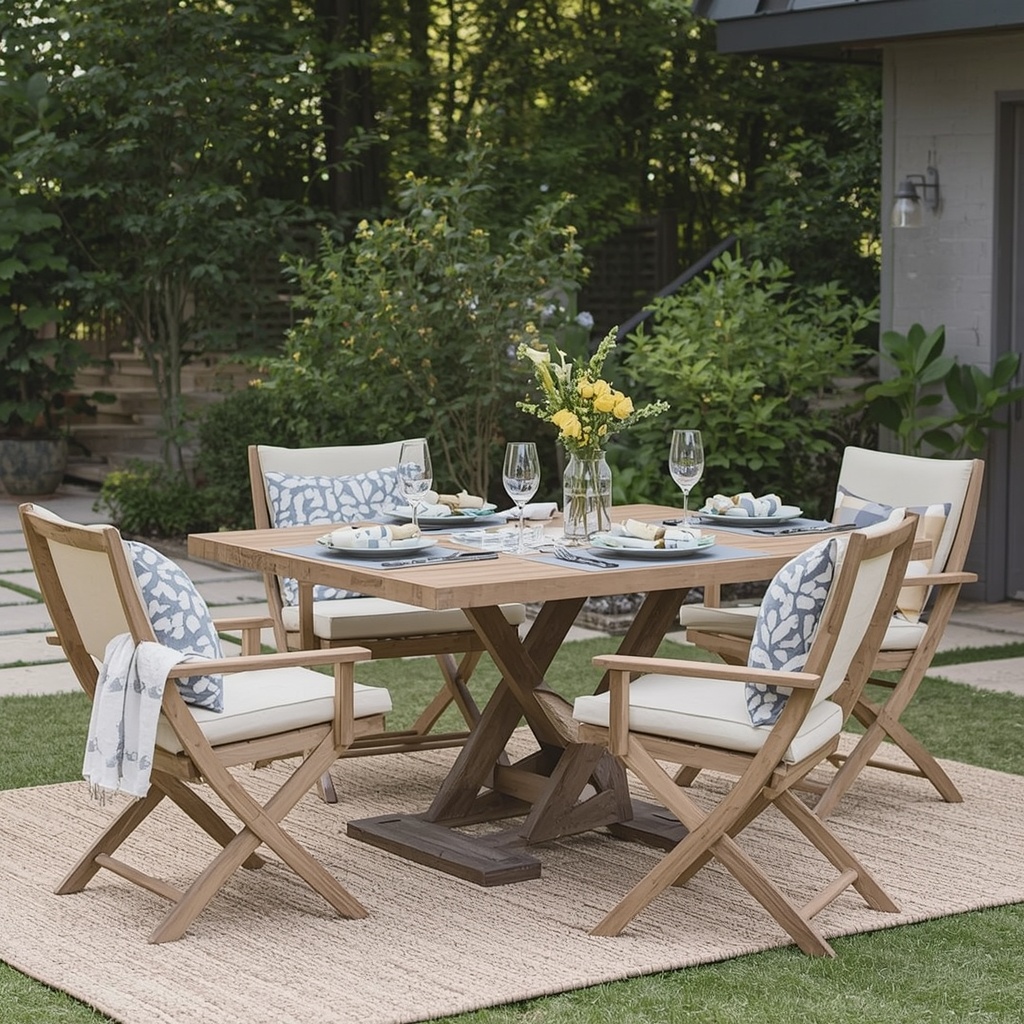
Look specifically for fabrics labeled “outdoor” or “solution-dyed,” since they resist fading and mildew far better than indoor textiles repurposed for patio use. A neutral or earth-toned rug also helps visually anchor the space, especially on grass or gravel where furniture can otherwise look like it’s floating.
Pro Tip: Store cushions in a small waterproof deck box or bring them in after dinner. This single habit can double the lifespan of outdoor textiles, even ones rated for weather exposure.
Step 7: Personalize with Decor Accents
The final step is where your personality actually shows up. Mismatched vintage plates, a hand-thrown ceramic vase, a chalkboard menu propped against a planter — these small, specific touches are what make a space feel designed rather than purchased as a set.
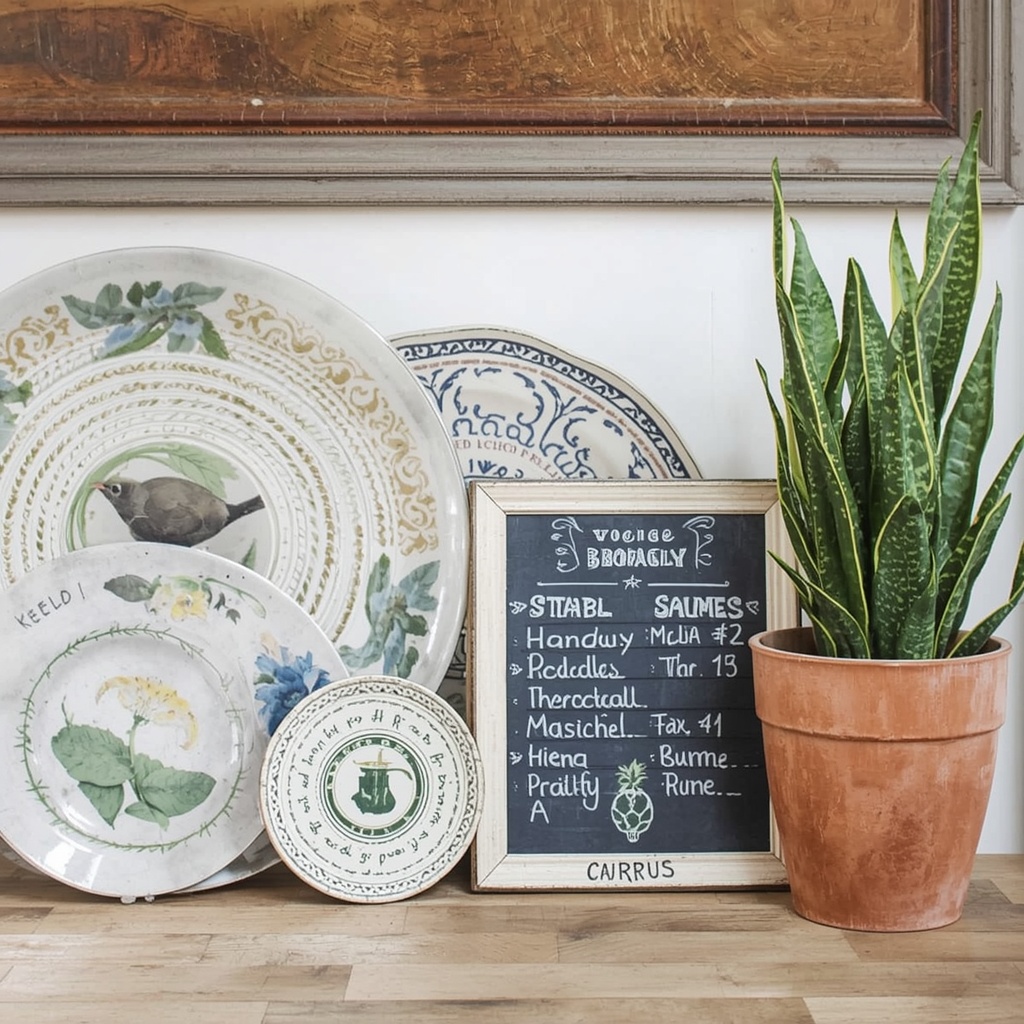
Resist the urge to over-decorate. A few well-chosen accents — a runner down the table, a stack of interesting glassware, one striking centerpiece — will read as more intentional than a cluttered tablescape. Intimacy comes from restraint as much as from warmth.
Simple accent ideas:
- A woven table runner in a natural fiber
- Mismatched vintage or ceramic dinnerware
- A single oversized floral or herb centerpiece
- Cloth napkins with napkin rings for texture
- A small outdoor speaker for background music
Budget Snapshot: What to Expect
Costs vary widely depending on how much of the space you’re building from scratch versus styling with what you already own. Here’s a rough breakdown for planning purposes.
| Element | Budget Option | Mid-Range | Higher-End |
|---|---|---|---|
| Table + chairs (4–6 people) | $150–$300 | $500–$900 | $1,200+ |
| Structure (pergola/arbor) | $100 (DIY kit) | $600–$1,500 | $3,000+ |
| Lighting | $30–$60 | $100–$250 | $400+ |
| Plants/pots | $50–$100 | $200–$400 | $600+ |
| Textiles/rug | $40–$80 | $150–$300 | $400+ |
Common Mistakes to Avoid
Even well-intentioned outdoor makeovers can miss the mark. A few recurring issues tend to undercut an otherwise good garden dining setup:
- Oversized furniture that overwhelms the footprint and kills the cozy feeling
- Cool-toned lighting that reads as clinical instead of inviting
- Skipping wind and sun assessment, leading to blown-over candles or scorching midday heat
- No defined edges, leaving the table feeling like an afterthought in open lawn
- Ignoring drainage, which can turn a rug or cushion area into a mildew problem after rain
Final Thoughts
Building an intimate garden dining space isn’t about buying the most expensive furniture set — it’s about layering location, structure, scale, lighting, greenery, textiles, and personal touches into a cohesive whole. Start with the bones (location and structure), then work outward through comfort and detail.
Even a small budget, applied thoughtfully across these seven steps, will outperform an expensive furniture set dropped into an unplanned corner of the yard. Take it one step at a time, live with the space for a season, and adjust as you go — the best garden dining areas are the ones that evolve with the people who use them.