
A gallery wall of upcycled vintage mirrors in varied frames
Walk into any high-end boutique hotel lobby or perfectly styled home featured in Architectural Digest, and you’ll almost certainly spot at least one gorgeous vintage mirror commanding attention on the wall. What you might not realize? Many of those shows topping pieces started life as dusty thrift store finds — transformed with a little creativity, elbow grease, and an upcycler’s eye for hidden potential.
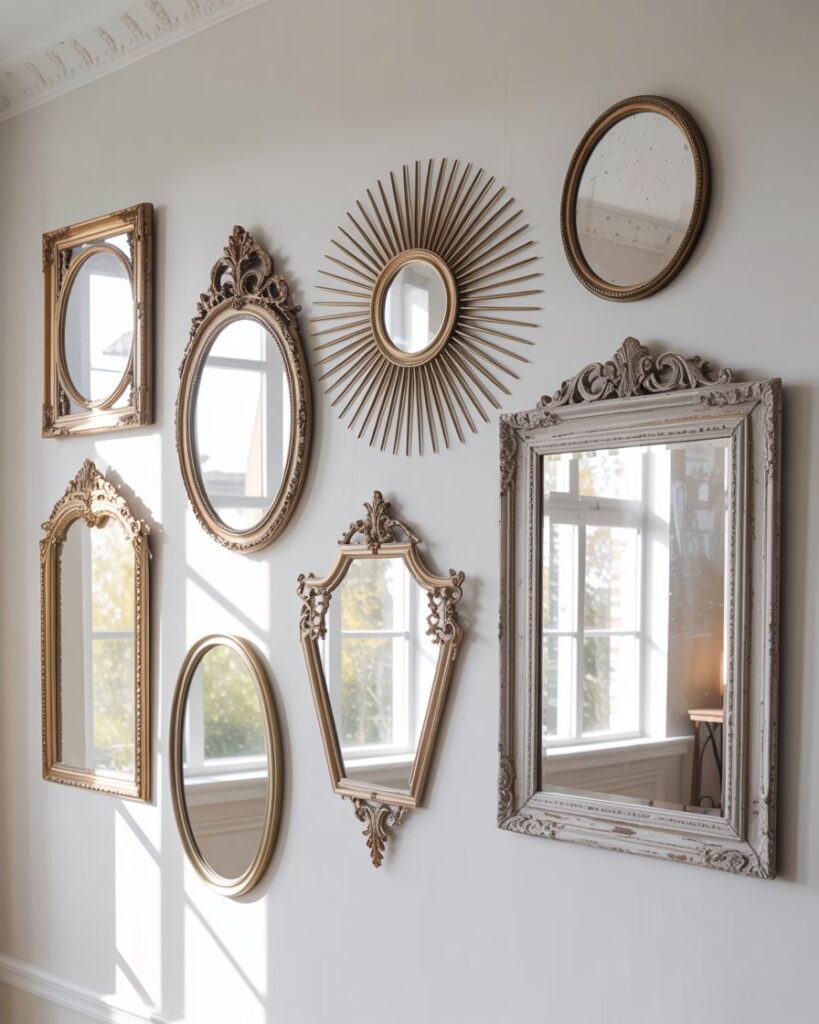
Upcycled mirrors are one of the most rewarding and budget-friendly ways to inject authentic vintage charm into your home. Whether you’re drawn to the romantic warmth of French Provincial style, the bold geometry of Art Deco, or the relaxed eclecticism of Bohemian decor, a reimagined mirror can anchor your vision and become the focal point your room has been missing.
In this guide, I’ll walk you through everything you need to know — from hunting for the right thrift-store candidates to finishing techniques that look like they cost a fortune.
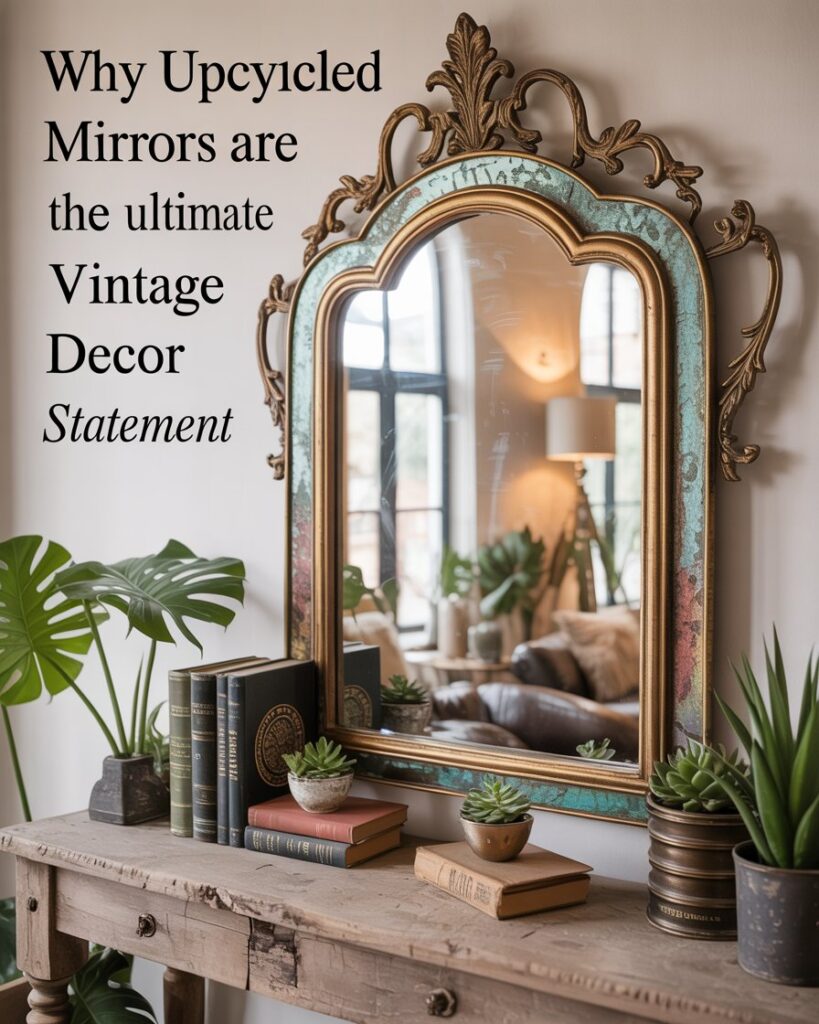
Why Upcycled Mirrors Are the Ultimate Vintage Decor Statement
Mirrors are functional art. They bounce light, visually expand a space, and create depth in rooms that might otherwise feel flat. But a plain, frameless mirror from a big-box store? It does the job without saying anything. An upcycled vintage mirror, on the other hand, tells a story — of the craftspeople who made the original frame, of its journey through time, and of the creative vision you brought to reimagining it.
The sustainable home decor movement has made upcycling more than just a frugal choice — it’s a lifestyle statement. According to the U.S. EPA, Americans discard millions of pounds of furniture and home goods annually. Choosing to repurpose a thrifted mirror instead of buying new is a small but meaningful step toward reducing that footprint. And in today’s design landscape, eco-conscious decorating is very much in style.
The best part? You don’t need a professional design degree or a workshop full of tools. Most upcycled mirror projects require nothing more than sandpaper, paint, and patience — plus a willingness to see the potential in what others have overlooked.
Interior designers have long understood what savvy home decorators are now discovering: imperfection is beautiful. The slight distressing on a repainted frame, the subtle variation in gold leaf application, the aged patina left intentionally intact — these “flaws” are precisely what give upcycled pieces their irresistible character.
“The most interesting rooms I’ve ever designed didn’t come from a showroom. They came from a thrift store, a garage sale, and someone willing to see beauty in the overlooked.”— Nate Berkus, Interior Designer
Where to Find Your Perfect Upcycling Candidate
The treasure hunt is half the fun. Before you can transform a mirror, you need to find the right raw material. Here are the best hunting grounds across the US for vintage mirror frames with genuine potential.
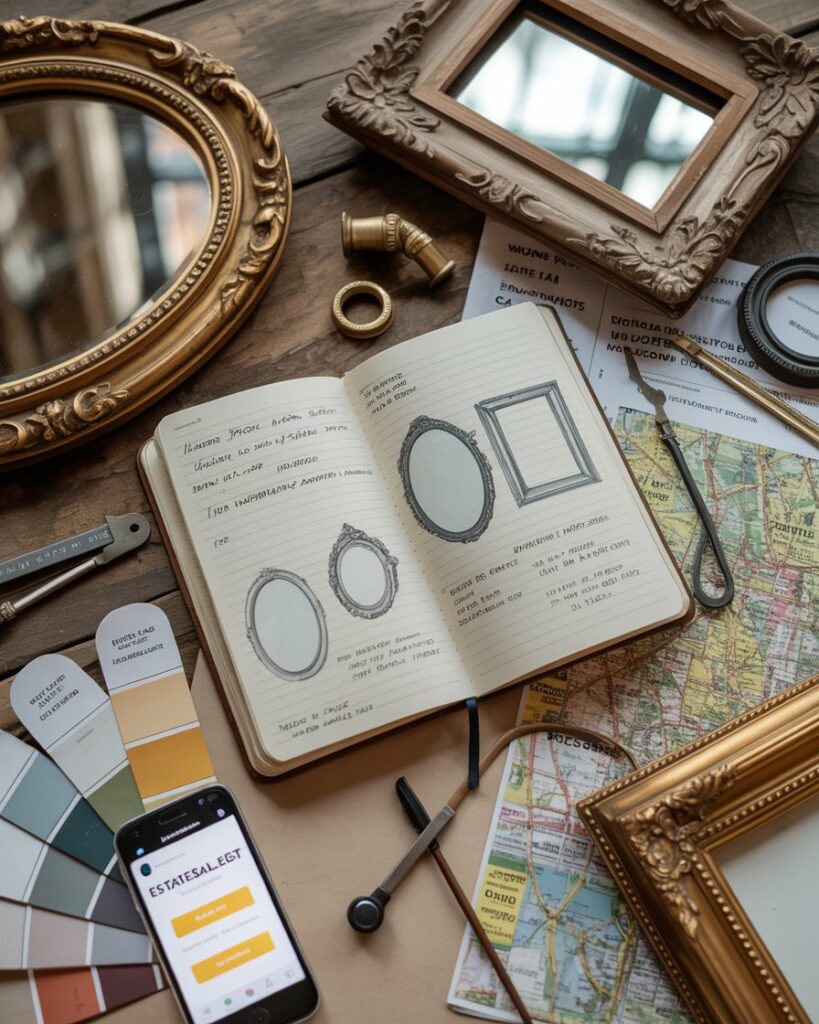
Estate sales consistently yield the highest-quality finds. Older homes often contain solid wood frames with intricate carved details that simply aren’t made anymore. Apps like EstateSales.net and GSALR let you search by zip code and preview photos before you go.
- Thrift stores (Goodwill, Salvation Army, Savers) — High turnover means new inventory weekly. Visit on weekday mornings for the freshest selection.
- Facebook Marketplace & Craigslist — Search “vintage mirror,” “ornate frame,” or “antique mirror” — you can often negotiate prices and pick up for free or cheap.
- Habitat for Humanity ReStores — Donated building materials and home goods; often include architectural salvage pieces with great bones.
- Flea markets & antique fairs — Check local listings; cities like Nashville, Portland, and Chicago have fantastic recurring markets.
- Garage sales & neighborhood curb alerts — The word “free” on a piece of furniture or mirror on Nextdoor is your cue to move fast.
- Online auction platforms (eBay, Chairish) — Great for sourcing specific styles like Hollywood Regency or Mid-Century Modern.
Pro Tip — From a Design Studio
When evaluating a frame at a thrift store, ignore the current paint color entirely. Run your fingers along the molding — solid wood with crisp carved detail is gold. Gently tap the frame: a hollow sound means it’s likely particle board or MDF, which is harder to work with. Also check the mirror glass: slight foxing (dark spots along the edges) is a sign of genuine age and adds to the vintage look. You can replace the glass if needed, but authentic foxing on an old mirror is actually desirable — embrace it.
The 5 Most Popular Upcycled Mirror Styles (With Techniques)
Once you’ve secured your frame, the design direction you choose will determine which techniques to use. Below are the five most popular vintage mirror aesthetics among American home decorators right now, along with the methods to achieve them.
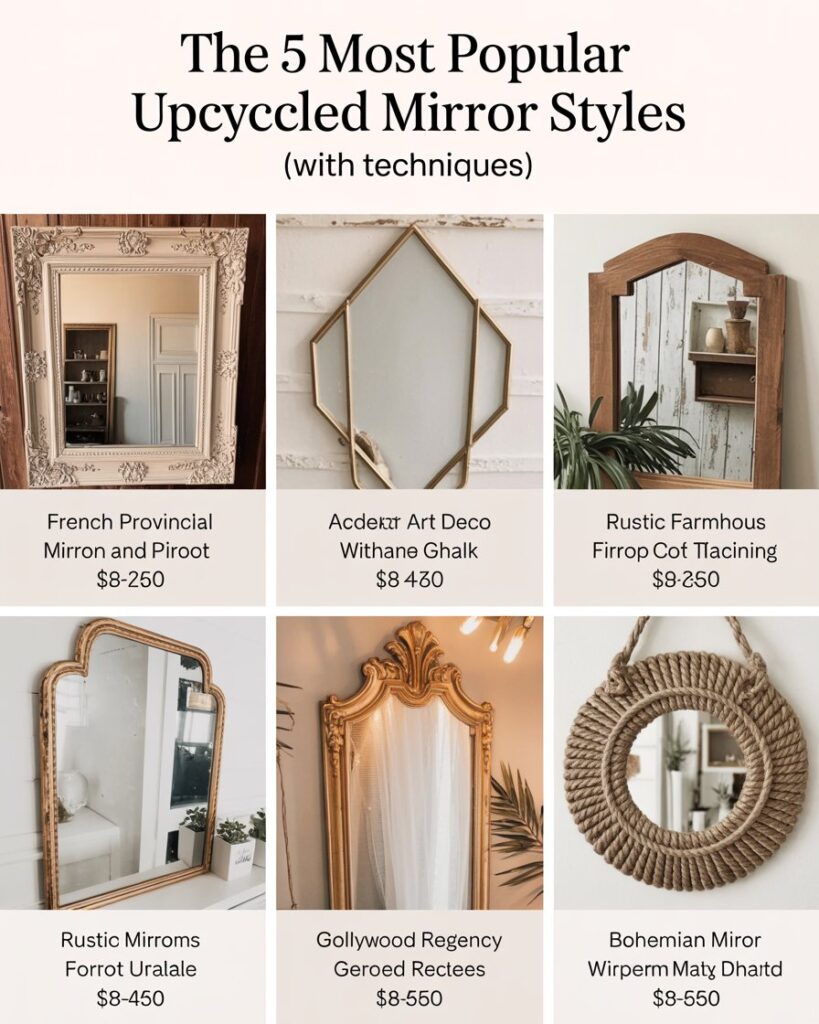
| Style | Frame to Look For | Key Technique | Estimated Cost |
|---|---|---|---|
| French Provincial | Ornate carved wood, curvy silhouette | Chalk paint + dry brushing in cream/white | $15–$35 |
| Art Deco | Geometric angles, stepped molding | Gold or black lacquer spray paint | $10–$25 |
| Rustic / Farmhouse | Thick wood, simple profile | Staining + distressing with sandpaper | $12–$30 |
| Hollywood Regency | Bold ornate, any heavy frame | Gold leaf or metallic gilding wax | $20–$50 |
| Boho / Eclectic | Any shape — round especially | Rope wrapping, macramé additions, shells | $8–$20 |
For the French Provincial look, Annie Sloan’s Chalk Paint in “Old White” or “Pure” is the go-to among DIY interior designers. Apply two thin coats, let dry completely, then lightly sand the raised details with 220-grit sandpaper to reveal the wood grain beneath — this creates that authentic worn look without looking sloppy.
For a Hollywood Regency finish, gilding wax (brands like Rub ‘n Buff are widely available at craft stores) applied with a soft cloth gives a far more sophisticated result than gold spray paint. Work it into the details of the molding and let it dry to a beautiful warm gleam. Layer two colors — gold and bronze — for depth that catches light differently throughout the day.
Pro Tip — Surface Prep is Everything
No matter which style you’re going for, the secret to a professional-looking finish is proper surface preparation. Clean the frame thoroughly with TSP substitute (trisodium phosphate) or a degreaser. Lightly sand any peeling or flaking paint. Fill cracks with wood filler and let dry before sanding smooth. Skipping this step is the single biggest mistake DIYers make — and it always shows in the final result.
Step-by-Step: How to Chalk Paint a Vintage Mirror Frame
Chalk paint is the most beginner-friendly finish for upcycled mirrors because it adheres to almost any surface without priming, dries quickly, and can be layered, distressed, and sealed for durability. Here’s the full process I use in my own studio projects.
What You’ll Need
- Chalk paint in your chosen color
- A small, stiff-bristle brush (1–2 inches wide)
- 220-grit sandpaper
- Clear or tinted wax (Annie Sloan, Rust-Oleum, or Minwax paste wax all work)
- A lint-free cloth for wax application
- Painter’s tape to protect the mirror glass
- Drop cloth or newspaper
Start by taping off the mirror glass with painter’s tape around the inner edge of the frame. Apply your first coat of chalk paint using a slightly dry brush — this creates texture that mimics aged paint. Let dry for 30–60 minutes. Apply a second coat, working the paint into all carved crevices. Once fully dry (about 1–2 hours), decide how much distressing you want: light distressing on just the high points of the molding creates a subtle, elegant aged look; heavier sanding all over the frame gives a more rustic, time-worn feel.
Once you’re happy with the look, seal with clear or dark wax using a lint-free cloth. Work in small sections, buffing the wax in circular motions. Dark wax applied after clear wax adds beautiful depth to carved details — it settles into crevices and creates the shadow effect you see on genuine antique pieces. Buff to a soft sheen and allow to cure for 24 hours before hanging.
For a finish that’s extra durable — especially important if your mirror will hang in a bathroom — use a furniture-grade polycrylic topcoat in matte or satin over your painted finish instead of wax. This provides moisture resistance without sacrificing the chalky, vintage look.
The whole project, from prep to final seal, typically takes one weekend — and the results are genuinely indistinguishable from pieces you’d find tagged at $300+ in an antique shop.
Creative Ideas Beyond Paint: Unexpected Upcycling Techniques
Paint is just the beginning. Some of the most visually compelling upcycled mirrors I’ve seen in clients’ homes use materials you’d never expect. These techniques push “vintage charm” into genuinely original artisan territory.
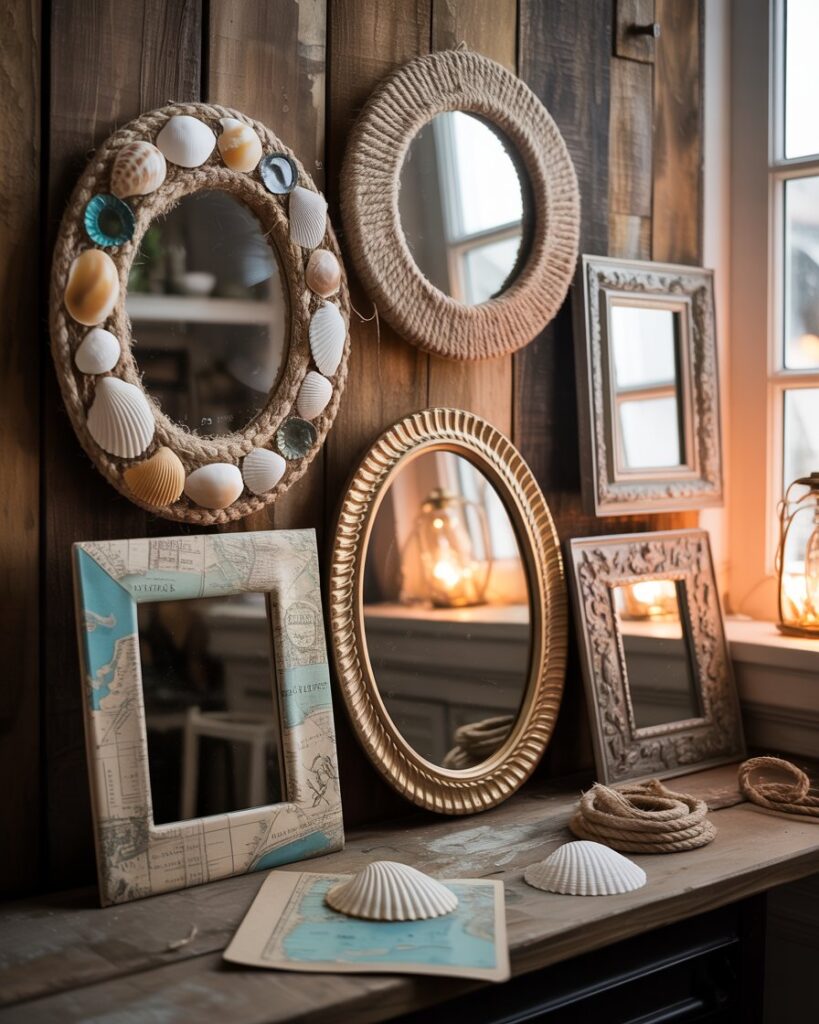
- Seashell or pebble mosaic: Glue shells, beach glass, or smooth pebbles to a plain wood frame using E6000 adhesive. Perfect for coastal and Bohemian interiors. Finish with a clear sealant for durability.
- Rope or jute wrapping: Wrap a round or simple rectangular frame tightly with natural rope or jute twine. Secure with hot glue as you go. The result is textural, earthy, and deeply on-trend with the organic modern aesthetic.
- Découpage with vintage maps or sheet music: Apply torn pieces of old maps, botanical illustrations, or vintage sheet music to a flat frame using Mod Podge. Seal with multiple coats for a stiff, permanent finish. This technique works especially well on simple, flat-profile frames.
- Faux tortoiseshell finish: This advanced painting technique using amber, burnt sienna, and black paint replicates the look of genuine tortoiseshell — a staple of French and English antique furniture. Tutorials are widely available on YouTube and the results are absolutely stunning.
- Antiqued mirror glass: If your mirror glass is in perfect condition but you want the look of aged, foxed glass, you can apply a DIY mirror antiquing solution. A diluted bleach spray applied to the back of the glass (from which you’ve removed the silver backing slightly) creates authentic-looking dark spots and aged patches.
“Sustainability in design isn’t a trend. It’s the future. Every thrifted mirror you transform is one less piece in a landfill and one more story in your home.”— Justina Blakeney, Author of The New Bohemians
How to Style and Hang Your Upcycled Mirror
A beautifully finished upcycled mirror deserves a thoughtful placement. Where and how you hang it can make the difference between a piece that feels intentional and one that looks like an afterthought.
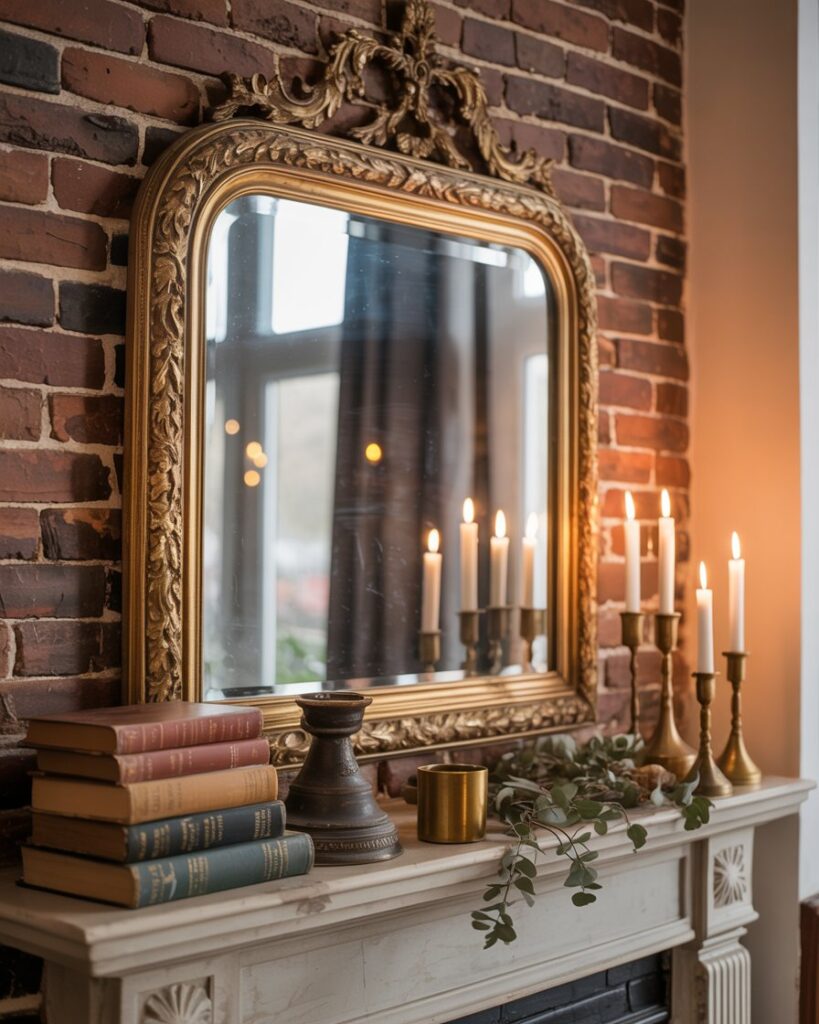
Placement is everything in interior design. A large ornate mirror hung above a fireplace mantle creates a classical focal point — the grand proportions balance the visual weight of the hearth below. A collection of mismatched smaller upcycled mirrors grouped together as a gallery wall creates an eclectic, curated feel that’s very much in the spirit of maximalist vintage decor. For entryways and mudrooms, a single vintage mirror hung at eye level adds both function and drama from the moment guests enter.
| Room | Best Mirror Style | Placement Tip |
|---|---|---|
| Living Room | Large ornate / Hollywood Regency | Above mantle or sofa; at least 2/3 the width of furniture below |
| Bedroom | French Provincial / Romantic | Lean against wall at floor level, or hang above dresser |
| Entryway / Foyer | Any statement piece | Eye-level center; pair with a console table |
| Bathroom | Rustic / Farmhouse | Above vanity; leave 5–10 inches between mirror bottom and faucet |
| Dining Room | Art Deco / Geometric | On the wall opposite a window to double natural light |
When hanging multiple mirrors, create a cohesive arrangement by cutting paper templates of each mirror shape and taping them to the wall before committing to any holes. This allows you to experiment with spacing and composition without damage. Aim for a 2–3 inch gap between pieces for a balanced gallery feel, or cluster more tightly for an immersive, maximalist effect.
Always use appropriate hardware. A large, solid wood mirror frame can be surprisingly heavy — use wall anchors rated for at least twice the mirror’s actual weight, and if possible, hang from wall studs using a stud finder. French cleats (a simple wall-mounting system) are the gold standard for heavy vintage mirrors and create an invisible hang with maximum stability.
Pro Tip — The Light Test
Before finalizing your mirror’s position, hold it in place at different times of day. Mirrors placed opposite windows can create beautiful pools of natural light in the morning — but can also cause glare and heat buildup in west-facing rooms during afternoon. The best placement bounces soft, diffused light rather than direct sunlight. A quick 10-minute audit at different hours saves a lot of regret.
Budget Breakdown: What Upcycled Mirrors Actually Cost
One of the most common questions I get from clients and readers is: “Is it really worth the effort, or should I just buy something new?” The answer becomes obvious when you look at the numbers side by side.
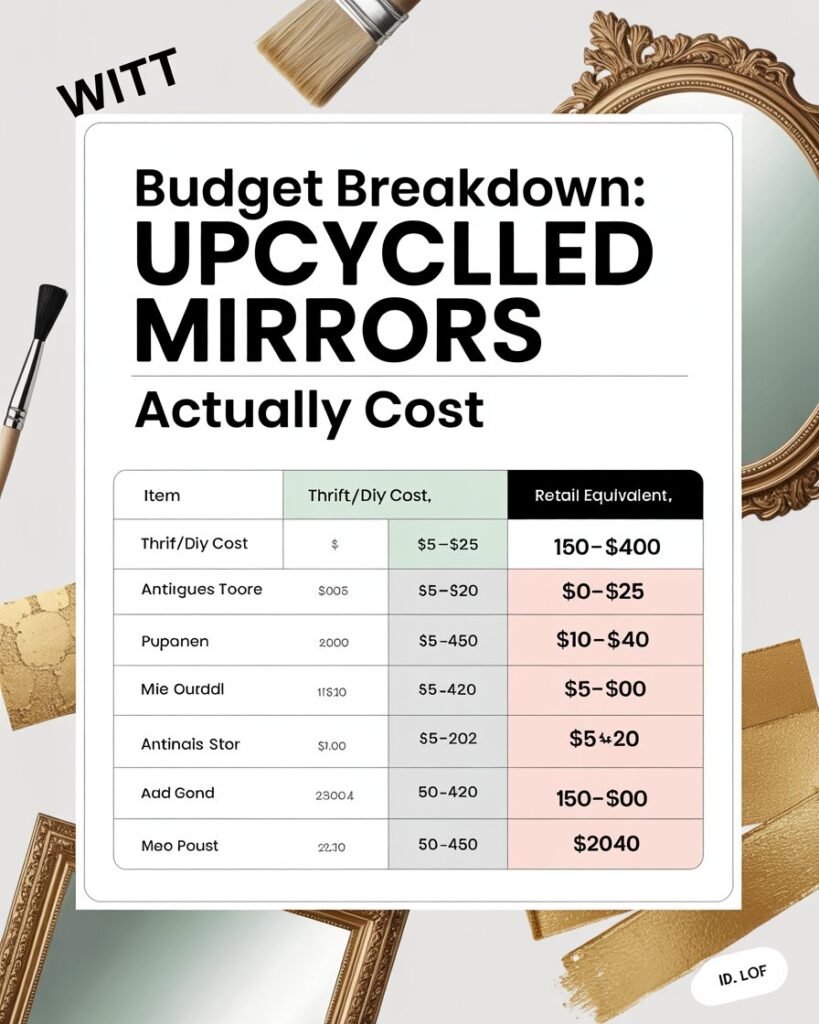
| Item | Thrift/DIY Cost | Retail Equivalent |
|---|---|---|
| Thrifted ornate frame | $5–$25 | $150–$400 (antique store) |
| Chalk paint + supplies | $15–$30 | — |
| Gilding wax or gold leaf | $10–$20 | — |
| New mirror glass (if needed) | $20–$60 | — |
| Total upcycled mirror | $30–$135 | $200–$800+ new |
Even at the high end of DIY costs, you’re saving hundreds of dollars and ending up with a one-of-a-kind piece that cannot be replicated. That’s the true value proposition of upcycled vintage decor — not just the savings, but the singularity.
If you find yourself really enjoying the process, it can also become a small side business. Upcycled vintage mirrors sell reliably on platforms like Etsy and Chairish, where buyers are actively seeking handcrafted, sustainable home decor. A mirror that cost you $40 in materials can realistically sell for $180–$300 — a margin that rewards both your creativity and your time.
Final Thoughts: See the Potential in the Overlooked
The beauty of upcycled mirrors for vintage charm is that the process itself changes how you see the world. Once you learn to look past chipped paint and a tired finish to the bones of a piece — the solid wood, the confident lines, the hand-carved detail — you’ll never walk through a thrift store the same way again.
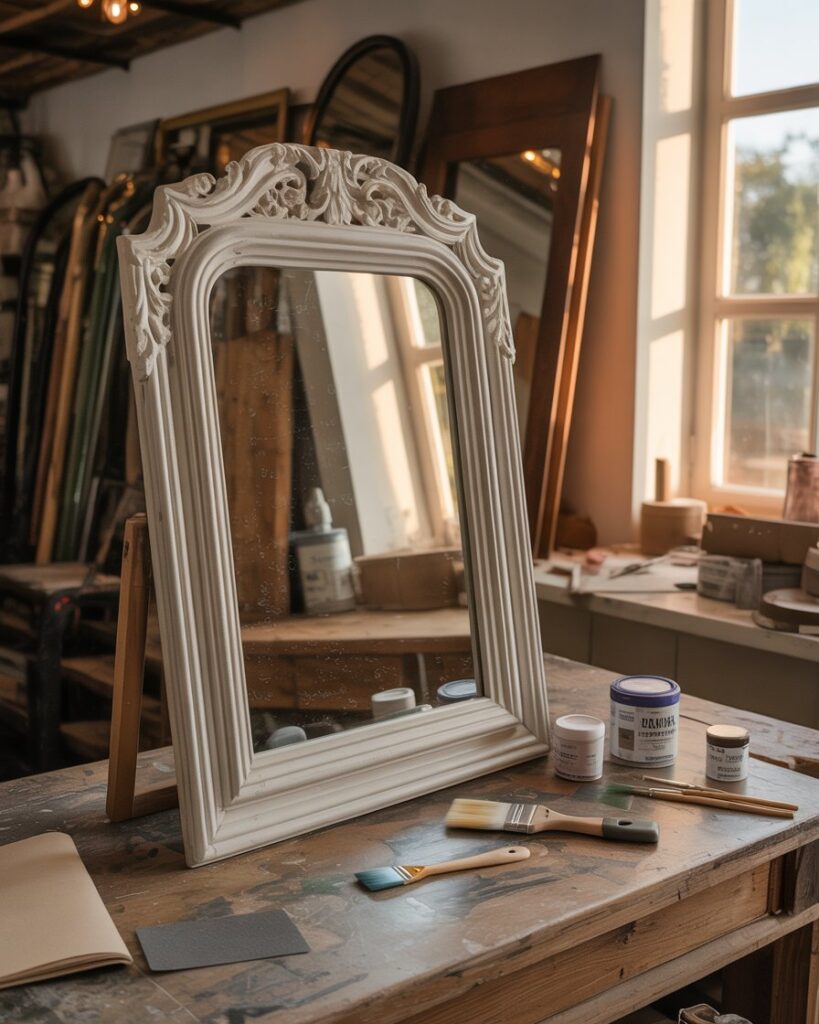
Every piece on that dusty shelf has a history, a previous home, a moment when it was someone’s prized possession. By choosing to upcycle, you’re not just saving money or decorating sustainably — you’re becoming part of that story and writing the next chapter.
Whether you’re a seasoned DIY decorator or picking up a paintbrush for the first time, upcycled mirrors are one of the most forgiving and rewarding projects you can take on. The techniques are learnable, the supplies are accessible, and the results — that unmistakable vintage warmth and depth — simply cannot be replicated by anything you’ll find at a retail store.
So this weekend, stop by your local Goodwill. Pick up that ornate frame nobody wanted. See what you can see in it. I promise you — it sees potential in you too.
upcycled mirrors vintage home decor DIY mirror frame chalk paint techniques thrift store decor sustainable decorating vintage charm antique mirror make.