
Living in a studio apartment means one room does everything: cooking, working, relaxing, hosting, and sleeping. The most common complaint I hear as a home decor designer is, “It feels like I’m living in my bedroom.” The fix is rarely more square footage. It is smarter studio apartment layouts that separate your living area from your sleeping zone without closing off light or making the space feel cramped.
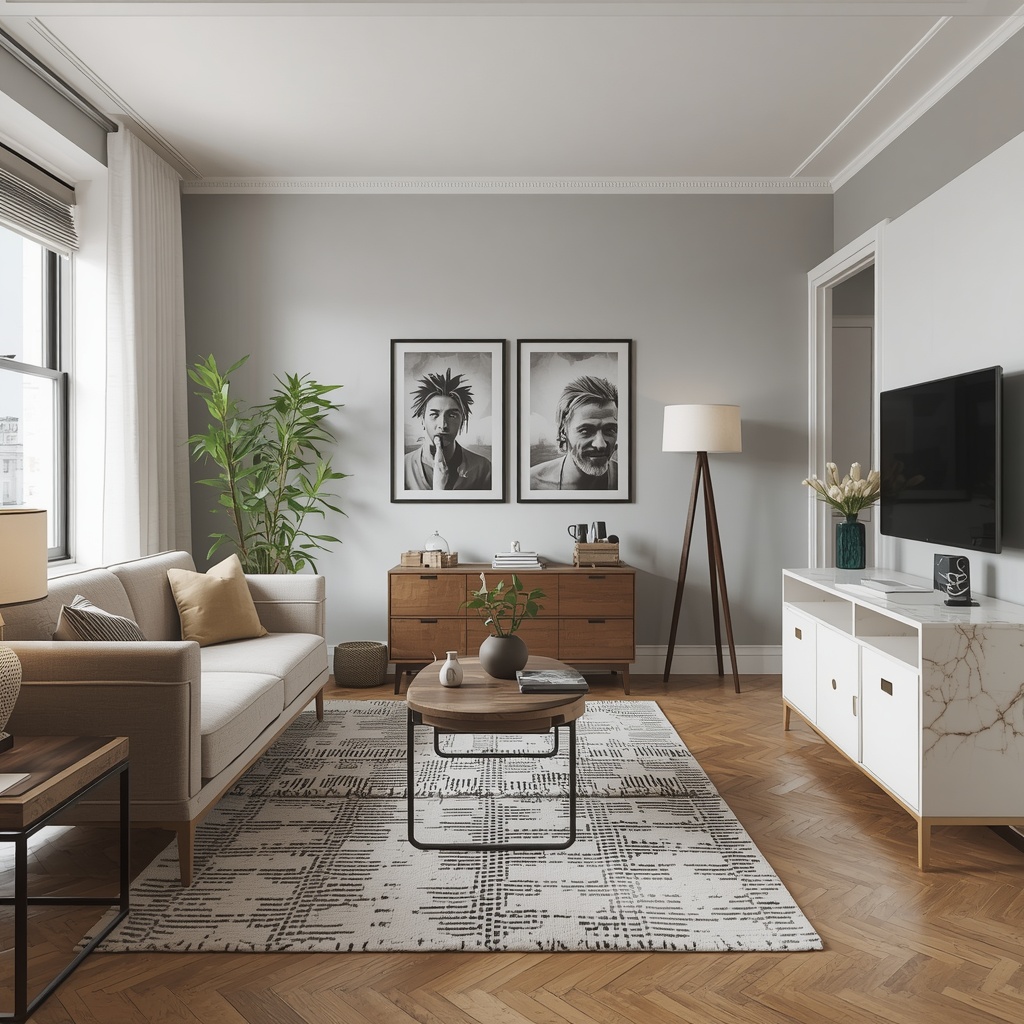
This guide covers the best studio apartment divider ideas, from bookcases and curtains to Murphy beds and lofted platforms. You’ll find layout plans by square footage, a comparison table, budget options for renters, and the mistakes I see most often. Whether you have 300 square feet in Brooklyn or 550 in Austin, you can create a home that feels like it has real rooms.
Why Separating Your Living and Sleeping Areas Matters
A clear boundary between where you relax and where you sleep does more than make a room look tidy. Sleep experts often recommend keeping the bed associated with rest rather than work or TV. In a studio, visual separation helps your brain shift into “off duty” mode, so you unwind at night and feel more productive during the day.
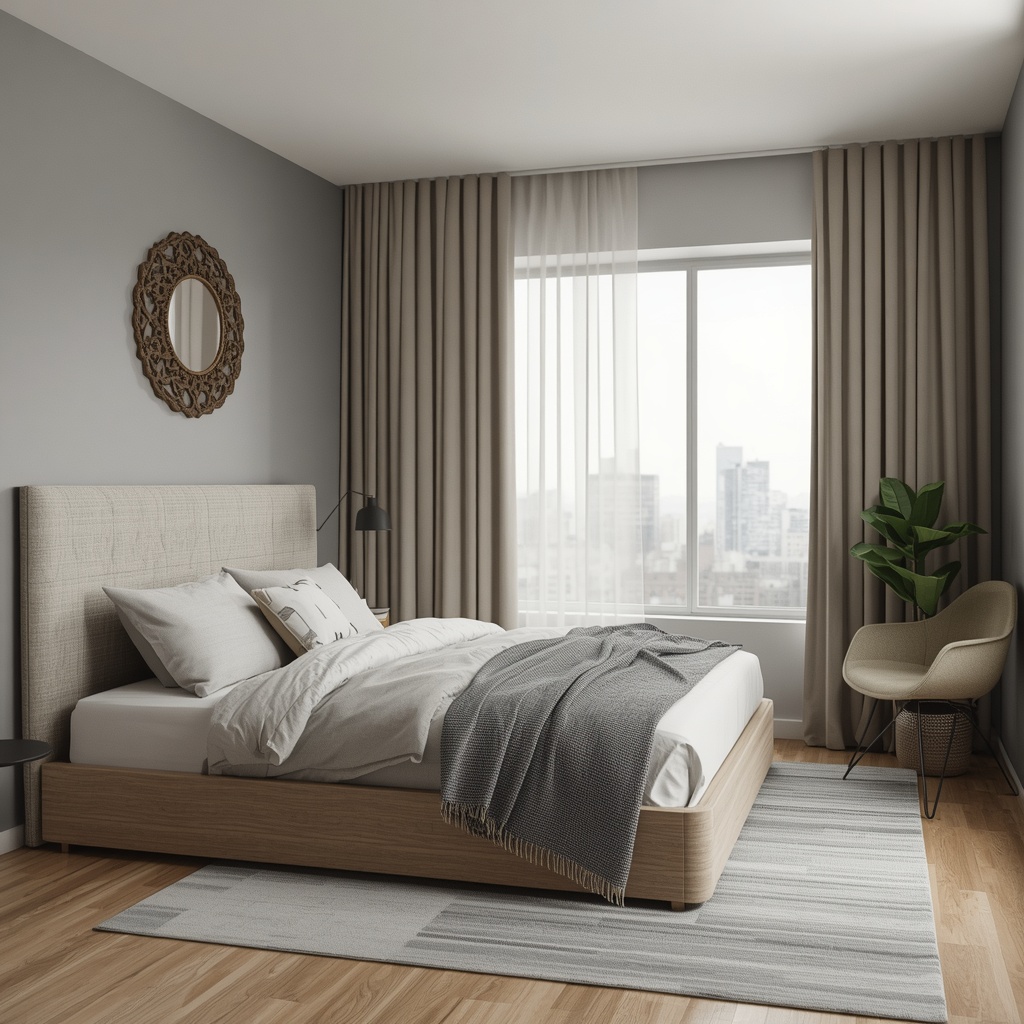
Zoning also improves function. When each area has a defined purpose, furniture placement makes sense, traffic flows better, and guests don’t end up sitting on your bed. Think of it as open-concept zoning on a small scale. You aren’t building walls, you’re building cues.
“In a studio, you don’t need walls to make rooms. You need edges, and an edge can be a rug, a shelf, a curtain, or a change in light.”
Start With a Floor Plan Audit
Before buying a single divider, measure your space and note the fixed elements: windows, doors, radiators, closets, kitchen lines, and outlets. Sketch the room on graph paper or use a free planner like the one on IKEA’s website to test arrangements digitally. A ten-minute sketch can save you hundreds of dollars in returns.
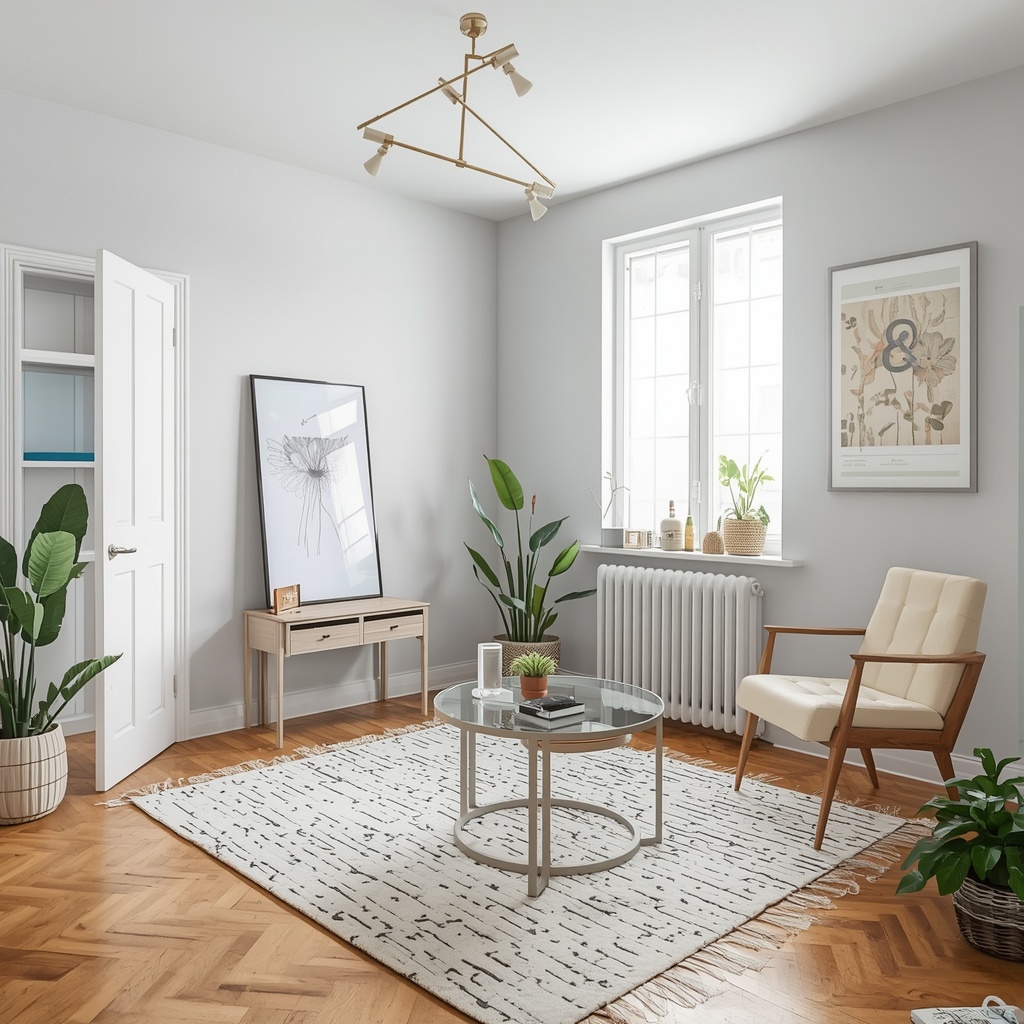
Next, decide which zone gets the best natural light. Most people put the bed near the window by default, but the living area often benefits more from daylight, since that’s where you spend waking hours. Place the sleeping area farthest from the entry door to preserve privacy and reduce noise.
Quick Zoning Guide by Studio Size
| Studio Size | Best Layout Approach | Ideal Divider | Living Area Share |
|---|---|---|---|
| Under 350 sq ft | Vertical zoning, hidden bed | Murphy bed or loft | 65% |
| 350–450 sq ft | Open shelving partition | Cube bookcase | 60% |
| 450–550 sq ft | Full “bedroom nook” | Curtain track or glass partition | 55% |
| 550+ sq ft | L-shaped layout with alcove | Half wall or built-in | 50% |
Use a Bookcase as a Room Divider
An open-backed bookcase is the classic divider for good reason. It creates a boundary, adds storage, and lets light pass through. Position it perpendicular to a wall so the bed tucks behind it, with the shelf back facing the living area.
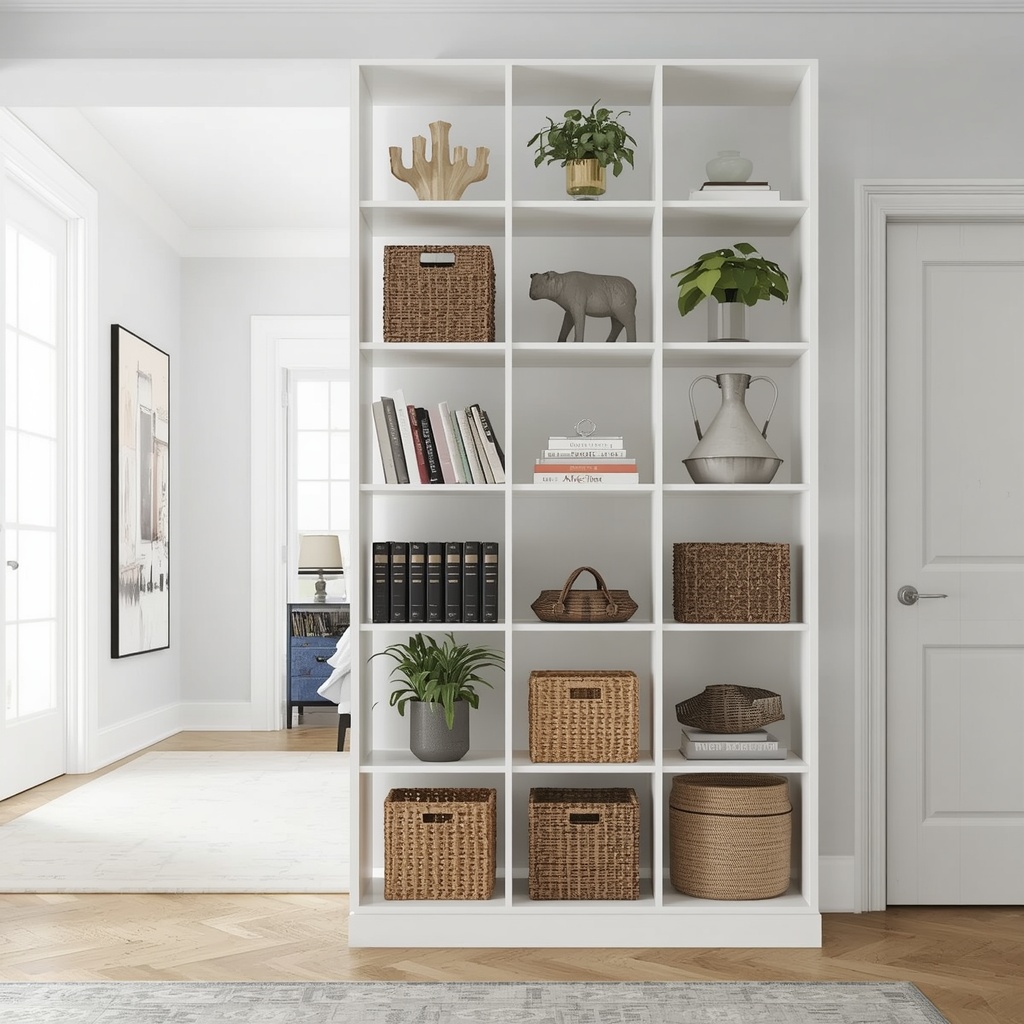
Choose a unit between 48 and 60 inches tall if you want the space to stay open. Taller units, 72 inches or more, give more privacy but can block light. Style the living-side shelves with baskets, plants, and books, and keep the bed side clean so the sleeping area feels calm. Anchor tall units to the wall or floor for safety.
Best shelving options:
- Cube organizers: Affordable, modular, and easy to reconfigure
- Ladder shelves: Lightweight and visually airy
- Etagere-style units: Open metal frames that maintain sightlines
- Custom built-ins: Ideal for homeowners who want a permanent solution
Hang Curtains for Soft, Flexible Separation
If you want a divider that disappears on demand, curtains are hard to beat. A ceiling-mounted track lets you close off the bed at night and open it fully during the day, so your studio can go from bedroom to entertaining space in seconds. Floor-to-ceiling drapes also draw the eye upward, which makes low ceilings feel taller.
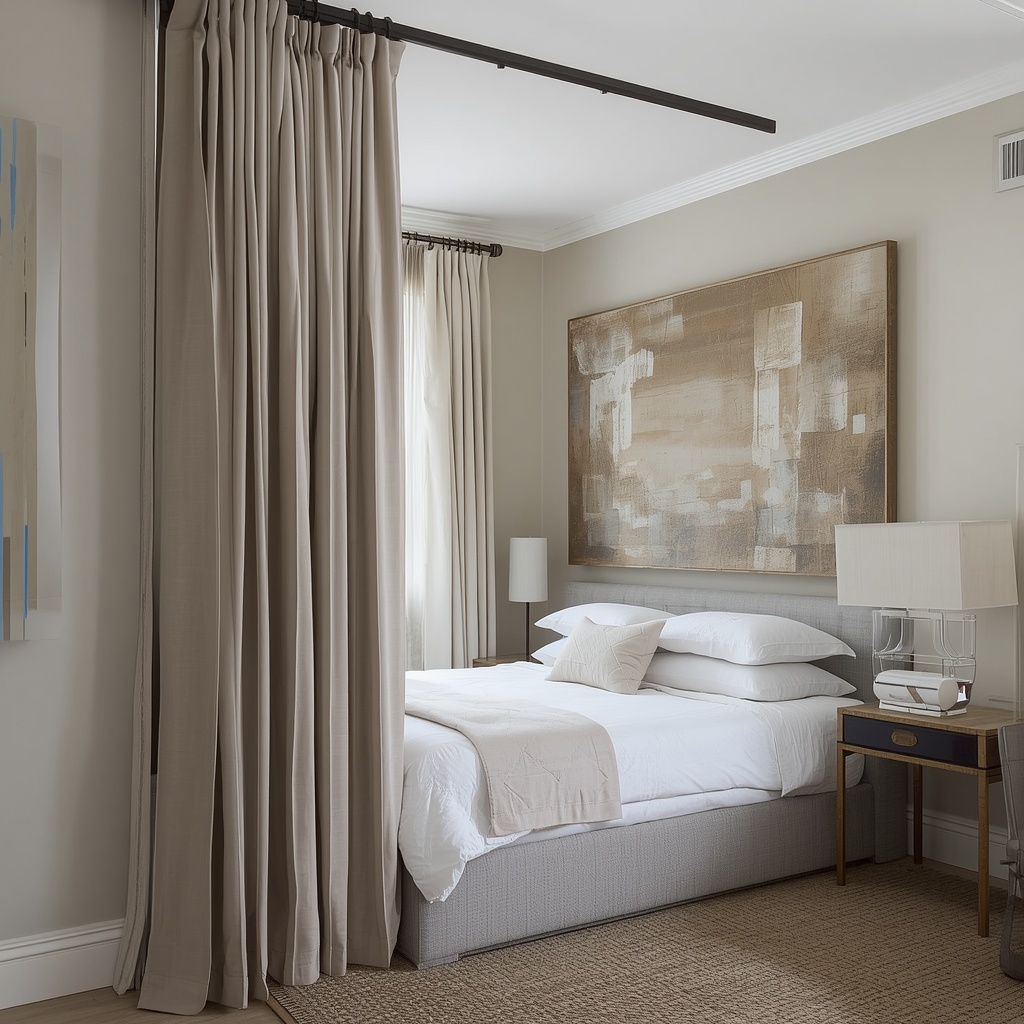
Pick fabric based on purpose. Sheer linen diffuses light beautifully, while heavier velvet or lined cotton blocks sound and brightness for better sleep. For renters, tension rods and adhesive ceiling hooks are damage-free options. Match the curtain color to your walls so it blends in, or choose a contrasting tone to make it a feature.
Pro Tip: Mount the curtain track directly on the ceiling rather than above the window frame. Ceiling-mounted tracks create a cleaner line, allow the curtain to hang fully to the floor, and make the divider look built in instead of improvised.
Define Zones With Area Rugs
Rugs are the simplest and most renter-friendly way to divide a studio. One rug under the sofa and coffee table establishes the living room, and a second under the bed (extending 18 to 24 inches beyond each side) signals the sleeping zone. The gap between them becomes the invisible “wall.”
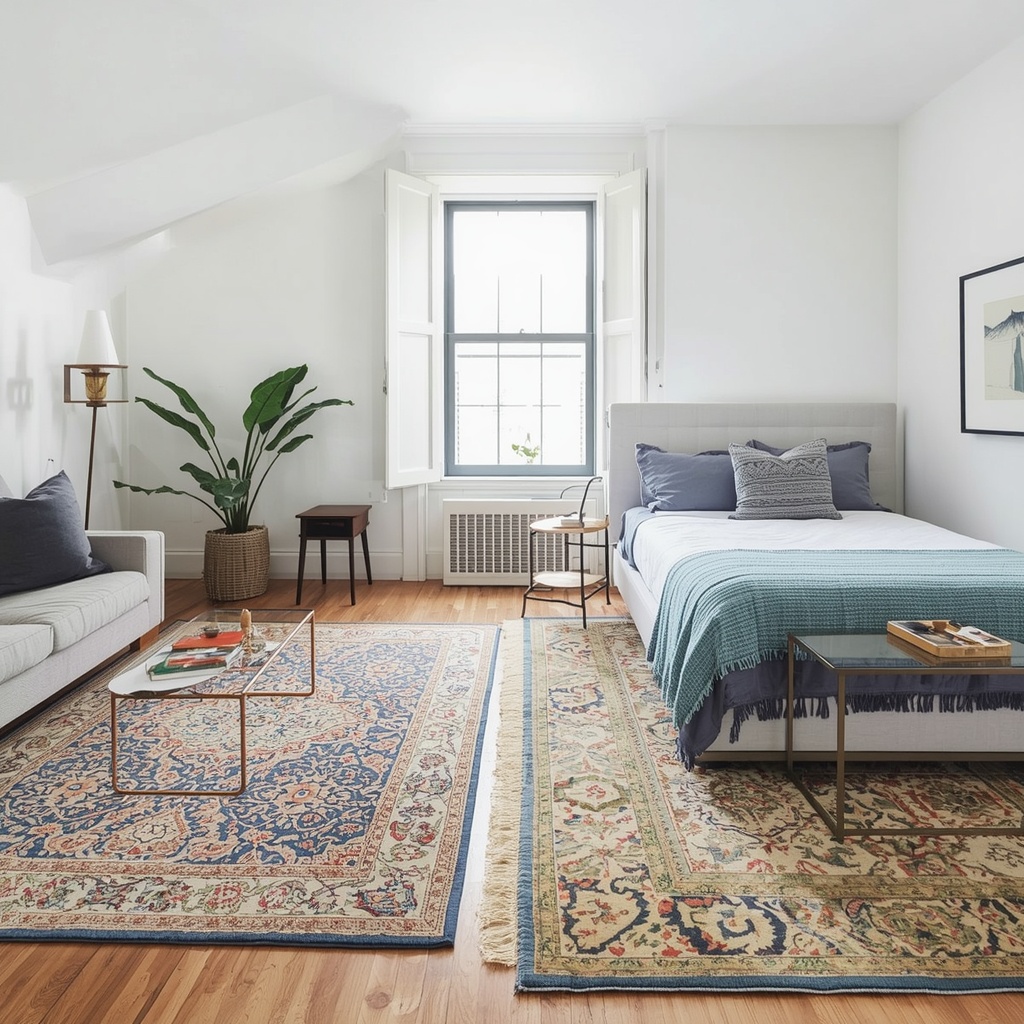
Keep the rugs related but not identical. You might use two colors from the same palette, or the same weave in different sizes. Mixing patterns too aggressively can make a small room feel chaotic, so let one rug be the statement and the other stay quiet. Use a non-slip pad under both, especially on hardwood.
Let Your Sofa Do Double Duty
Furniture placement can be a divider on its own. Turning a sofa so its back faces the bed creates an instant “wall” at about waist height. Add a slim console table behind it and you gain a spot for lamps, a charging station, or a bar cart, plus a subtle visual barrier.
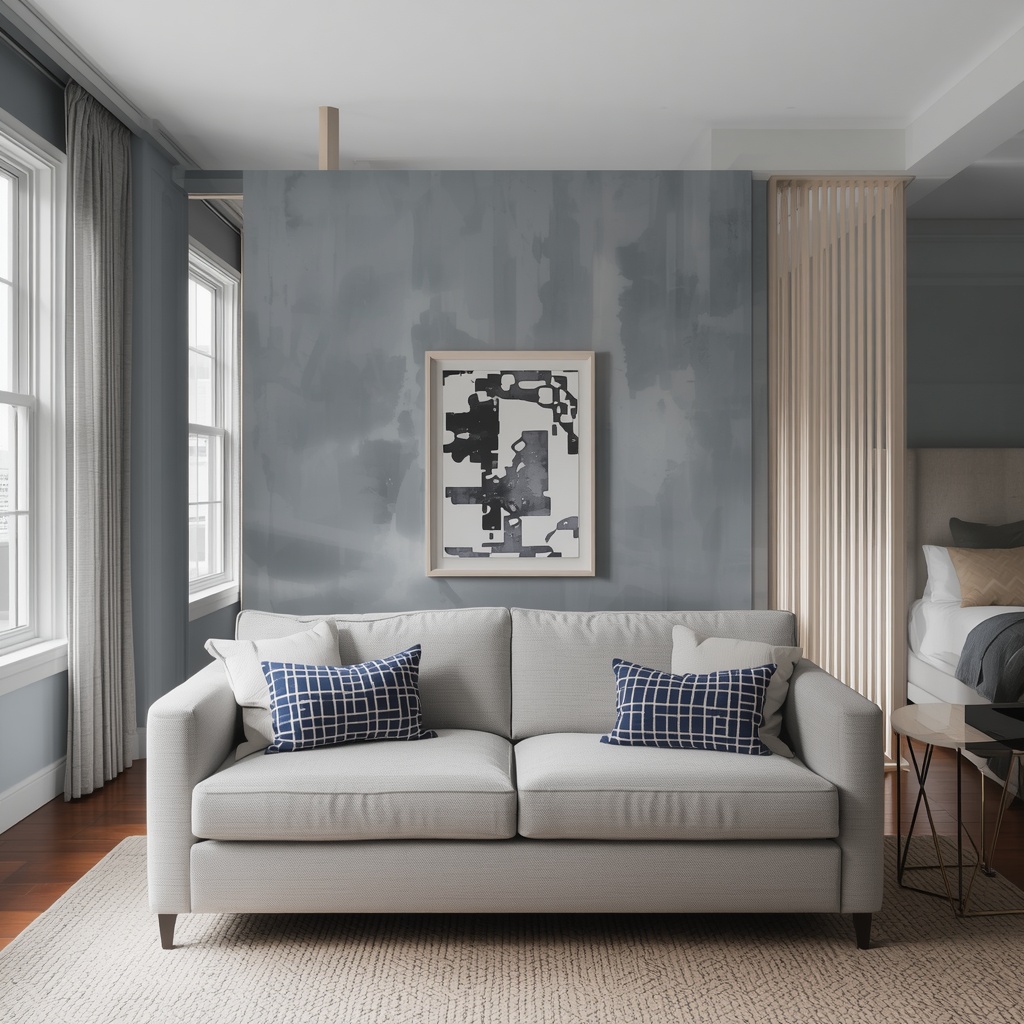
For the best result, choose a sofa with a finished back and low profile, so it doesn’t feel like a barricade. Armless or track-arm designs save inches, and a sofa 72 to 80 inches long fits most studios comfortably. If you have a sectional, an L-shape can wrap around the foot of the bed for a cozy conversation area.
Furniture that works as a divider:
- A backless or finished-back sofa
- A console table or sideboard
- A tall dresser placed perpendicular to the wall
- A pair of accent chairs angled toward each other
- A dining table with a bench on the bed-facing side
Save Floor Space With a Murphy Bed or Loft
For studios under 400 square feet, vertical solutions are game changers. A Murphy bed folds into the wall, converting your bedroom into a living area every morning. Modern versions come with built-in shelving, desks, or even fold-down sofas, so the same wall serves multiple functions.
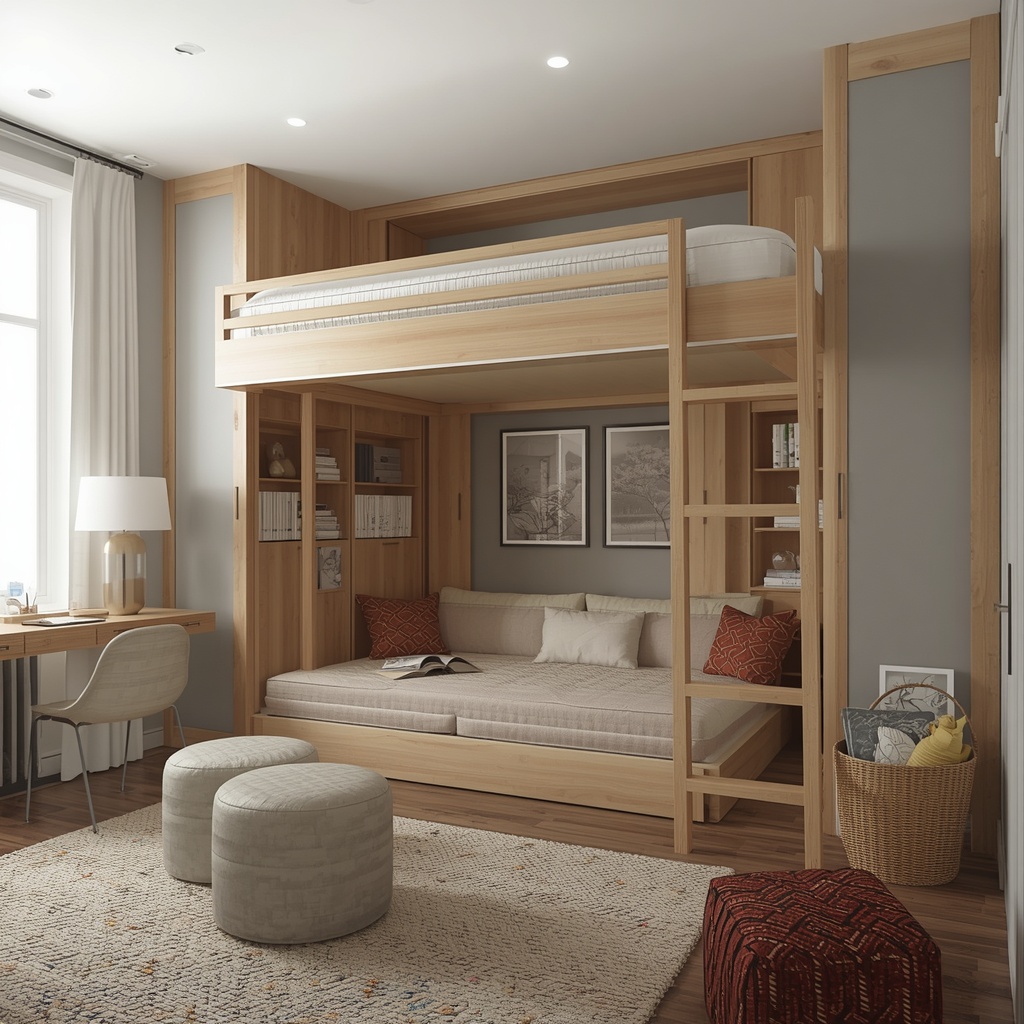
A loft bed goes the other direction. Raising the sleeping platform 5 to 6 feet off the floor frees the space below for a desk, reading nook, or lounge. It requires at least 9-foot ceilings to be comfortable, though, so measure carefully. Both options are more expensive than a standard bed, but they pay off in usable square footage.
Murphy Bed vs. Loft Bed vs. Standard Bed
| Feature | Murphy Bed | Loft Bed | Standard Bed with Divider |
|---|---|---|---|
| Space saved | Very high | High | Low |
| Approximate cost | $1,500–$4,000+ | $500–$2,500 | $300–$1,500 |
| Ceiling height needed | 8 ft | 9 ft+ | Any |
| Renter friendly | Sometimes (wall mounted) | Yes | Yes |
| Best for | Studios under 400 sq ft | Studios with tall ceilings | Studios over 450 sq ft |
Try Glass, Slat, or Sliding Partitions
If you crave more privacy but don’t want to lose natural light, consider a partial partition. Reeded glass, black steel-framed panels, and wood slat screens all separate the bed from the living area while letting light flow through. They add an architectural feel that makes a studio look custom rather than temporary.
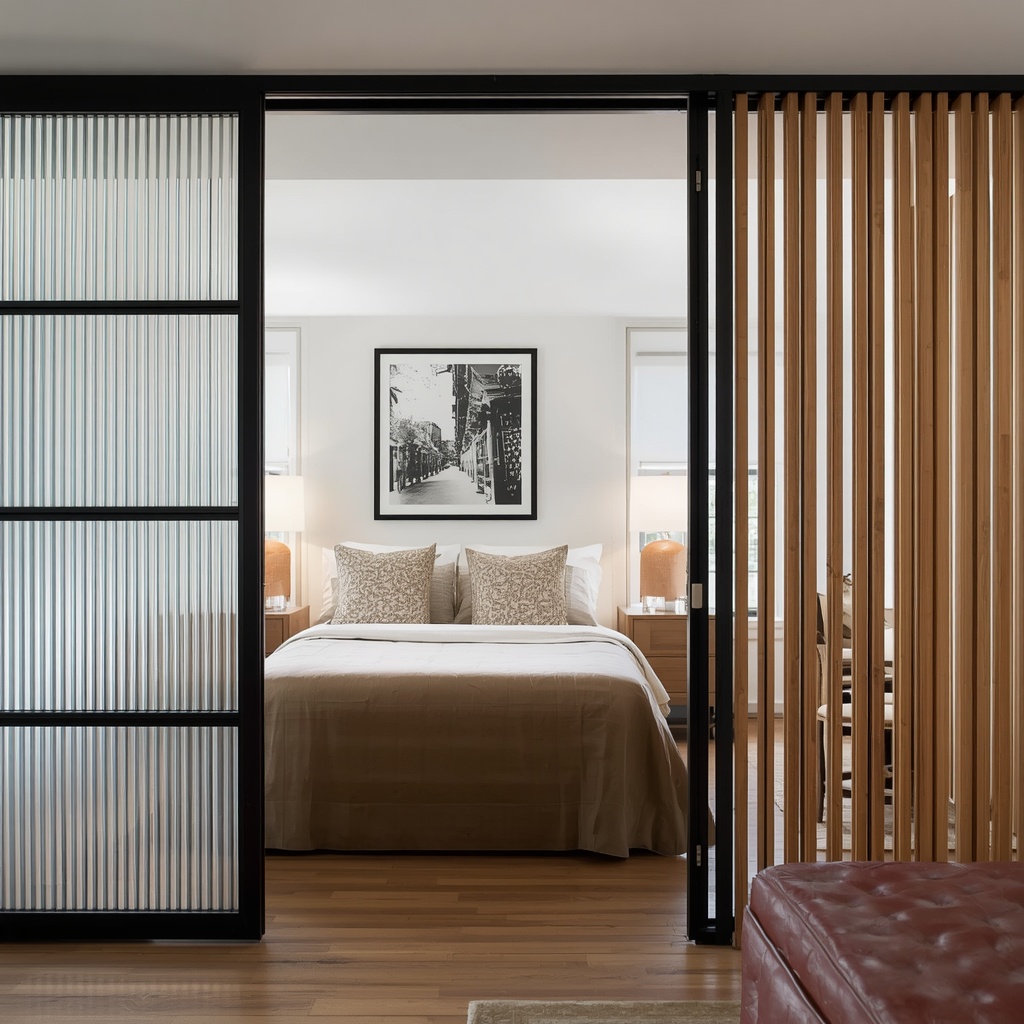
Sliding barn-style panels are another strong choice because they don’t need swing clearance. Install them on a ceiling track and they can hide the sleeping area completely or tuck away to open the room. Freestanding folding screens are a budget-friendly alternative and can be moved wherever you need them.
Layer Lighting to Mark Each Zone
Lighting is the secret weapon of small space design. A single overhead fixture flattens a studio, but layered lighting gives each zone its own mood. Use warm, dimmable bulbs (2200K to 2700K) in the sleeping area and slightly brighter light (2700K to 3000K) in the living and work areas.
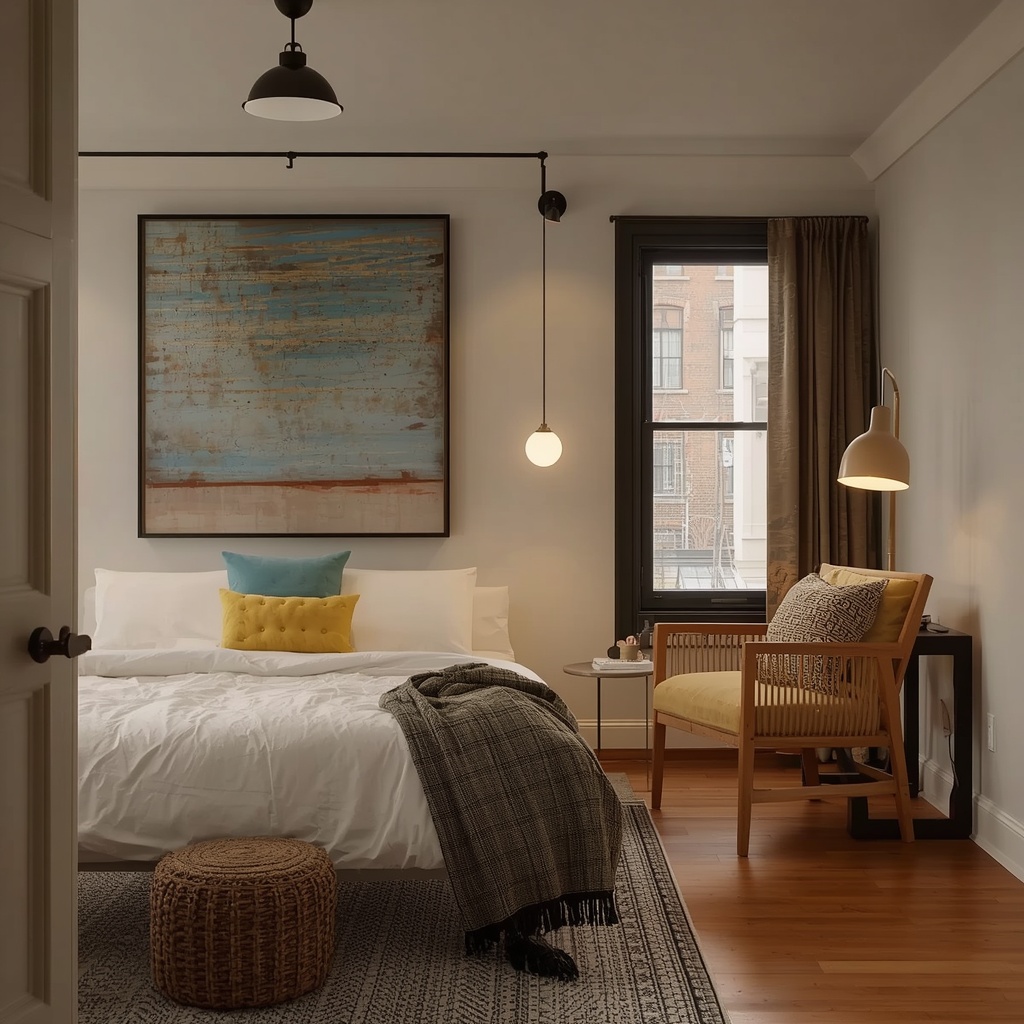
Aim for three layers in each zone: ambient, task, and accent. Bedside sconces free up nightstand space, a floor lamp in the seating area adds glow, and a small table lamp on the console bridges the two. Smart bulbs and plug-in dimmers make it easy to shift the whole room from “workday” to “wind down” with one tap.
Lighting checklist:
- Wall-mounted sconces beside the bed (plug-in versions for renters)
- An arc floor lamp over the sofa
- Under-shelf LED strips on the divider
- Warm-white bulbs only in the sleeping zone
- Dimmers on every major light source
Use Color and Paint to Separate Spaces
Color creates boundaries without adding a single piece of furniture. Painting an accent wall behind the bed in a deep, moody tone (navy, forest green, or charcoal) makes the sleeping area feel like its own room. Keep the living area walls lighter to maintain brightness and cohesion.
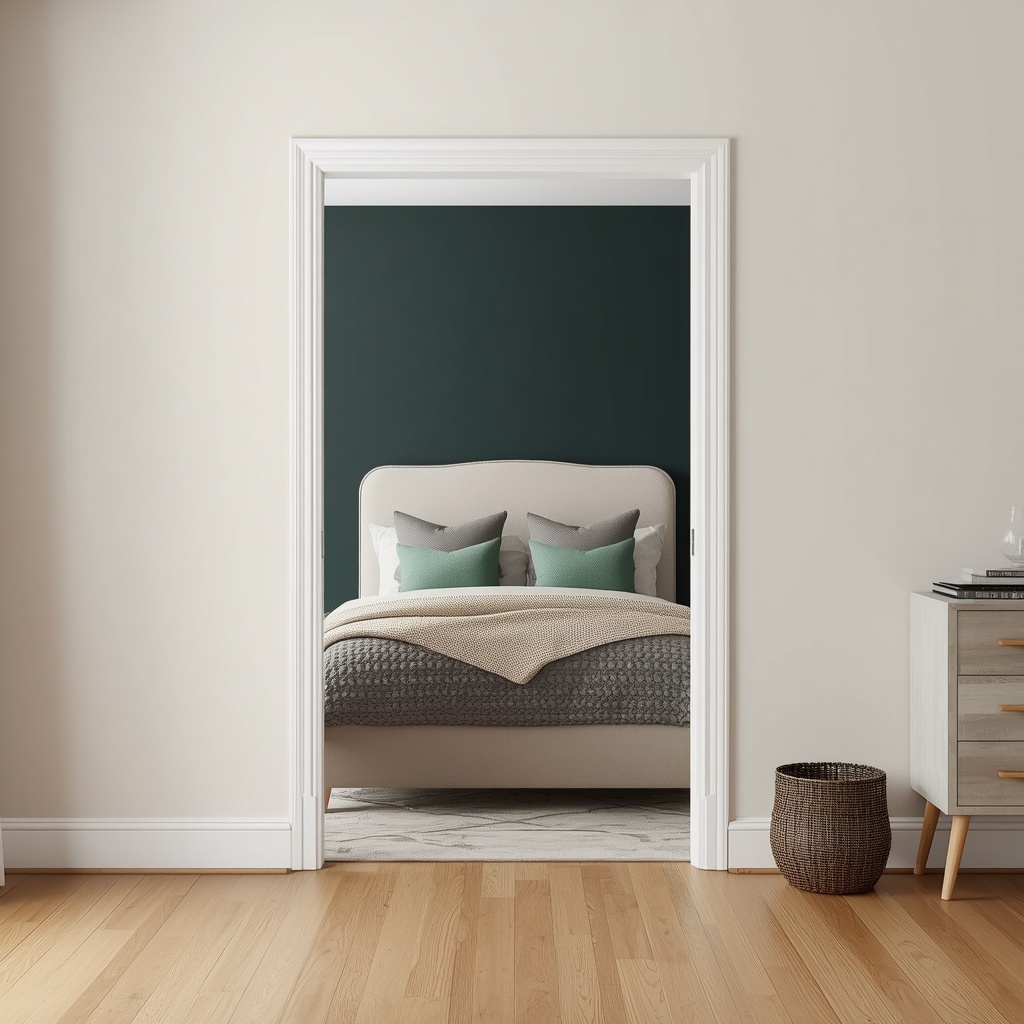
If painting isn’t allowed, use peel-and-stick wallpaper, a large headboard, or wall-mounted art to get the same effect. Stay within a consistent palette of three main colors so the space feels unified. Repeat your accent color in the living area through pillows, a throw, or a vase to tie both zones together.
Studio Layout Ideas by Floor Plan
Every studio is different, but most fall into a few common shapes. Here are layouts I use repeatedly with clients, adapted to the room’s proportions.
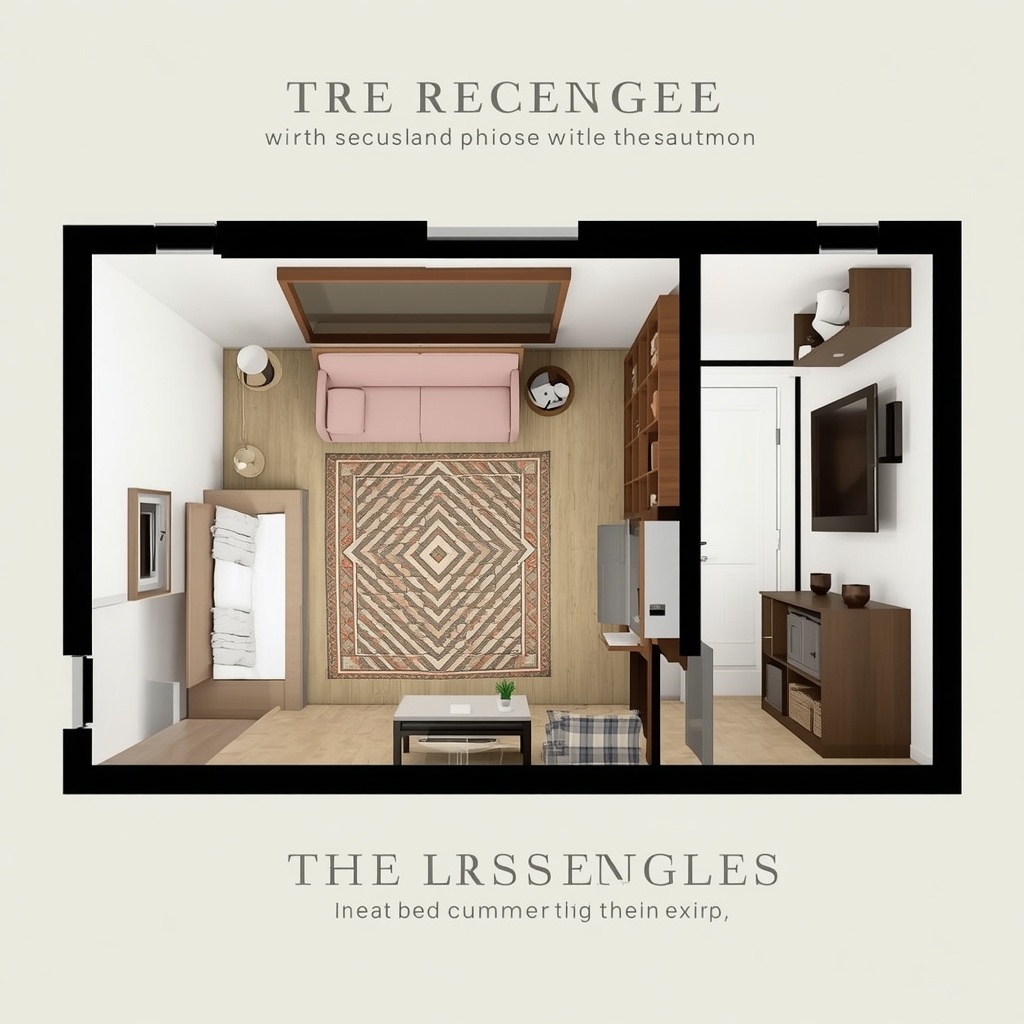
The Rectangle (long and narrow): Place the bed at the far end, away from the entry, and divide it with a low bookcase or curtain. Put the sofa in the middle facing the TV wall, with the kitchen or desk near the door.
The Square: Corner the bed diagonally opposite the entry. Use a sofa back or console to make a soft L-shaped boundary, then anchor each zone with a rug.
The L-Shaped Studio: This is the dream layout. Use the short leg of the “L” as a natural alcove for the bed and add a curtain or slim partition for privacy. The main area then becomes a full living and dining room.
The Small Studio (under 400 sq ft): Go vertical. Choose a Murphy bed, a fold-down desk, and wall-mounted storage. Keep the floor as clear as possible so the room feels bigger than its footprint.
Smart Storage That Doubles as Separation
Storage and division are natural partners. A low dresser at the foot of the bed can create a visual boundary and hold clothes, and a storage bench does the same while offering seating. Underbed drawers and lift-up frames reclaim dead space for off-season items.
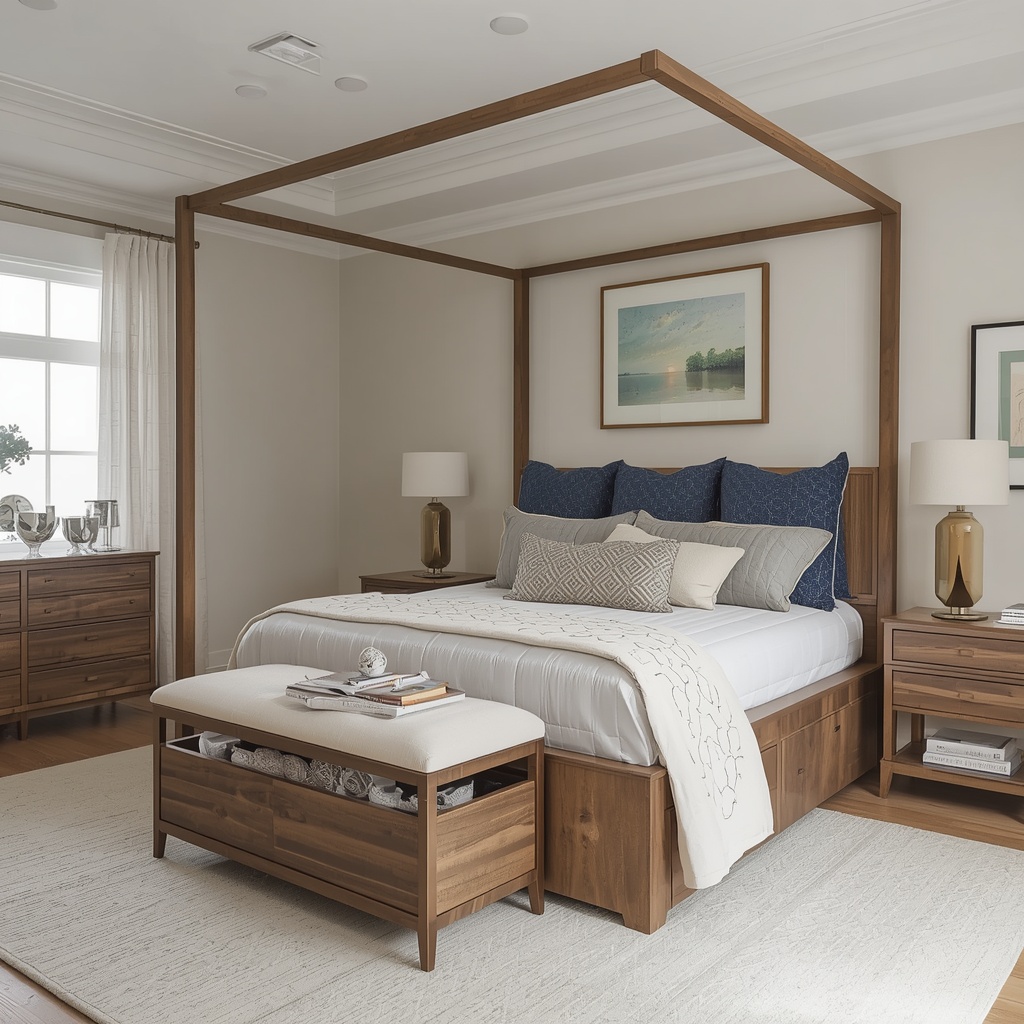
Vertical storage matters even more in small homes. Floor-to-ceiling shelving on the wall behind the bed adds display space without eating floor area, and hooks and rails on the back of a divider hold bags, jackets, or plants. Always aim for closed storage in the sleeping zone, since a cluttered bedroom area makes the whole apartment feel messier.
“Clutter is the enemy of small spaces. If every item has a home, your dividers can do their job.”
Renter-Friendly Divider Ideas on a Budget
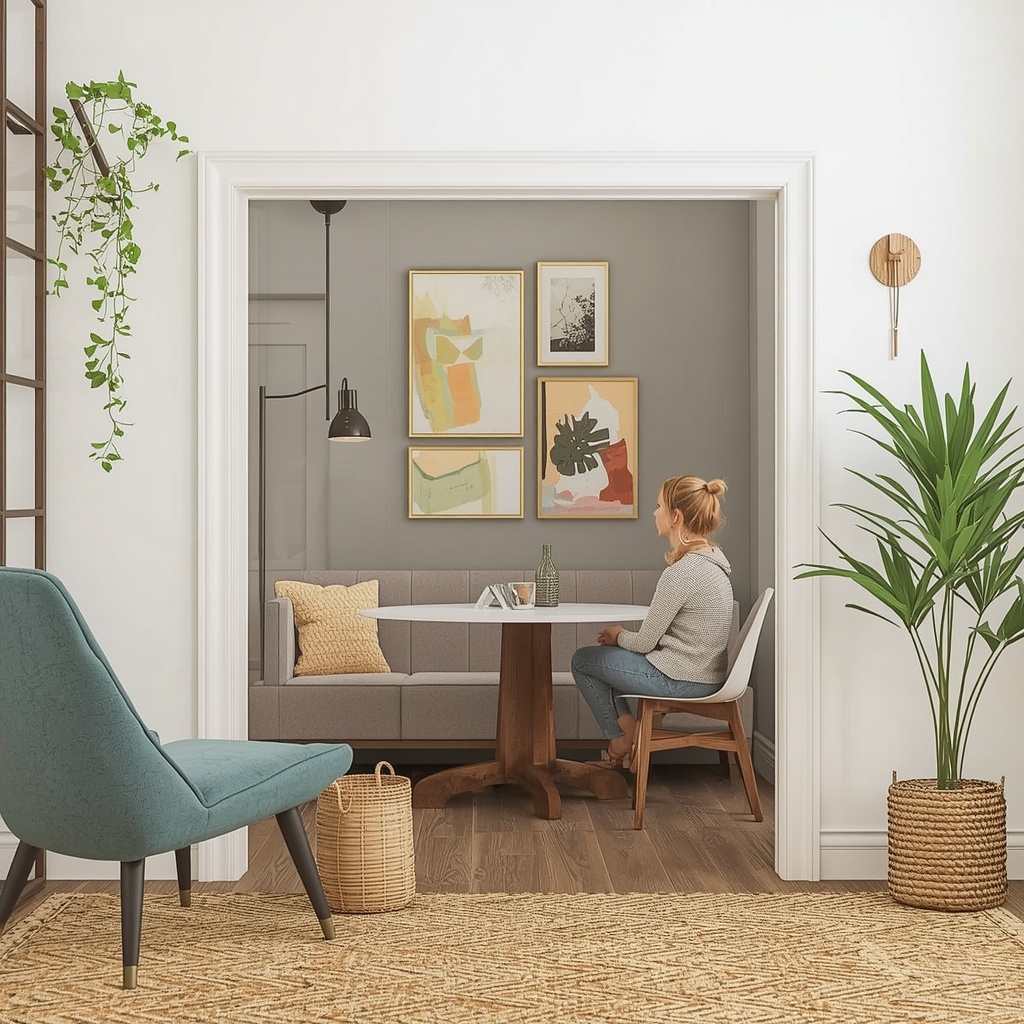
You don’t need a construction crew or a big budget to separate zones. Many of the most effective solutions are removable and cost less than a nice dinner out. Here’s how to get the look for less:
| Idea | Approximate Cost | Damage-Free? | Difficulty |
|---|---|---|---|
| Tension-rod curtain | $25–$60 | Yes | Easy |
| Folding screen | $50–$200 | Yes | Easy |
| Cube bookcase | $60–$250 | Yes | Easy |
| Area rug pair | $100–$400 | Yes | Easy |
| Ceiling track curtain | $75–$300 | Mostly | Medium |
| Freestanding slat divider | $150–$500 | Yes | Medium |
For more affordable inspiration, browse real-life small space tours on Apartment Therapy or search “studio apartment” on Houzz to see how other homeowners solve the same challenge. Save the photos you love and look for patterns in what appeals to you.
Common Studio Layout Mistakes to Avoid
Even well-meaning decorators fall into the same traps. Watch out for these:
- Blocking windows with tall dividers. Light is precious in a studio, so keep sightlines open.
- Using oversized furniture. A huge sectional overwhelms a small room. Scale down.
- Pushing everything against the walls. Floating furniture slightly creates flow and defines zones.
- Ignoring the entry. Guests shouldn’t see your bed the moment they walk in. Screen it with a shelf or curtain.
- Skipping a focal point in each zone. Give the bed a headboard or art, and give the living area a TV wall or gallery.
- Mixing too many styles. Stay with one consistent design language for a cohesive look.
Pro Tip: Before committing to a layout, tape the furniture footprints on your floor with painter’s tape. Live with the outline for a day or two. You’ll quickly notice pinch points and awkward gaps that a drawing would never reveal.
Final Thoughts: Make Your Studio Feel Like a Home With Rooms
A studio doesn’t have to feel like one big, undefined space. With thoughtful studio apartment layouts, a few well-chosen dividers, and layered lighting, you can build a clear separation between where you live and where you sleep. Start with the simplest changes, like a rug, a curtain, or a repositioned sofa, and add bigger investments as your budget and needs grow.
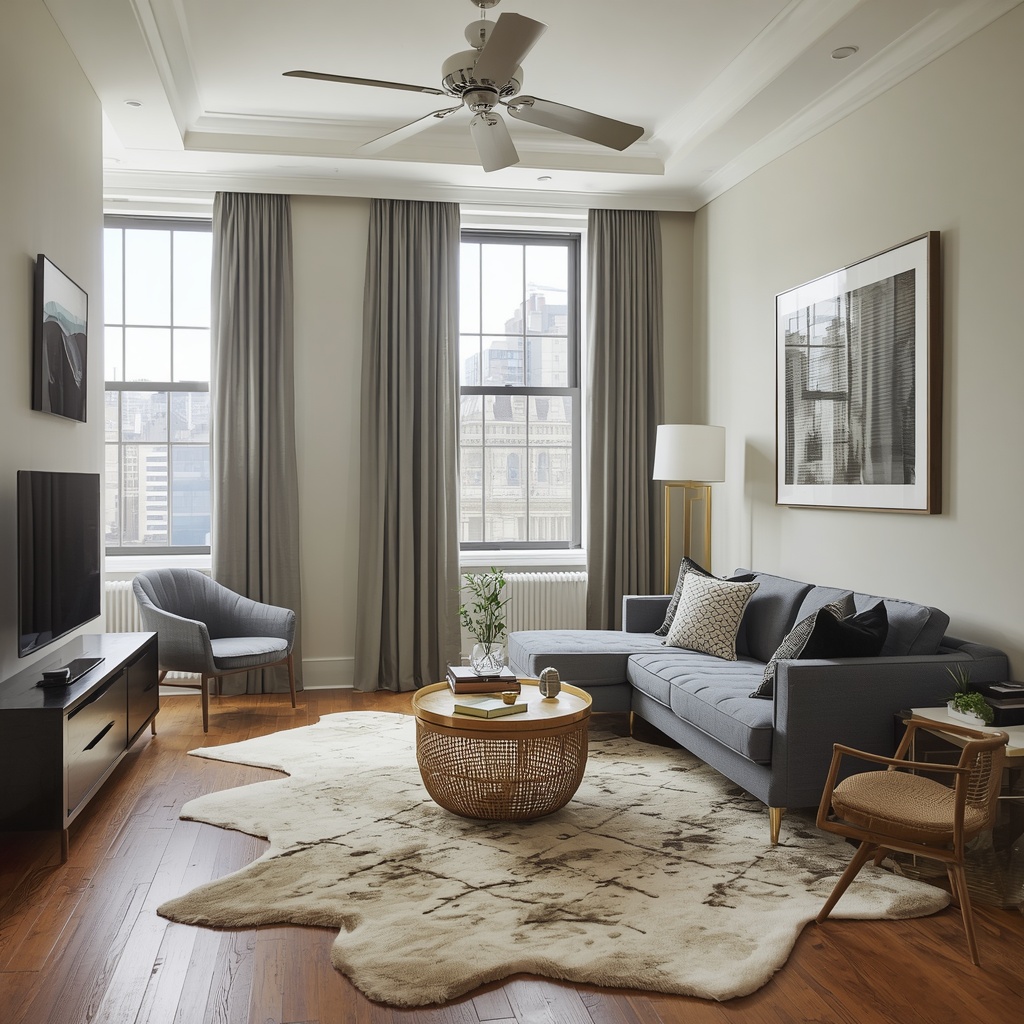
The best studio is one that fits how you actually live. Measure carefully, choose multifunctional pieces, and let light and color do the heavy lifting. Once each zone has its own identity, you’ll notice the difference right away: better sleep, easier mornings, and a home that feels bigger than its square footage.
Frequently Asked Questions
How do I separate the bed from the living area in a studio without a wall?
Use a bookcase, curtain, folding screen, or a backless sofa turned to face away from the bed. Rugs and lighting can reinforce the boundary.
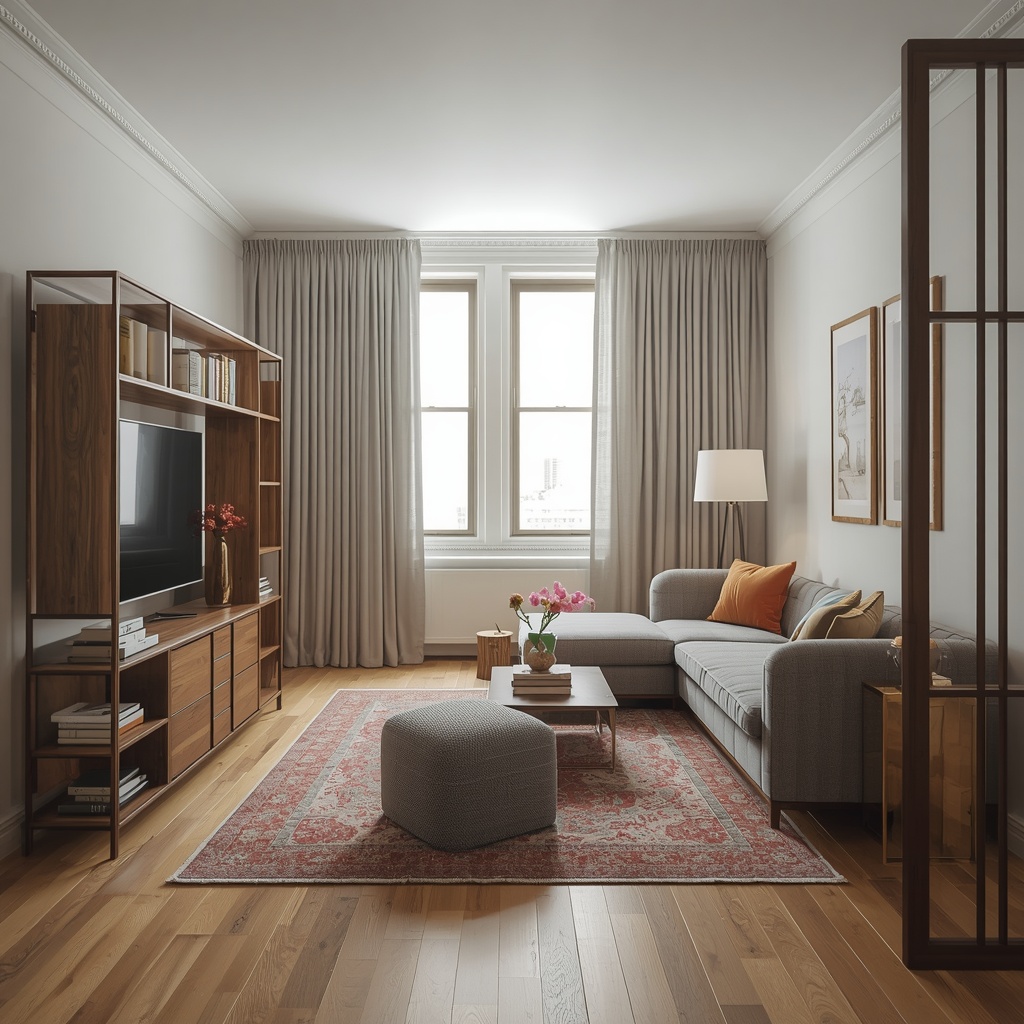
What is the best room divider for a small studio?
An open-backed bookcase is a top choice because it offers storage and divides the space without blocking light. Curtains are best if you want flexibility.
Can I make a studio feel bigger while still dividing it?
Yes. Choose transparent or semi-open dividers, stick to a cohesive color palette, and keep furniture low-profile so sightlines remain open.
Where should the bed go in a studio apartment?
Ideally farthest from the entry door and away from the kitchen, so it feels private and quiet.