
Your walk-in closet has more potential than you think. Most homeowners see it as a place to dump clothes, shoes, and forgotten gift bags, but with the right modular shelving system, that same square footage can function like a personal boutique. Walk-in closet organization isn’t about owning less — it’s about designing smarter.
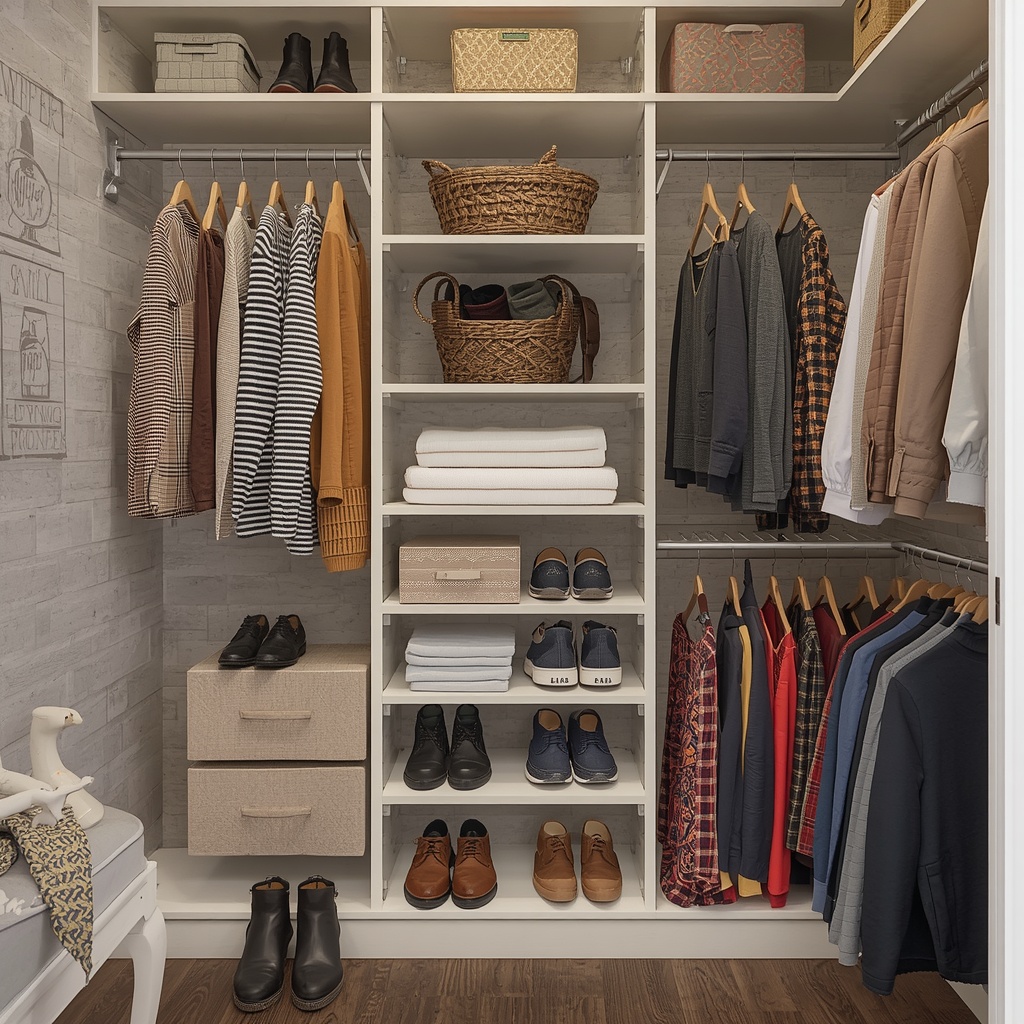
As a home decor specialist, I’ve walked into hundreds of closets that looked identical on day one: wire shelving sagging under sweaters, shoes piled in corners, and dead space above the hanging rods. Modular shelving changes that story completely, giving every closet a custom closet design without the custom closet price tag.
Why Modular Shelving Is a Game-Changer for Walk-In Closets
Modular shelving systems are built from individual components — cubes, panels, drawers, and rods — that snap, hang, or slide together in configurations you choose. Unlike a single fixed unit, modular closet organizers adapt as your wardrobe, seasons, and storage needs change.
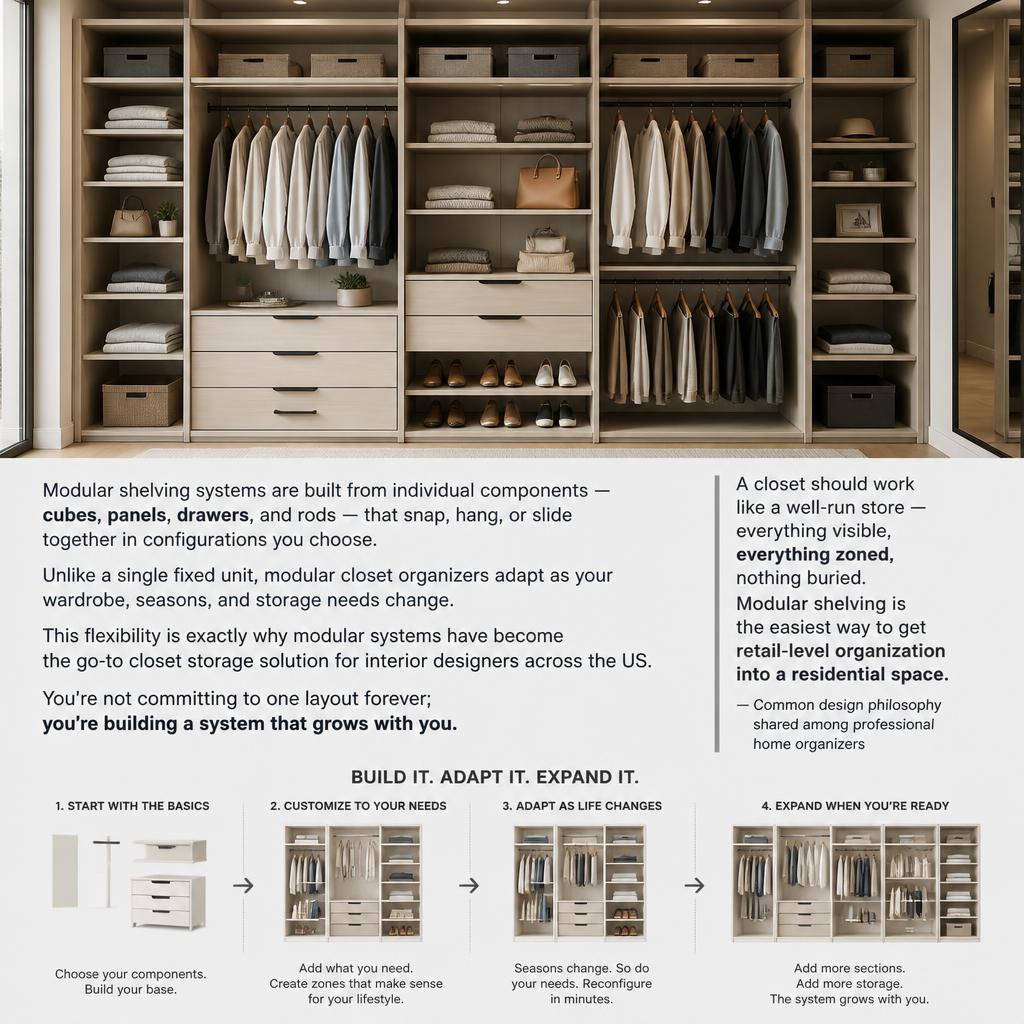
This flexibility is exactly why modular systems have become the go-to closet storage solution for interior designers across the US. You’re not committing to one layout forever; you’re building a system that grows with you. <div style=”border-left: 4px solid #999; padding-left: 12px; margin: 20px 0;”> “A closet should work like a well-run store — everything visible, everything zoned, nothing buried. Modular shelving is the easiest way to get retail-level organization into a residential space.” — Common design philosophy shared among professional home organizers.
Assess Your Closet Space and Storage Needs Before You Buy
Before ordering a single shelving unit, take stock of what you actually own. Skipping this step is the number one reason closet renovations fail to deliver lasting results.
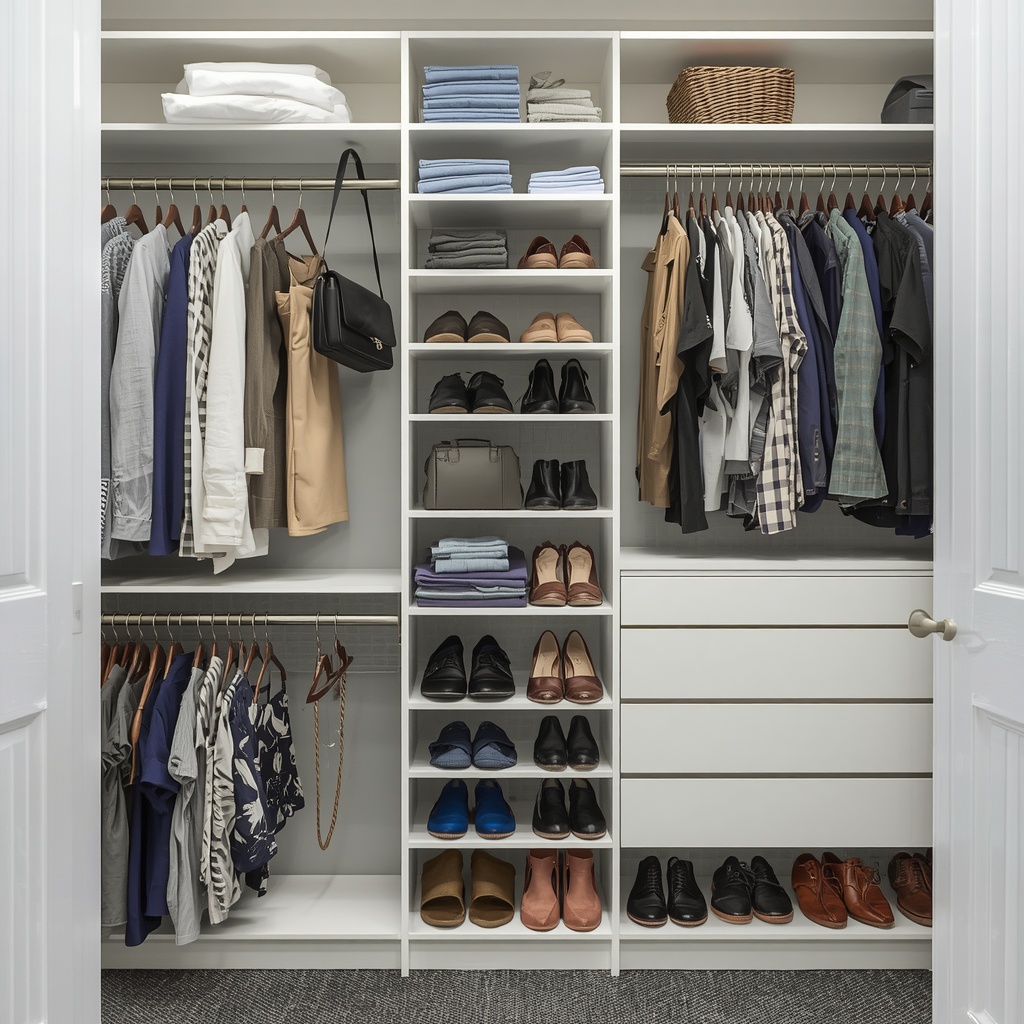
Start by pulling everything out of the closet and sorting it into categories: hanging garments, folded items, shoes, accessories, and out-of-season storage. Measure your closet’s width, depth, and ceiling height, and note the location of any windows, outlets, or HVAC vents that might affect where shelving can go.
Quick self-assessment checklist:
- How many linear feet of hanging space do you need for long items (dresses, coats) versus short items (shirts, folded pants)?
- How many pairs of shoes are you storing, and do you need angled shoe shelving?
- Do you fold most sweaters, activewear, and t-shirts, or hang them?
- Is this a shared closet, and does it need his-and-hers zoning?
- What’s your realistic budget for a full closet system upgrade?
Types of Modular Shelving Systems to Consider
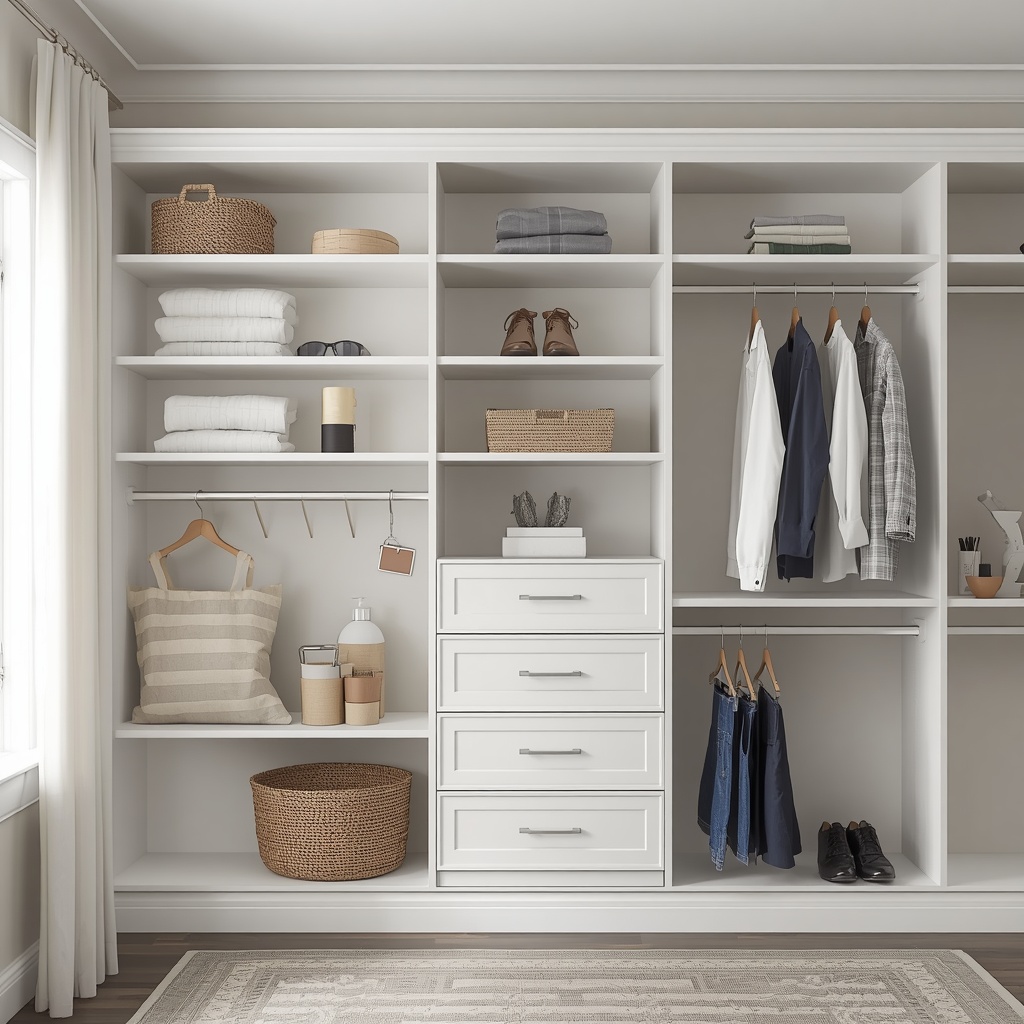
Not all modular shelving is created equal. Choosing the right base system determines how easily you can customize, expand, or reconfigure your closet layout down the road.
| Shelving Type | Best For | Customization Level | Approx. Cost Range |
|---|---|---|---|
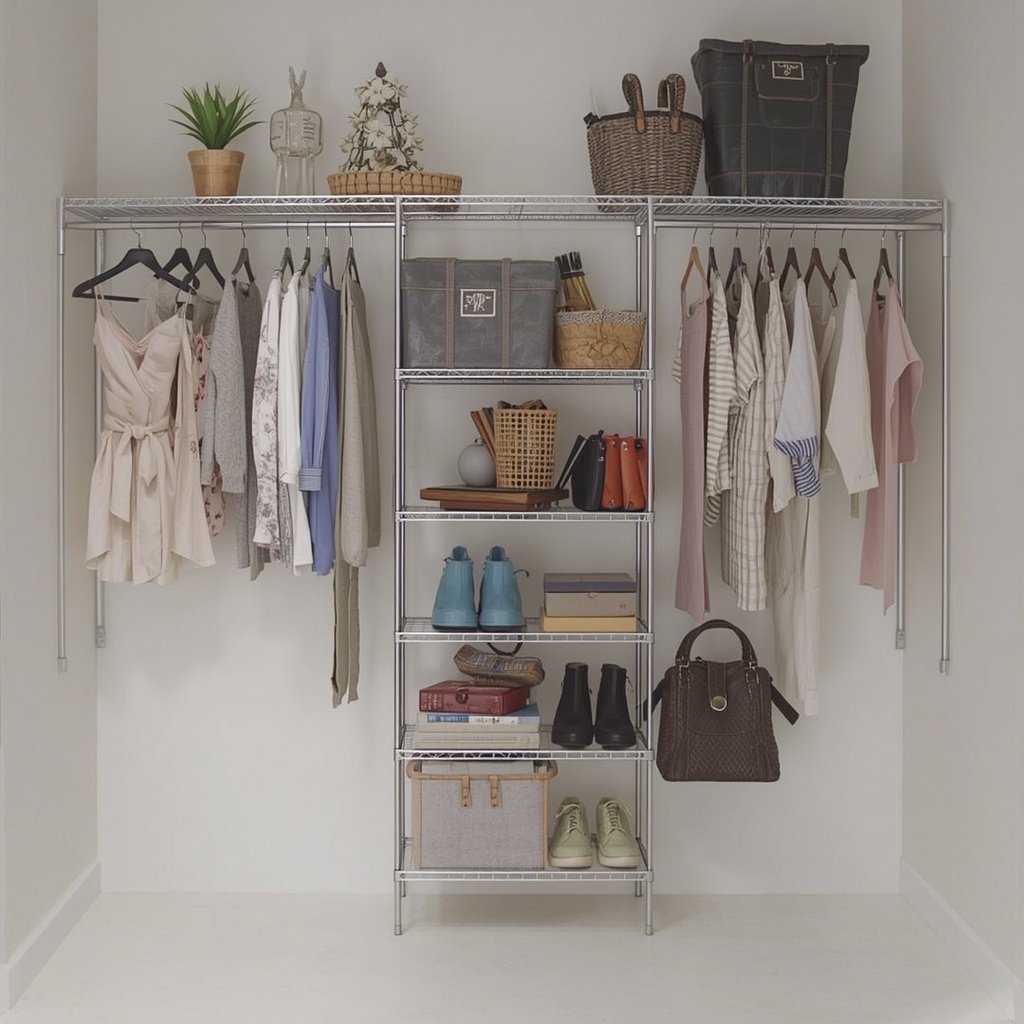
| Wire modular shelving | Budget renovations, ventilation | Moderate | $150–$400 |
| Laminate/melamine panel systems | Clean, built-in look | High | $500–$1,500 |
| Wood veneer modular systems | High-end, furniture-grade closets | High | $1,200–$4,000+ |
| Cube storage units | Rentals, no-drill installs | Low–Moderate | $100–$350 |
| Track-and-bracket systems | Adjustable, evolving needs | Very High | $300–$900 |
Laminate and wood veneer systems tend to offer the most refined look for a primary walk-in closet, while track-and-bracket systems win on adaptability — ideal if your storage needs shift often.
Step-by-Step: How to Organize a Walk-In Closet with Modular Shelving
Once you’ve chosen your system, installation and organization go hand in hand. Following a logical sequence prevents the common trap of installing shelving first and figuring out storage second.
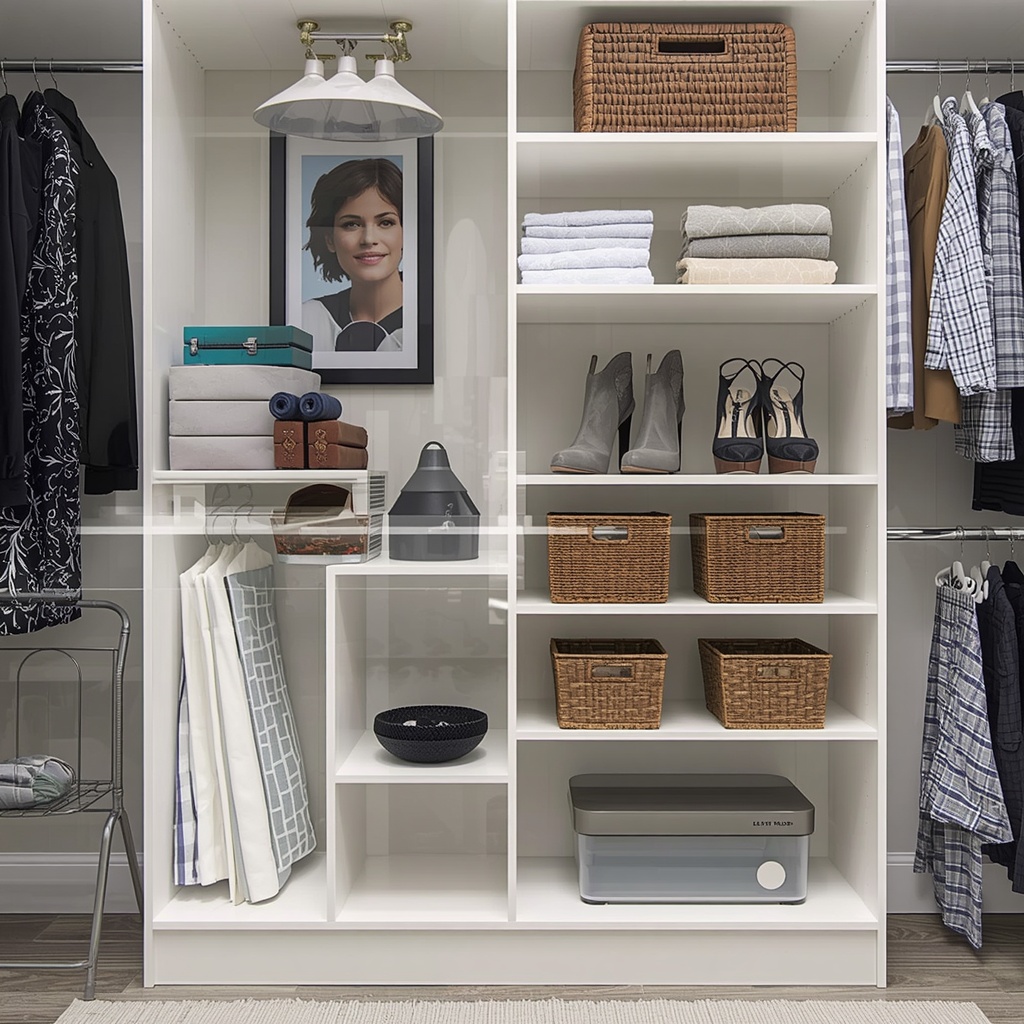
- Declutter and edit your wardrobe. Donate or store anything you haven’t worn in 12 months.
- Map your zones on paper or a planning app before drilling anything into the wall.
- Install the vertical track or frame system according to manufacturer specs, using a stud finder for weight-bearing sections.
- Add fixed elements first — hanging rods and larger shelves — then layer in adjustable components like drawers and baskets.
- Place shoe shelving near the entry of the closet for grab-and-go convenience.
- Add labeled bins for accessories, seasonal items, and folded categories.
- Install closet lighting (LED strip or puck lights) to make upper and lower shelves fully usable.
- Do a final walk-through, adjusting shelf heights based on how items actually sit once loaded.
Ad Pro Tip: Leave at least 1–2 inches of adjustable clearance between fixed shelves when installing a modular system. Wardrobes shift with the seasons — bulky sweaters and boots need more vertical room than summer basics — and adjustable shelving lets you reconfigure gaps in minutes instead of re-installing hardware.
Zone Your Closet by Category for Effortless Mornings
Professional closet organizers all agree on one principle: zoning beats guessing. When every category has a dedicated home, you stop searching and start dressing.
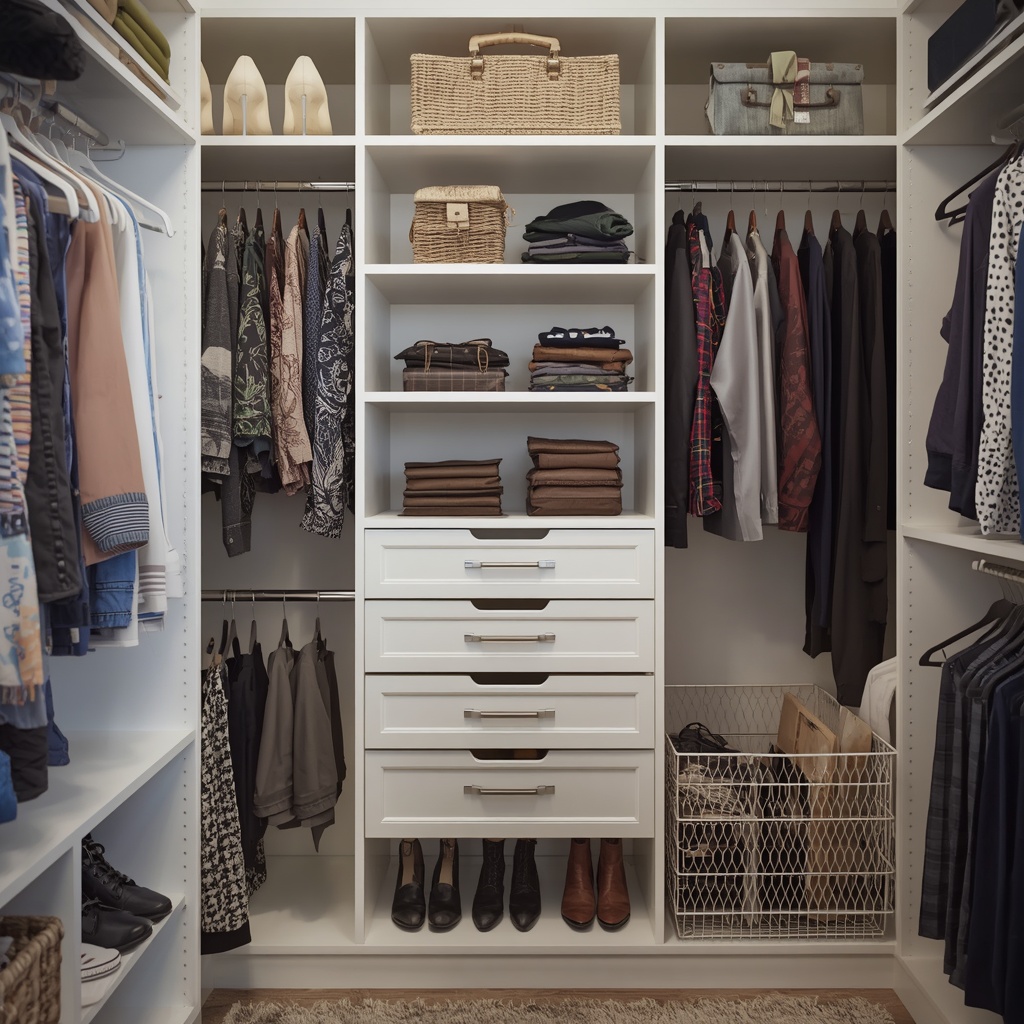
A well-zoned walk-in closet typically includes: a hanging zone (split into short-hang and long-hang sections), a folded-storage zone using drawers or shelves, a shoe zone with angled or cubby shelving, an accessories zone for belts, bags, and jewelry, and a seasonal/overflow zone for off-season rotation. Keeping these zones visually separated — even with simple shelf dividers — reduces decision fatigue every single morning.
Common closet zones and their ideal shelving type:
- Hanging garments → adjustable rods with double-hang capability
- Folded knitwear → open cube shelving or pull-out drawers
- Shoes → angled or tiered shoe shelving near closet entry
- Bags and accessories → shallow shelves or hook-and-peg panels
- Seasonal storage → top shelves or lidded modular bins
Maximizing Vertical Space in a Walk-In Closet
Most closets waste 20–30% of their potential storage simply because vertical space above eye level goes untouched. Modular shelving systems solve this by allowing you to stack components all the way to the ceiling.
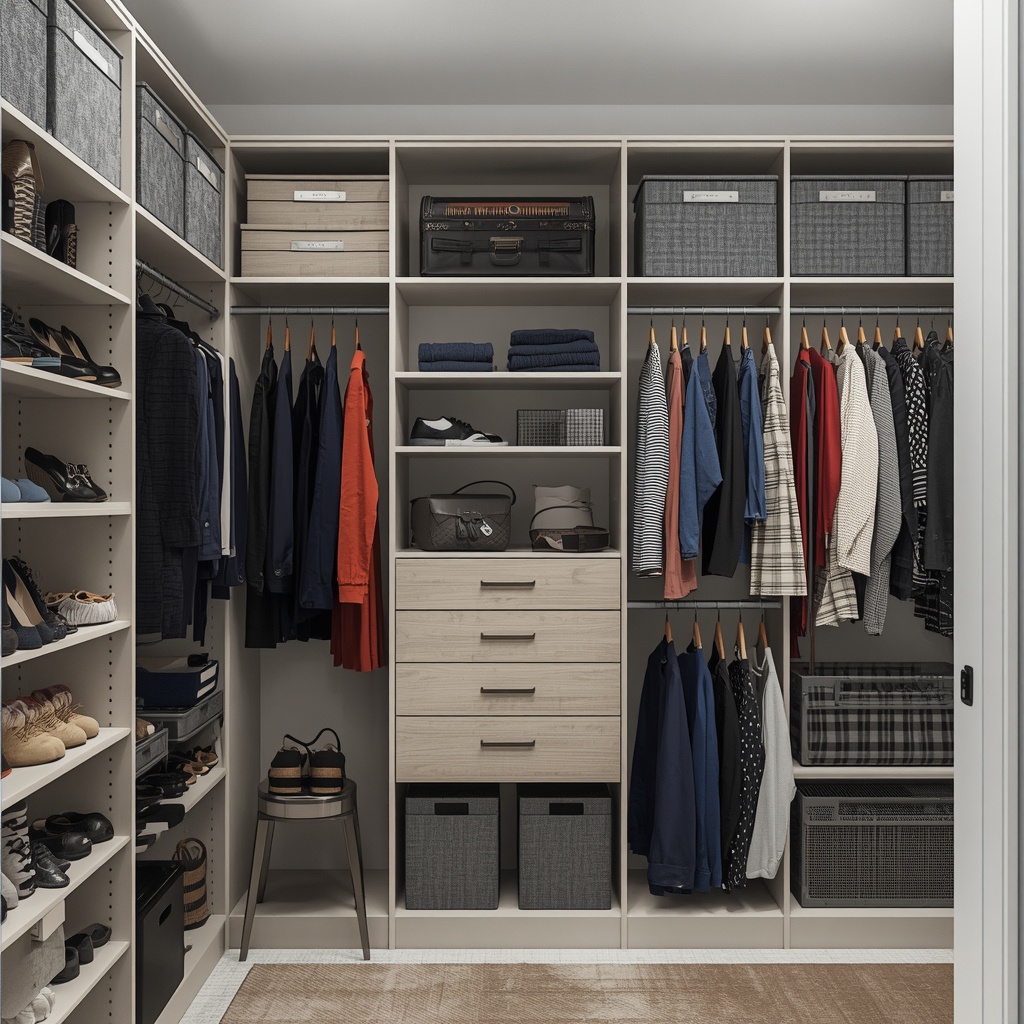
Reserve the top tier for items you access infrequently — luggage, holiday décor, or off-season coats — using labeled bins so nothing gets forgotten. Mid-level shelving should hold your everyday rotation, while the lower third stays open for shoes, hampers, or a step stool. This tiered approach mirrors how professional stylists organize backstage wardrobe racks, and it’s one of the simplest closet space planning upgrades you can make.
Best Materials for Modular Shelving Systems
Material choice affects durability, weight capacity, and the overall aesthetic of your walk-in closet. Here’s how the most common options compare.
| Material | Durability | Aesthetic | Maintenance | Ideal Closet Style |
|---|---|---|---|---|
| Melamine/laminate | High | Clean, modern | Low | Contemporary, minimalist |
| Solid wood | Very High | Warm, luxury | Moderate | Traditional, high-end |
| Wire/metal | Moderate | Utilitarian | Very Low | Budget, garage-adjacent closets |
| MDF with veneer | High | Custom-built look | Low | Transitional, boutique-style |
For most US homeowners renovating a primary walk-in closet, melamine or MDF-with-veneer systems offer the best balance of cost, durability, and visual polish.
Common Mistakes to Avoid When Organizing with Modular Shelving
Even a great shelving system can underperform if it’s installed or used incorrectly. Watch for these frequent missteps.
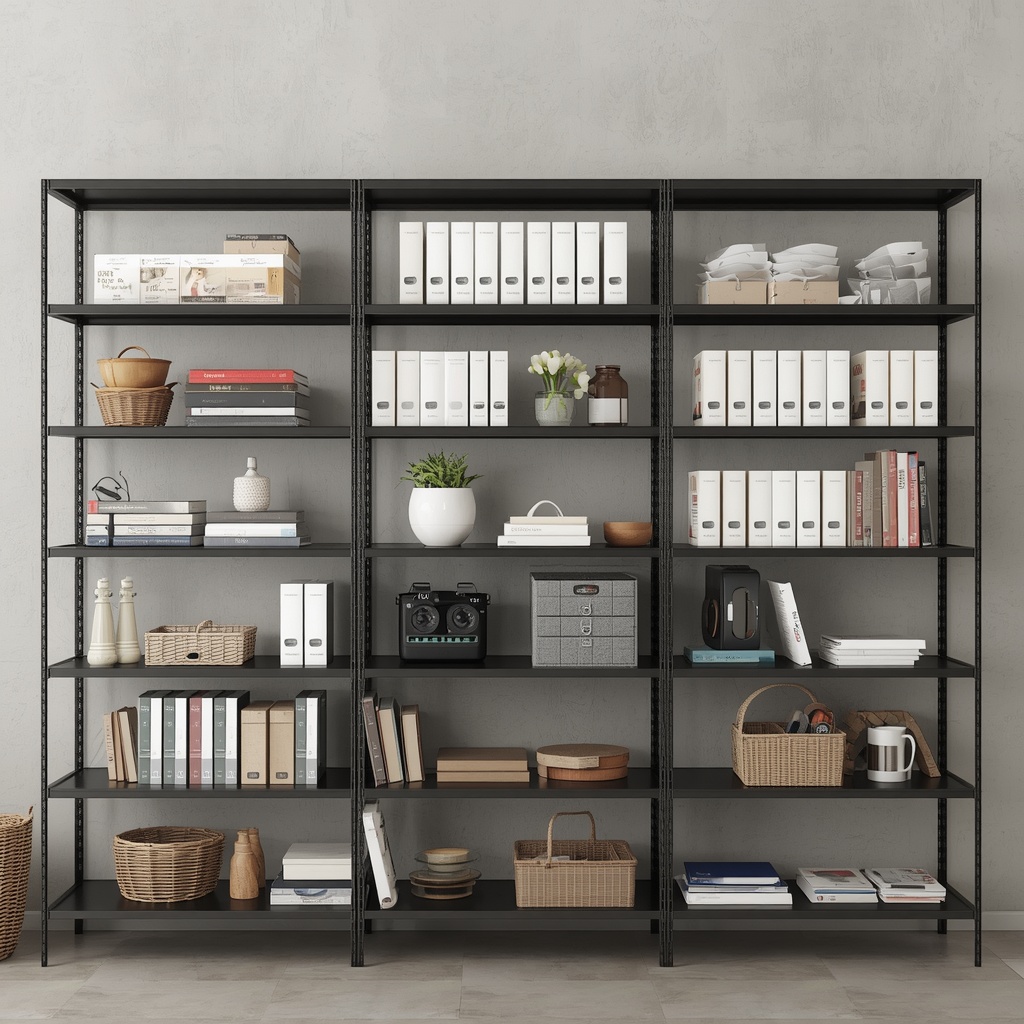
- Overcrowding shelves instead of leaving breathing room for visibility.
- Ignoring weight limits, especially on wire or laminate shelving holding shoes or bins.
- Skipping proper lighting, which makes even a well-organized closet feel chaotic.
- Failing to plan for growth, leaving no room to add shelving later.
- Mixing too many bin styles, which visually clutters an otherwise clean system.
Budget Planning for a Modular Closet Upgrade
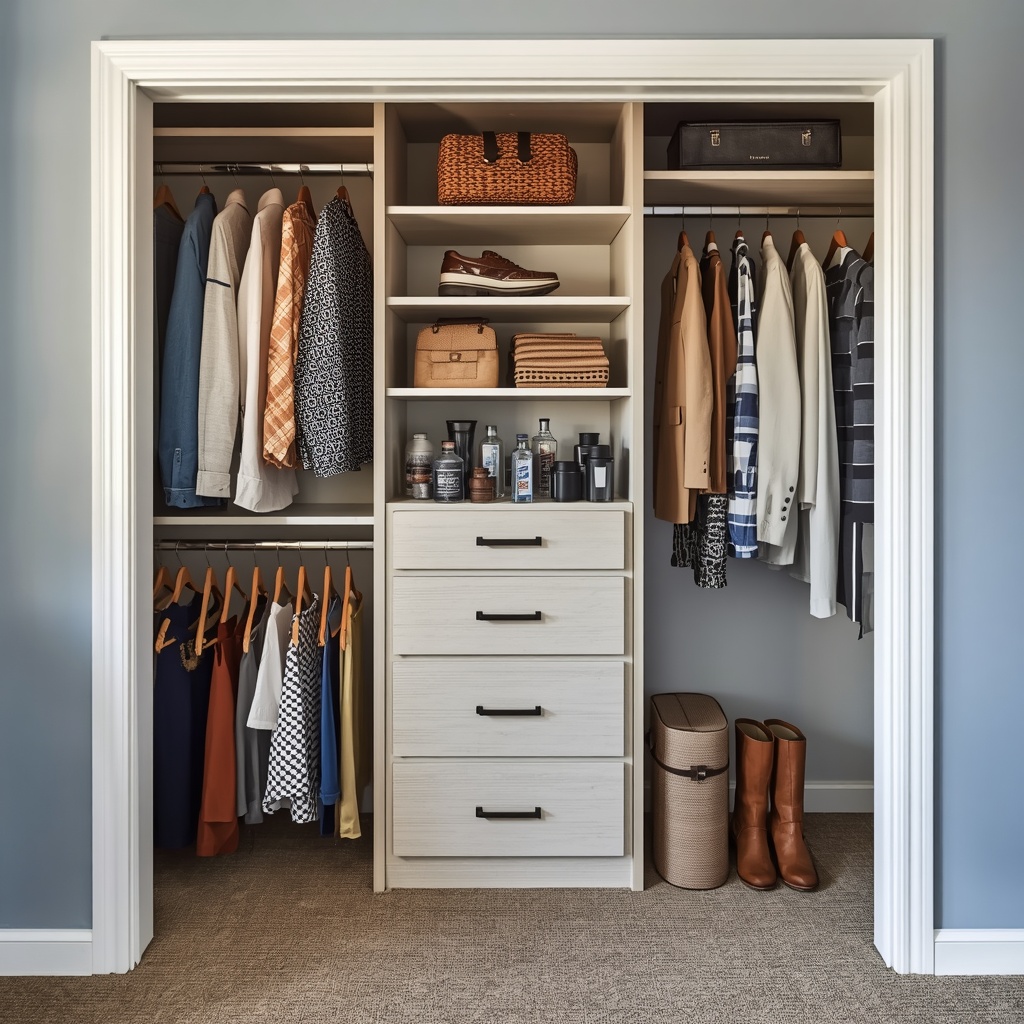
Modular shelving is one of the most cost-effective ways to upgrade a walk-in closet compared to a fully custom built-in system. Here’s a general budget breakdown for a mid-size closet (roughly 6×8 feet).
| Budget Tier | What’s Included | Typical Total Cost |
|---|---|---|
| Basic DIY | Wire shelving, basic rods, cube bins | $200–$500 |
| Mid-range | Laminate panel system, drawers, shoe racks | $800–$2,000 |
| Premium | Wood veneer system, custom lighting, built-in drawers | $2,500–$5,000+ |
If you’re working with a tighter budget, start with a mid-range track-and-bracket system and add premium components like drawers or lighting over time.
Frequently Asked Questions
Is modular shelving better than a fully custom closet system? For most homeowners, yes — modular shelving offers 80–90% of the functionality of a custom build at a fraction of the cost, and it can be reconfigured without demolition.
Can I install modular shelving myself? Many wire and laminate systems are designed for DIY installation with basic tools, though wood veneer and wall-mounted track systems may benefit from professional installation.
How do I choose shelf spacing for a walk-in closet? Leave 12–14 inches between shelves for folded clothing, and design hanging rod clearance based on your longest garments (typically 40–70 inches).
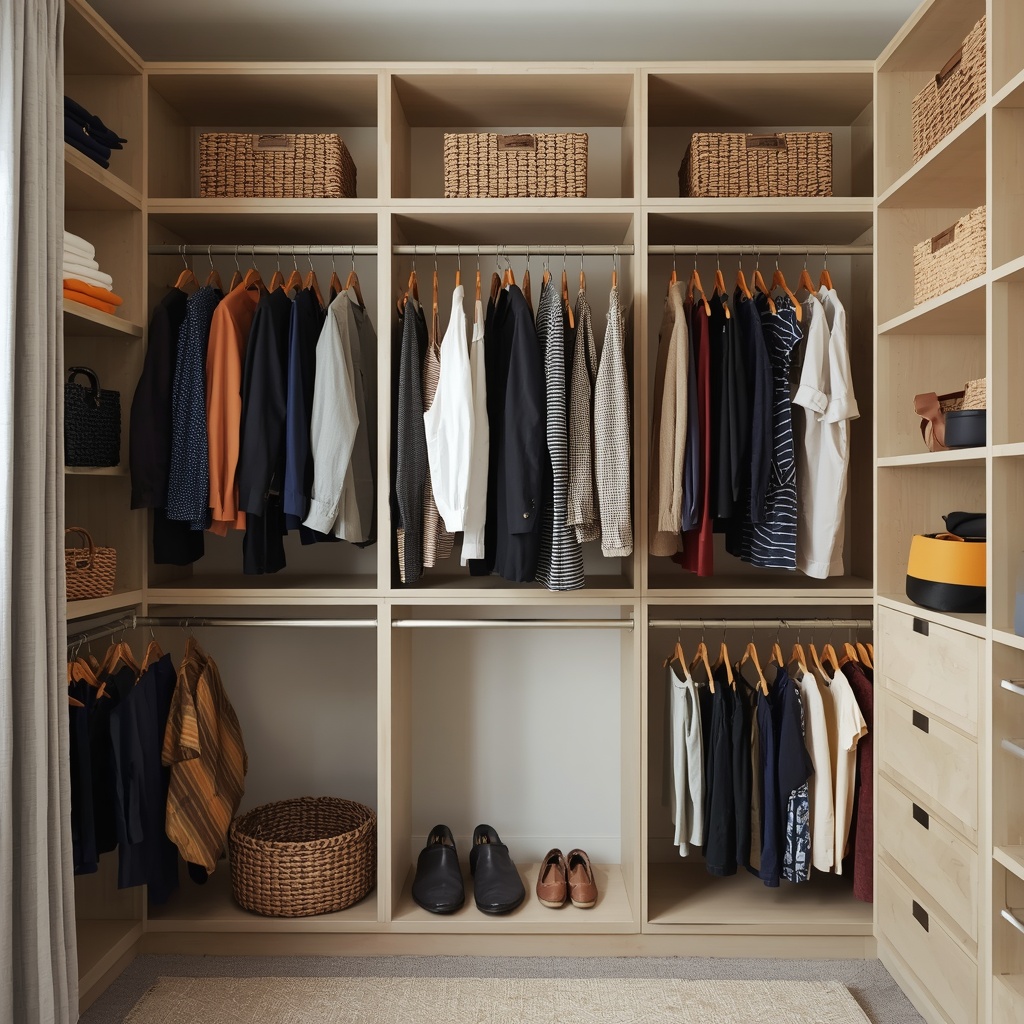
What’s the most space-efficient shelving layout? An L-shaped or U-shaped layout that uses two or three closet walls maximizes storage without crowding the walking path.
Final Thoughts
A well-organized walk-in closet isn’t a luxury reserved for oversized primary suites — it’s achievable in almost any space with the right modular shelving strategy. By assessing your needs, choosing durable materials, zoning by category, and maximizing vertical space, you can transform a chaotic closet into one of the most functional rooms in your home.
Start small if you need to. Even upgrading one wall with a modular track system can dramatically improve how your closet functions day to day — and unlike a fixed built-in, it’ll keep adapting as your wardrobe and lifestyle evolve.