
Open any beautifully organized pantry on social media and you’ll notice the same two things every single time: uniform containers and crisp, matching labels. That’s not a coincidence — it’s a system. As an interior designer who works with home decor and kitchen organization every day, I can tell you that decanting and labeling are the single highest-impact changes you can make to a pantry, closet, or cabinet. You don’t need a full renovation. You don’t need custom cabinetry. You need clear containers, a labeling method, and a little bit of intention.
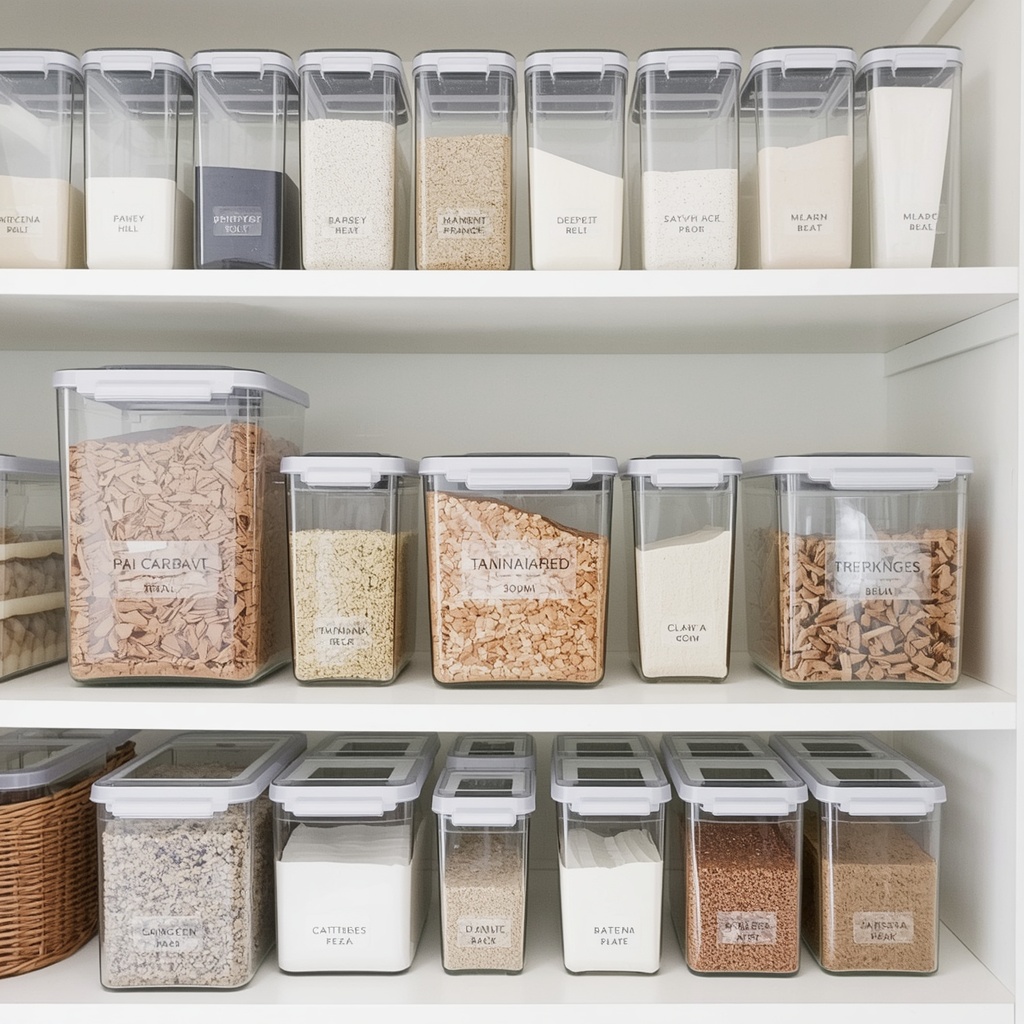
In this guide, I’ll walk you through exactly why decanting works, how to choose the right containers and labels for your space, and how to build a pantry system that actually stays organized — not just for the first week, but for good.
Why Decanting Works: The Psychology of a Clear Pantry
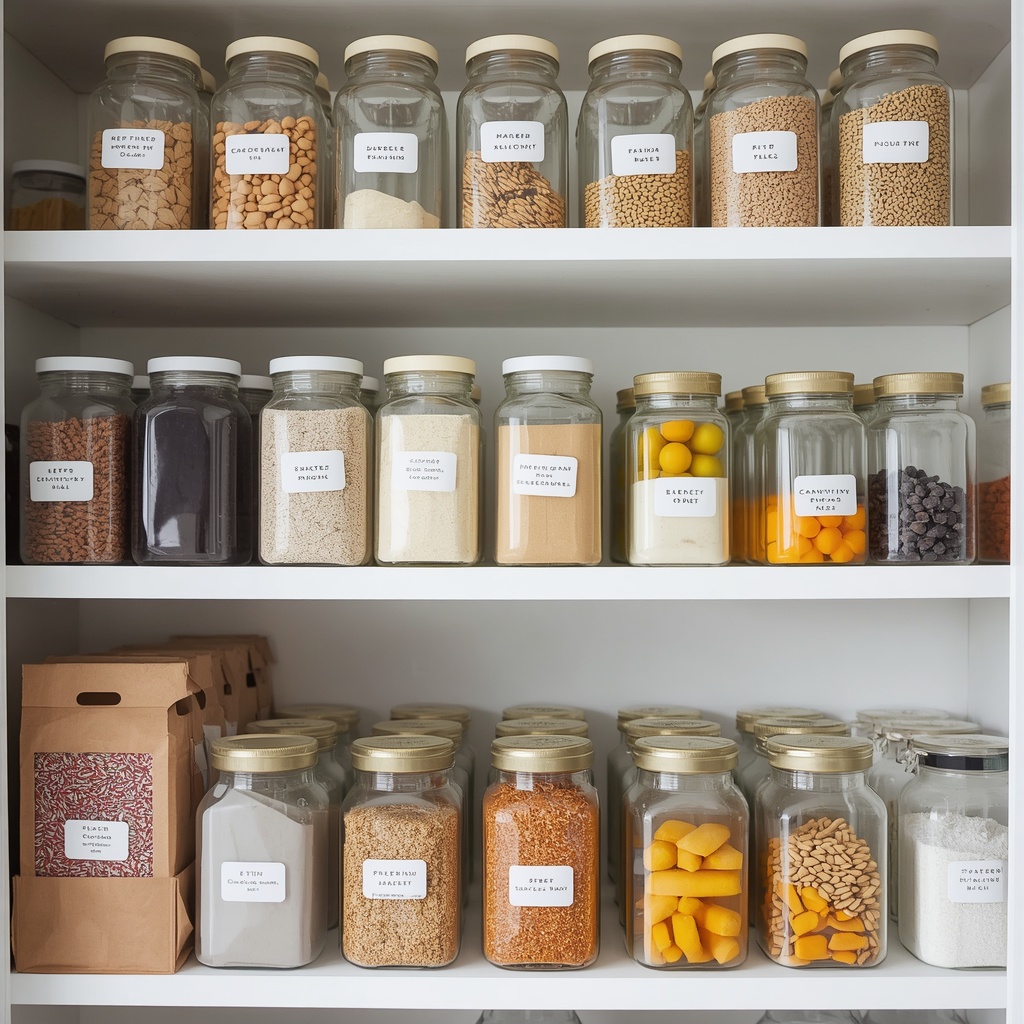
Decanting simply means transferring food from its original packaging into a uniform, see-through container. It sounds like a small cosmetic change, but it fundamentally changes how your brain processes the space. Mismatched bags, boxes, and half-used packages create visual noise, and visual noise reads as clutter even when the pantry is technically organized underneath.
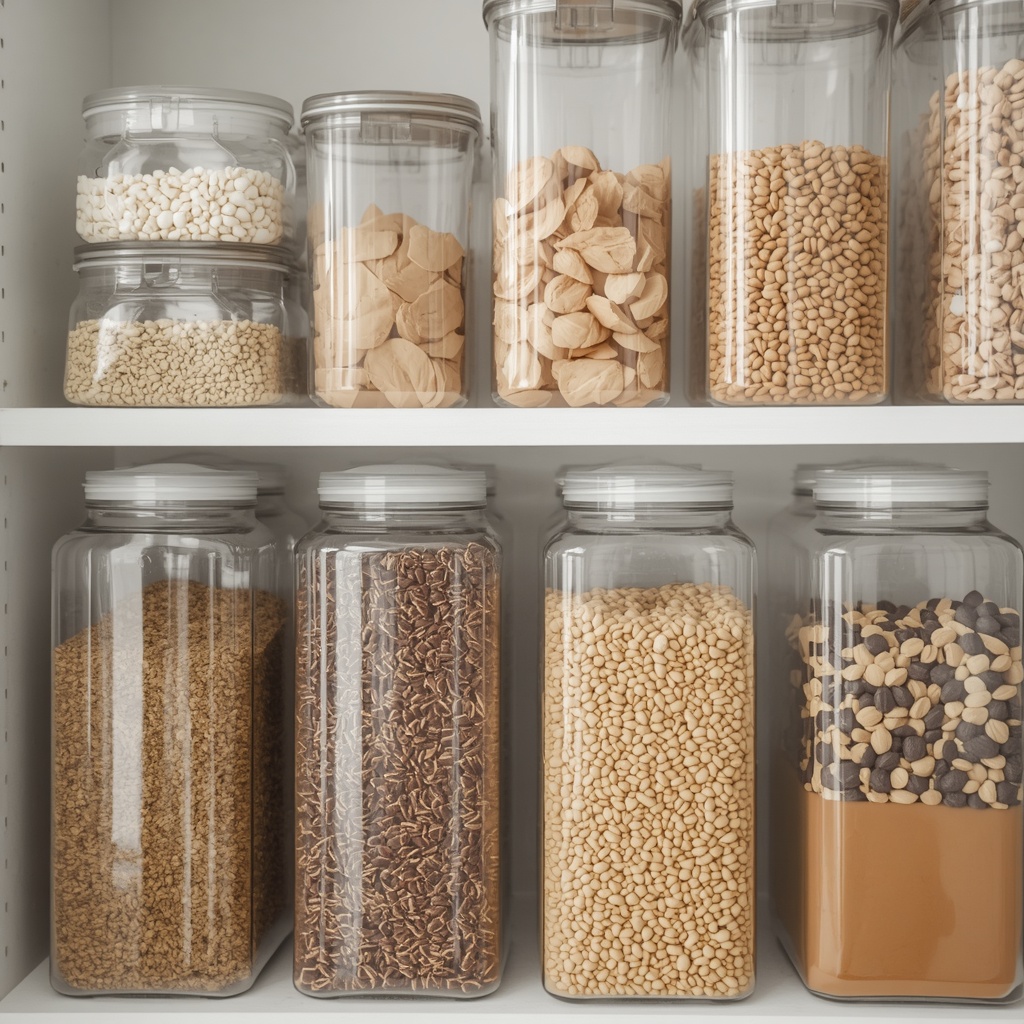
When everything is stored in matching containers, your eye has fewer shapes, colors, and textures to process at once. This is a well-documented principle in interior design: repetition and uniformity create a sense of calm, while variety and inconsistency create visual tension. A decanted pantry isn’t just prettier — it’s genuinely easier for your brain to navigate quickly, which is exactly what you want when you’re cooking dinner on a weeknight.
There’s also a practical, food-safety layer to this. Clear containers let you see at a glance when something is running low or past its prime, which cuts down on food waste and duplicate grocery purchases. Airtight containers also keep pantry staples like flour, rice, and cereal fresher for longer than their original bags or boxes.
“A pantry isn’t organized because it looks pretty — it’s organized because you can find what you need in five seconds, without thinking. Decanting and labeling are what make that possible.”
Getting Started: Assess Before You Buy
Before you order a single container, take stock of what you actually have and how you actually cook. This step gets skipped constantly, and it’s the reason so many pantry makeovers fall apart within a month.
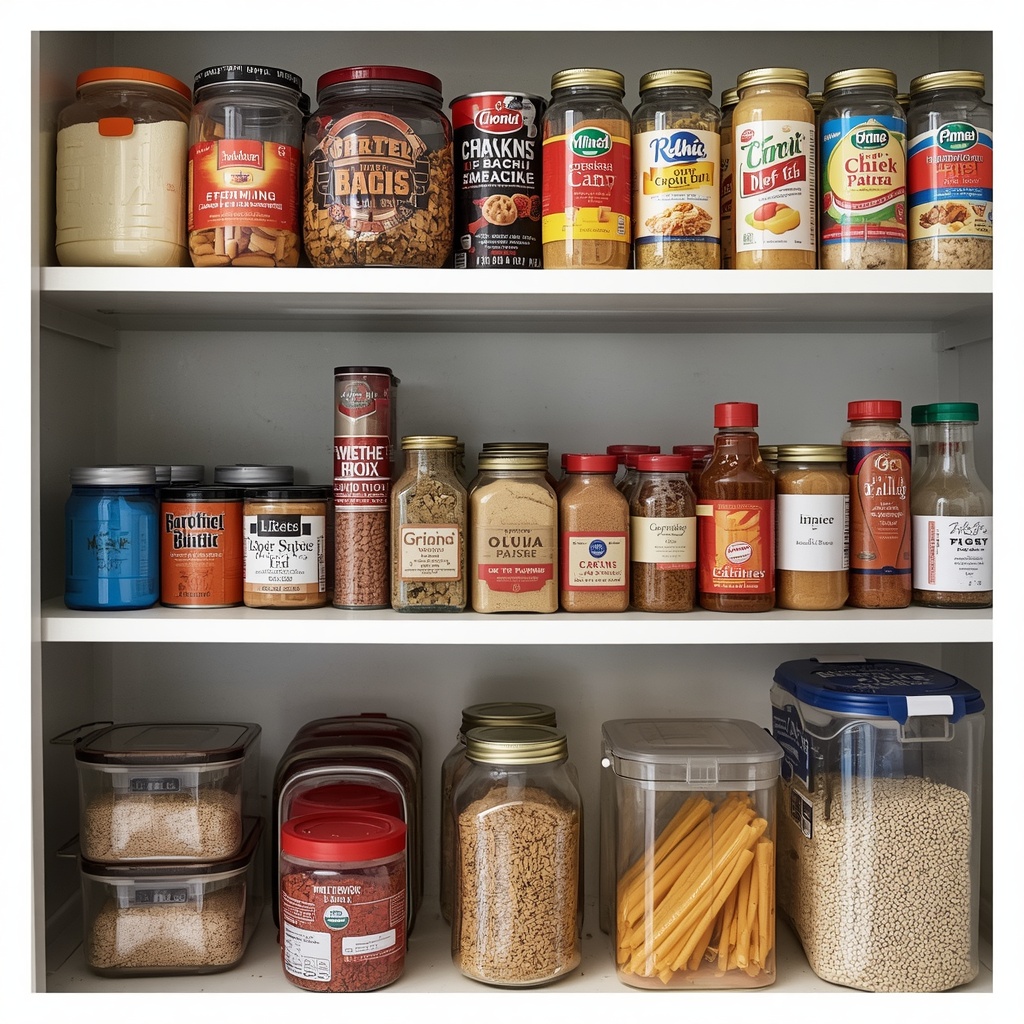
Pull everything out of your pantry and sort it into categories: baking staples, snacks, grains and pasta, canned goods, breakfast items, spices, and so on. As you sort, notice what you have duplicates of, what’s expired, and what you genuinely reach for every week versus what’s been sitting untouched for months.
Ask yourself these questions before buying containers:
- What are my top 10 most-used pantry items?
- How many people am I shopping and cooking for?
- Do I buy in bulk (warehouse-club sizes) or smaller weekly quantities?
- How much shelf depth and height do I actually have?
- Do I need kid-accessible bins for snacks, or child-safe placement for anything?
Only after you’ve answered these should you start shopping for containers. Buying first and sorting second almost always leads to mismatched sizes and wasted money.
Choosing the Right Containers for Decanting
Not every pantry item needs the same type of container, and this is where a lot of people overspend or under-plan. Below is a breakdown of the main container categories and what they’re best suited for.
| Container Type | Best For | Material Notes |
|---|---|---|
| Airtight canisters | Flour, sugar, rice, cereal, pasta | Look for silicone-gasket lids to keep out moisture and pests |
| Stackable bins | Snack packs, canned goods, produce | Choose modular sizes that nest or stack cleanly |
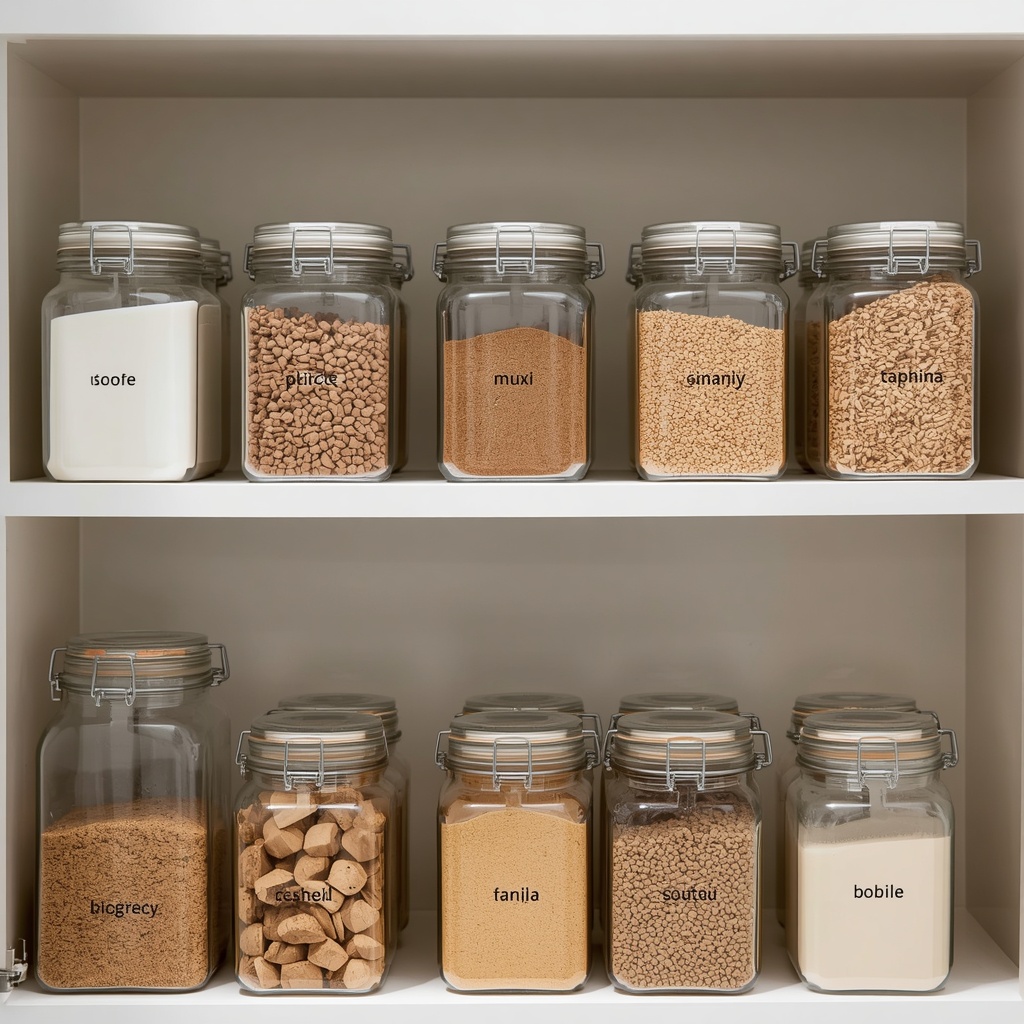
| Glass jars | Grains, beans, spices, baking mixes | Heavier and more breakable, but very durable and non-porous |
| Acrylic containers | High-visibility staples on open shelving | Lightweight, shatter-resistant, budget-friendly |
| Lazy Susans / turntables | Oils, sauces, condiments, spice jars | Great for deep corner shelves and cabinets |
| Bins with handles | Items you grab-and-go often, like snack bins | Easiest for kids or quick weekday access |
A four-line rule of thumb I give clients: buy containers in only two or three sizes, choose a single material family so everything reads as one collection, prioritize airtight seals for anything that spoils with moisture, and always measure your shelf height before ordering anything online.
I generally recommend starting with square or rectangular containers rather than round ones. Square containers use shelf space far more efficiently, leaving little to no dead space between jars — round containers can waste up to 20% of usable shelf area simply because of the gaps between the curved edges.
Pro Tip
Pro Tip: Buy one or two containers first and test them on your actual shelf before committing to a full set. Measure the depth of your pantry shelves, not just the height — a container that’s technically short enough often won’t slide in and out easily if it’s too deep for the shelf, especially on lower cabinet shelves where you’re reaching in at an angle.
The Labeling System: More Than Just Pretty Fonts
Labels are what turn a collection of clear containers into an actual system. Without labels, you’re still guessing — is that white powder flour, sugar, or cornstarch? Labels remove that guesswork instantly, and they also help everyone in the household put things back in the right place.
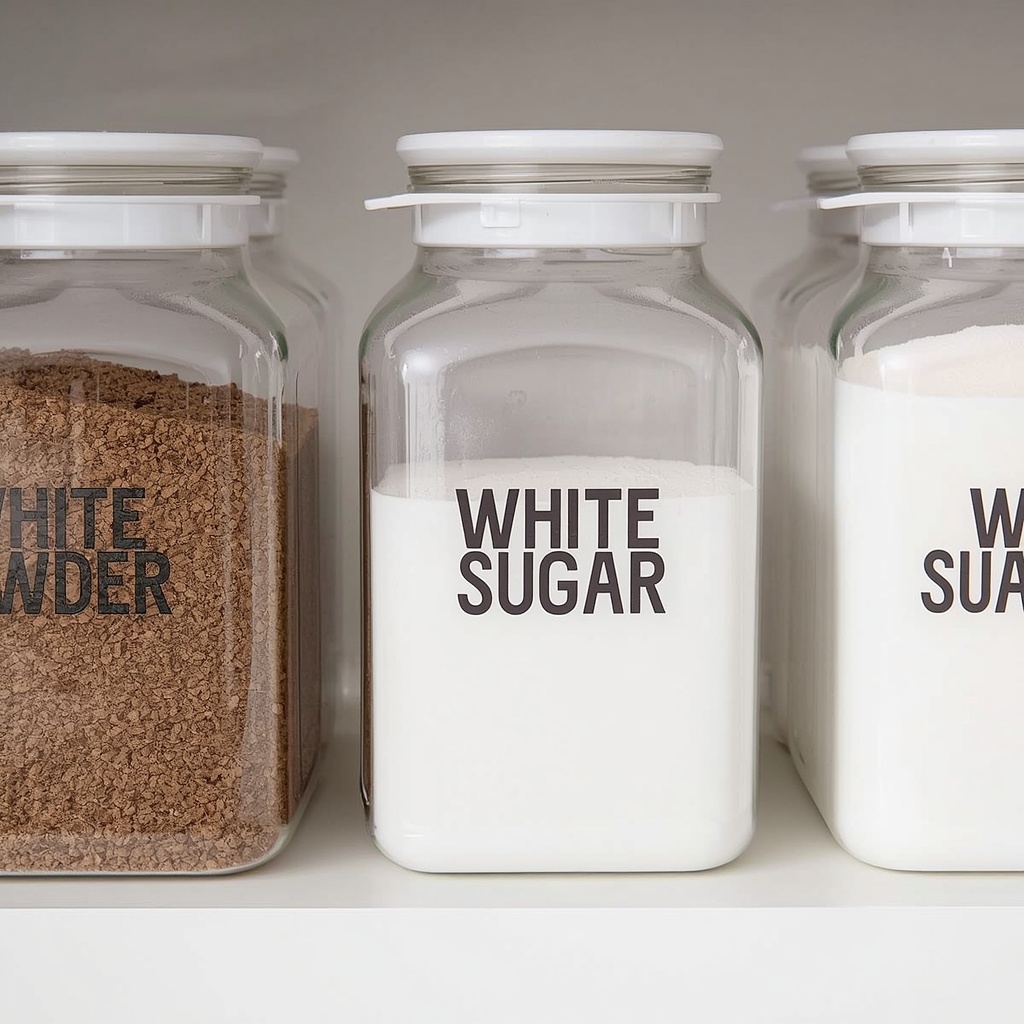
There are a few different labeling approaches, and the right one depends on your budget, your aesthetic, and how often your pantry contents change.
Common labeling methods, ranked by durability and cost:
- Vinyl or waterproof stickers — the most popular option; durable, wipeable, and available in dozens of fonts and styles
- Chalkboard labels — reusable and editable with chalk markers, great for items that rotate frequently
- Engraved wood or acrylic tags — higher upfront cost, but extremely durable and give a premium, boutique-pantry look
- Printable label sheets — the most budget-friendly DIY option, especially if you already own a label maker
- Handwritten labels on masking tape — a temporary, zero-cost solution while you’re still deciding on containers
Whatever method you choose, consistency matters more than the specific style. A pantry with five different label fonts and formats looks more chaotic than a pantry with no labels at all. Pick one font, one color palette, and one label size, and use it everywhere.
A well-designed label should include:
- The item name in a clear, legible font
- An optional “best by” or “use by” date field for items that expire
- Consistent capitalization (all caps or all lowercase — never mixed)
- A category icon or color tag, if you’re using a color-coded zone system
Organizing by Zone, Not Just by Container
Decanting and labeling work best when they’re paired with a zoning strategy. Zoning simply means grouping like items together and assigning each category a consistent “home” on your shelves, so your eye and your hand both learn where things live.
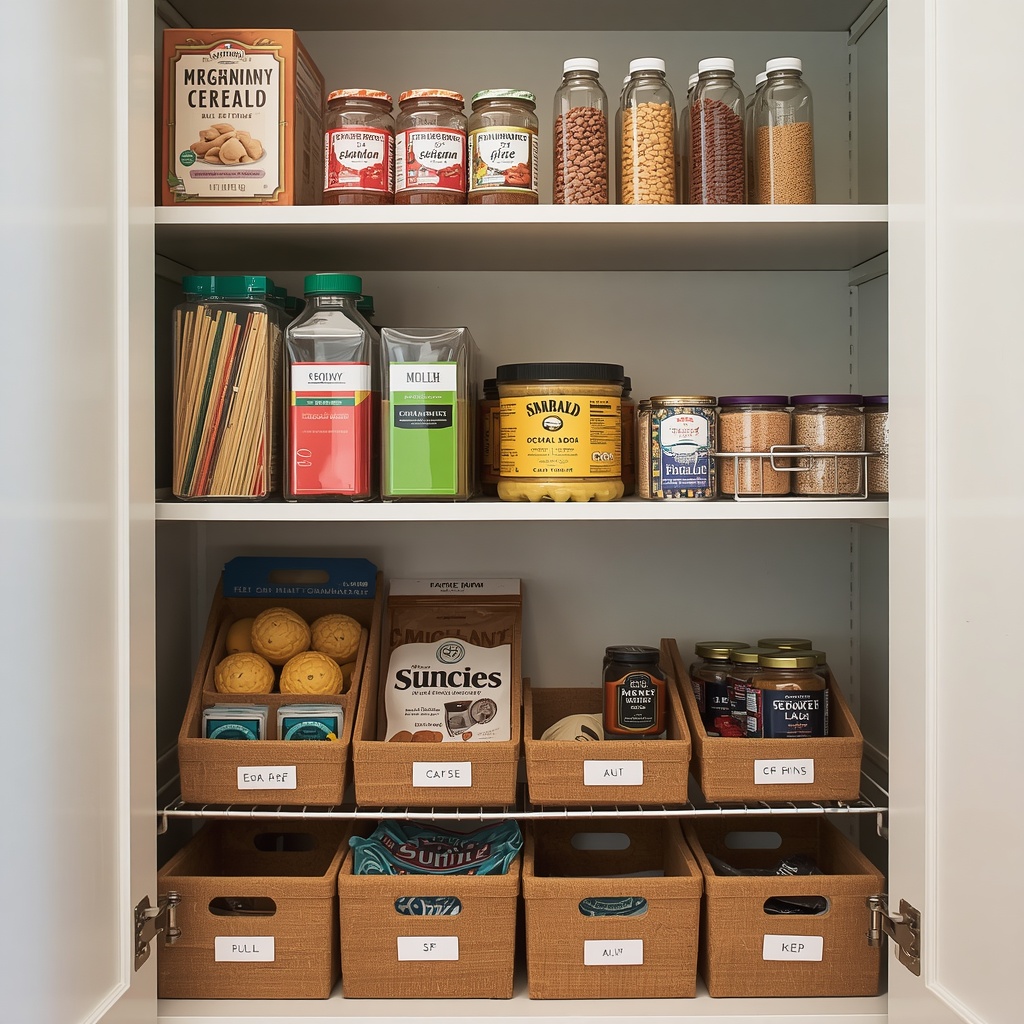
A typical zoning layout for a mid-size pantry looks something like this: baking staples on one shelf, breakfast and cereal items at kid-eye-level, canned goods and grains on a lower or mid shelf, snacks in easy-reach bins, and spices either on a tiered shelf or in a drawer insert. Keep the items you use daily at eye level, and reserve the top and bottom shelves for bulk backstock or rarely used appliances.
Sample pantry zoning table:
| Shelf Position | Best Use | Example Items |
|---|---|---|
| Top shelf | Backstock / rarely used | Bulk paper goods, seasonal bakeware |
| Eye level | Daily staples | Cereal, coffee, snacks, oils |
| Mid shelf | Cooking essentials | Pasta, rice, canned goods, sauces |
| Lower shelf | Bulk or kid-accessible | Snack bins, water bottles, kid snacks |
| Floor / bins | Heavy or bulky items | Beverage cases, large appliances |
This kind of zoning also makes restocking dramatically easier. When you know exactly which shelf holds baking supplies, unpacking groceries takes a fraction of the time, and you’re far less likely to end up with three half-used bags of the same pasta shape shoved in different corners of the pantry.
Maintaining Your System Long-Term
The real test of a pantry system isn’t how it looks on day one — it’s how it looks three months later. Systems fail when they’re too complicated to maintain in the middle of a busy week, so simplicity is your best long-term strategy.
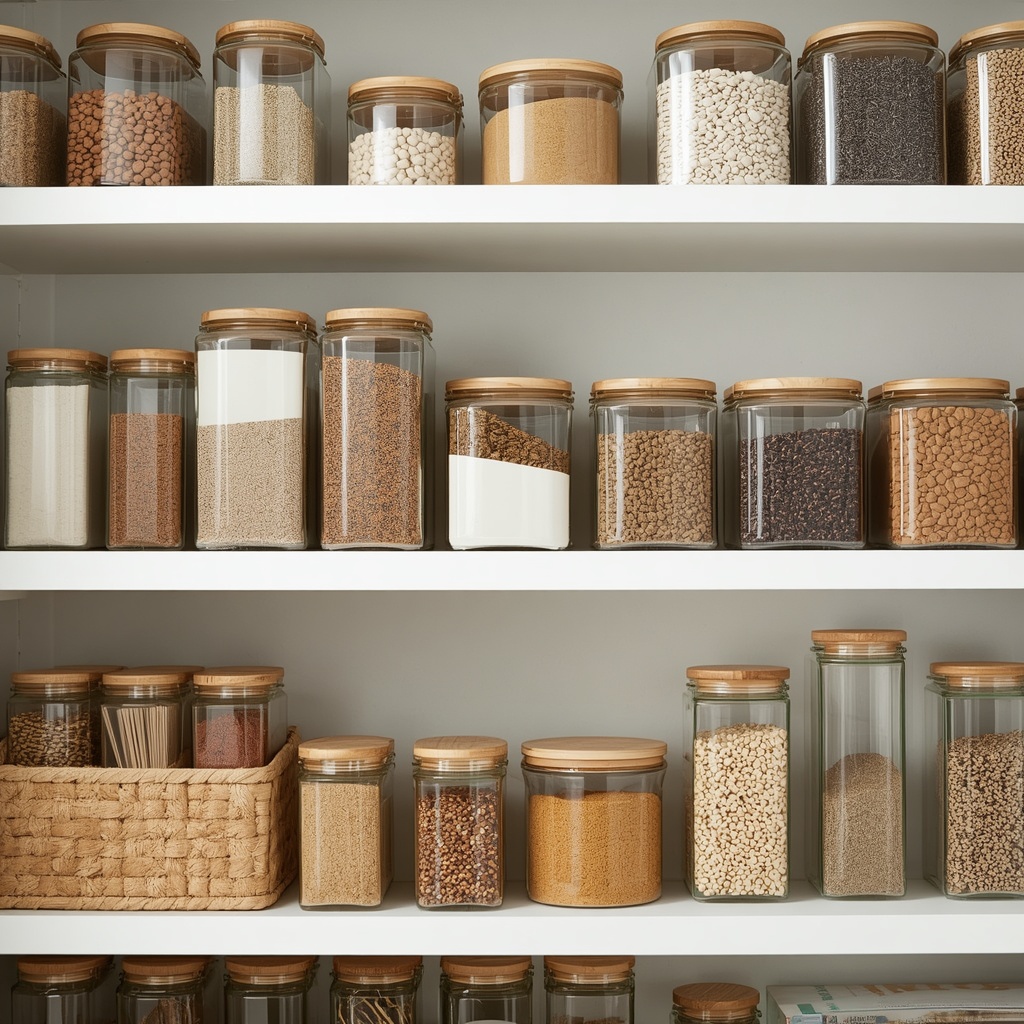
Set a recurring 10-minute check-in, maybe every time you do your grocery shopping, to refill decanted containers and wipe down shelves. This small habit prevents the slow slide back into clutter that happens when refilling becomes a once-a-month deep-clean project instead of a quick weekly task.
Quick maintenance checklist:
- [ ] Refill containers as part of your regular grocery unpacking routine
- [ ] Wipe shelves during refills to catch spills early
- [ ] Rotate stock so older product is used before newly purchased items
- [ ] Reprint or replace labels if fonts fade or peel
- [ ] Reassess your zoning every six months as your household’s needs change
If you have kids, involving them in putting groceries away actually reinforces the system rather than threatening it — clear labels make it easy for anyone in the household, including children, to put items back where they belong.
Budget-Friendly vs. Premium Decanting: What’s Worth the Splurge
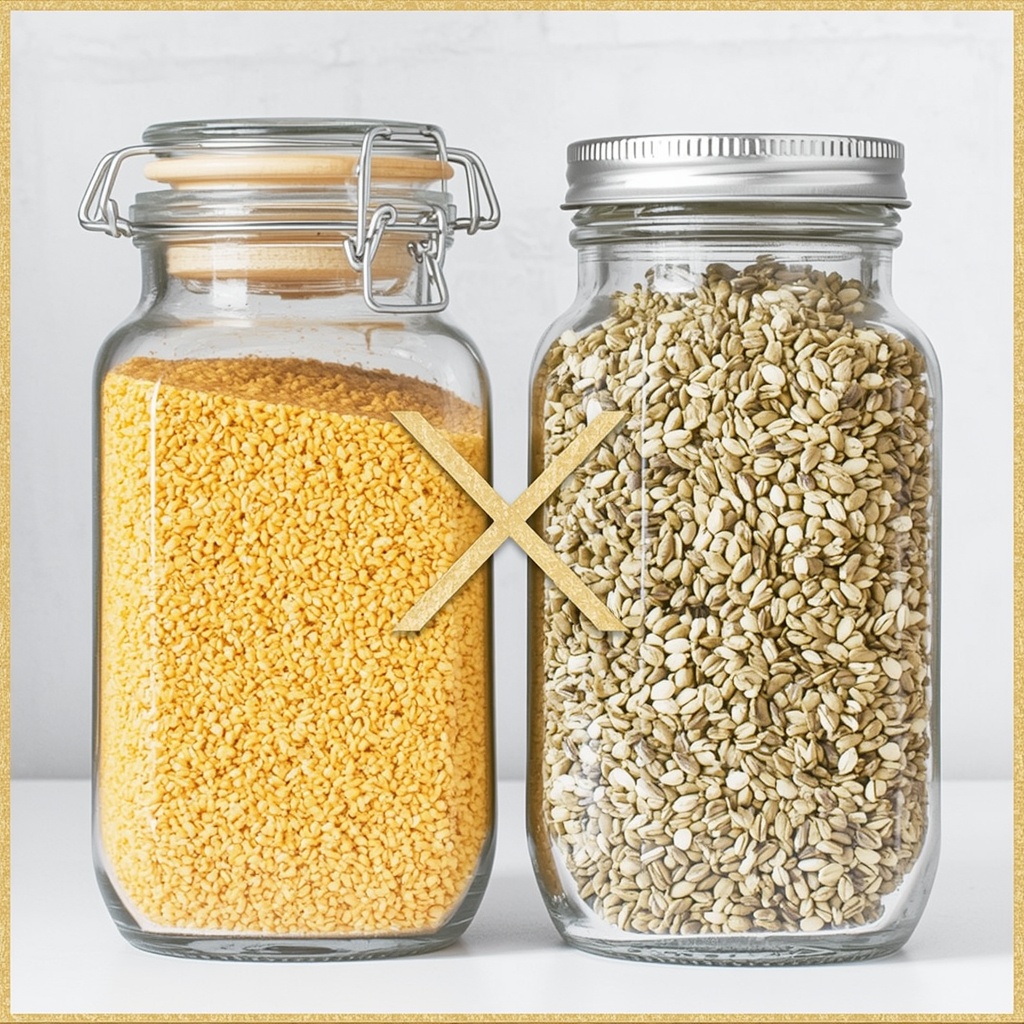
Not every pantry needs a full premium container overhaul, and it’s worth being strategic about where you spend versus where you save. Below is a general guide for allocating your budget.
| Category | Budget-Friendly Approach | Premium Approach |
|---|---|---|
| Dry staples (flour, sugar) | Stackable plastic bins with snap lids | Glass canisters with airtight silicone seals |
| Snacks | Repurposed containers with printable labels | Matching acrylic bins with engraved tags |
| Spices | Small mason jars with handwritten labels | Magnetic spice tins or tiered glass jars |
| Labels | DIY printable sheets and a home label maker | Custom vinyl or engraved acrylic labels |
| Shelving | Tension rods and wire risers | Custom-built pull-out drawers and risers |
If you’re working with a limited budget, I’d recommend splurging on airtight containers for your most-used baking staples first, since those are the items most affected by moisture and pests, and saving on everything else with budget bins and DIY labels.
Final Thoughts: A System, Not a Trend
Decanting and labeling aren’t just an aesthetic trend borrowed from home organization influencers — they’re a genuinely functional system rooted in how our brains process visual information and how households actually function day to day. A well-decanted, clearly labeled pantry saves you time, reduces food waste, and takes the daily friction out of cooking and grocery shopping.
Start small. Choose two or three shelves to tackle first, invest in a consistent container and label style, and build outward from there. The goal isn’t a picture-perfect pantry for a single Instagram post — it’s a pantry that stays functional, calm, and easy to use for years to come.