
Picture this: a friend texts to say they’re stopping by in 45 minutes, and your living room looks like a laundry basket exploded next to a stack of mail. Sound familiar? As an interior designer who has walked into hundreds of American living rooms, I can tell you this scenario is more common than a beige sectional sofa. The good news is that decluttering your living room doesn’t require a weekend, a dumpster, or a Marie Kondo-level spiritual awakening. It requires a plan, a timer, and about 60 focused minutes.

This guide is built specifically for busy homeowners, renters, and design-conscious families who want a clutter-free living room without hiring a professional organizer or spending a fortune on storage solutions. Whether you’re prepping for guests, resetting your space after the holidays, or simply craving a calmer home environment, this room-by-room, minute-by-minute strategy will get you there fast.
Why a Cluttered Living Room Affects More Than Just Aesthetics
Before we dive into the how, let’s talk about the why. The living room is the emotional center of most American homes — it’s where families gather, guests are entertained, and Netflix marathons happen. When that space is overrun with clutter, it doesn’t just look messy; it actively affects your mental state.
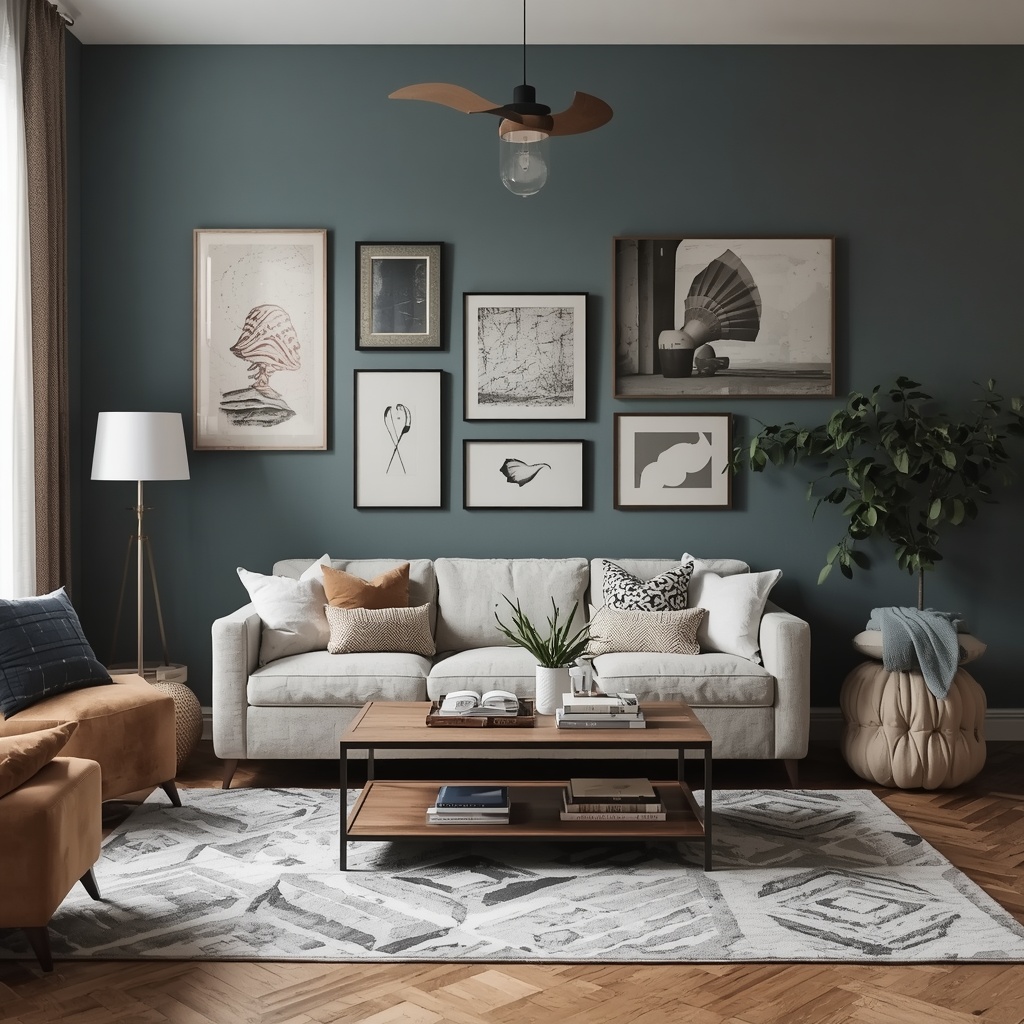
Research in environmental psychology consistently links visual clutter to elevated stress hormones and reduced ability to focus. A cluttered living room can make a 2,000-square-foot house feel like a cramped studio apartment. It also sends the wrong message to guests and can even lower your home’s perceived value if you’re staging for a sale.
“A cluttered space is a cluttered mind. Your living room should feel like a deep breath, not a to-do list.” — a philosophy I share with every client during our first consultation.
The goal isn’t perfection. It’s creating a functional living room that supports relaxation, conversation, and daily life — without the visual noise.
The One-Hour Declutter Method: An Overview
I developed this framework after years of helping clients tackle quick living room organization projects between work meetings, school pickups, and everything else life throws at them. The method breaks your hour into six manageable sprints, each with a specific mission. Think of it as a home decor workout — short bursts, high intensity, real results.

Here’s the breakdown at a glance:
| Time Block | Task | Goal |
|---|---|---|
| 0–5 min | Prep and gather supplies | Set up for efficiency |
| 5–15 min | Trash and recycling sweep | Remove obvious clutter |
| 15–30 min | Relocate misplaced items | Return items to their homes |
| 30–40 min | Surface reset (coffee table, shelves, console) | Clear flat surfaces |
| 40–50 min | Soft furnishings and cushions | Restore visual order |
| 50–60 min | Final polish and styling | Add the finishing touch |
Let’s walk through each phase in detail.
Step 1: Prep and Gather Supplies (0–5 Minutes)
Every efficient declutter session starts with the right tools within arm’s reach. Running back and forth to the kitchen for a trash bag wastes precious minutes you don’t have.

Grab these four items before you start the timer:
- A large trash bag or bin
- A donation box or bag (for items leaving the house permanently)
- A laundry basket or tote (for items that belong in other rooms)
- A microfiber cloth (for quick surface wipes as you go)
Pro Tip: Keep a “relocation basket” permanently stashed near your living room closet. Instead of scrambling for a container every time clutter builds up, you’ll always have one ready, turning future decluttering sessions into 10-minute touch-ups instead of hour-long overhauls.
Set a timer on your phone for the full 60 minutes, or better yet, break it into six 10-minute alarms so you stay accountable to the schedule above. Momentum is everything in speed decluttering — the second you slow down to deliberate over every item, the hour disappears.
Step 2: The Trash and Recycling Sweep (5–15 Minutes)
This is the fastest win in the entire process, and it’s deeply satisfying. Walk through your living room with your trash bag and grab anything that is unquestionably garbage: empty snack wrappers, junk mail, dead batteries, expired coupons, and that takeout menu from a restaurant that closed two years ago.

Don’t overthink this step. If an item is obviously trash, it goes in the bag without hesitation. Save the harder decisions — sentimental clutter, maybe-I’ll-use-it-someday items — for later projects, not this hour.
By the end of these 10 minutes, you should notice an immediate visual shift. Removing trash alone often eliminates 20–30% of visible clutter in the average American living room, according to professional organizing industry estimates.
Step 3: Relocate Misplaced Items (15–30 Minutes)
Every living room accumulates orphaned items: a coffee mug from breakfast, kids’ toys, a phone charger, a stray sock. This step is about sorting, not organizing — you’re simply returning things to where they belong throughout the house.
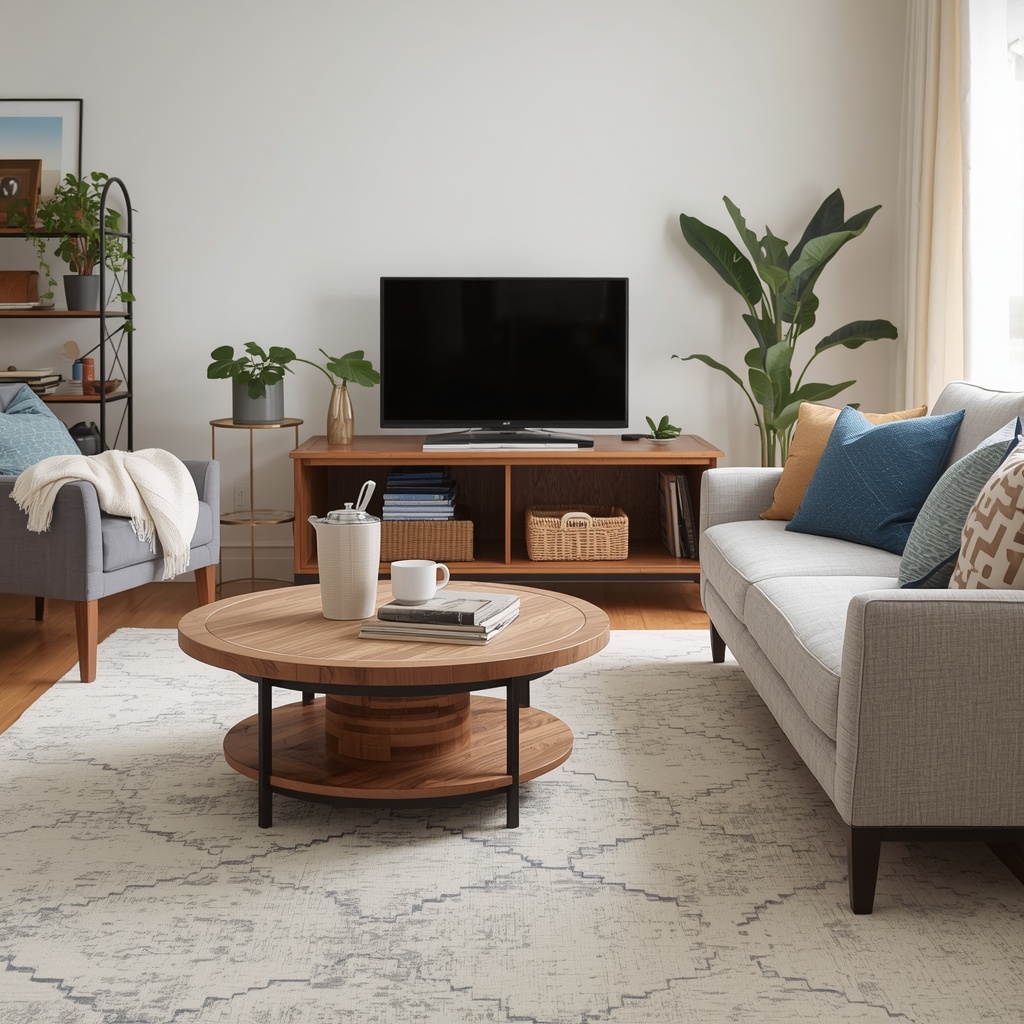
Use your laundry basket or tote to collect everything that doesn’t belong in the living room. Walk it through the house once, dropping items in their correct rooms as you go, rather than making multiple trips.
<br><br>
For items that belong in the living room but are simply out of place — books, remotes, blankets — set them aside in a small pile near their intended storage spot. You’ll deal with proper placement in the surface reset phase.
This 15-minute window is often where clients feel the most relief, because it’s when the room starts looking recognizably like their own again.
Here’s a simple table to guide your surface styling:
Step 4: Surface Reset — Coffee Tables, Console Tables, and Shelves (30–40 Minutes)
Flat surfaces are clutter magnets. Coffee tables, console tables, mantels, and open shelving tend to collect a chaotic mix of mail, remotes, decor, and miscellaneous items over time. This step is where your living room organization ideas really start to shine.
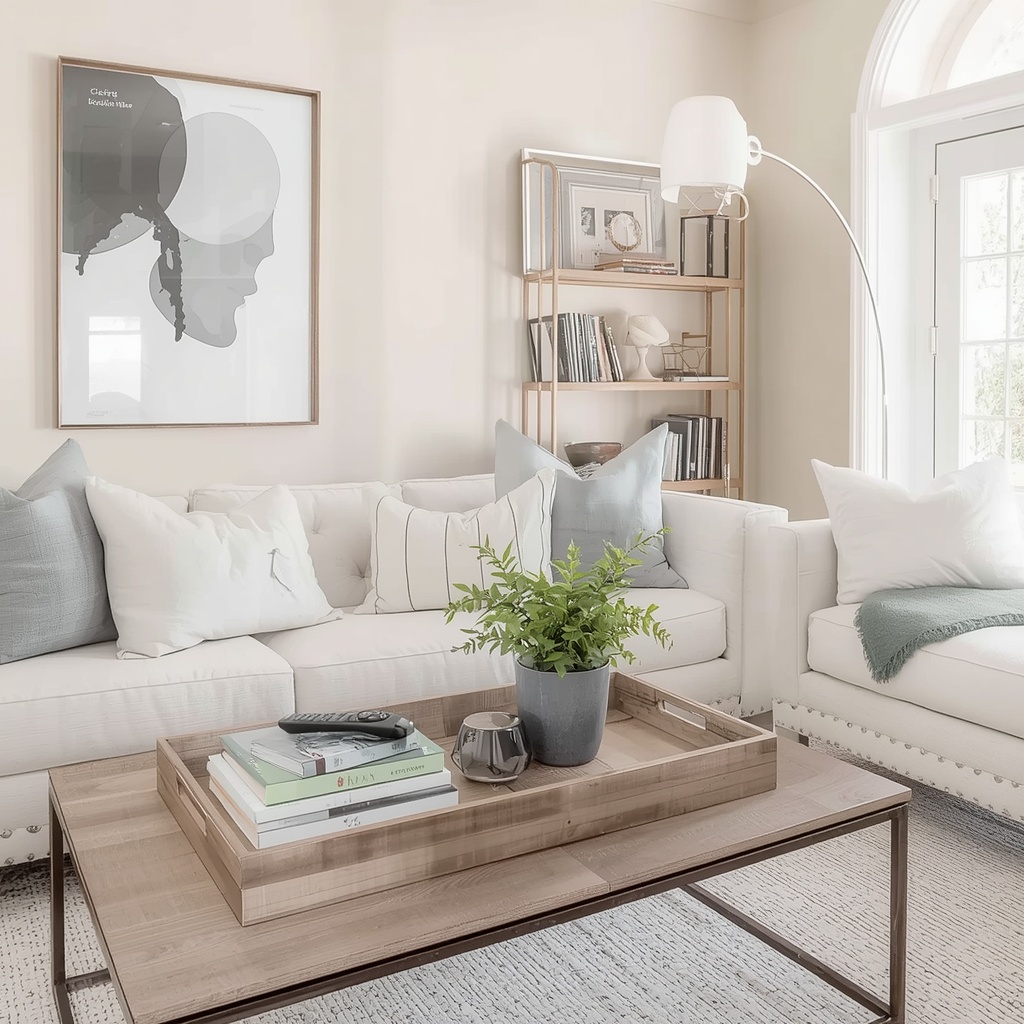
Clear each surface completely, then reintroduce items intentionally using the “rule of three” — a classic interior design principle where objects are grouped in odd numbers for visual balance. For example, a coffee table might hold a stack of books, a small tray for remotes, and a single decorative object like a candle or small plant.
| Surface | Keep | Relocate |
|---|---|---|
| Coffee table | Tray, 1–2 books, small plant | Mail, chargers, snack dishes |
| Console table | Lamp, decorative bowl, 1 framed photo | Keys, sunglasses, loose papers |
| Bookshelf | Curated books, 2–3 decor pieces | Excess paperwork, old magazines |
| Mantel | Mirror or art, candles, greenery | Random mail, unrelated objects |
Pro Tip: For every surface, use a simple “one thing out, one thing home” rule — if you’re not sure whether to keep a decorative object on display, ask whether it earns its spot by being either useful or genuinely beautiful. If it’s neither, it belongs in storage, not on your coffee table.
This step transforms your space from “picked up” to “styled,” which is the difference between a decluttered room and a designer-approved one.
Step 5: Soft Furnishings and Cushions (40–50 Minutes)
Visual clutter isn’t only about objects — it’s also about disorder in your soft furnishings. Throw pillows scattered on the floor, a blanket half-hanging off the couch, or a rug that’s bunched up in the corner all contribute to a chaotic feeling, even in an otherwise tidy room.
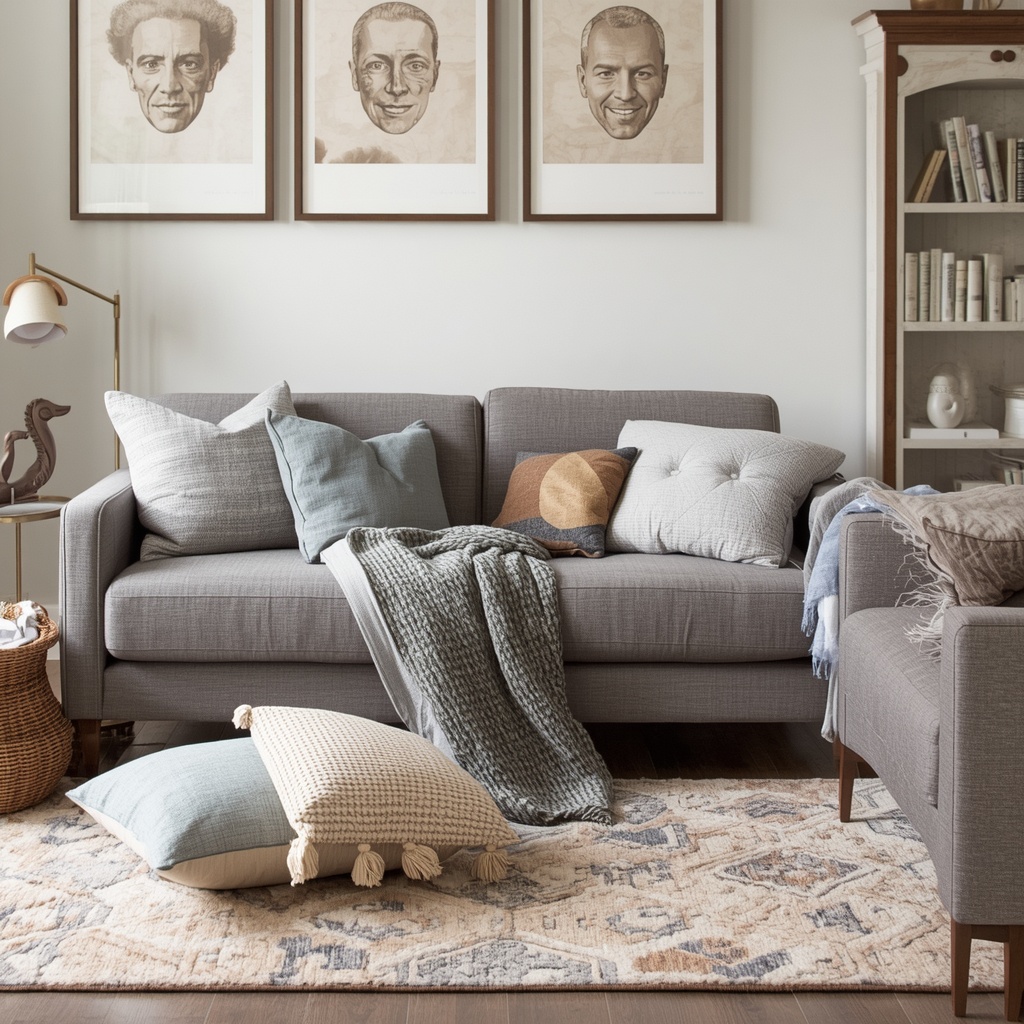
Spend these 10 minutes fluffing and repositioning cushions, folding throw blankets into neat thirds (or rolling them into a decorative basket), and straightening area rugs. If you have pet hair or crumbs on upholstery, a quick pass with a lint roller or handheld vacuum makes a noticeable difference.
Sofa cushions should be plumped and evenly spaced, ideally in odd-numbered groupings for a curated, magazine-worthy look. This is a favorite trick among interior designers because it instantly signals intentionality rather than an afterthought.
<br><br>
This is also a great moment to check your window treatments. Straightening curtains or opening blinds evenly lets in more natural light, which visually enlarges the room and makes your decluttering efforts even more impactful.
Small physical adjustments like these punch far above their weight in terms of perceived tidiness.
Step 6: Final Polish and Styling (50–60 Minutes)
You’ve made it to the home stretch. This last 10-minute block is about the finishing touches that elevate your space from “clean” to “welcoming.”
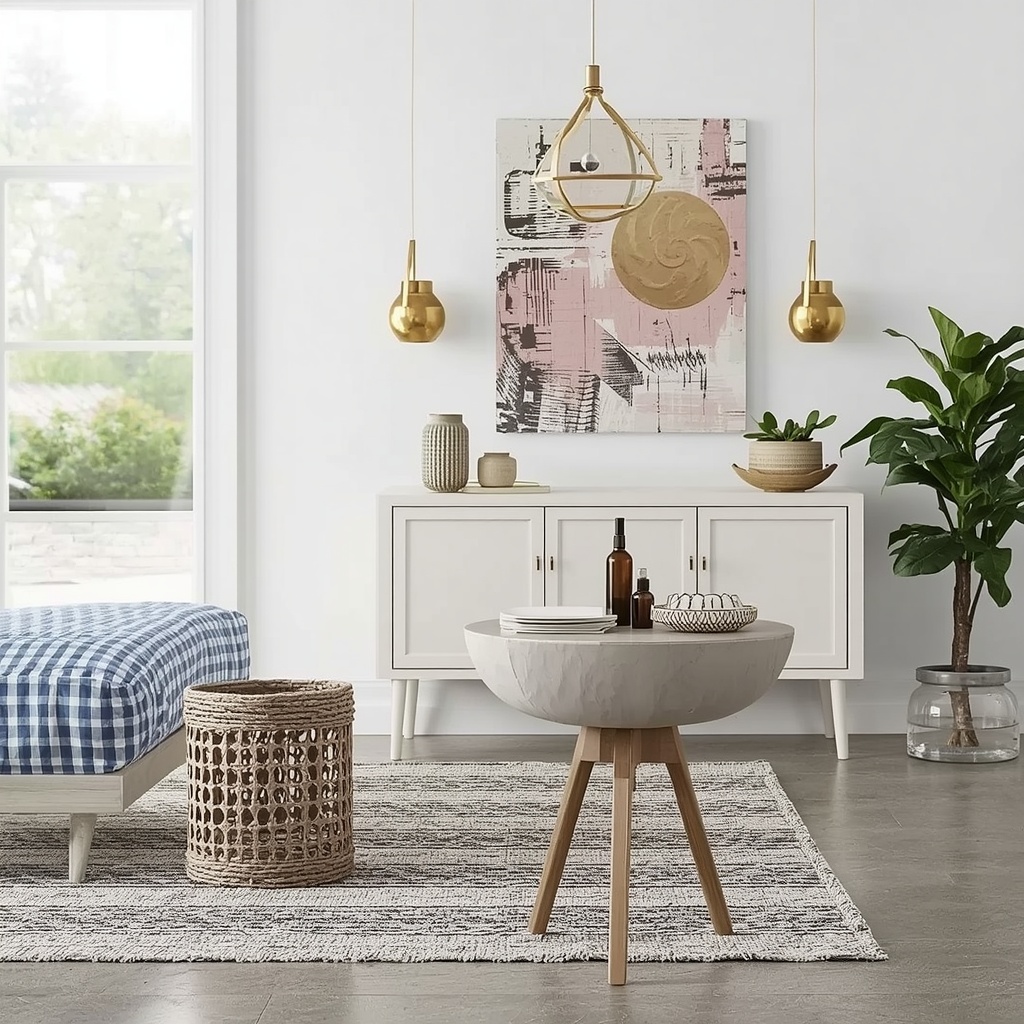
Quick final polish checklist:
- Wipe down the coffee table and console surfaces with your microfiber cloth
- Fluff and arrange sofa cushions and throw blankets
- Straighten rugs and reposition furniture that’s drifted out of place
- Turn on ambient lighting (lamps, not just overhead lights) for warmth
- Do a final walk-through from your front entrance to see the room as a guest would
This final walk-through is a professional designer trick: viewing the room from the doorway, the same vantage point your guests will have, helps you catch anything you missed and confirms the space feels balanced and inviting.
Maintaining a Clutter-Free Living Room Long-Term
A one-hour reset is powerful, but the real goal is reducing how often you need one. Building small daily habits prevents clutter from accumulating into an overwhelming project in the first place.
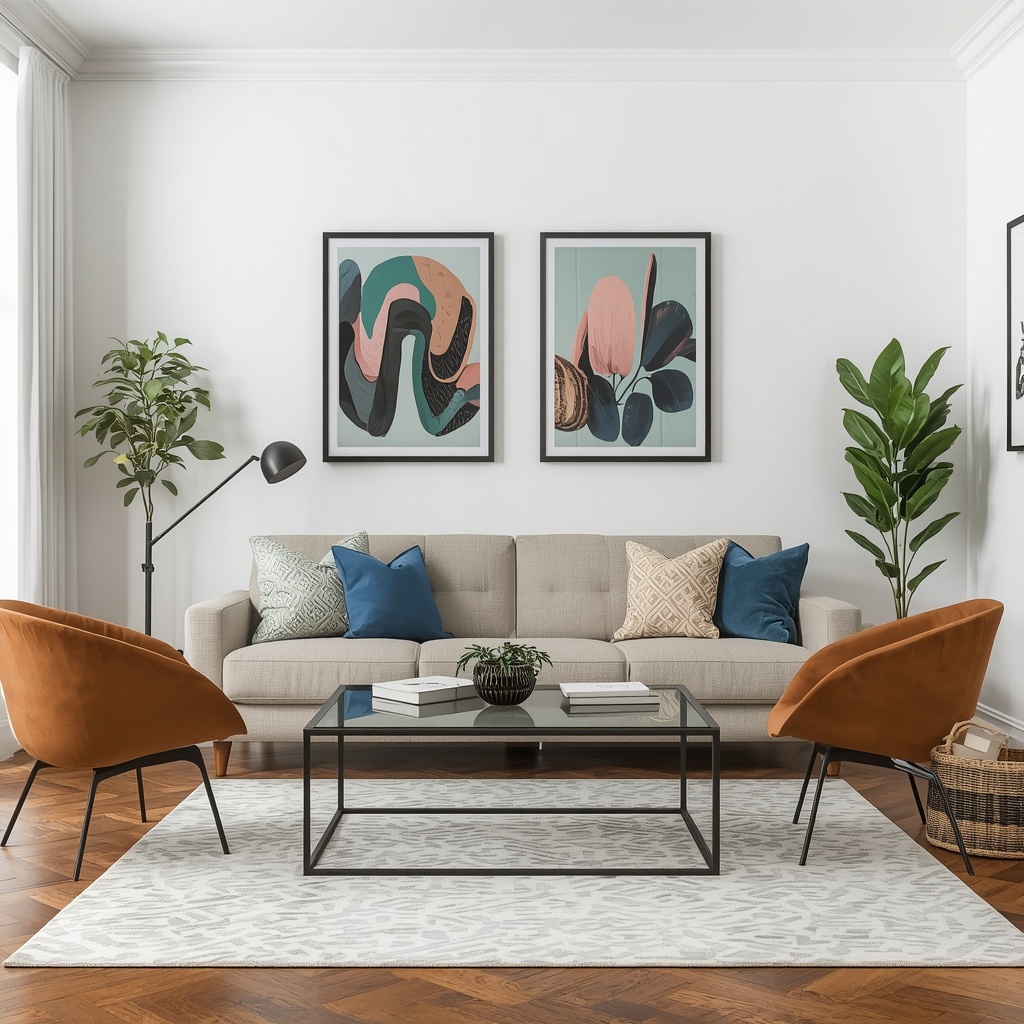
Consider these sustainable home organization tips for ongoing maintenance:
- The 5-minute nightly reset: Spend five minutes each evening returning items to their homes before bed.
- One-in, one-out rule: When you bring a new decorative item or piece of furniture home, let go of something similar.
- Designated landing zones: Use a decorative bowl or tray near the entry for keys, mail, and small items so they never hit the coffee table.
- Weekly surface wipe: Build a quick Sunday habit of clearing and wiping down all flat surfaces.
- Seasonal deep edits: Every few months, revisit decor and throw pillows to keep the room feeling fresh rather than static.
Pro Tip: Store extra throw blankets and pillow covers in a decorative storage ottoman. It doubles as functional seating or a coffee table alternative while keeping soft furnishings out of sight until you want to rotate your look for a new season.
Budget-Friendly Storage Solutions Worth Considering
If your living room clutter keeps returning despite regular resets, it may be a sign you need smarter storage rather than more willpower. A few investment pieces can make ongoing organization dramatically easier.
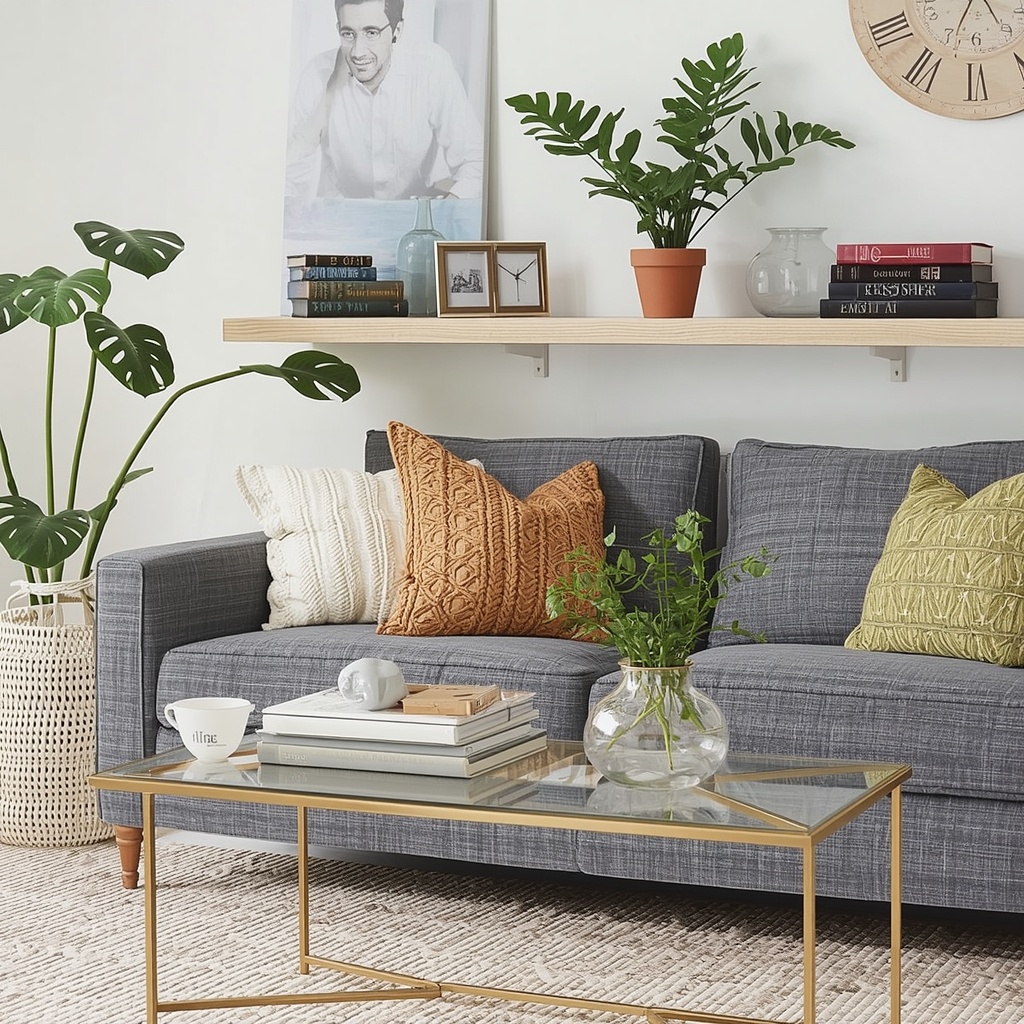
Popular options among American homeowners include storage ottomans with hinged lids, console tables with drawers or baskets, floating wall shelves for books and decor, and woven baskets that hide remotes, chargers, and toys in plain sight while still looking intentional. These pieces work double duty: they’re functional storage and genuine design elements at the same time.
For a deeper dive into choosing pieces that balance form and function, resources like The Spruce and Better Homes & Gardens offer excellent, design-forward inspiration for real American homes.
Common Decluttering Mistakes to Avoid
Even with a solid plan, a few habits can slow you down or undermine your results. Watch out for these common pitfalls:
- Over-deliberating on sentimental items: Save deep decision-making for a separate decluttering session, not your speed hour.
- Skipping the timer: Without time boundaries, it’s easy to get pulled into deep-cleaning or reorganizing closets instead of finishing the living room.
- Buying storage before decluttering: Purchasing bins and baskets first often leads to storing clutter rather than removing it.
- Ignoring vertical space: Walls and shelving are prime real estate for reducing surface clutter — don’t overlook them.
- Forgetting to donate promptly: A donation bag that sits by the door for three weeks isn’t decluttering; it’s just relocated clutter. Drop it off within 48 hours.
Final Thoughts
A clean, clutter-free living room isn’t about achieving Pinterest perfection — it’s about creating a space where you and your family can actually relax, connect, and unwind. With this hour-by-hour framework, you don’t need a free weekend or a professional organizer to get there. You need a timer, a system, and the willingness to commit fully for 60 focused minutes.
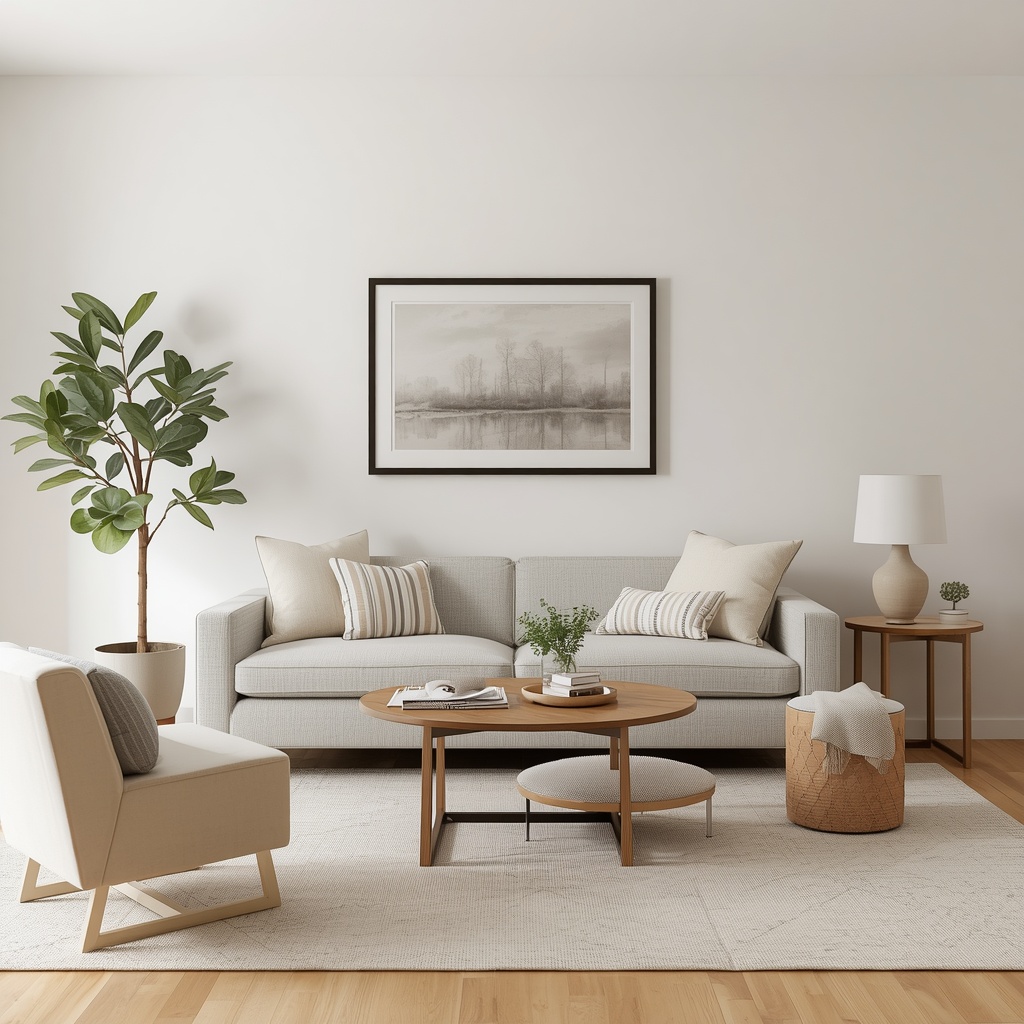
Start with the trash sweep, move through relocation and surface resets, finish with soft furnishings and styling, and you’ll walk away with a living room that feels calmer, looks more polished, and functions better for daily life. And once you experience how good that feels, you may find yourself reaching for the timer more often than you’d expect.