
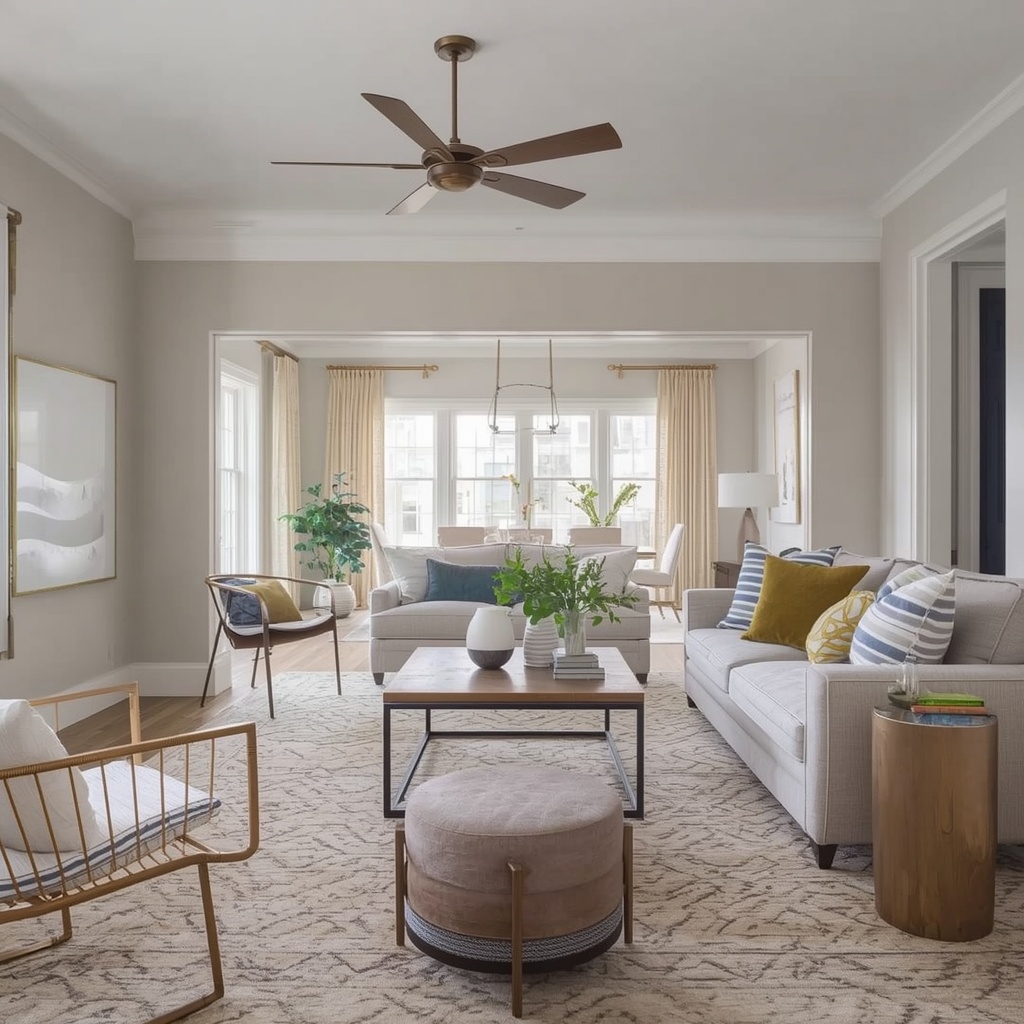
Walking into a home where the living room melts into the dining area without a single awkward gap is one of the most requested looks I get asked to create. Homeowners love the way open concept living makes a house feel bigger, brighter, and more social, especially for entertaining and everyday family life. But “open” doesn’t mean “undefined.” The best living-dining combos still feel intentional, with each zone telling its own story while speaking the same design language.
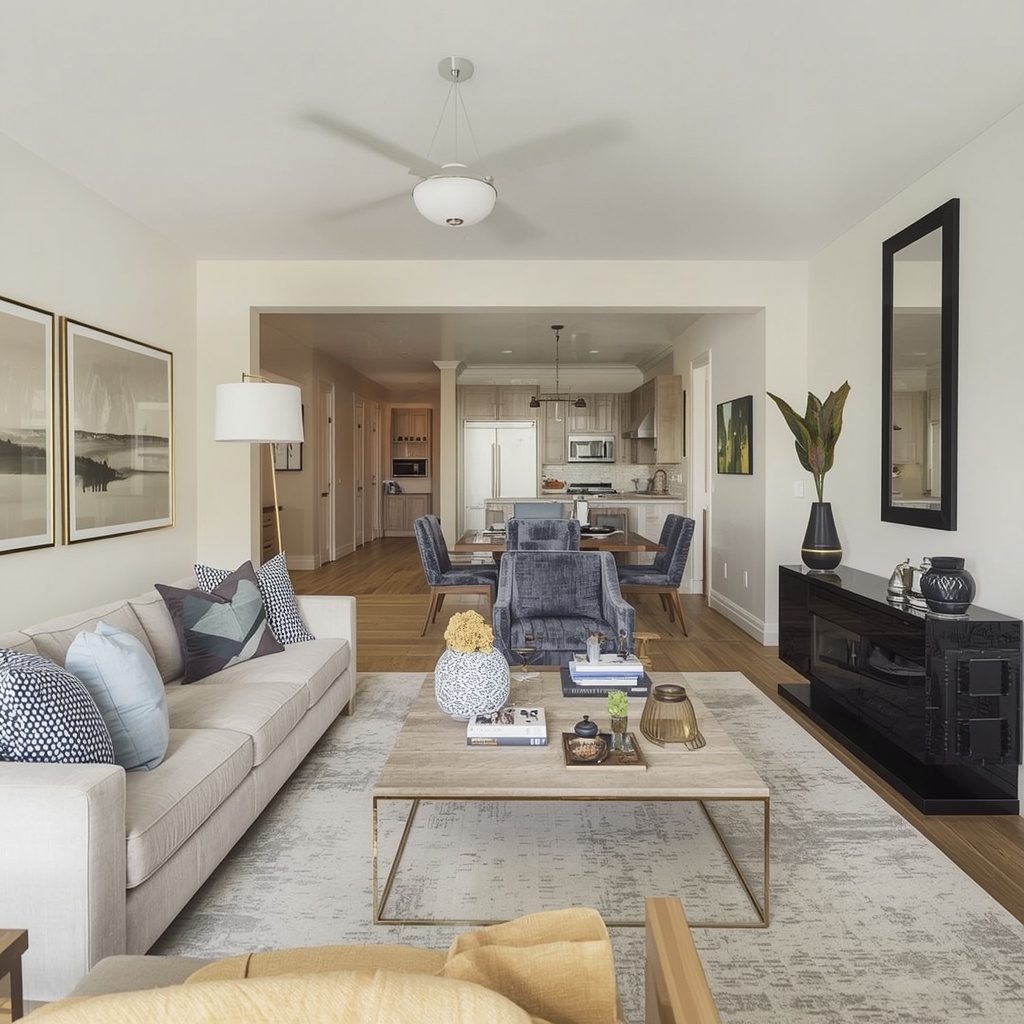
In this guide, I’ll walk you through the exact strategies I use with clients to merge a living room and dining room into one cohesive, functional, and genuinely beautiful space. We’ll cover zoning, color, furniture layout, lighting, flooring, and the small details that separate a chaotic open floor plan from a magazine-worthy great room.
What Is Open Concept Living, and Why Are Homeowners Obsessed With It?
Open concept living refers to a floor plan where traditional walls between the kitchen, living room, and dining room are removed (or were never built) to create one continuous, multi-purpose space. Instead of physical barriers, designers use furniture, rugs, lighting, and color to suggest where one “room” ends and another begins. This layout has dominated American home design for over two decades, and it shows no sign of slowing down.
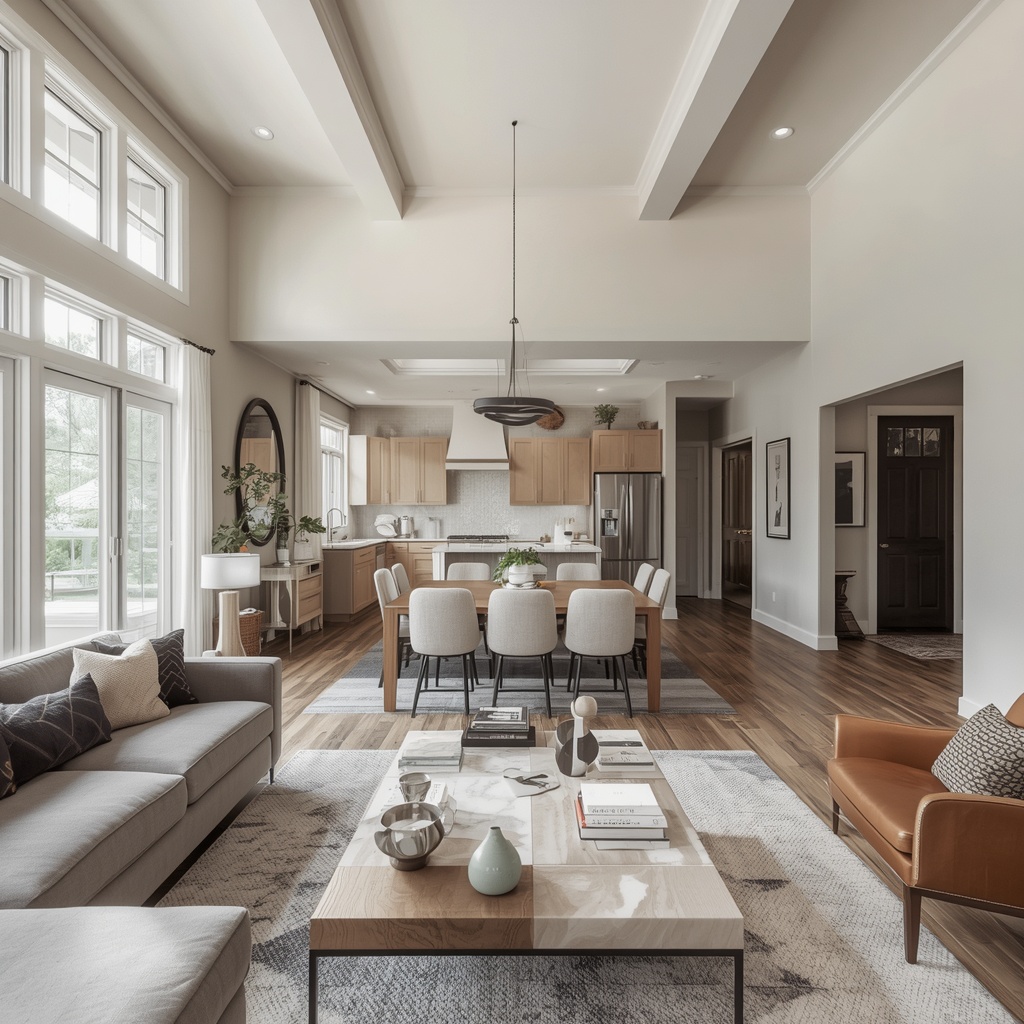
The appeal is simple: open floor plans encourage conversation, make small footprints feel spacious, and let natural light travel freely from window to window. For families, it means you can cook dinner, supervise homework, and chat with guests in the living room all at once. For entertainers, it means no one gets stuck alone in another room during a dinner party. The catch is that without thoughtful planning, an open layout can quickly feel like one giant, formless room rather than a curated living-dining combo.
Start With Zoning: Defining Spaces Without Walls
Zoning is the foundation of every successful open concept living and dining space. It’s the practice of using visual and physical cues, rather than walls, to signal “this is the living room” and “this is the dining room.” Without zoning, furniture tends to drift and float in the middle of nowhere, leaving the whole space feeling disjointed.
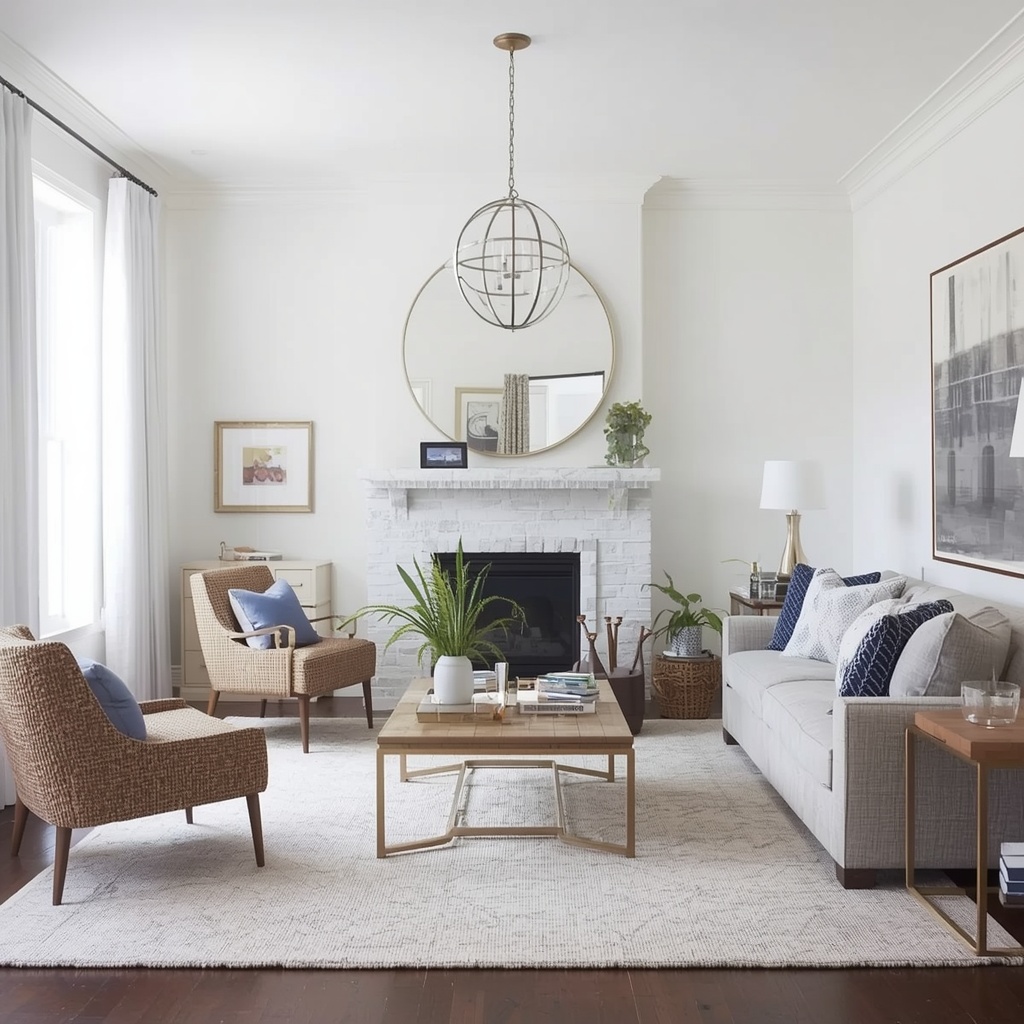
I always tell clients to map out their zones before buying a single piece of furniture. Walk the space, note where natural light enters, and decide where conversation and where meals will happen. Once those anchor points are set, everything else, color, rugs, lighting, falls into place much more easily.
Here are the most effective zoning tools I rely on:
- Area rugs to visually “box in” each seating or dining group
- Furniture placement that creates a soft boundary, like a sofa back facing the dining table
- Ceiling treatments such as beams, trim, or a color break to mark a transition
- Lighting fixtures that signal a change in purpose, like a chandelier over the table versus floor lamps in the living area
- Flooring transitions, including a change in material, pattern, or rug placement
- Open shelving or a console table used as a low-profile divider
Pro Tip: If your living and dining rooms share one long wall, try placing your sofa perpendicular to that wall instead of against it. This single move creates an instant boundary between the two zones and opens up sightlines toward the dining table, without sacrificing an inch of square footage.
Choosing a Cohesive Color Palette for Both Rooms
Nothing unifies an open concept living-dining combo faster than a shared color story. When the living room and dining room pull from the same palette, undertones, and finishes, the eye reads the whole space as one harmonious room instead of two competing ones. This doesn’t mean both areas need identical colors; it means they need a connected one.
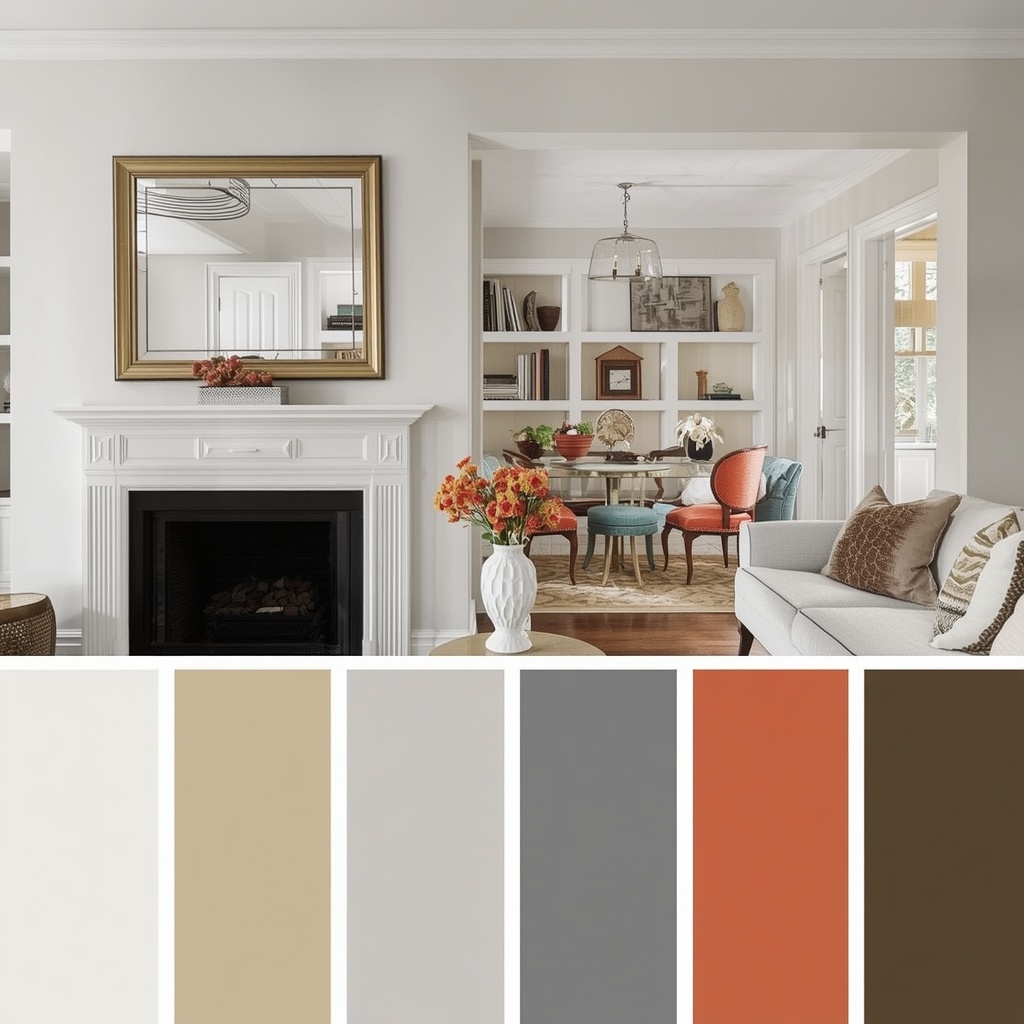
A simple approach is to choose one dominant wall color for the entire open space, then layer in two or three accent colors that repeat in both zones through textiles, art, and accessories. Warm neutrals, soft greens, and muted blues are especially popular in 2026 because they read as calm and sophisticated under both daytime and evening light.
| Color Family | Best For | Pairs Well With |
|---|---|---|
| Warm white / greige | Walls, trim, ceilings | Wood tones, brass, rattan |
| Sage or olive green | Accent walls, dining chairs | Cream, terracotta, black metal |
| Soft navy or slate blue | Sofa, drapery | Brass, white oak, ivory |
| Terracotta or rust | Throw pillows, dining linens | Warm white, walnut, sage |
| Charcoal or black | Window trim, light fixtures | Almost any palette as a grounding accent |
Pro Tip: Pick your paint color first, then build your furniture and fabric choices around it, not the other way around. Bring home large sample boards (at least 12×12 inches) from brands like Sherwin-Williams or Benjamin Moore and view them in your space at both morning and evening light before committing.
Furniture Layout and Flow: Creating Natural Pathways
Furniture layout is where most open concept living-dining rooms succeed or fail. The goal is to create a clear, intuitive path of travel from the entry to the kitchen to the dining table to the seating area, with no furniture blocking the route. I always recommend leaving at least 30 to 36 inches of walking clearance between major pieces.
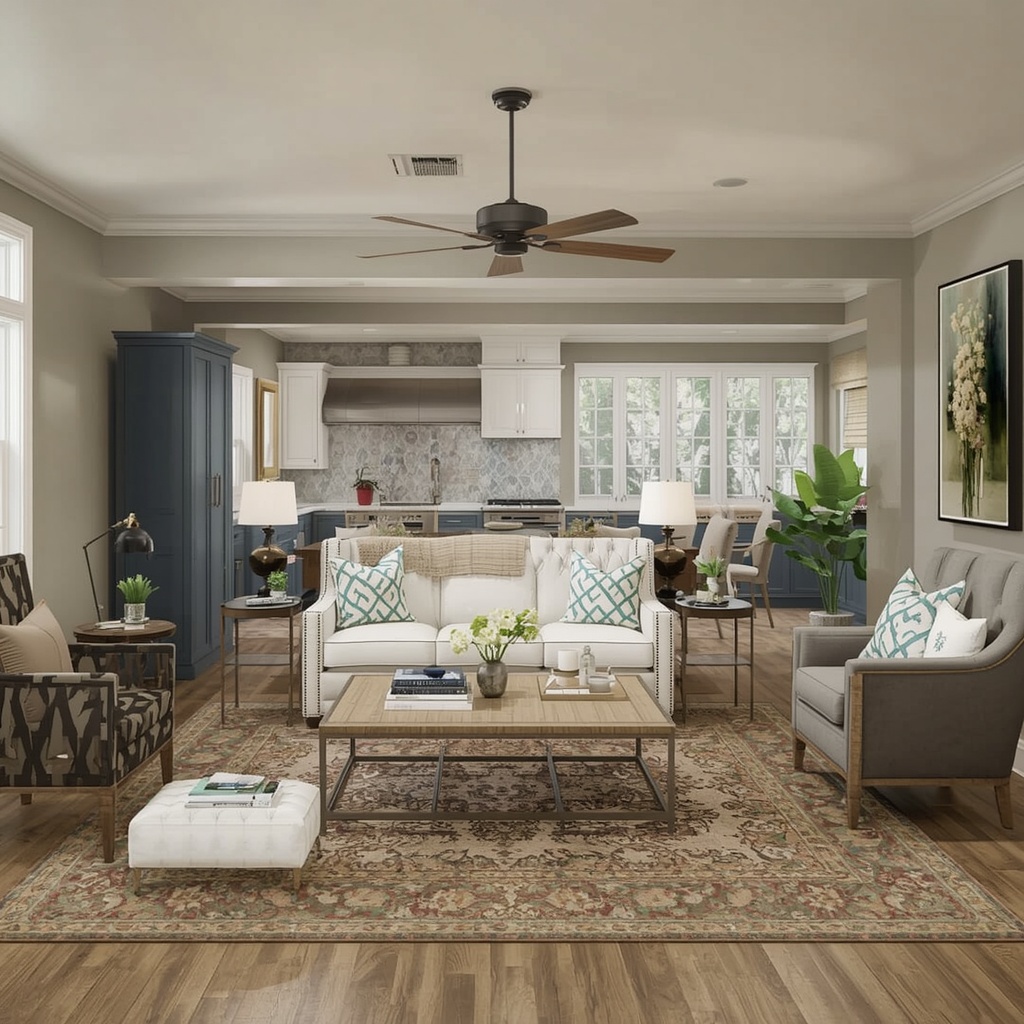
Think of your open floor plan as a story with two chapters that flow into one another. The living room chapter should feel complete on its own, with a sofa, chairs, and a coffee table oriented toward a focal point like a TV or fireplace. The dining room chapter should feel equally intentional, anchored by a table sized appropriately for the space rather than crammed against a wall.
A few furniture layout rules I follow on nearly every project:
- Orient the sofa so its back faces the dining area, using it as a soft room divider
- Leave a minimum 36-inch clearance on all sides of the dining table for chairs to pull out comfortably
- Choose a rug for the living room large enough that all front legs of seating sit on it
- Keep dining chairs and sofa silhouettes visually related (similar leg finish, wood tone, or curve) even if they’re not matching sets
- Avoid pushing every piece against the walls; pulling furniture inward creates more intimate, defined zones
“A room without flow is just furniture in a holding pattern. The moment you can walk through a space without thinking about it, you’ve designed it correctly.” This is a principle echoed by interior designers across the country, and it applies perfectly to open concept living and dining combinations.
Lighting Strategies That Unite the Space
Lighting does double duty in an open concept living-dining room: it has to set the mood for relaxed lounging and bright enough task lighting for meals, often within the same sightline. Layering multiple light sources, rather than relying on one overhead fixture, is the secret to making both zones feel complete and connected.
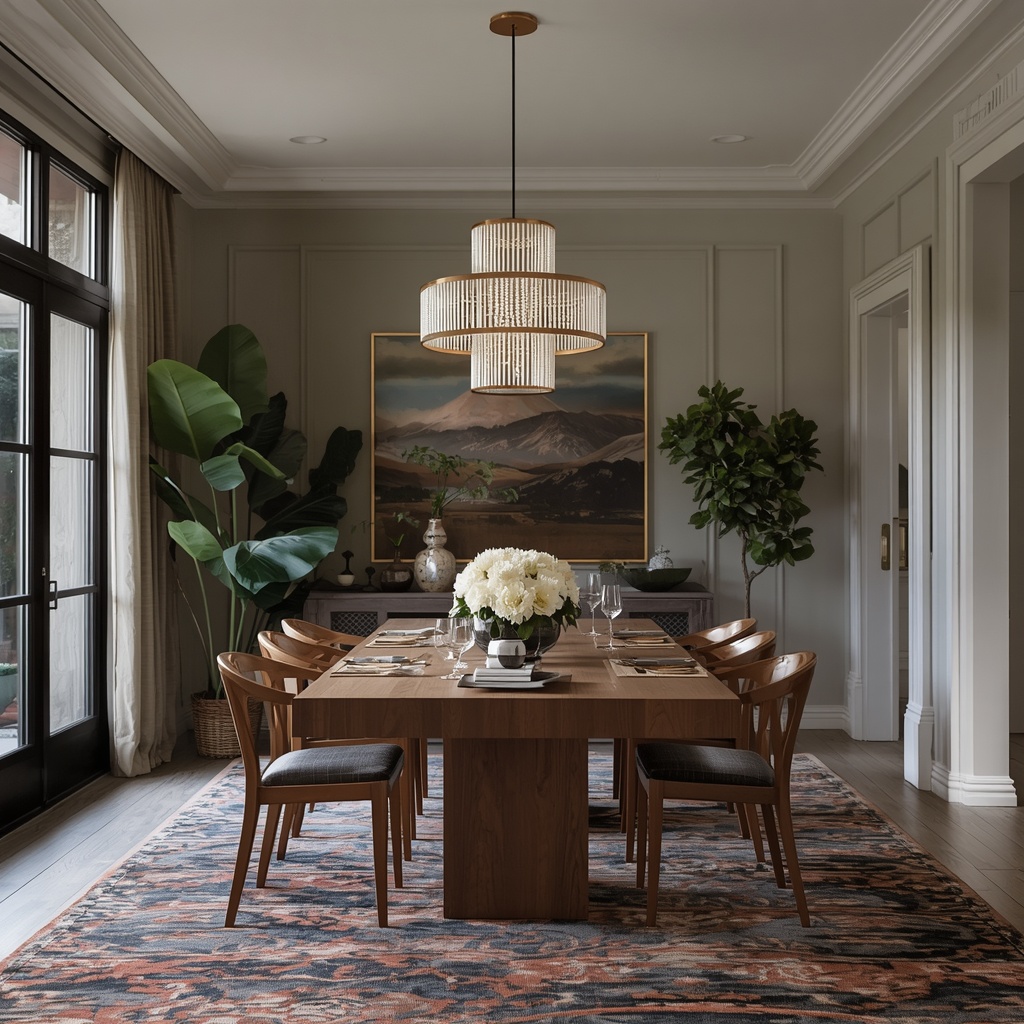
I recommend designing lighting in three layers for each zone: ambient (general room light), task (reading or dining-specific), and accent (art, shelving, or architectural highlights). When the fixtures in each zone share a finish, like matte black, aged brass, or brushed nickel, the rooms feel related even though the fixtures themselves look different.
Pro Tip: Put your dining room chandelier and living room floor or table lamps on separate dimmer switches. This lets you brighten the dining area for homework or game night while keeping the living room ambient and cozy, all within the same open space.
Flooring and Area Rugs: Anchoring Each Zone
Consistent flooring is one of the easiest ways to visually unify an open concept living-dining space, and it’s why hardwood, engineered wood, and large-format tile remain the top choices among homeowners renovating great rooms. When the same flooring runs underfoot through both zones, your rugs and furniture become the tools that differentiate one area from the next without breaking the overall continuity.
Rugs are arguably the single most powerful zoning tool available. A well-chosen rug under the dining table and a separate rug beneath the living room seating group instantly map out two distinct “rooms” inside one open space, even though there isn’t a wall in sight.
| Zone | Recommended Rug Size | Placement Rule |
|---|---|---|
| Dining area (4-6 seat table) | 8′ x 10′ | Extend 24-30 inches beyond the table edge on all sides |
| Dining area (8+ seat table) | 9′ x 12′ or larger | Same 24-30 inch overhang rule applies |
| Living room seating group | 8′ x 10′ or 9′ x 12′ | All front legs of sofa and chairs should rest on the rug |
| Transition / walkway | Runner, 2.5′ x 8′ | Optional, used to bridge two rugs visually |
Ceiling Treatments and Architectural Details
When walls disappear, the ceiling becomes one of the few architectural surfaces left to add structure and visual interest to an open concept living-dining room. Exposed beams, painted ceiling sections, coffered detailing, or even a simple change in trim can subtly signal a shift from one zone to the next without interrupting the open flow homeowners love.
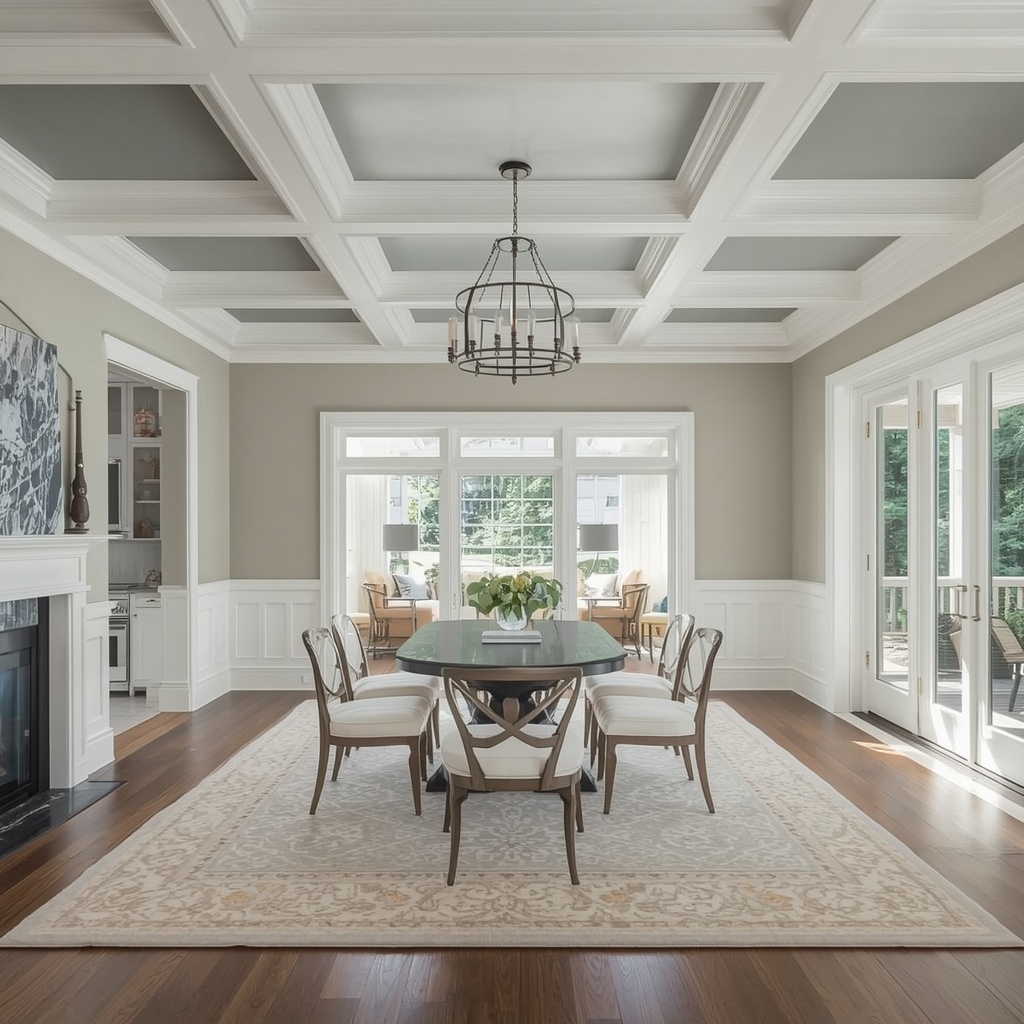
I often suggest adding a statement ceiling treatment, like a painted accent color or wood beam, directly above the dining table. This draws the eye upward, grounds the dining zone, and gives the chandelier or pendant lighting a more finished, intentional backdrop. Meanwhile, keeping the living room ceiling simpler helps that area feel restful and uncluttered by comparison.
Common Mistakes to Avoid in Open Concept Living and Dining Combos
Even experienced homeowners run into the same handful of pitfalls when blending these two spaces. Here’s what to watch for:
- Mismatched scale: An oversized sectional paired with a tiny dining table (or vice versa) throws off the entire room’s proportions
- Too many focal points: A fireplace, a TV, and a chandelier all competing for attention can make the space feel busy and unfocused
- Ignoring sightlines: Furniture or tall decor blocking the view from the kitchen to the living room undermines the entire purpose of an open floor plan
- Clashing finishes: Mixing warm brass in one zone and cool chrome in the other without any repeated metal tone reads as disconnected
- Skipping rugs altogether: Without rugs to anchor each zone, furniture appears to float aimlessly in the open space
- One color palette, zero variation: Painting and furnishing both rooms identically removes any sense of distinct purpose between them
Budget-Friendly Tips for an Open Concept Refresh
You don’t need a full renovation to make your open concept living and dining room feel more intentional. Small, strategic updates can completely transform how the space reads.
- Add two well-placed area rugs before buying any new furniture
- Repaint just the ceiling or one accent wall in the dining zone to create separation
- Swap mismatched light fixtures for ones that share a common finish
- Rearrange existing furniture to create a clearer path of travel
- Use a console table or open bookshelf as a soft, see-through divider
- Repeat one accent color in pillows, art, and dining linens across both rooms
Pro Tip: Before spending money on anything new, try rearranging your current furniture using painter’s tape on the floor to map out rug sizes and walking paths. This free exercise alone solves more than half the layout problems I see in client homes.
Frequently Asked Questions
How do I separate my living room and dining room without building a wall? Use area rugs, furniture placement, lighting changes, and color zoning to create a visual boundary. A sofa back facing the dining table or a console table positioned between the two areas works especially well.
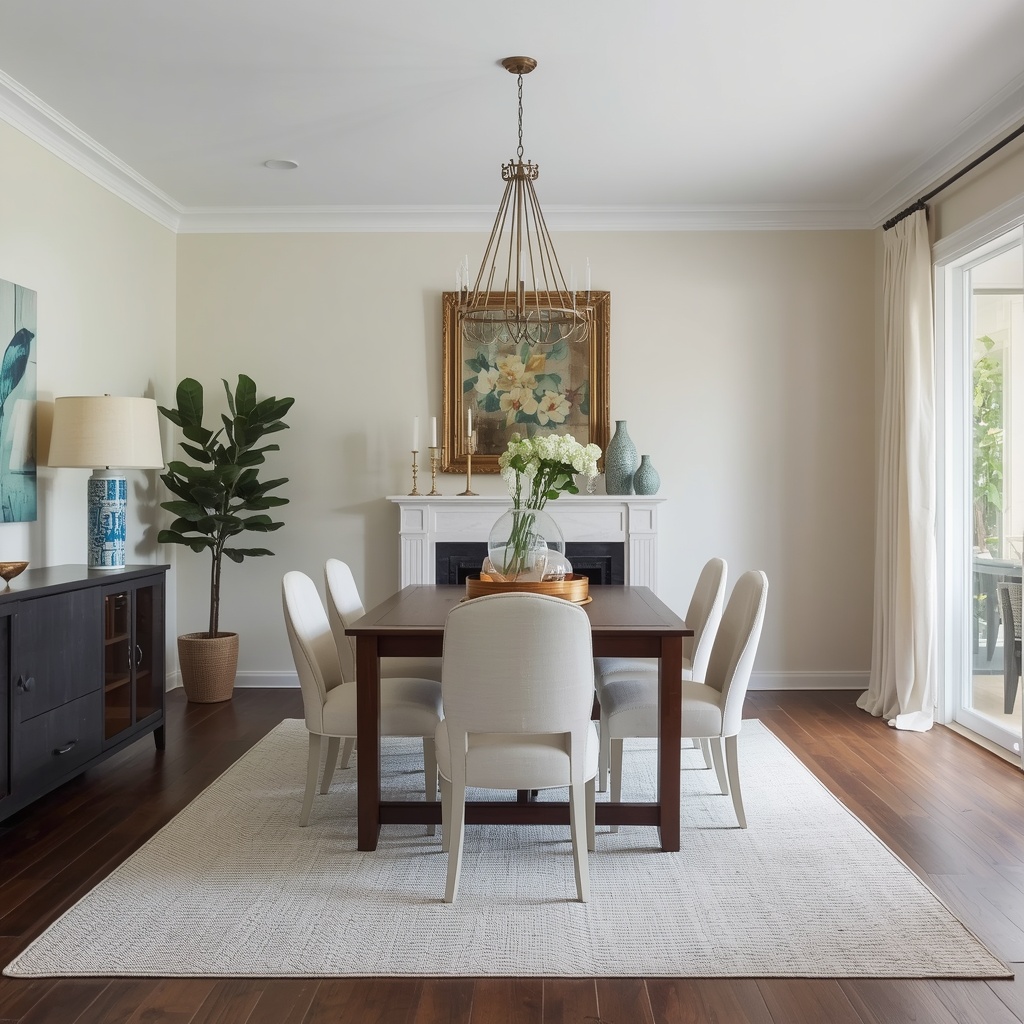
What size rug do I need for an open concept dining area? For most dining tables seating four to six people, an 8′ x 10′ rug works well, extending at least 24 inches beyond the table’s edge on every side so chairs stay on the rug when pulled out.
Should my living room and dining room be the same color? They don’t have to match exactly, but they should share an undertone or color family. A connected palette keeps the open space feeling like one cohesive room rather than two disconnected areas.
What’s the most common mistake people make with open concept living rooms? Skipping zoning altogether. Without rugs, lighting layers, or furniture groupings to define each space, an open floor plan can quickly feel like one large, purposeless room.
Final Thoughts
Open concept living and dining rooms reward intentionality. The magic isn’t in removing walls, it’s in everything you do afterward: the rug placement, the color story, the lighting layers, and the furniture choices that quietly tell each zone apart while keeping the whole space connected. Start with zoning, build a cohesive palette, and let furniture layout guide the flow, and you’ll end up with a living-dining combo that feels open, organized, and unmistakably yours.
Whether you’re working with a brand-new build or refreshing a decades-old floor plan, these principles scale to almost any square footage. Take it one zone at a time, trust the process, and don’t be afraid to live with painter’s tape on your floor for a weekend before committing to furniture. That’s exactly how the best open concept rooms come together.