
If you’ve scrolled Pinterest or Instagram lately, you’ve probably seen them: rows of glass bulbs mounted on wood, each one holding a single cutting suspended in water, roots trailing like tiny chandeliers. That’s a propagation station, and it’s quickly becoming one of the easiest ways to turn a bare wall into a living, growing piece of art.
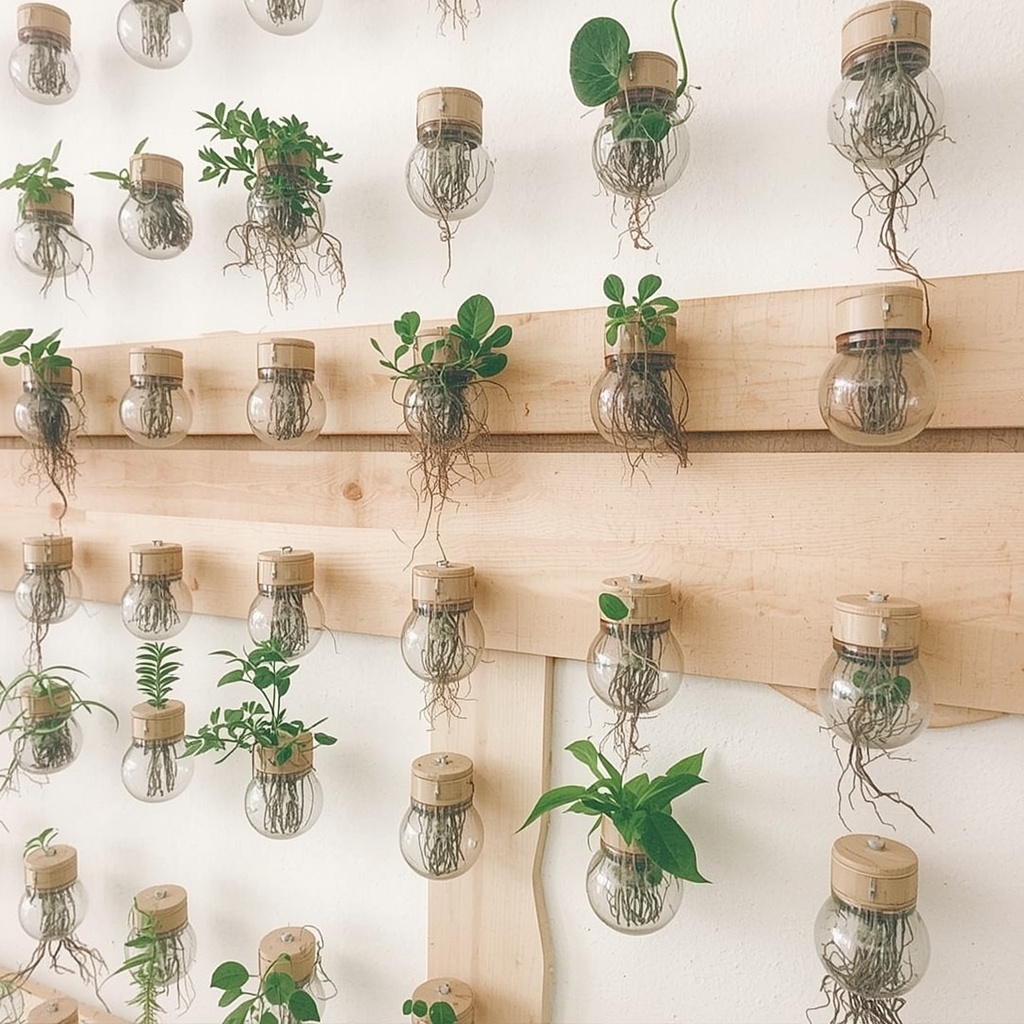
As a home decor specialist, I love propagation stations because they solve two problems at once. They give you a low-cost, high-impact wall feature, and they let you multiply your favorite houseplants for free. In the sections below, I’ll walk you through exactly how to design, build, and style your own propagation wall so it looks like a boutique plant shop, not a science fair project.
What Is a Propagation Station, Exactly?
A propagation station is simply a vessel, or a set of vessels, used to root plant cuttings in water before they’re transferred to soil. Traditionally these sat on a windowsill in a jam jar. The wall-mounted version takes the same concept and turns it into intentional home decor: small glass vessels are fixed to a wooden board, a metal frame, or floating shelves, then arranged in a pattern that reads as art rather than as a gardening project left out on the counter.
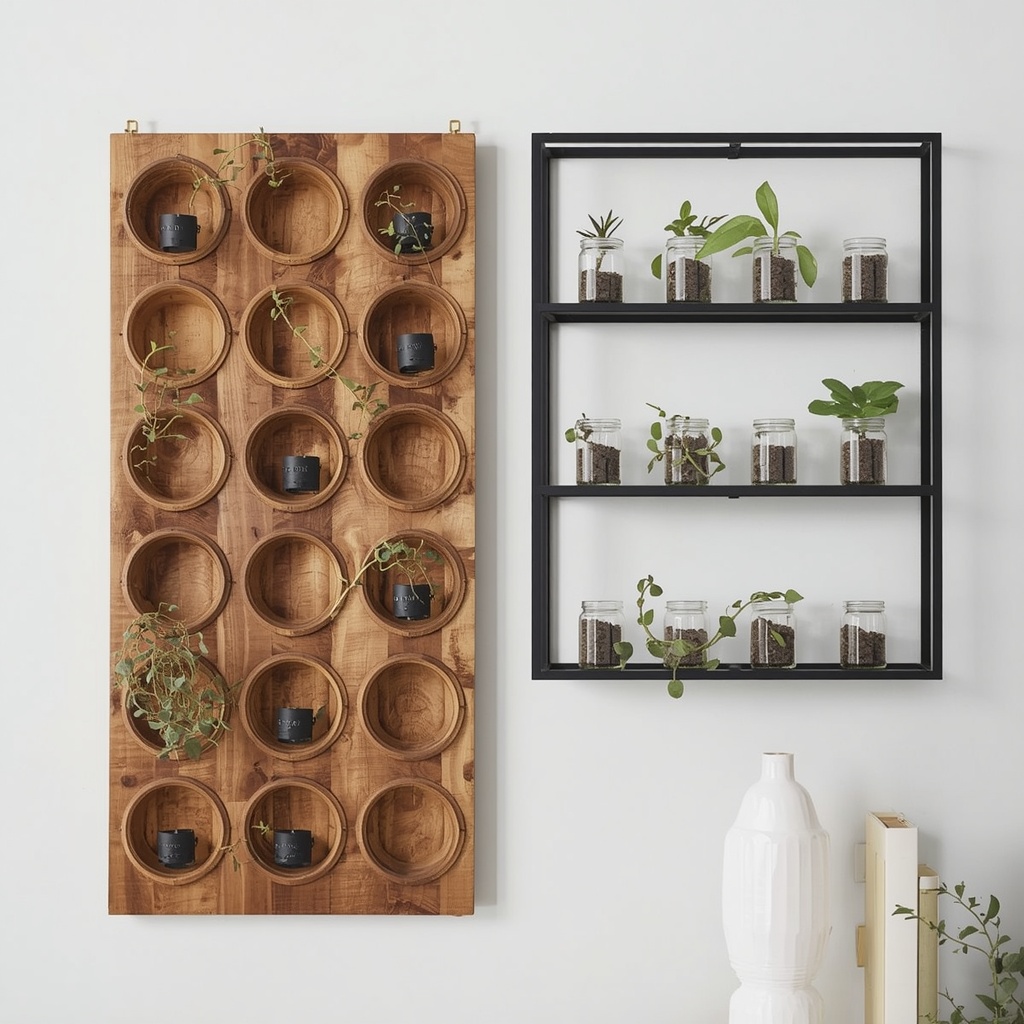
What makes this trend so appealing is that it blurs the line between function and decoration. Every stem cutting is doing real biological work, growing roots, drawing in light, releasing humidity, while simultaneously acting as a sculptural element on your wall. Recent home decor coverage has pointed to nature-forward, texture-rich wall art as one of the defining directions for the year, with designers favoring pieces that feel personal and alive rather than mass-produced. A propagation wall fits that mood perfectly, because no two arrangements ever look exactly the same.
Why This Trend Is Taking Over Living Rooms and Home Offices
Propagation stations tap into three things people want right now: biophilic design, sustainability, and personalization. Biophilic design, the practice of bringing natural elements into built spaces, has been linked to lower stress and better focus, which is exactly why so many home offices and reading nooks are getting a green upgrade this year.
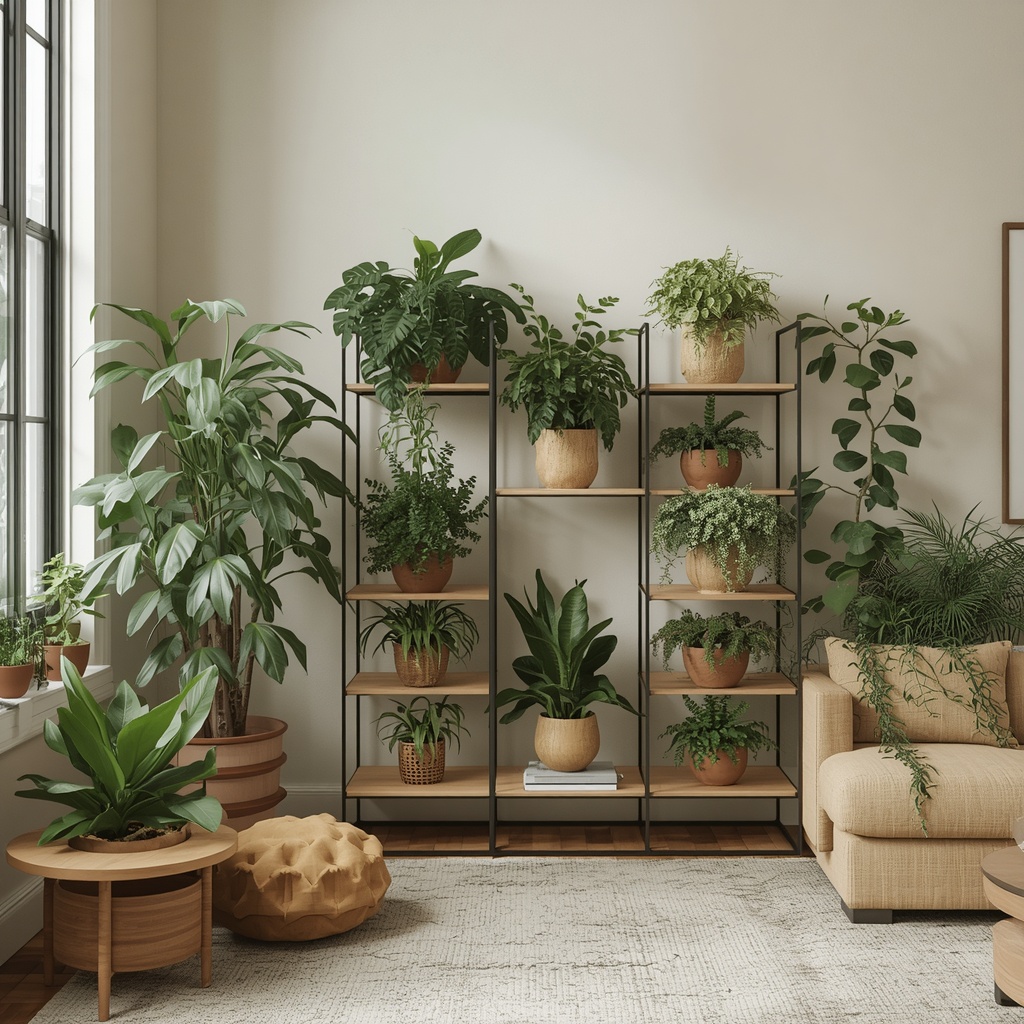
There’s also a budget angle. Instead of buying another framed print, you’re using cuttings from plants you probably already own, pothos, philodendron, spider plant, and turning them into a display worth hundreds of dollars retail. And because propagation stations change over time, roots lengthen, new leaves unfurl, they give you a piece of art that evolves instead of collecting dust.
“The best wall decor doesn’t just fill space, it tells you something is alive in the room.” That’s the philosophy behind biophilic styling, and it’s exactly why plant-based wall art has moved from windowsill hobby to legitimate design statement.
Materials and Supplies You’ll Need
Before you start drilling holes in a board, gather your supplies. Here’s a simple shopping list broken down by category.
| Category | Items | Notes |
|---|---|---|
| Vessels | Glass test tubes, bud vases, or wall sconce planters | Clear glass shows off root growth, which is part of the appeal |
| Mounting hardware | Wood board, floating shelf, or metal wall grid | Choose based on your wall style — see the design styles section below |
| Fasteners | Test tube clips, hose clamps, or drilled holes with silicone rings | Clips make it easy to remove vessels for cleaning |
| Finish | Wood stain, matte black spray paint, or raw wood sealant | Match your existing trim or furniture tone |
| Plant material | Cuttings with at least one node | Nodes are where roots will form |
| Extras | Small level, pencil, wall anchors, drill | For a straight, secure install |
Pro tip: Buy two or three extra vessels beyond what you think you need. Propagation stations look best when they have a little visual rhythm — varying vessel heights by an inch or two creates far more interest than a perfectly uniform row, and having spares lets you experiment with spacing before you commit to drilling.
Choosing the Right Plants for Wall Propagation
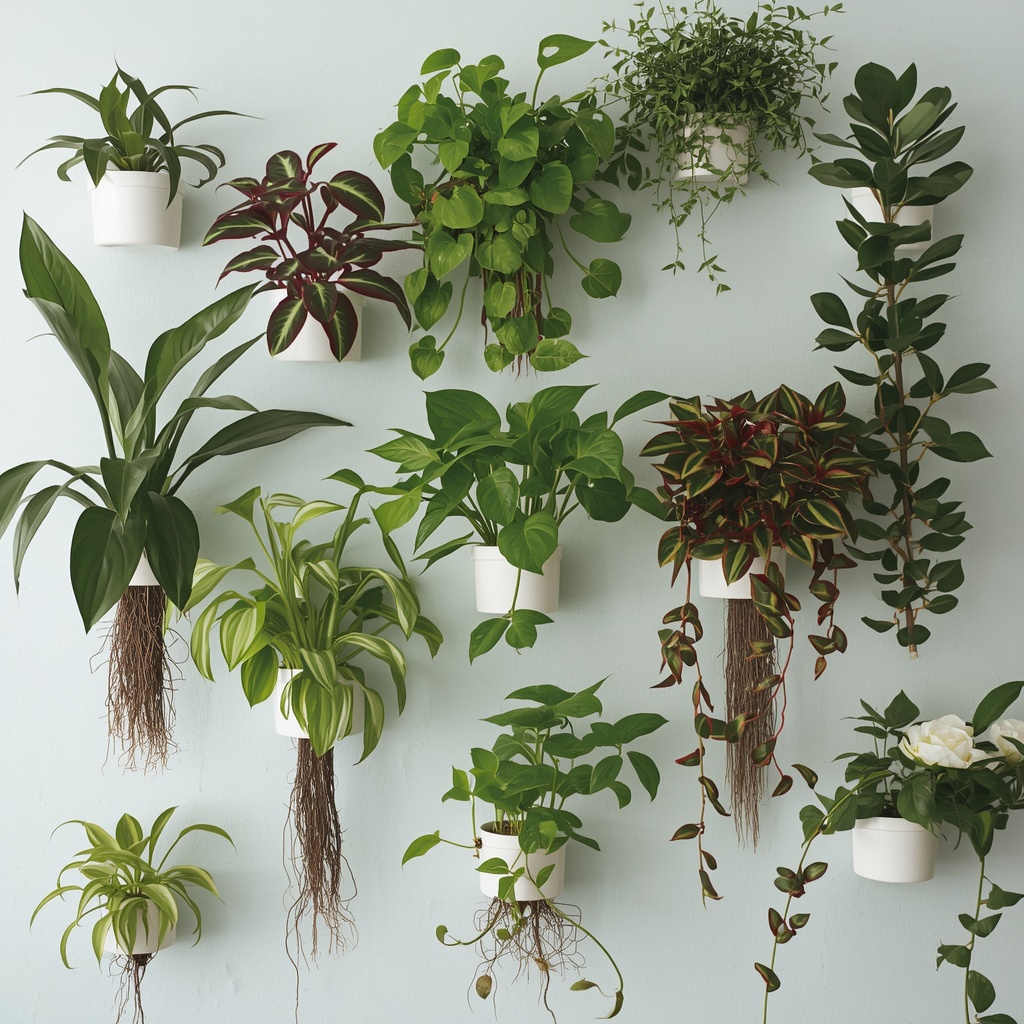
Not every houseplant is suited to open-water display. You want stems that root reliably, tolerate low light near a wall, and have leaves attractive enough to be the star of the show. Here are some of the most popular choices for propagation wall art.
| Plant | Rooting Time | Light Needs | Why It Works Visually |
|---|---|---|---|
| Pothos (Epipremnum aureum) | 2–4 weeks | Low to medium indirect | Trailing vines soften hard edges of a frame |
| Philodendron | 2–4 weeks | Medium indirect | Heart-shaped leaves photograph beautifully |
| Wandering Dew (Tradescantia) | 1–2 weeks | Medium to bright indirect | Purple and green striped foliage adds color contrast |
| Pilea (Chinese Money Plant) | 3–5 weeks | Bright indirect | Round coin-shaped leaves create a playful, modern look |
| String of Hearts | 3–6 weeks | Bright indirect | Delicate trailing stems suit minimalist frames |
| Coleus | 1–2 weeks | Bright indirect | Bold, patterned leaves work as a statement piece |
A quick rule of thumb: if a plant roots easily in a glass of water on your kitchen counter, it will almost certainly root on a wall-mounted station, provided the spot still gets decent indirect light.
Step-by-Step: Building Your Propagation Wall Display
Once you have your materials and plant cuttings ready, the build itself is a weekend afternoon project. Follow these steps for a clean, gallery-worthy result.
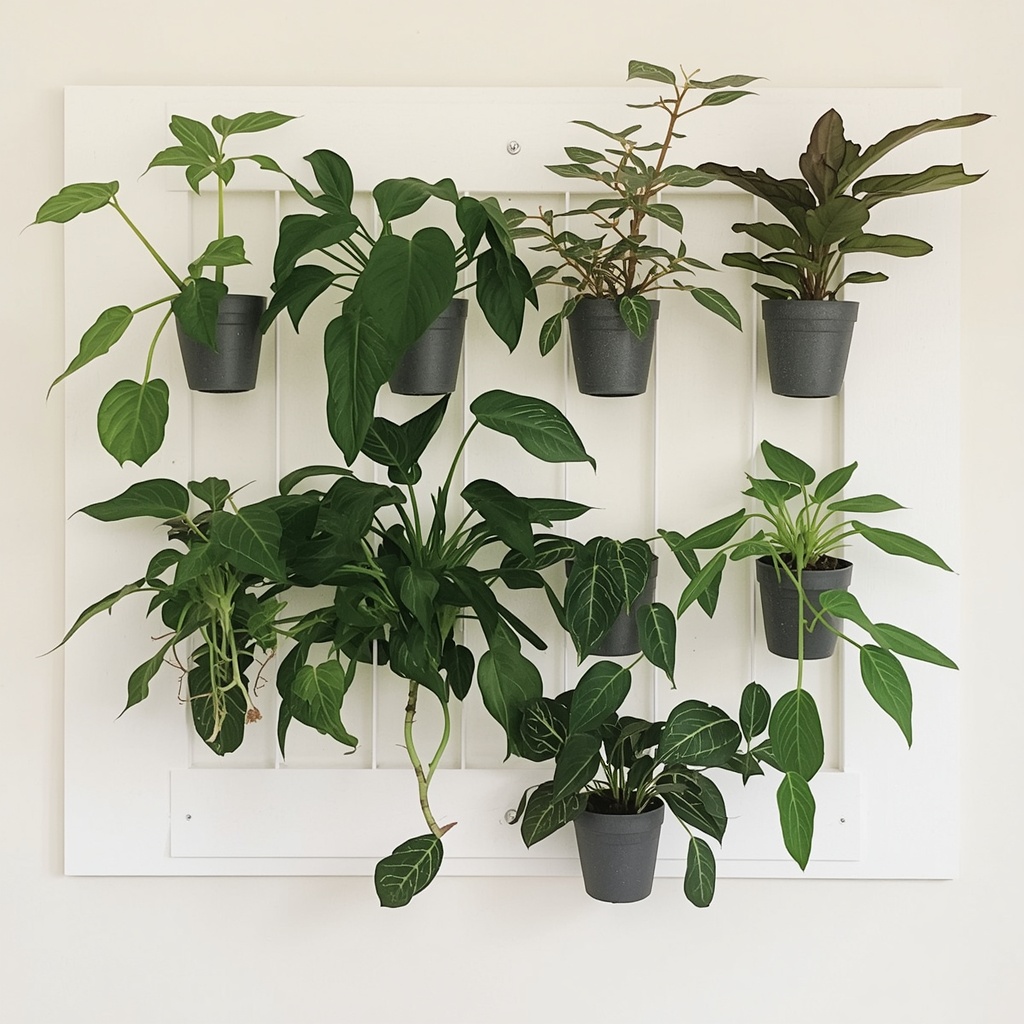
- Plan your layout on paper first. Sketch the wall space and decide whether you want a symmetrical grid, an asymmetrical cluster, or a single flowing line. Symmetry reads as modern and calm; asymmetry reads as organic and eclectic.
- Prep and finish your mounting board. Sand, stain, or paint your board and let it fully cure before attaching hardware, otherwise finish fumes can stress nearby cuttings.
- Attach the vessel clips or drill the holes. Space vessels at least three to four inches apart so roots and leaves have room to grow without tangling.
- Mount the board to the wall. Use a level and wall anchors rated for the board’s weight, especially once vessels are filled with water and glass.
- Take your cuttings. Snip stems just below a node using clean, sharp scissors, then strip any leaves that would sit underwater.
- Fill vessels and insert cuttings. Use filtered or room-temperature tap water left out for a few hours to let chlorine dissipate.
- Position the finished piece. Choose a spot with bright, indirect light, avoiding direct afternoon sun, which can overheat small glass vessels.
- Refresh water weekly. Swap water every seven to ten days to prevent algae and keep roots healthy and white rather than slimy or brown.
Design Styles: Matching the Station to Your Room
A propagation station should feel like it belongs to the room it’s in, not like an afterthought. Here’s how to adapt the concept across common interior styles.
- Minimalist or Scandinavian: Use uniform glass test tubes on a single light oak board, spaced evenly. Stick to one or two plant varieties for a clean, uncluttered look.
- Boho or eclectic: Mix vessel shapes and heights, add macrame hangers alongside the mounted tubes, and let vines trail freely instead of trimming them.
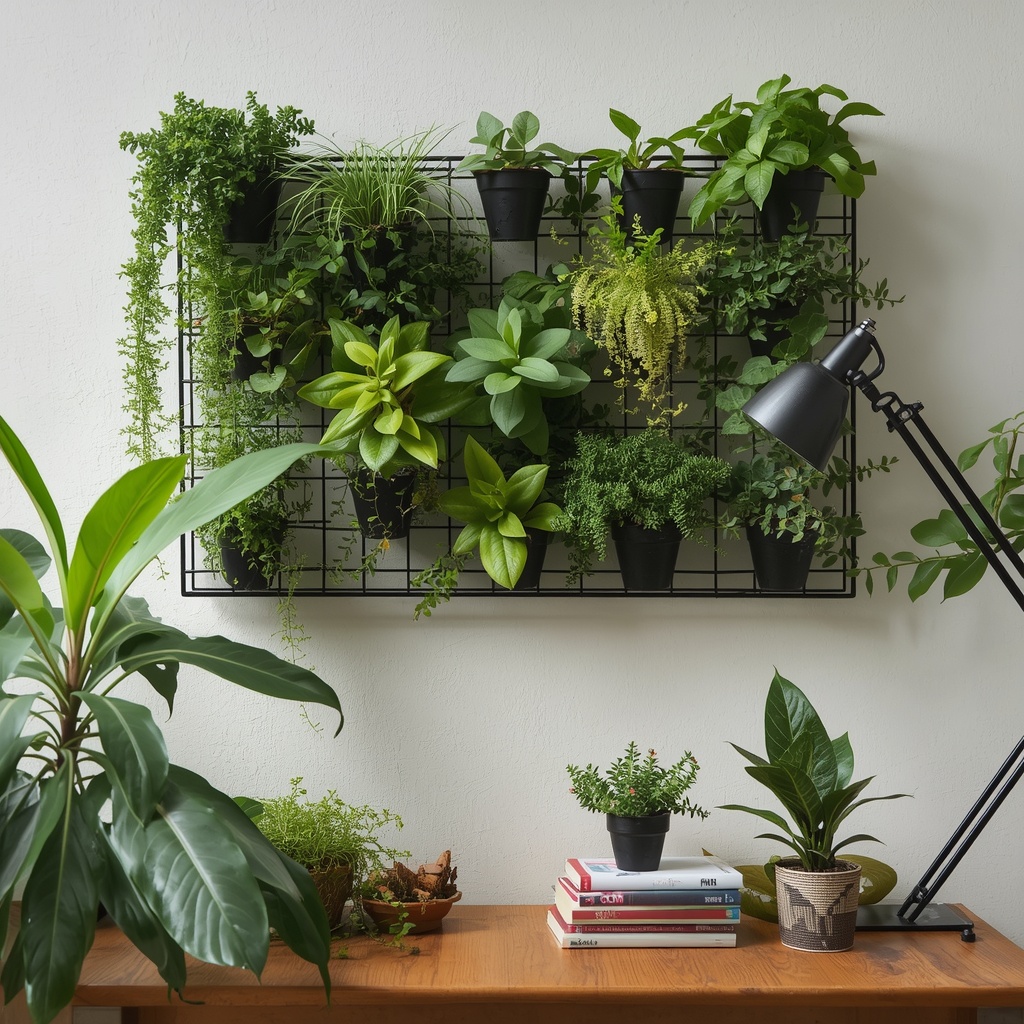
- Industrial: Choose blackened metal grid frames and pair with concrete or dark stoneware vessels for contrast against exposed brick.
- Japandi: Combine natural wood, matte ceramic vessels, and asymmetrical negative space, echoing the calm, nature-forward palettes currently popular in wall decor.
- Coastal or cottagecore: Whitewashed wood, glass bud vases, and trailing pothos or wandering dew evoke a relaxed, sun-washed feel.
Where to Hang Your Propagation Station
Placement matters as much as the build itself. A propagation wall needs enough indirect light to keep cuttings healthy, but it also needs to be somewhere you’ll actually enjoy looking at it.
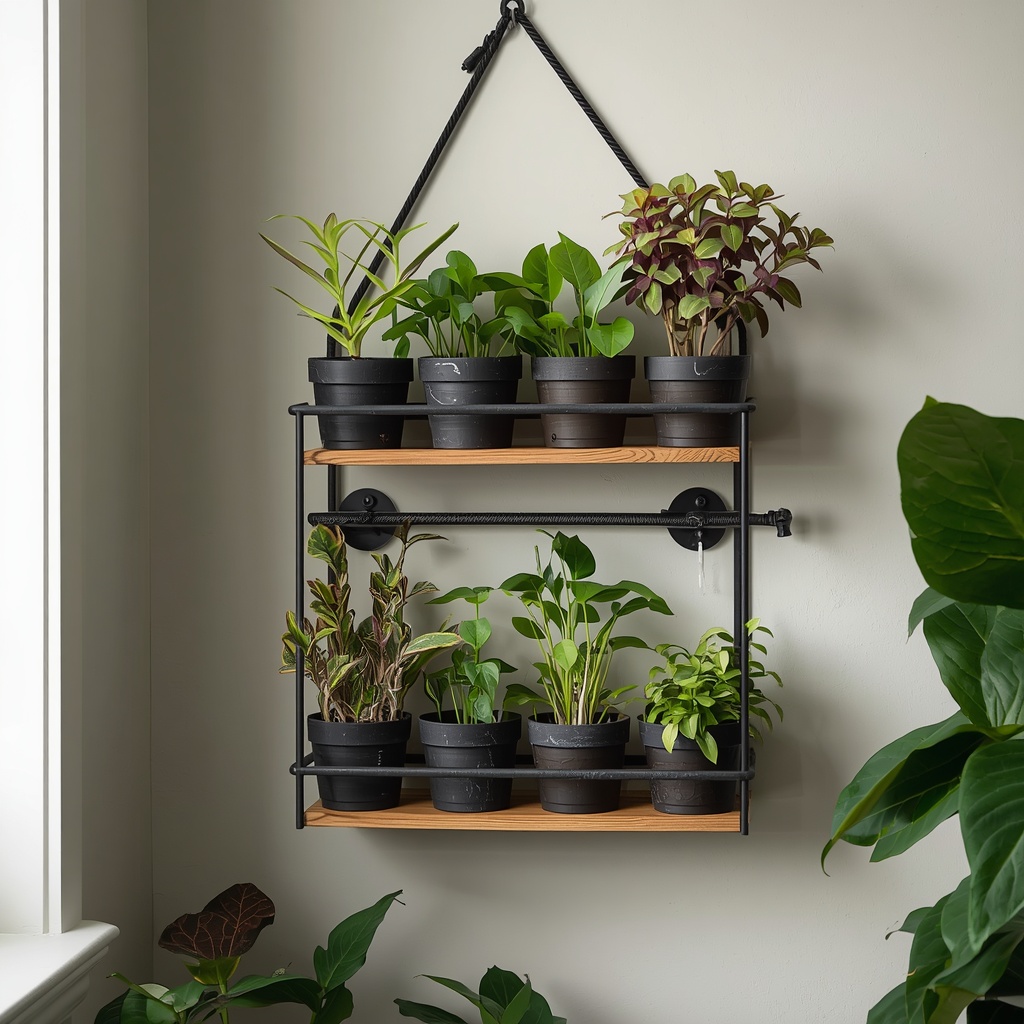
Strong locations include a kitchen wall near, but not directly beside, a window, a home office accent wall behind your desk, or a hallway that otherwise feels empty and forgotten. Bathrooms with a window can also work beautifully, since the ambient humidity actually helps cuttings root a little faster.
Avoid hanging your station directly above a heat vent, radiator, or in a spot that gets blasted with direct midday sun, both will speed up evaporation and stress the cuttings. If your only available wall is low-light, consider swapping in a small grow bulb disguised as a decorative sconce above the display.
Maintenance: Keeping Your Living Wall Art Healthy
A propagation station is decor that needs occasional care, but the routine is genuinely light. Here’s what to keep on your calendar.
| Task | Frequency | Why It Matters |
|---|---|---|
| Change water | Every 7–10 days | Prevents bacterial buildup and algae |
| Wipe vessels | Every 2 weeks | Keeps glass clear so roots stay visible |
| Trim yellow leaves | As needed | Redirects energy toward root development |
| Pot up rooted cuttings | Once roots reach 2–3 inches | Prevents root rot from prolonged water exposure |
| Rotate the display | Monthly | Ensures even light exposure and growth |
Once a cutting develops a healthy root system, you have a choice: pot it into soil and start a new plant, or leave it growing in water indefinitely. Many pothos and philodendron varieties will happily live in water for years, which means your wall art can stay exactly as it is with almost no extra effort.
Common Mistakes to Avoid
Even a simple project like this has a few pitfalls worth planning around.
- Overcrowding vessels. Too many cuttings packed too close together makes maintenance harder and can encourage mold between leaves.
- Using cloudy or unfiltered water. Chlorinated tap water straight from the faucet can slow rooting; let it sit out for a few hours first.
- Skipping the node check. A cutting without a node at the base will never root, no matter how long you leave it in water.
- Choosing the wrong wall. A north-facing wall with almost no natural light will leave your display looking sad within a month.
- Ignoring vessel weight. Glass filled with water is heavier than it looks; under-anchored hardware is a common cause of falling stations.
Frequently Asked Questions
How long do propagation station cuttings last in water? Many popular houseplants, especially pothos and philodendron, can live in water indefinitely if the water is changed regularly. Others, like coleus, are better suited to a shorter stint before potting into soil.
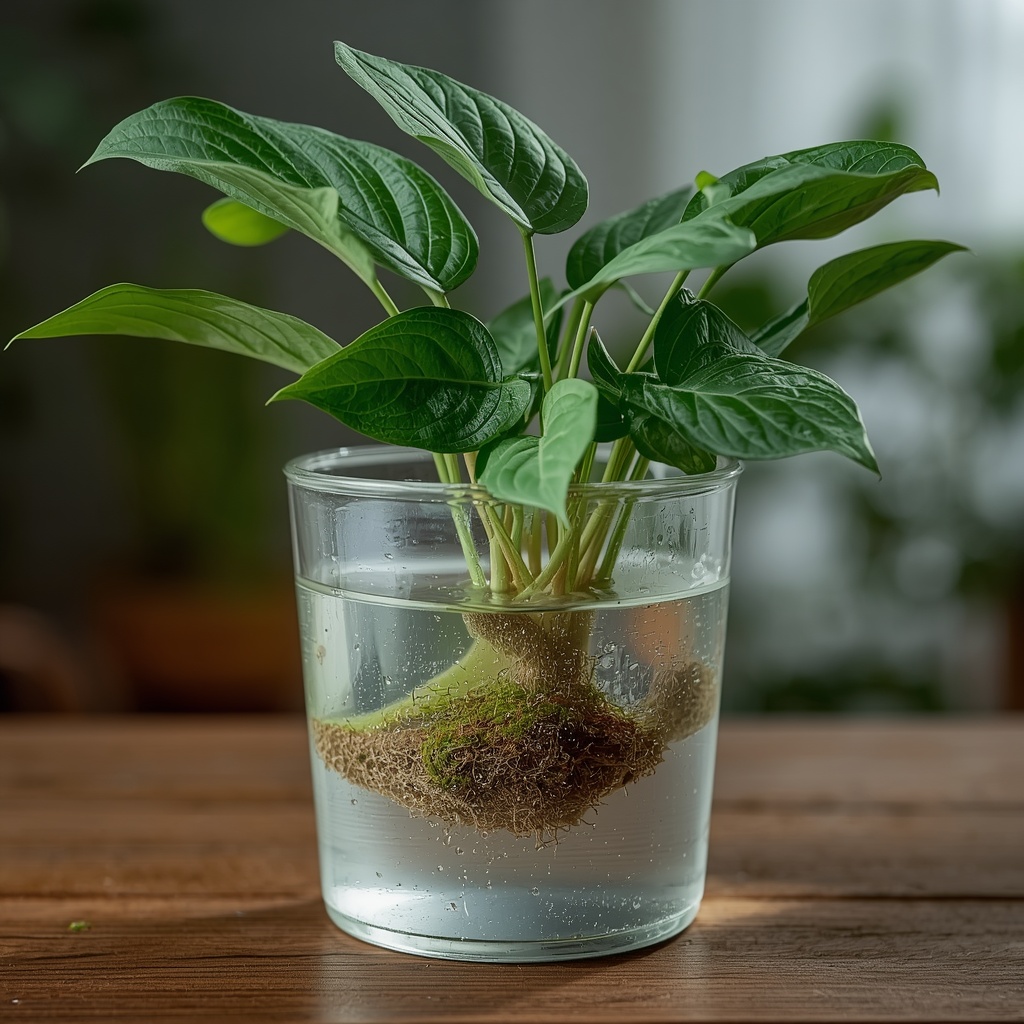
Do I need special plant food for water propagation? Not usually. A diluted liquid fertilizer added every few water changes can help, but most common houseplants root just fine in plain, dechlorinated water.
Will a propagation station damage my wall? Not if it’s properly anchored and you check periodically for leaks or condensation. Using a sealed board finish and secure vessel clips prevents moisture from reaching drywall.
Can I mix different plant varieties on one station? Absolutely, in fact varying leaf shapes and colors is one of the easiest ways to make the display feel curated rather than accidental.
Final Thoughts
A propagation station wall is one of the rare decor projects that gets better the longer you own it. It costs next to nothing to start, uses cuttings you likely already have on hand, and rewards a few minutes of weekly attention with a display that keeps evolving. Whether your style leans minimalist, boho, or industrial, there’s a version of this project that will fit right in, and once you see roots trailing down that first cutting, it’s hard not to want to fill the whole wall.
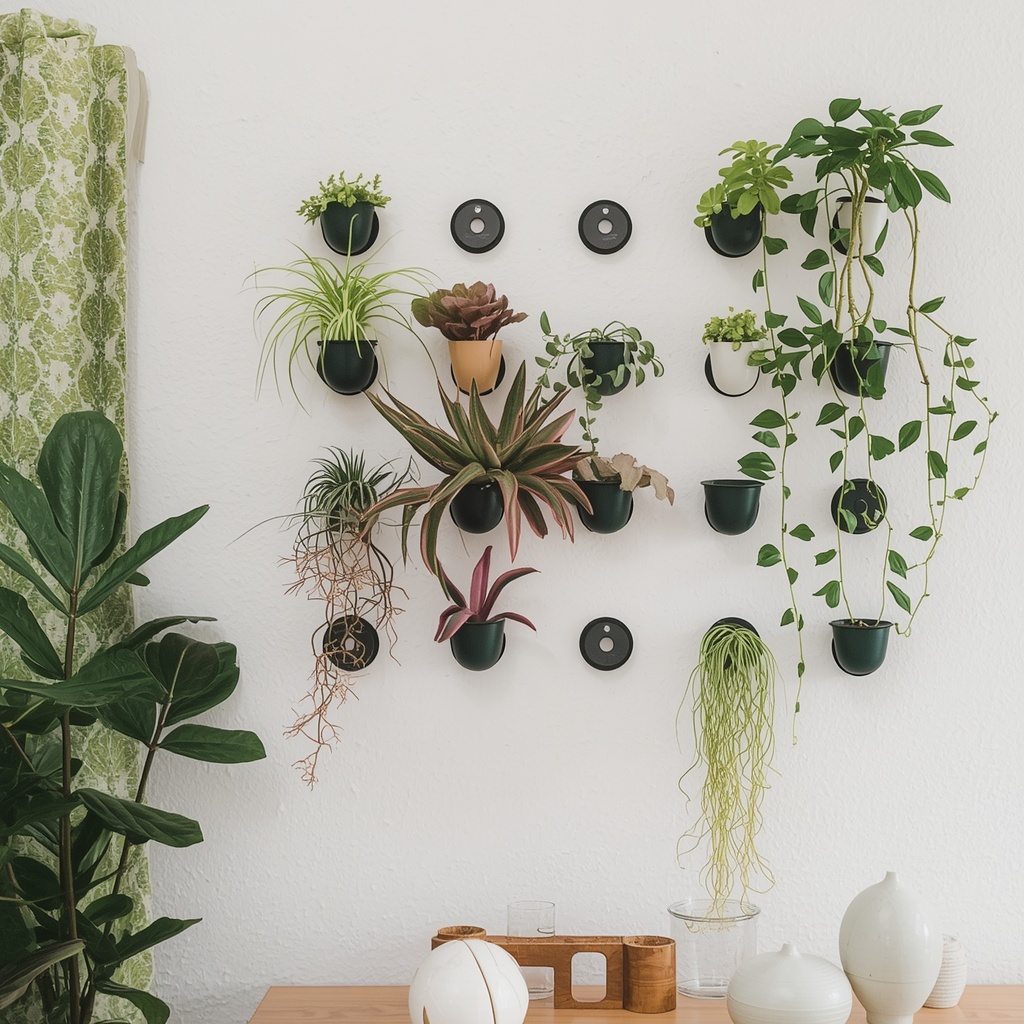
If you’re ready to start, keep it simple: pick one plant variety, one vessel style, and one wall, then expand once you’ve got the rhythm down. The best living wall art is the kind you’ll actually keep alive.