
Meta description: Learn how to style a studio apartment entry space with smart storage, slim furniture, layered lighting, and renter-friendly decor that looks polished and feels welcoming.
Why Your Studio Apartment Entryway Deserves Real Design Attention
In a studio, the front door usually opens straight into your living, sleeping, and dining area. There’s no foyer, no mudroom, and no buffer between the outside world and your sofa. That means the first three feet inside your door set the tone for the whole space, and they also take the most daily abuse from keys, bags, shoes, and mail.
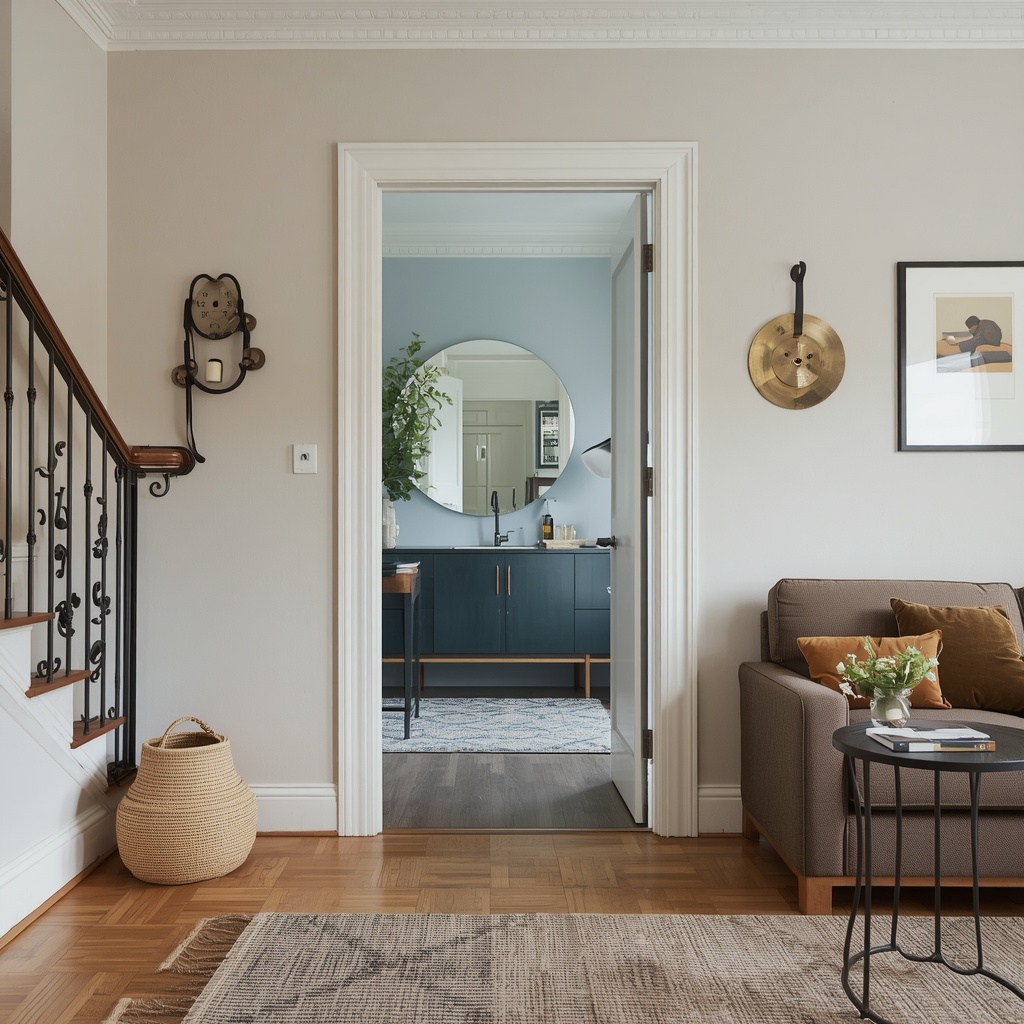
As a designer who has styled dozens of small apartments across the U.S., I can tell you that a well-planned studio apartment entryway does two jobs at once. It makes the room feel bigger and more organized, and it gives you a calm landing spot after a long day. You don’t need a big budget or even much square footage, only a plan.
Designer’s mantra: “If it doesn’t have a home by the door, it will have a home on your bed.”
In this guide, I’ll walk you through how to create a stylish, functional apartment foyer from scratch, including how to define the zone, choose furniture, add storage, and layer in lighting and decor. You’ll also find tables, checklists, and pro tips you can use right away.
Step 1: Assess Your Entry Space Before You Buy Anything
Before you shop, spend ten minutes studying how you actually use your entrance. Stand at the door and note where you naturally drop your keys, where your shoes end up, and which direction the door swings. Design for your real habits, not an idealized Pinterest version of them.
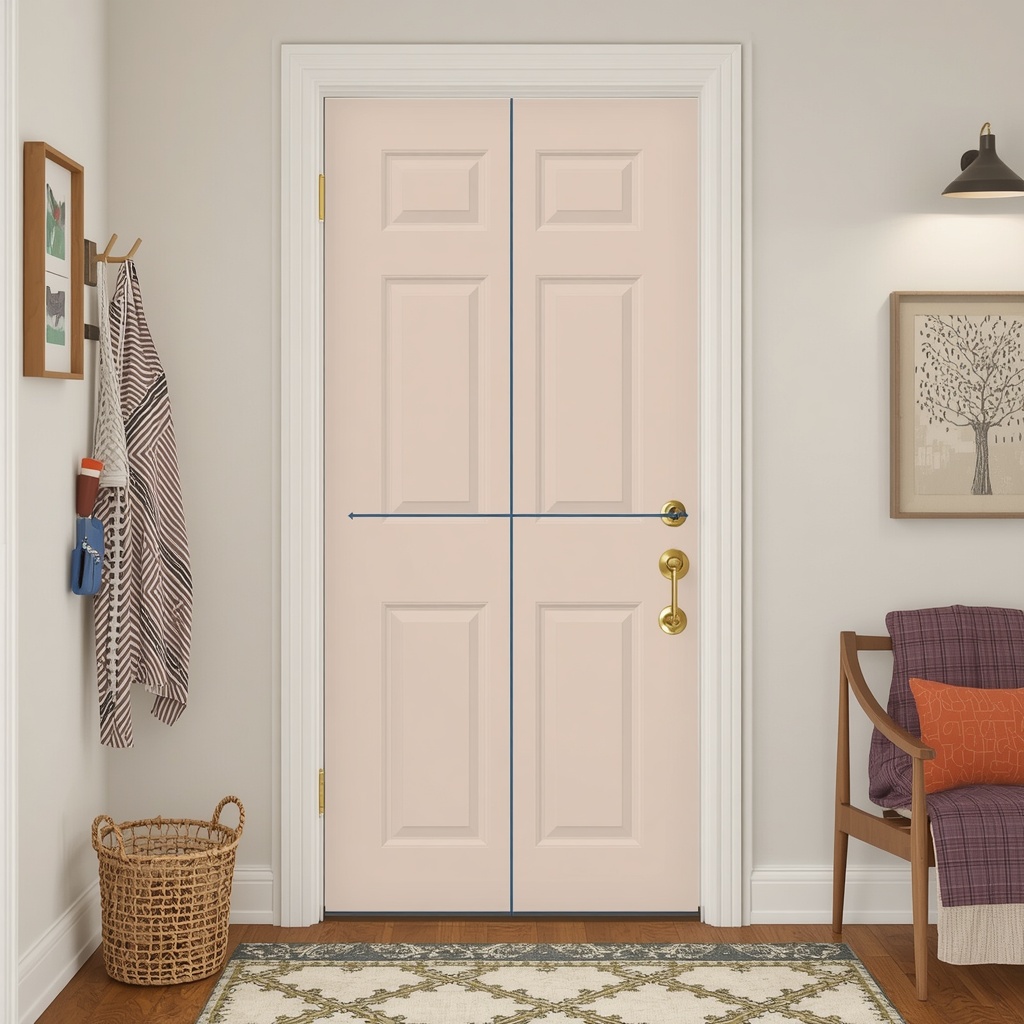
Next, measure everything. Record the width of the wall beside the door, the clearance behind the door swing, the ceiling height, and the distance from the door to your nearest piece of furniture. Most studio entries offer only 24 to 48 inches of usable wall, so every inch counts.
Quick entry audit checklist:
- Which way does the door swing, and what does it block?
- How wide is the nearest uninterrupted wall?
- Is there an outlet or light switch you can use or must avoid?
- How many people live here, and how many pairs of shoes live by the door?
- Do you need a spot for a bike, stroller, dog leash, or work bag?
- Is the floor hardwood, laminate, tile, or carpet?
Pro Tip: Take a photo of your entry and open it in a free photo editor. Sketch over it with the furniture you’re considering. Seeing the proportions on screen prevents the most common (and most expensive) small-space mistake: buying pieces that are too big.
Step 2: Define the Entry Zone Without Building Walls
The secret to a successful small entryway in an open-plan studio is creating a visual boundary without blocking light or flow. Designers call this “zoning,” and it makes the entry feel intentional rather than like leftover space. A defined zone also keeps clutter from drifting into your living area.
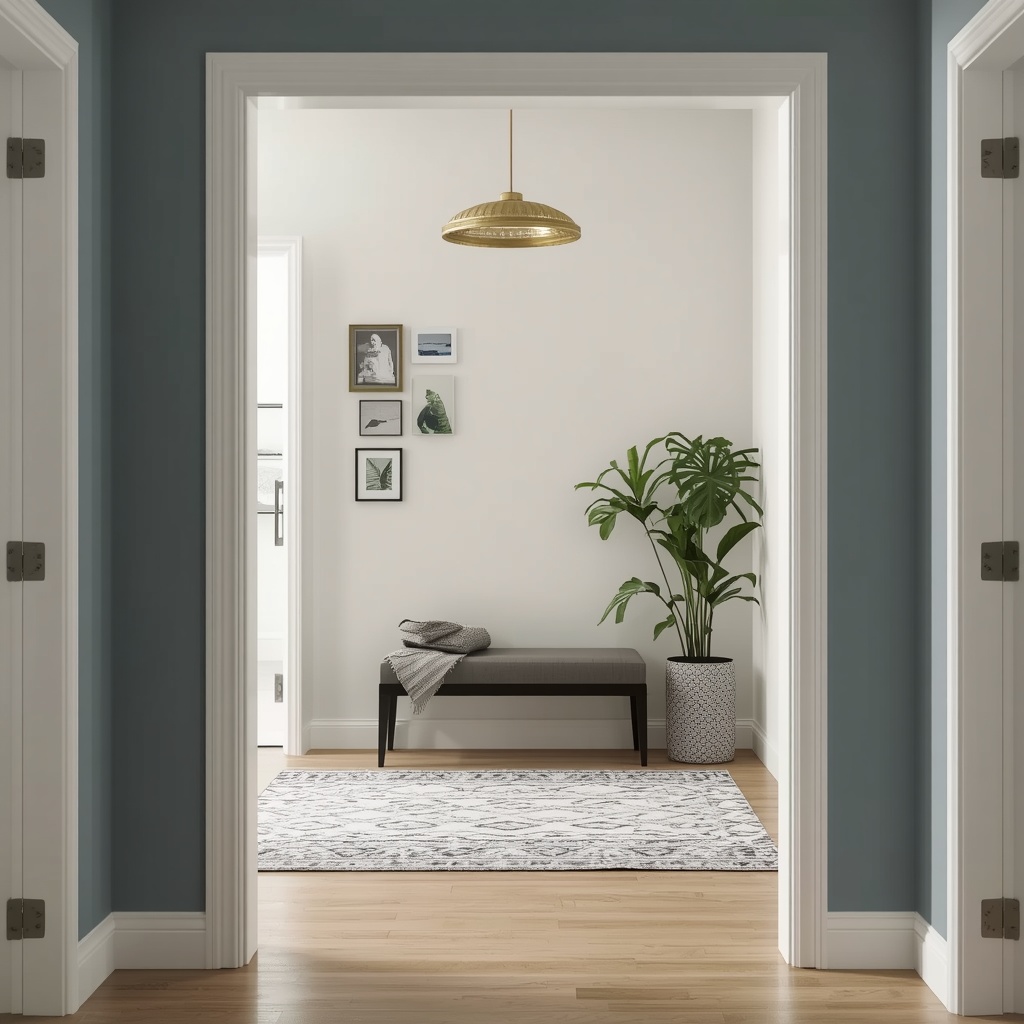
You have several tools for this, and you can combine them. The most effective are a rug, a change in wall color, a pendant or sconce, or a low piece of furniture such as a bench or console. Each one signals “this is the entry” while keeping sightlines open.
| Zoning Method | Best For | Approx. Cost | Renter-Friendly? |
|---|---|---|---|
| Entry rug or runner | Defining floor space | $40–$250 | Yes |
| Accent paint or peel-and-stick wallpaper | Creating a visual backdrop | $30–$150 | Yes (peel-and-stick) |
| Open bookcase divider | Separating entry from living area | $80–$300 | Yes |
| Folding screen | Privacy and flexibility | $60–$250 | Yes |
| Plug-in wall sconce | Layering light and marking the zone | $35–$120 | Yes |
| Curtain on a tension rod | Hiding a bed or storage | $25–$80 | Yes |
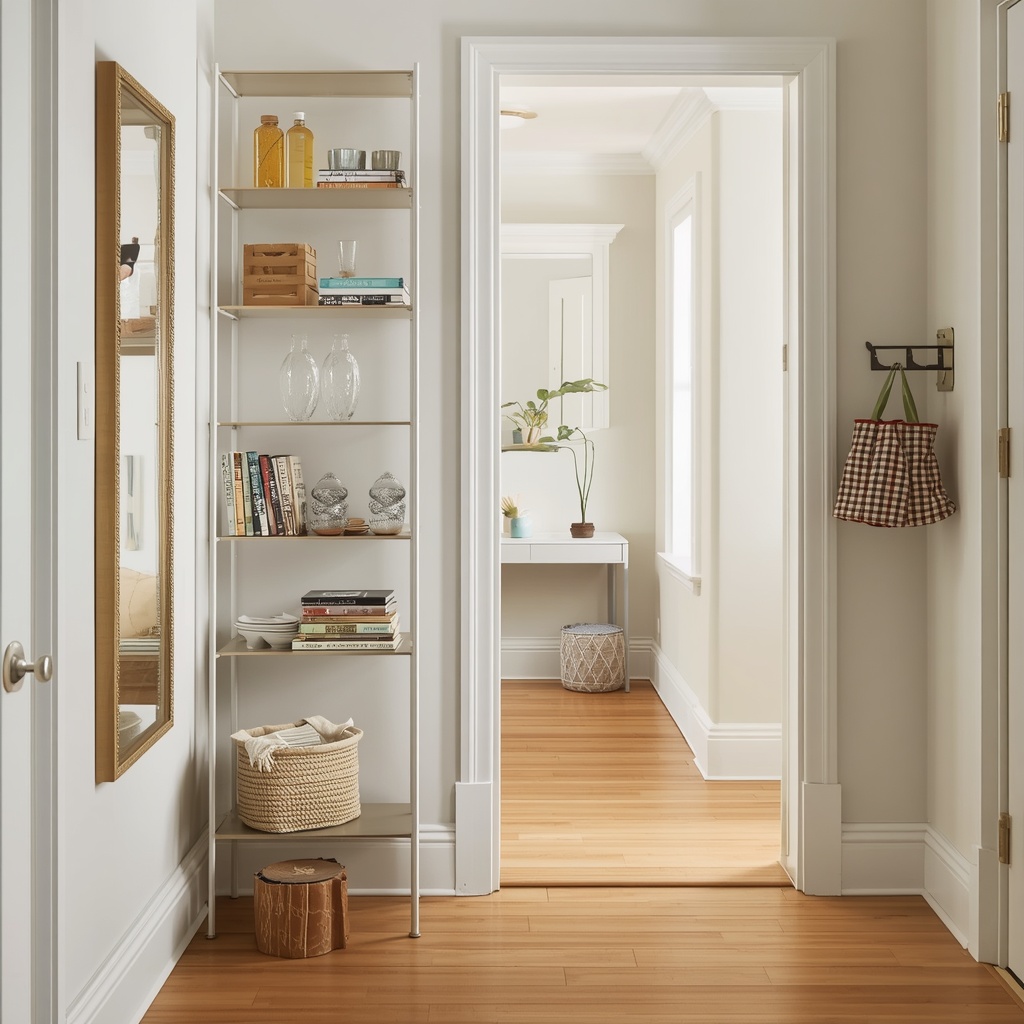
If you want more separation, use an open-backed shelving unit perpendicular to the door. It blocks the direct view of your bed but still lets light through. Style the shelves with baskets, books, and plants so the divider doubles as décor.
Step 3: Choose Slim, Multifunctional Entryway Furniture
In tight quarters, every piece should work double duty. Look for multifunctional furniture that is slim, ideally 10 to 14 inches deep, and raised on legs so you can see the floor beneath. Visible floor space is a classic trick for making a small room feel larger.
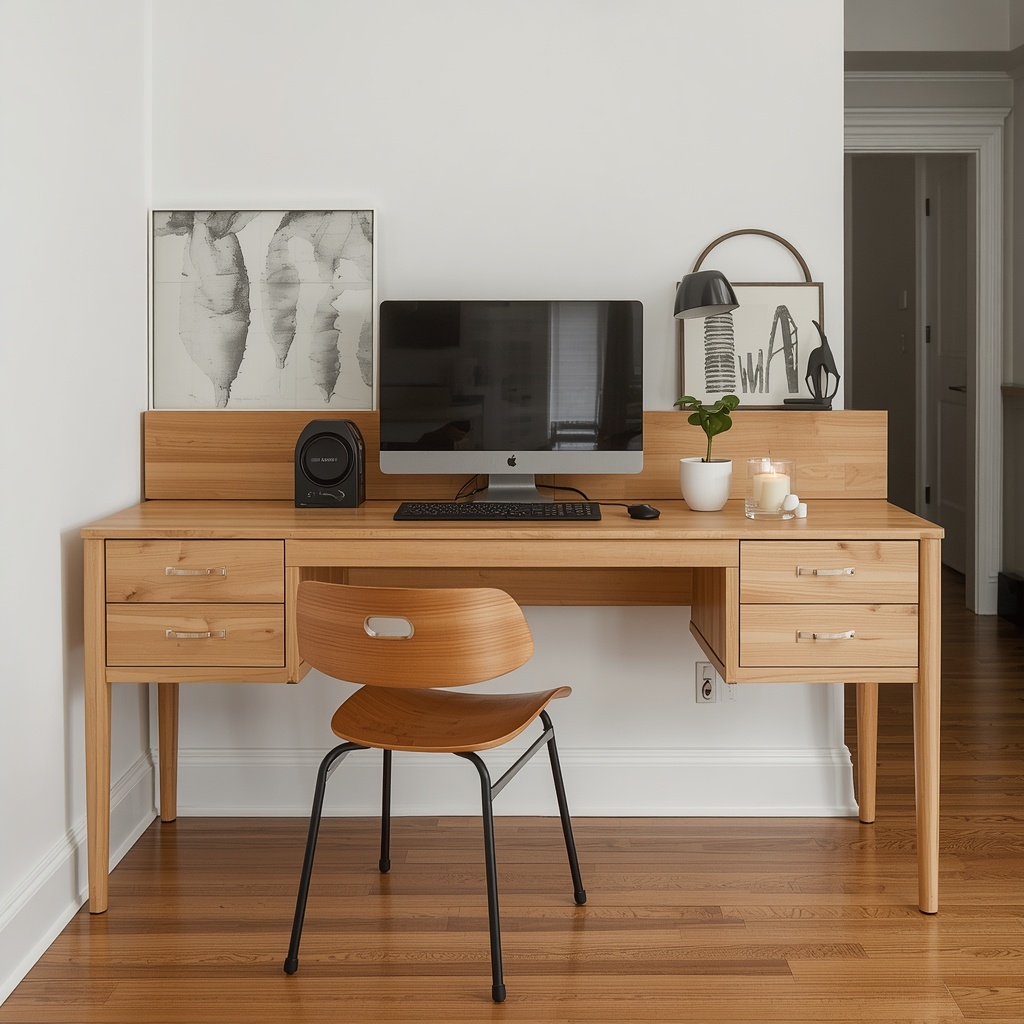
A narrow console table is the classic choice, but it isn’t the only one. Depending on your layout, a storage bench, a wall-mounted shelf, a compact shoe cabinet, or a ladder-style rack may serve you better. Think about what you most need to hold, then choose accordingly.
| Furniture Piece | Typical Size | Pros | Cons |
|---|---|---|---|
| Slim console table | 10–12″ deep | Surface for keys, lamp, and mail | Limited closed storage |
| Storage bench | 14–16″ deep | Seating plus hidden shoe storage | Takes more floor space |
| Wall-mounted shelf with hooks | 6–10″ deep | Frees the floor entirely | Needs wall anchoring |
| Shoe cabinet (flip-drawer) | 7–9″ deep | Hides shoes behind a clean front | Holds fewer bulky items |
| Narrow bookcase | 8–11″ deep | Vertical storage, works as a divider | Can look cluttered |
| Floating desk or ledge | 8–12″ deep | Doubles as a drop zone | Weight limits |
For inspiration and budget-friendly options, browse the entryway collections at IKEA, Wayfair, or West Elm. Always check the depth listed in the product specs before you add anything to your cart.
Pro Tip: Choose furniture that matches the visual weight of your space. In a small entry, light-colored wood, glass, or slim metal frames feel airier than dark, chunky pieces.
Step 4: Build a Smart “Drop Zone” for Daily Essentials
A drop zone is the single most useful feature of any entry, and in a studio it can be the difference between an organized home and a messy one. The goal is a place for every item you carry in or out: keys, wallet, sunglasses, mail, headphones, and your bag. When each item has a designated spot, you stop losing things.
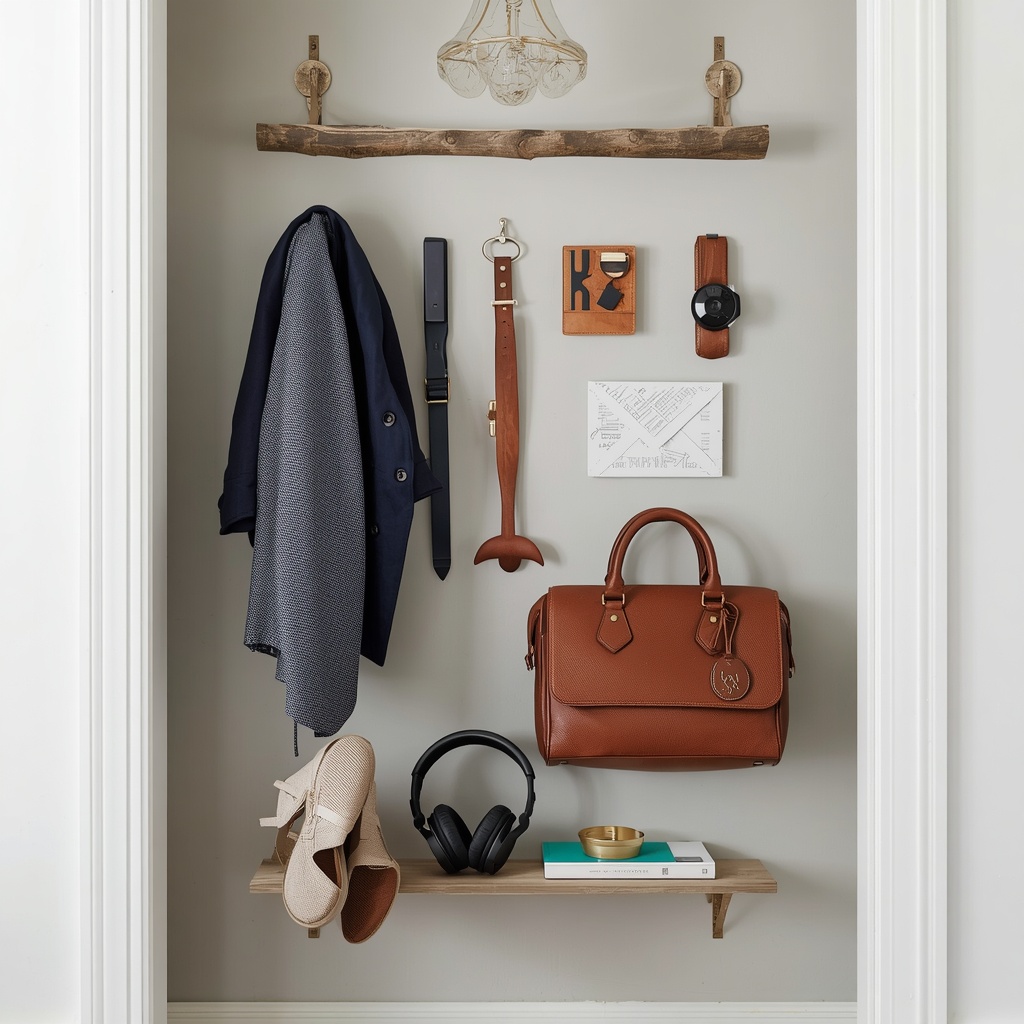
Keep the system simple enough that you’ll use it when you’re tired. A small tray or dish for keys, a wall-mounted mail sorter, and a hook for your daily bag are plenty. If a setup takes more than five seconds to use, you’ll abandon it within a week.
Essential drop zone components:
- A catch-all tray or dish for keys, coins, and small items
- A wall-mounted mail sorter to keep paper off your counters
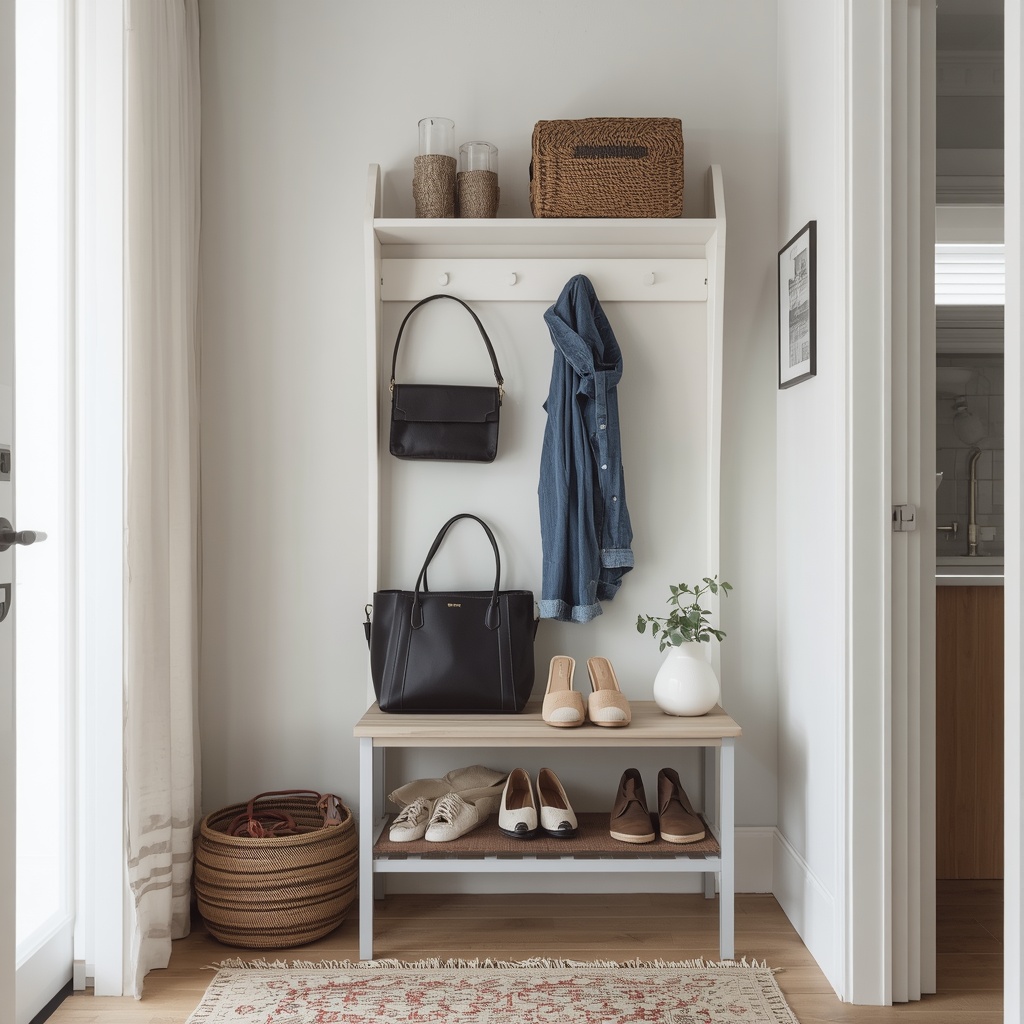
- Hooks at two heights, one for bags and one for coats
- A small basket for gloves, hats, and scarves
- A key hook or magnetic holder so keys never get buried
- A charging spot, such as a discreet dock for your phone and earbuds
Designer’s note: Style your drop zone like a mini vignette. A pretty ceramic tray and a small plant make daily habits feel like a ritual, not a chore.
Step 5: Maximize Entryway Storage in a Small Footprint
When floor space is scarce, think vertical. Walls, the back of the door, and the space above the door frame are all underused real estate. Smart entryway storage keeps your entry tidy and spares your main living area from becoming a landing pad for everything you own.
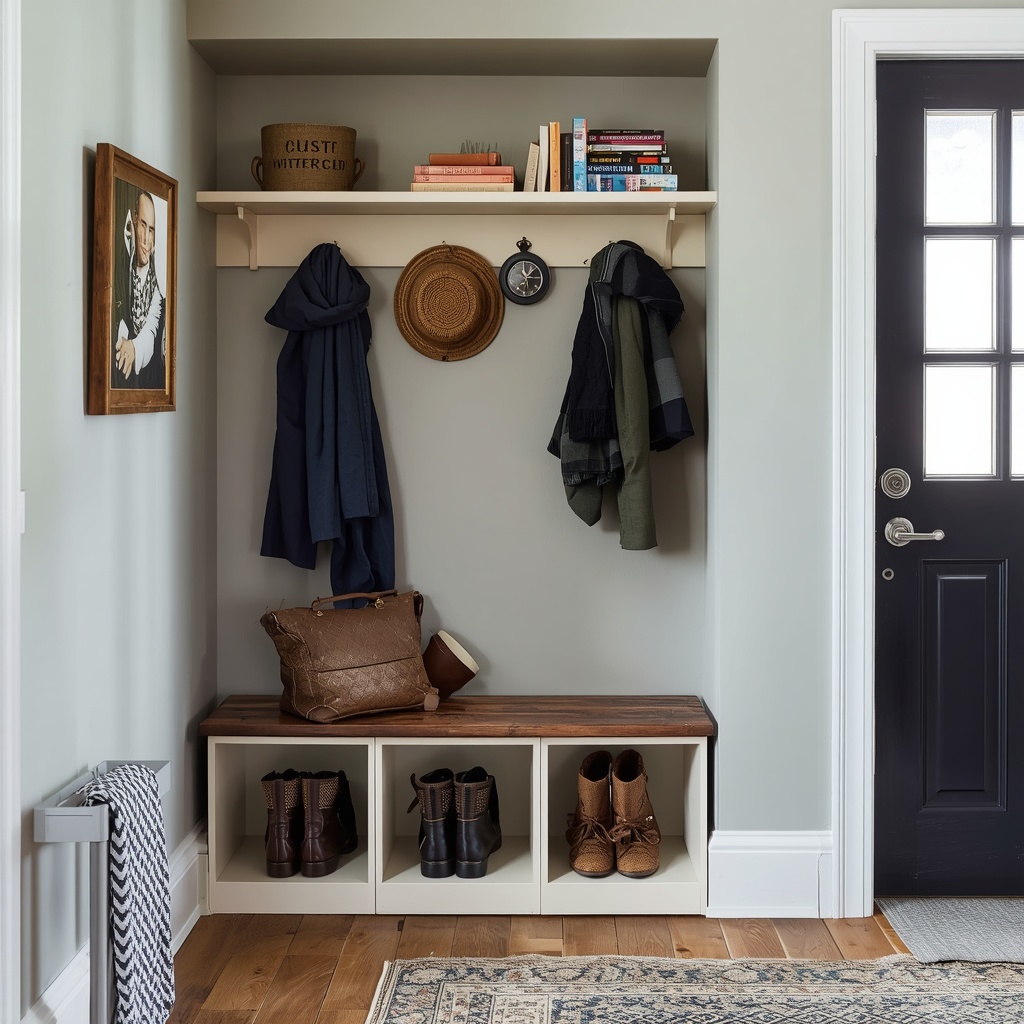
Start by editing ruthlessly. Only the shoes, coats, and accessories you use weekly belong at the door. Rotate seasonal items into under-bed bins or a closet elsewhere. A smaller, curated collection looks better and is easier to maintain.
Space-saving storage ideas for studio entryways:
- Over-the-door hooks or racks add storage without touching the wall
- Floating shelves above the hooks hold baskets, hats, or decor
- Slim shoe cabinets with tilt-out drawers hide shoes in under 9 inches of depth
- Tiered shoe racks keep daily pairs accessible
- Woven baskets under a bench corral bags, scarves, and umbrellas
- A tension rod above the door can hold a curtain that hides seasonal clutter
- Magnetic strips hold keys and small metal items
- A pegboard panel is customizable and doubles as wall art
For organizers, baskets, and hardware, The Container Store is a reliable source of modular solutions designed for small spaces.
Pro Tip: Use the “one in, one out” rule for shoes. When a new pair arrives, an old pair leaves. Without this rule, entry storage fills up and fails.
Step 6: Use Wall Space for Hooks, Mirrors, and Art
Walls are your best asset in a studio entry. A row of stylish hooks, a mirror, and one or two framed pieces can transform a blank wall into a designed moment. Mount hooks at around 60 to 66 inches for coats and 48 inches for bags, and space them at least 6 inches apart so items don’t pile together.
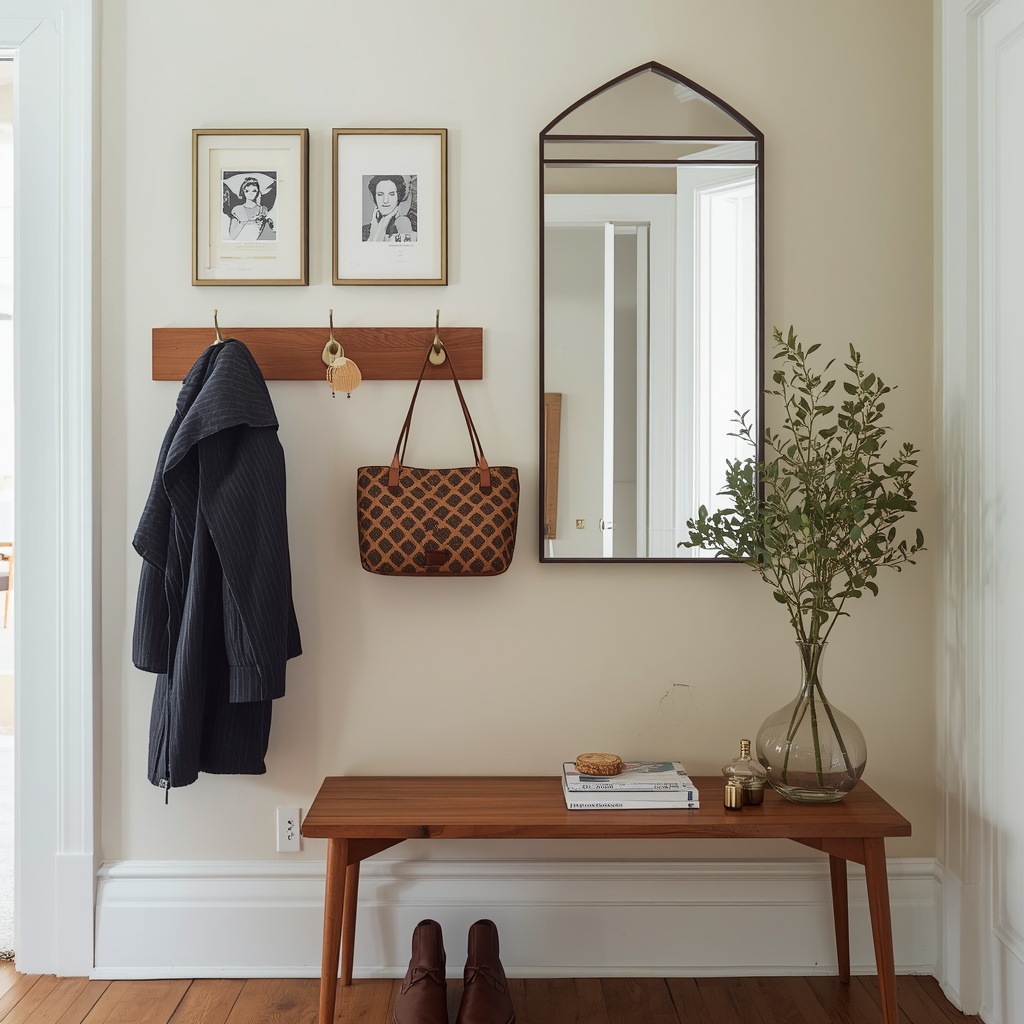
A mirror is essential for two reasons. It lets you do a last-minute check before leaving, and it bounces light around the room to make the space feel larger. Place it opposite or adjacent to a window if possible, so it captures daylight.
Wall styling ideas:
- A round mirror softens the hard lines of a small, boxy entry
- A tall, narrow mirror adds height and elongates the wall
- A gallery of three small frames adds personality without crowding
- A single oversized print makes a bold statement
- A wooden hook rail adds warmth and a rustic or Scandinavian note
A mirror can also double as a divider or backdrop if you lean it against a console table. In a renter-friendly setup, a leaning floor mirror needs no drilling at all.
Step 7: Layer Lighting to Make the Entry Feel Welcoming
Many studio entries are dim, lit only by a single ceiling fixture or borrowed light from the main room. Good lighting changes that. Aim for layers: ambient light for overall brightness, task light for finding keys, and accent light for mood.
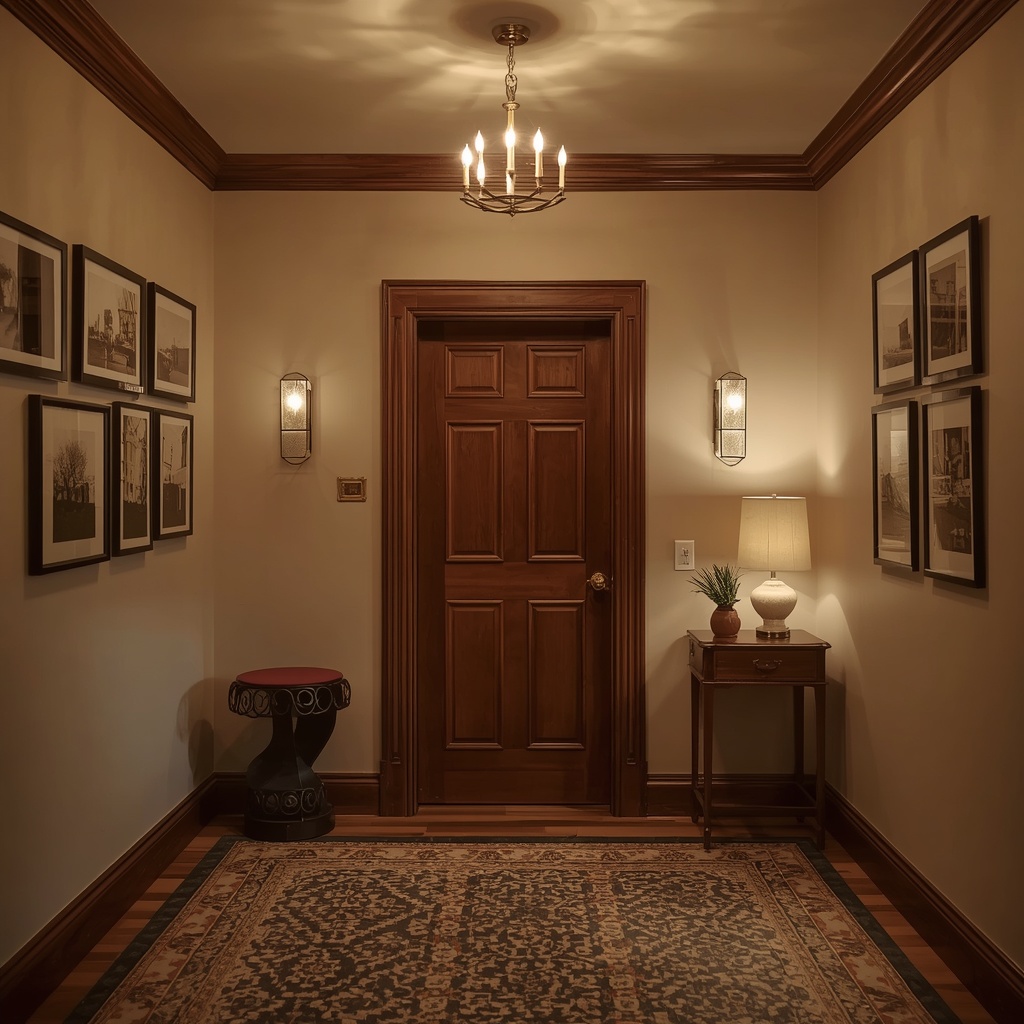
If you can’t hardwire new fixtures, you have plenty of options. Plug-in wall sconces with cord covers, a slim table lamp on your console, or battery-powered LED picture lights all work well. Warm white bulbs in the 2700K to 3000K range feel inviting, while cool bulbs can feel clinical at the door.
Entry lighting options at a glance:
| Lighting Type | Best Use | Install Difficulty |
|---|---|---|
| Plug-in wall sconce | Ambient glow, zoning | Easy |
| Small table lamp | Task and accent lighting | Easy |
| Battery LED puck lights | Under shelves, in dark corners | Very easy |
| Swap-in flush-mount or semi-flush fixture | Upgrading a builder-grade ceiling light | Moderate |
| Smart bulb | Adjustable brightness and color | Easy |
Pro Tip: Put your entry lamp on a smart plug or timer. Coming home to a softly lit entrance feels safer and more welcoming, especially in winter when it gets dark early.
Step 8: Choose a Cohesive Color Palette and Materials
Color sets the emotional tone of your entry. In a small space, a cohesive palette creates a sense of calm and makes the area look larger. Lean on two or three main colors plus one accent, and repeat them in the rest of your studio so the entry feels connected to the whole home.
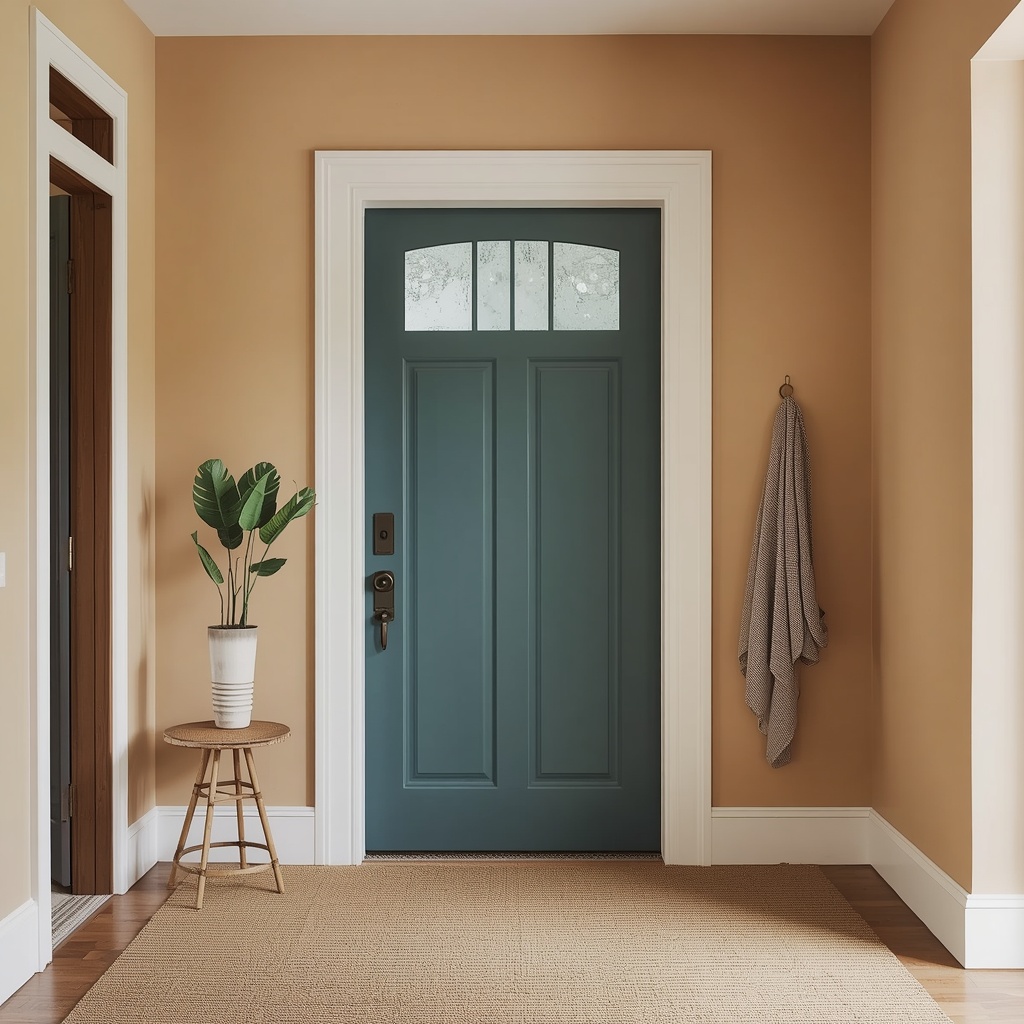
Materials matter just as much. Mix textures such as wood, metal, woven fibers, and ceramic to add depth without clutter. A mix of natural and matte finishes tends to look timeless and hides daily wear better than high-gloss surfaces.
| Style | Color Palette | Key Materials | Mood |
|---|---|---|---|
| Scandinavian | White, light gray, pale oak | Light wood, linen, wool | Airy and calm |
| Modern minimalist | Warm white, black, soft gray | Matte metal, glass | Clean and crisp |
| Boho | Terracotta, cream, sage | Rattan, jute, macramé | Warm and relaxed |
| Mid-century modern | Walnut, mustard, olive | Teak, brass, leather | Retro and polished |
| Coastal | Soft blue, sand, white | Whitewashed wood, rope | Light and breezy |
| Moody modern | Deep green or navy, brass | Dark wood, velvet | Cozy and dramatic |
If you’re renting, peel-and-stick wallpaper on a single entry wall is a high-impact, low-commitment way to introduce color or pattern. Choose a small-scale or tone-on-tone print so the wall doesn’t feel overwhelming in a compact area.
Step 9: Anchor the Space With the Right Entry Rug
A good entry rug protects your floors, catches dirt, and visually separates the entrance from the rest of the studio. In an open layout, it works like a doormat for the whole apartment. Choose a durable, low-pile material that’s easy to clean, such as flatweave wool, polypropylene, or a washable synthetic.
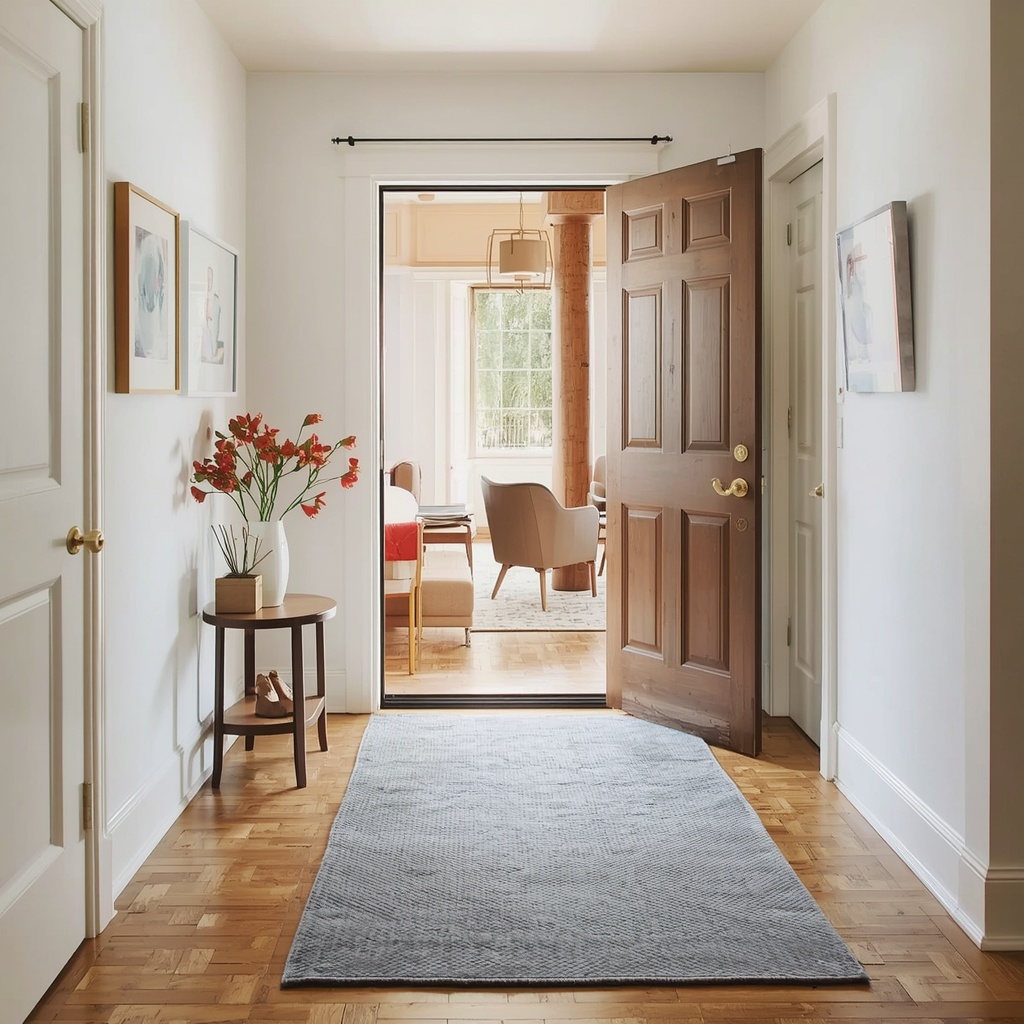
Sizing is where most people go wrong. A rug that’s too small looks like a doormat and gets lost, while one that’s too large crowds the space. For most studio entries, a 2 by 3 foot or 2 by 6 foot runner is ideal, and it should sit far enough from the door that it doesn’t catch when it opens.
What to look for in an entry rug:
- Low pile height so the door swings freely
- A non-slip pad underneath for safety
- Stain-resistant or washable fabric
- A pattern or mid-tone color that hides dirt
- Natural fibers like jute for texture, with a pad for comfort
- A size that stays inside your defined entry zone
Pro Tip: If you wear shoes inside, pick a darker or patterned rug. If you keep shoes off, a lighter, plusher rug can work beautifully and feel luxurious underfoot.
Step 10: Add Personality With Plants, Scent, and Small Decor
Once the functional pieces are in place, add the details that make your entry feel like yours. A small plant, a candle, or a handmade bowl adds warmth and life. Keep decor to a few meaningful items so your surfaces still have room for daily use.
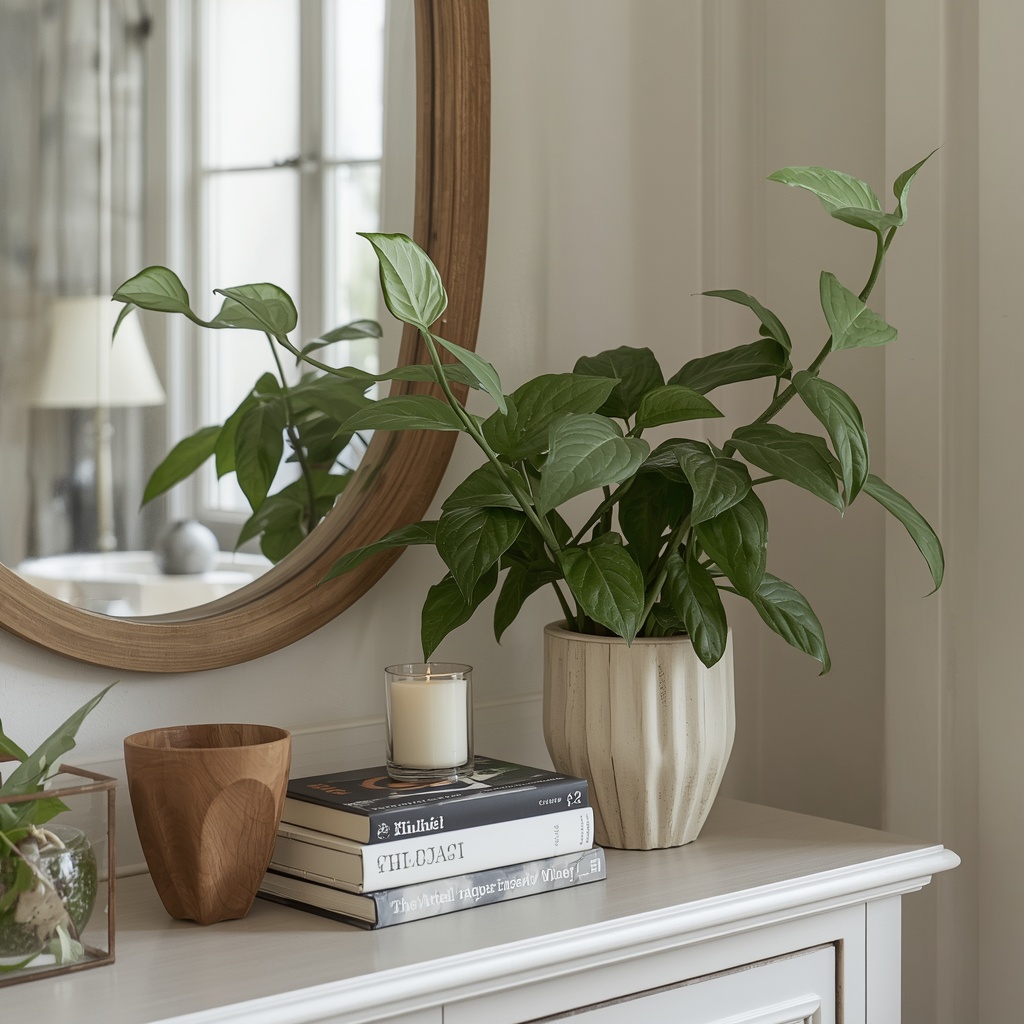
Greenery is especially effective at an entry because it softens hard edges and improves the feel of the space. Low-light plants such as pothos, snake plants, and ZZ plants tolerate dim corners well. If you have very little light, a high-quality faux stem in a ceramic vase still delivers the same visual lift.
Easy styling accents:
- A ceramic bowl or tray for keys
- A small vase with dried or faux stems
- A scented diffuser or candle for a signature welcome
- A stack of two coffee-table books under a lamp
- A framed photo or small piece of art
- A woven basket with a live or faux plant
Follow the “rule of three” when styling a console or shelf. Group items in odd numbers and vary the height, texture, and shape for a look that feels collected rather than cluttered.
Step 11: Renter-Friendly Ways to Style Your Entry
If you rent, you can still create a beautiful entry without risking your deposit. The key is choosing pieces that are removable, repairable, or freestanding. Many of the best renter-friendly decor solutions are also the most flexible, so they’ll move with you.
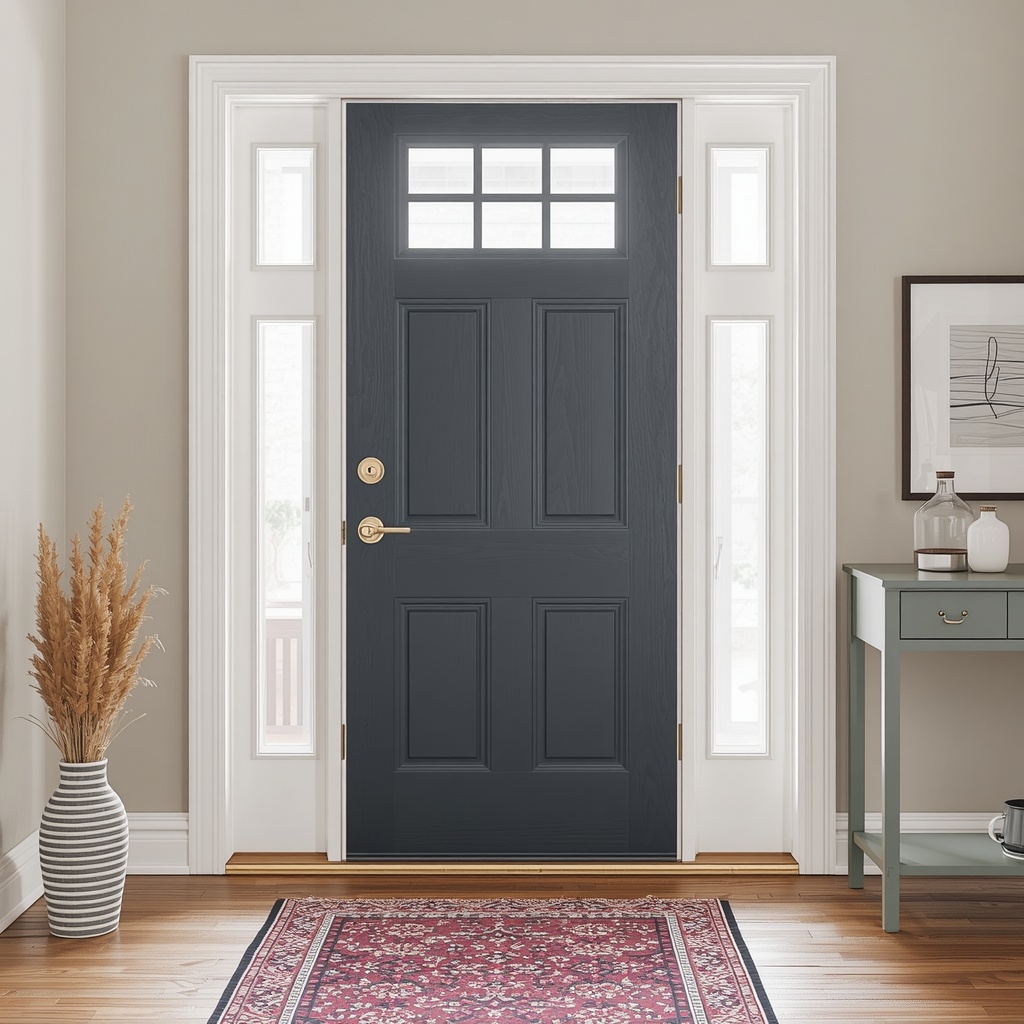
Before you start, review your lease. Many landlords allow small nail holes that can be patched, but policies vary, so confirm what’s allowed before you drill or paint.
Damage-free upgrade ideas:
- Adhesive hooks rated for the weight you need
- Peel-and-stick wallpaper or tiles for a quick refresh
- Leaning mirrors instead of wall-mounted ones
- Freestanding shelving instead of drilled brackets
- Plug-in sconces with removable cord covers
- Tension rods and over-the-door organizers for hidden storage
- A large rug to cover worn or dated flooring
Common Studio Entryway Mistakes to Avoid
Even experienced decorators slip up in small spaces. The most common error is buying furniture that’s too deep or too tall, which makes the entry feel cramped and blocks movement. Always measure twice and leave at least 30 inches of clear walking space.
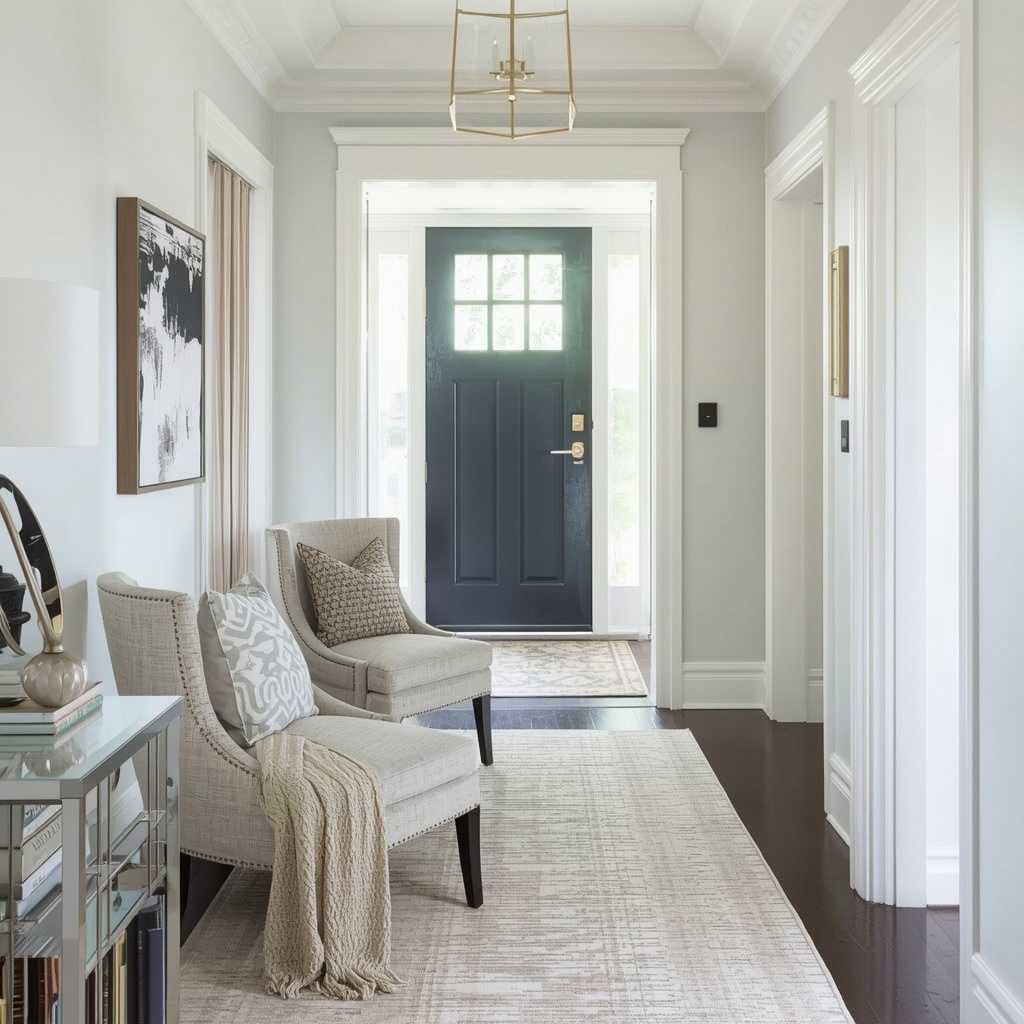
The second most common mistake is ignoring storage. Without a dedicated spot for shoes and bags, clutter spreads to the rest of the apartment fast. The third is skimping on lighting, which can make even a beautifully styled entry feel unwelcoming.
| Mistake | Why It Hurts | Better Approach |
|---|---|---|
| Oversized furniture | Blocks traffic flow | Choose pieces 8–12″ deep |
| No defined zone | Entry blends into living area | Add a rug, light, or divider |
| Too many decor items | Looks cluttered | Edit down and group in threes |
| Cool, harsh lighting | Feels cold at the door | Use warm bulbs (2700–3000K) |
| Forgetting vertical space | Wastes storage potential | Add hooks, shelves, over-door racks |
| Ignoring the door swing | Furniture collides with the door | Map clearance before buying |
Sample Entry Setups by Budget
Not sure where to start? Use these sample plans as a starting point and adapt them to your own layout and style.
| Budget | What to Include | Estimated Total |
|---|---|---|
| Under $150 | Adhesive hooks, small tray, leaning mirror, runner, plug-in lamp | ~$120–$150 |
| $150–$400 | Slim console or shoe cabinet, mirror, rug, sconce, baskets | ~$250–$400 |
| $400–$800 | Storage bench, floating shelves, designer mirror, layered lighting, peel-and-stick wallpaper | ~$500–$800 |
Start with the functional basics (hooks, a surface, and a rug) and add decor over time. A thoughtfully built entry grows with you and costs less than buying everything at once.
Frequently Asked Questions
How do I make a studio apartment entryway look bigger?
Use a mirror, keep furniture light and raised on legs, choose a cohesive light palette, and layer warm lighting. Keeping the floor visible is one of the most effective tricks.
What if I have no wall space near the door?
Use the back of the door with an over-the-door rack, or add a slim freestanding unit nearby. A tall, narrow shelf can also work in a corner.
Can I create an entryway without a console table?
Yes. A wall-mounted shelf, a small stool, or a floating ledge can serve the same purpose using far less floor space.
How do I hide shoes in a small entry?
A flip-drawer shoe cabinet, a storage bench with a lid, or a curtain-covered rack keeps shoes out of sight.
Final Thoughts: Make Your First Impression Count
Styling a studio apartment entry space is about balancing beauty and function in a tiny footprint. Define the zone, choose slim and multifunctional pieces, build a simple drop zone, and layer in warm light and a few personal touches. Each small choice adds up to a space that feels organized, inviting, and unmistakably yours.
You don’t have to do everything at once. Start with one or two changes, like hooks and a rug, and build from there. Before long, your front door will stop being an afterthought and start being your favorite part of coming home.