
There’s a moment at every great outdoor party when guests stop clustering by the door and start drifting toward one spot — the drink station. It’s the natural gathering point, the icebreaker, the place where small talk turns into real conversation. As a home decor specialist who’s styled everything from backyard birthday bashes to full-scale garden weddings, I can tell you that a well-designed outdoor beverage station does more heavy lifting than almost any other single element in your entertaining setup.
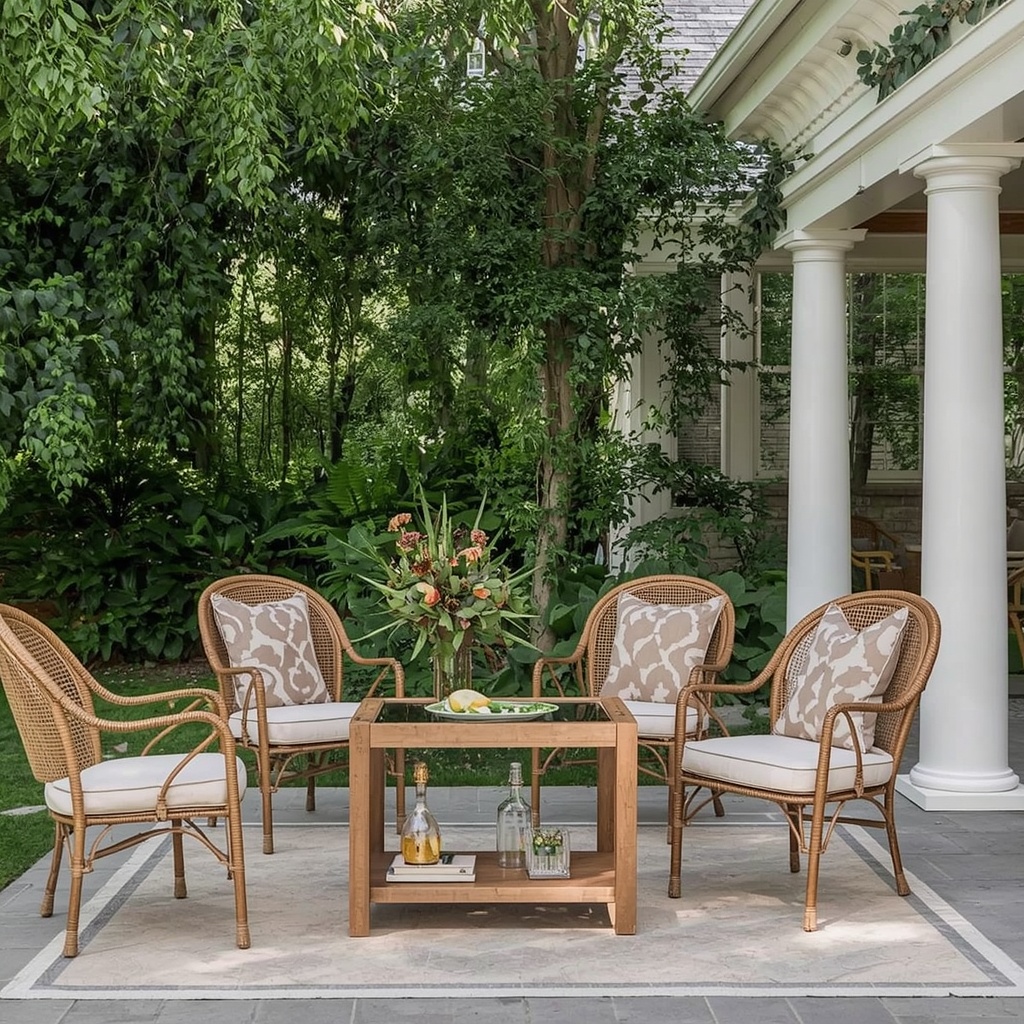
A chic outdoor bar cart or drink table isn’t just about function — it’s a design statement. It tells your guests, before you’ve said a word, exactly what kind of host you are. This guide walks you through building one that looks professionally styled, functions smoothly, and fits your outdoor entertaining space, whether that’s a sprawling patio, a modest deck, or a pocket-sized balcony.
Why Your Outdoor Beverage Station Deserves Real Design Attention
Most hosts treat the drinks table as an afterthought — a folding table with some bottles thrown on top. That’s a missed opportunity. Your beverage station is one of the few “stations” at a party that every single guest will visit, often multiple times. It’s prime real estate for décor.
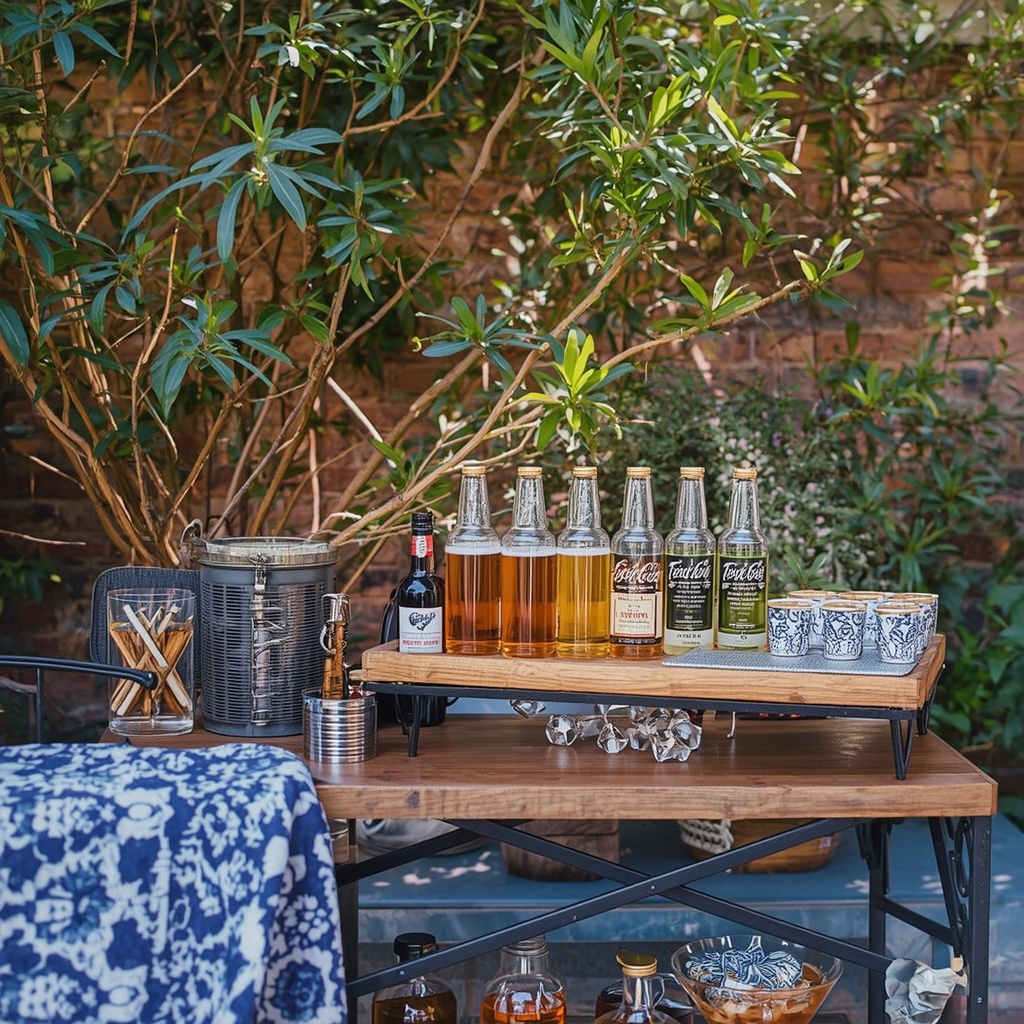
Think of it the way a retail store thinks about its checkout counter: high traffic, high visibility, high impact. A styled station with good lighting, cohesive color, and smart organization elevates the entire backyard party aesthetic, even if nothing else in the yard has changed. It also solves a practical problem — self-service beverage stations reduce the number of times you’re pulled away from your guests to play bartender.
“A beautifully arranged bar is the single fastest way to make an outdoor space feel like an event rather than just a yard with people in it.” — a sentiment shared often among event stylists and outdoor entertaining designers.
Choosing the Right Location for Your Drink Station
Placement matters more than most people realize. Before you touch a single ice bucket or glass, walk your outdoor space and think through traffic flow, shade, and proximity to your kitchen.
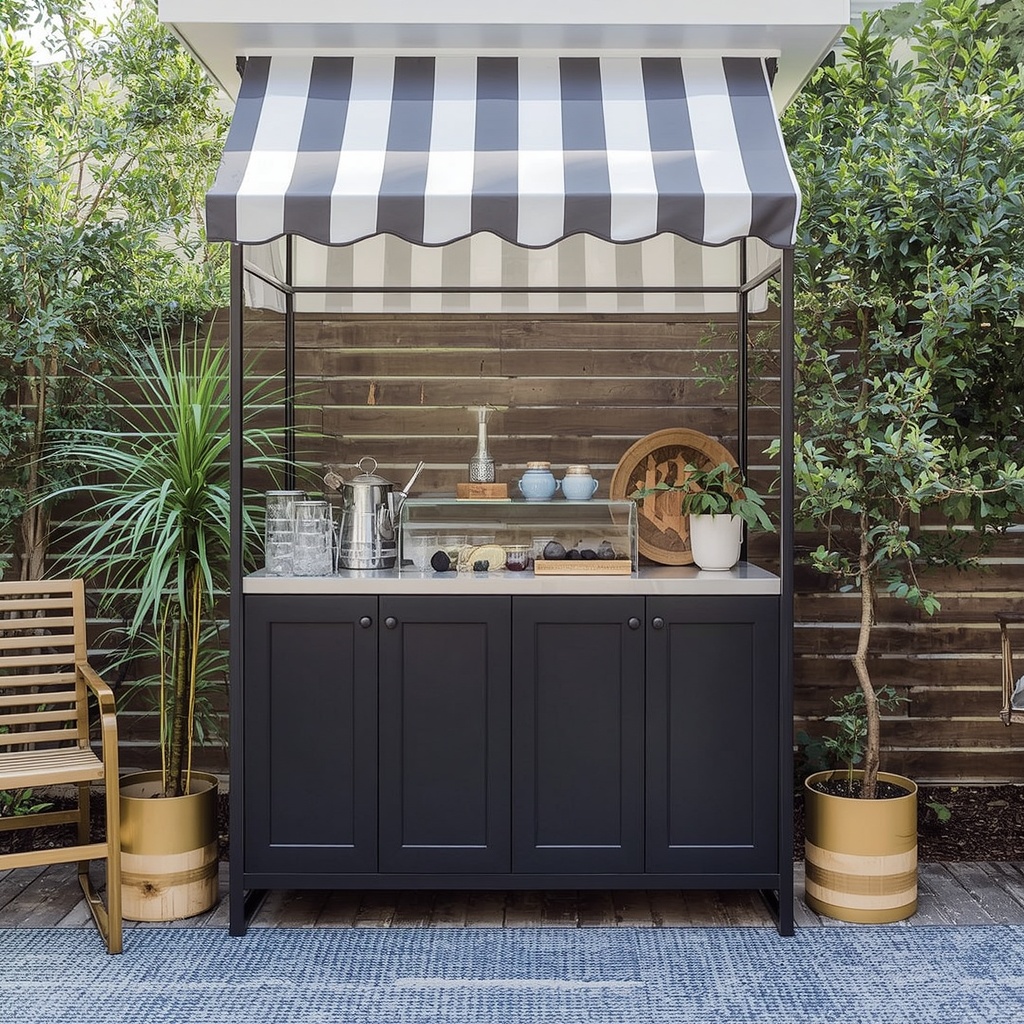
A few placement principles I always follow with clients:
- Keep it away from the main food table. Splitting food and drinks into separate zones prevents bottlenecks and encourages guests to circulate through more of your outdoor living space.
- Choose a shaded or partially shaded spot. Direct afternoon sun melts ice fast and can make glass and metal surfaces uncomfortably hot to touch.
- Stay close to a water source or your kitchen door. You’ll need refills, ice, and a place to rinse pitchers.
- Leave at least three feet of clearance on all sides. This lets multiple guests serve themselves at once without crowding.
Pro Tip
Set your beverage station on a slight diagonal near (but not against) a wall, fence, or hedge line. This creates a natural “backdrop” for styling — string lights, greenery, or a hanging sign — while still allowing 360-degree guest access from three sides.
Selecting the Right Furniture Piece
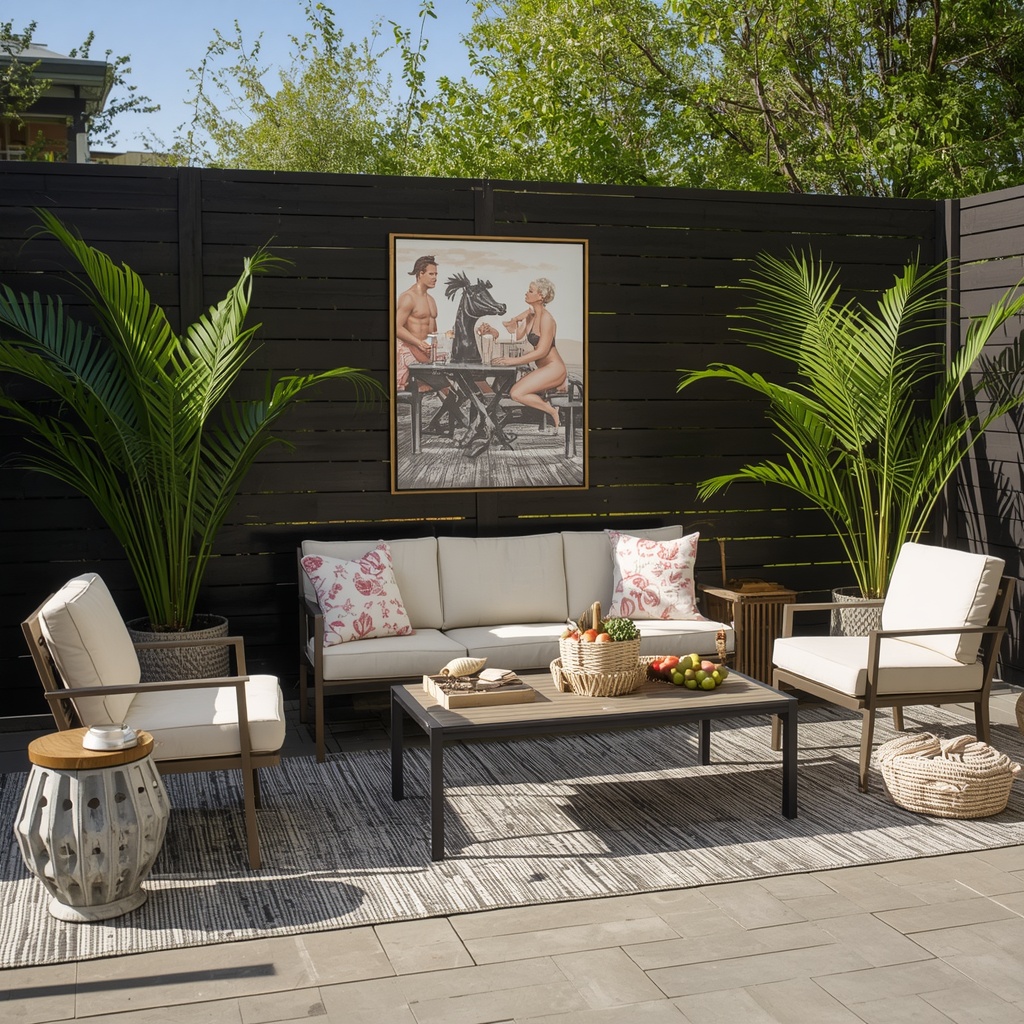
The furniture you choose sets the tone for the entire station. There’s no single right answer here; it depends on your outdoor decor style, your guest count, and how much storage you actually need.
| Furniture Option | Best For | Style Vibe | Approx. Guest Capacity |
|---|---|---|---|
| Bar cart | Small patios, balconies | Modern, mid-century | Up to 15 guests |
| Console table or sideboard | Medium backyards | Farmhouse, coastal, eclectic | 15–30 guests |
| Repurposed ladder shelf | Casual, rustic gatherings | Boho, cottagecore | Up to 20 guests |
| Wine barrel or crate stack | Vineyard or rustic themes | Industrial, rustic | Up to 25 guests |
| Folding bar table with skirt | Large events, rentals | Formal, elegant | 30+ guests |
| Built-in outdoor kitchen counter | Permanent patio setups | Contemporary luxury | 40+ guests |
If you’re working with a smaller footprint, a vintage-inspired bar cart on wheels is one of the most versatile investments you can make — it moves easily between the patio and the garage for storage, and it reads as intentional decor rather than a makeshift folding table with a tablecloth thrown over it.
Building a Cohesive Color and Material Palette
This is where your beverage station shifts from “functional” to “chic.” A scattered mix of mismatched cups, random bottle labels, and clashing linens undercuts even the nicest furniture piece. Before the party, take ten minutes to choose a simple palette — two to three colors, plus one metal finish (brass, matte black, or brushed nickel) and one natural material (rattan, wood, or linen).
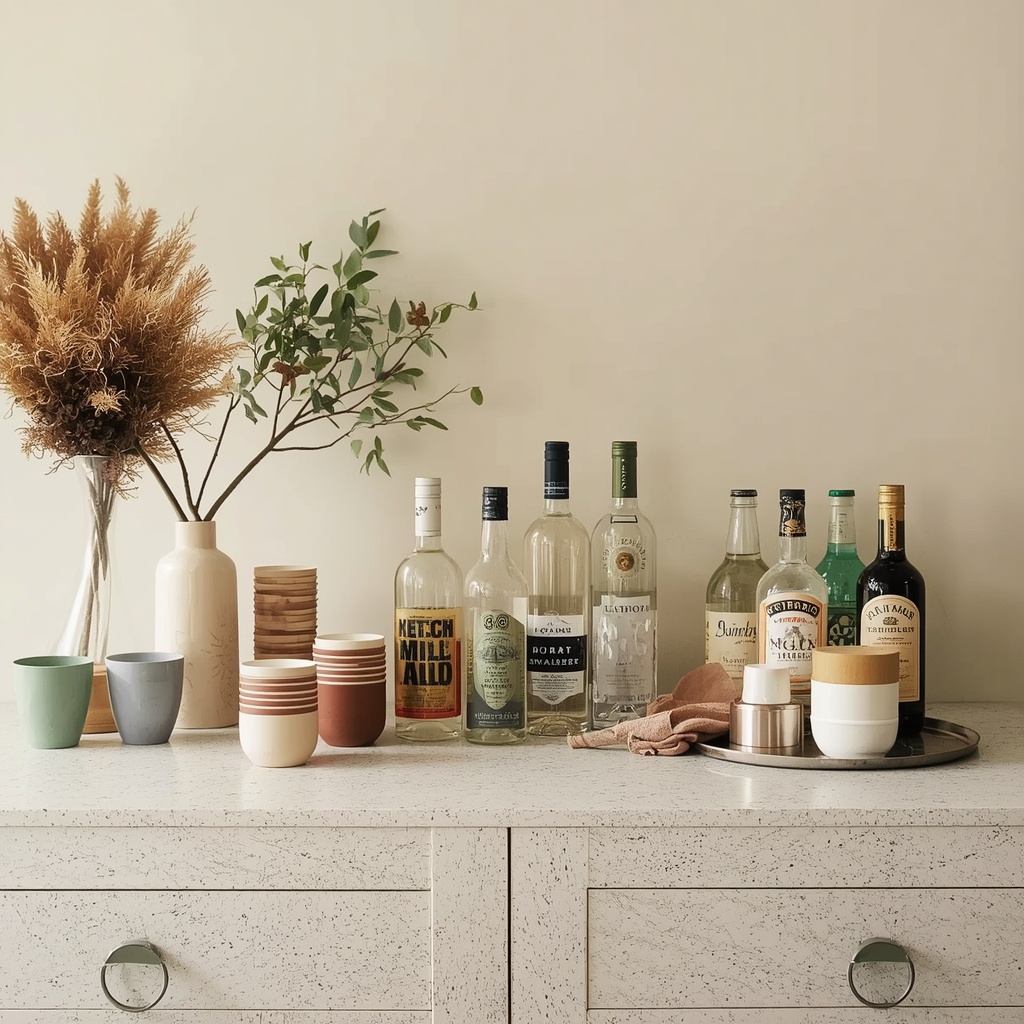
Coordinate these elements across your station:
- Table linen or runner in your base color
- Glassware — stick to one or two glass styles for visual calm
- Ice bucket and serving trays in your chosen metal finish
- Garnish bowls or trays in a complementary natural material
- Signage or menu card using a matching font and color family
A cohesive palette photographs beautifully too, which matters if you’re hosting anything that guests are likely to post on social media — a genuinely underrated reason to invest a little styling effort into your outdoor entertaining setup.
Essential Elements Every Beverage Station Needs
A truly functional self-serve bar has a few non-negotiables. Skipping any of these tends to create bottlenecks or spills that undercut the polished look you’ve worked to create.
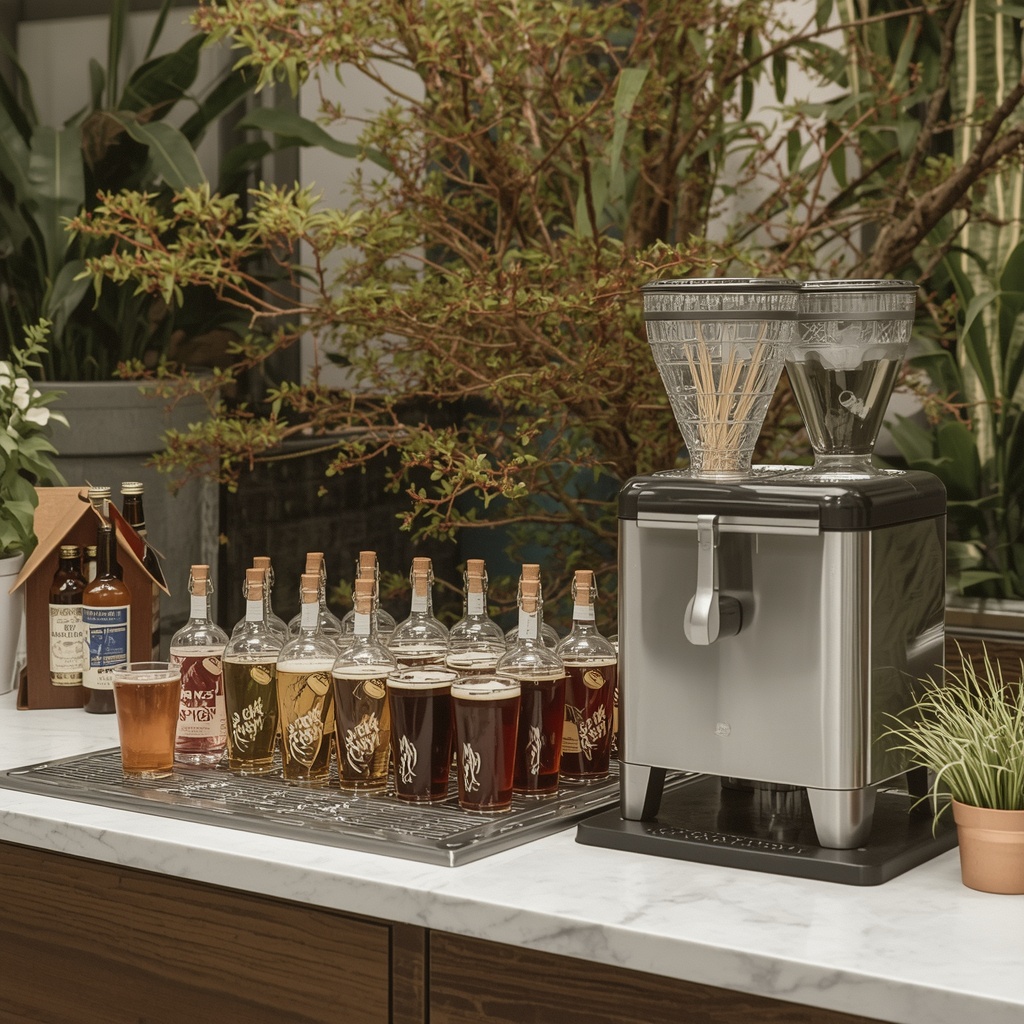
Here’s the core checklist I give every client setting up an outdoor drink station:
- Ice in an insulated bucket or tub (with a scoop, not tongs shared with food)
- A clear or chalkboard menu sign listing available drinks
- Coasters or a drip tray to protect furniture
- Napkins, styled in a holder rather than a loose stack
- A small trash and recycling bin nearby, discreetly placed
- Garnishes prepped and displayed in small bowls or on skewers
- Non-alcoholic options clearly labeled alongside cocktails
- A stack of glassware sized appropriately for expected guest count
Pro Tip
Label your non-alcoholic drinks with the same design language as your cocktails — matching tags, fonts, and garnish styling. It signals genuine hospitality and ensures designated drivers, pregnant guests, and younger family members feel just as considered as everyone else.
Lighting: The Detail That Makes It Feel Like an Event
Lighting is arguably the single highest-impact, lowest-cost upgrade for any outdoor party decor plan, and your beverage station is the perfect place to concentrate it. As the sun sets, a well-lit drink station becomes the visual anchor of your whole backyard.
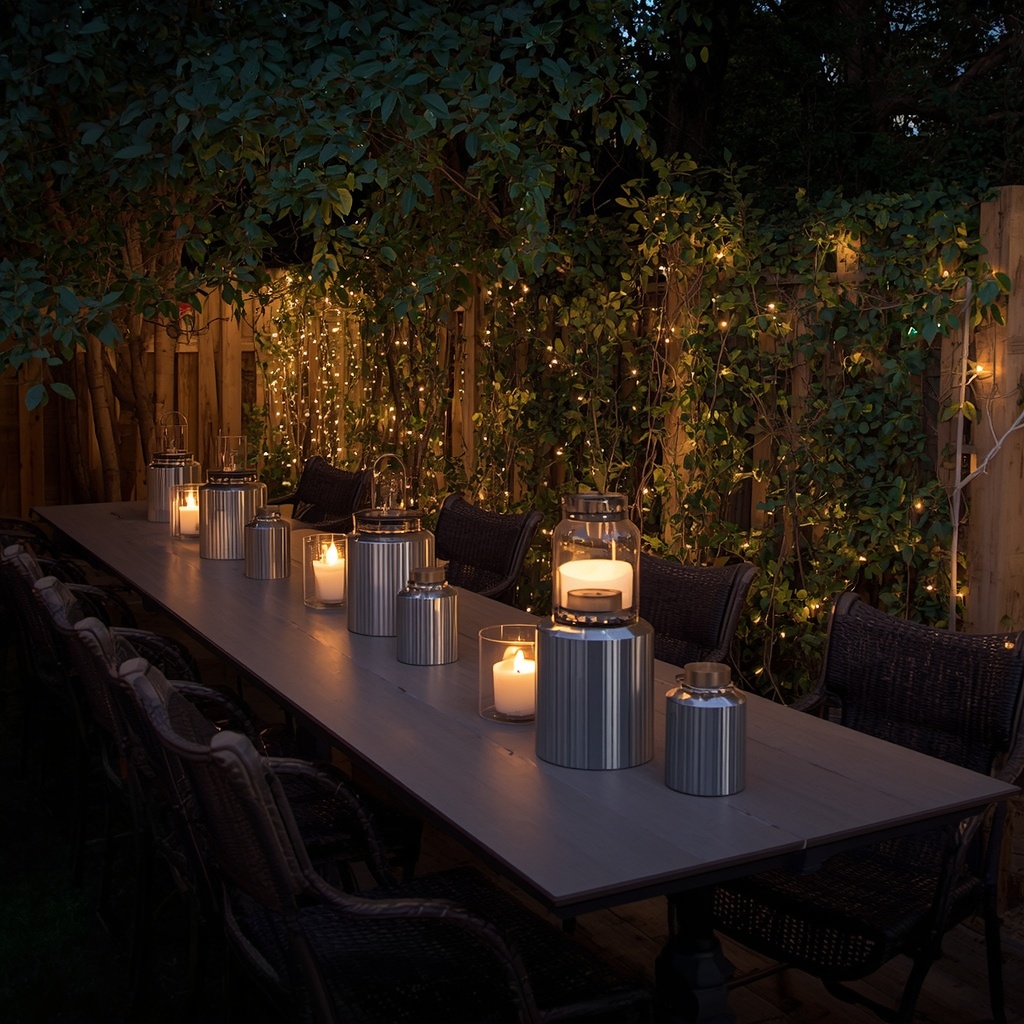
Layer your lighting rather than relying on one source. String lights overhead provide ambient glow, a few flameless LED candles or lanterns on the table itself add warmth at eye level, and if you want a real showstopper, a strand of warm-white fairy lights woven through a nearby trellis or hedge extends the glow beyond the table’s edge. Battery-operated options have improved dramatically in recent years, so you’re no longer tied to an outlet, which gives you far more freedom in where you place your station.
Avoid single overhead floodlights directly above the bar — they cast harsh shadows and tend to flatten the whole aesthetic you’ve built. Warm, layered, low-level light almost always outperforms bright, single-source light for outdoor entertaining.
Styling With Greenery and Natural Textures
Nothing softens a hard tabletop of glass bottles and metal trays quite like greenery. A few sprigs of fresh herbs — rosemary, mint, or basil — double as both décor and garnish, tying the visual styling directly to the drinks themselves.
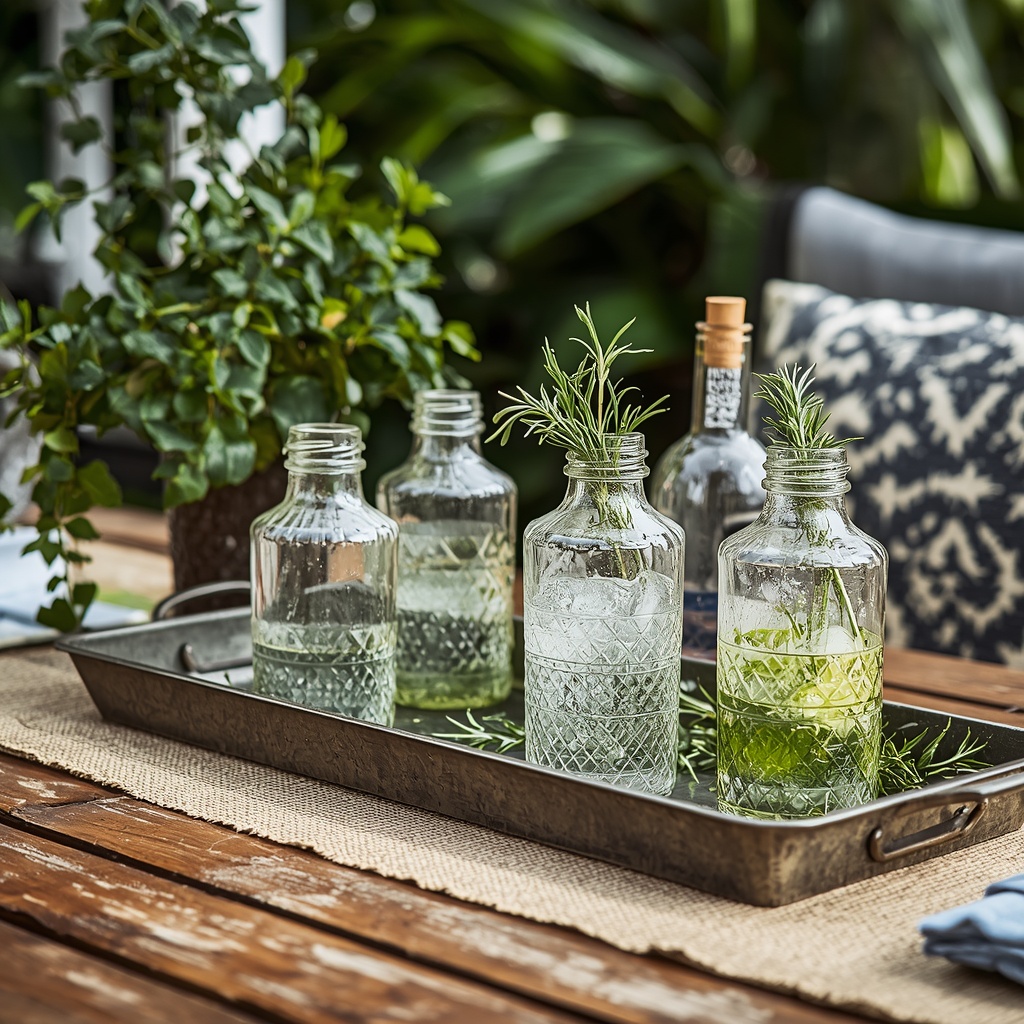
Consider adding a small potted plant or a trailing vine at one end of the table, a woven basket for extra napkins or citrus, and a runner in a natural fiber like jute or linen instead of plastic. These textures add depth and warmth that plastic or purely metallic setups can’t replicate, and they reinforce a cohesive outdoor living aesthetic that extends beyond just the beverage station.
Sample Layouts by Party Size
Different gatherings call for different footprints. Below is a quick-reference guide I use when helping clients scale their setup up or down.
| Party Size | Recommended Setup | Key Additions |
|---|---|---|
| Intimate (under 10 guests) | Bar cart with 2 shelves | Single cocktail + mocktail option, fresh garnish bowl |
| Medium (10–25 guests) | Console table + side cart for ice | Menu sign, 2–3 drink options, dedicated trash bin |
| Large (25–50 guests) | Long folding table with skirt | Self-serve dispensers, labeled stations for beer/wine/cocktails |
| Event-scale (50+ guests) | L-shaped or double table layout | Two access points, staffed pour station, backup ice supply |
Common Mistakes to Avoid
Even well-intentioned hosts run into the same handful of pitfalls. Watch for these as you finalize your setup:
- Underestimating ice. A good rule of thumb is roughly one to one and a half pounds of ice per guest for a multi-hour outdoor party.
- No shade plan. Ice, garnishes, and even glassware degrade quickly in direct sun.
- Overcrowded tabletop. Leave breathing room; a cluttered station slows guests down and looks chaotic rather than curated.
- Forgetting a drip/spill plan. A cheap bar mat under the ice bucket saves your table finish and your nerves.
- No signage. Guests hesitate to serve themselves when they’re unsure what’s available or how much to pour.
Adapting Your Station to the Season
An outdoor beverage station shouldn’t look identical every time you host — small seasonal shifts keep your setup feeling fresh and relevant to the occasion. In spring and early summer, lean into pastel linens, citrus garnishes, and fresh floral sprigs tucked into the ice bucket for a light, airy feel. Midsummer gatherings do well with bolder colors, tropical garnishes like pineapple and mint, and extra emphasis on shade and cold-drink capacity, since heat is the biggest functional challenge at that time of year.
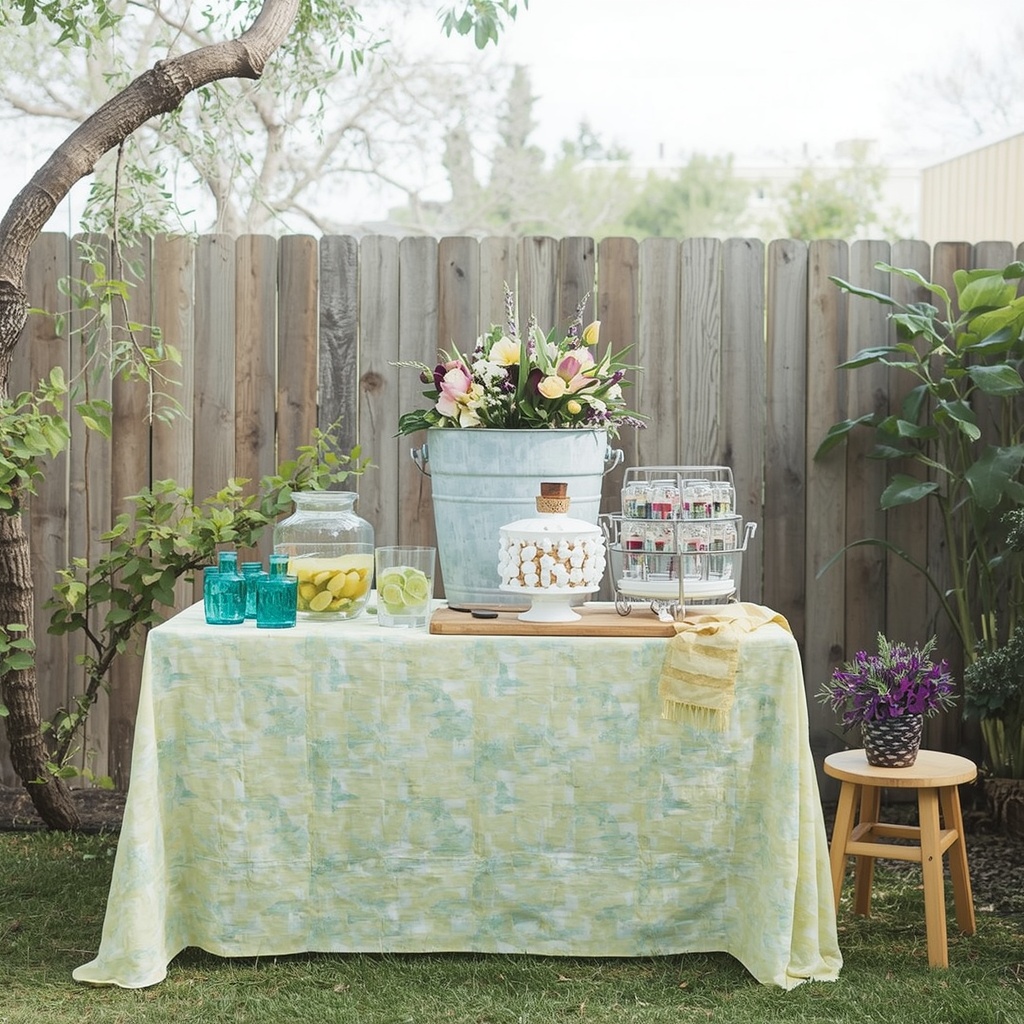
As temperatures cool into early fall, swap crisp linen for a heavier cotton or flannel runner, add warm-toned string lights, and introduce apple, cinnamon stick, or rosemary garnishes that lean into the season visually and aromatically. Even a small seasonal adjustment — a different runner color, a new garnish, a swapped-out sign — signals to returning guests that real thought went into the setup, without requiring you to buy an entirely new bar cart every few months.
Personal Touches That Elevate the Experience
The stations that guests remember are rarely the most expensive ones — they’re the ones with a personal signature. A hand-lettered chalkboard sign with the couple’s or family’s name, a signature cocktail named after an inside joke, or a small framed recipe card for the featured drink all add warmth without adding cost.
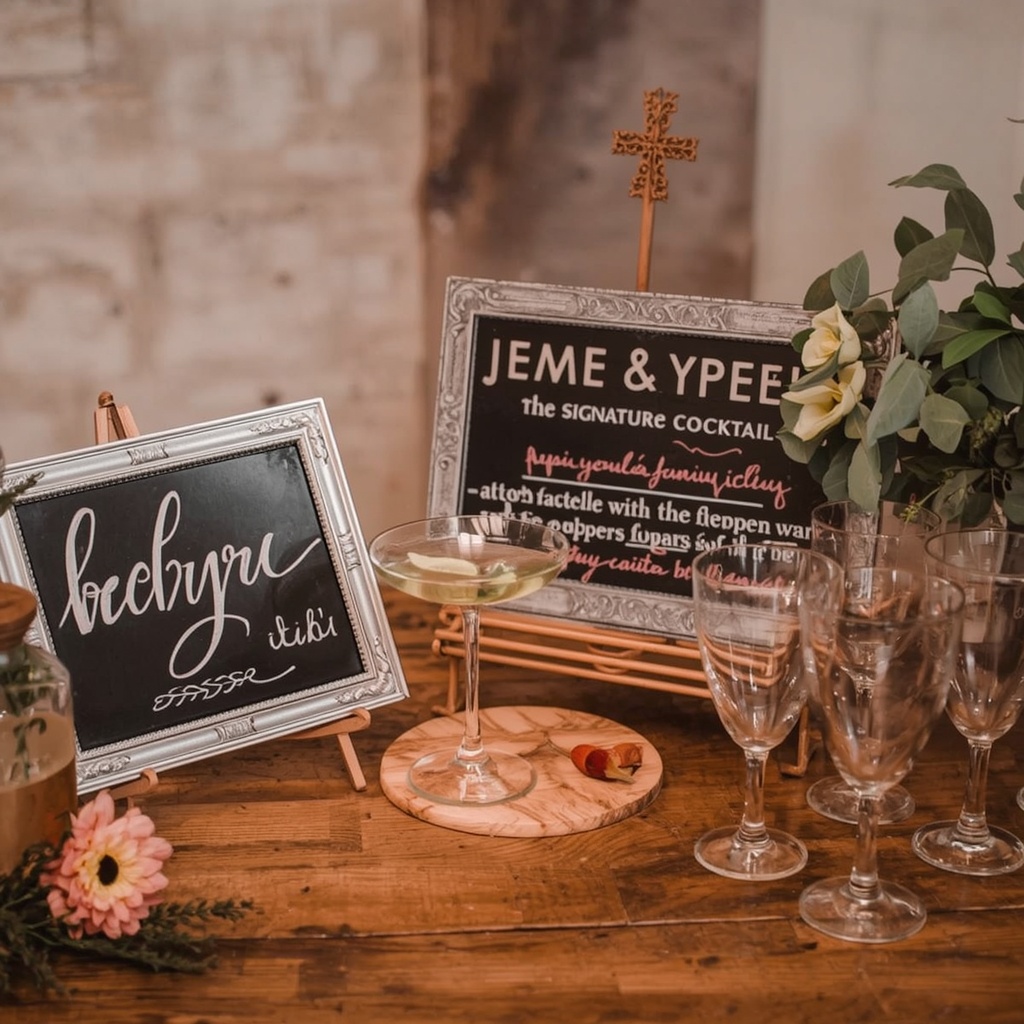
Consider these low-effort, high-impact personal touches:
- A handwritten tag on the signature cocktail explaining its story or inspiration
- A small framed photo relevant to the occasion tucked near the menu sign
- Monogrammed or initialed cocktail napkins for milestone celebrations
- A “build your own” garnish bar for guests who like to customize their drink
- A guest book or Polaroid station positioned just beside the bar to keep the crowd lingering
These details don’t need to be elaborate. The goal is simply to make the station feel like your space rather than a generic rental setup, and a single thoughtful touch usually accomplishes that more effectively than a dozen small purchases.
Frequently Asked Questions
How far in advance should I set up my outdoor beverage station? Set up non-perishable elements — the table, linens, signage, glassware — the day before or morning of the event. Add ice, garnishes, and any chilled bottles within one to two hours of guests arriving to keep everything at peak freshness and temperature.
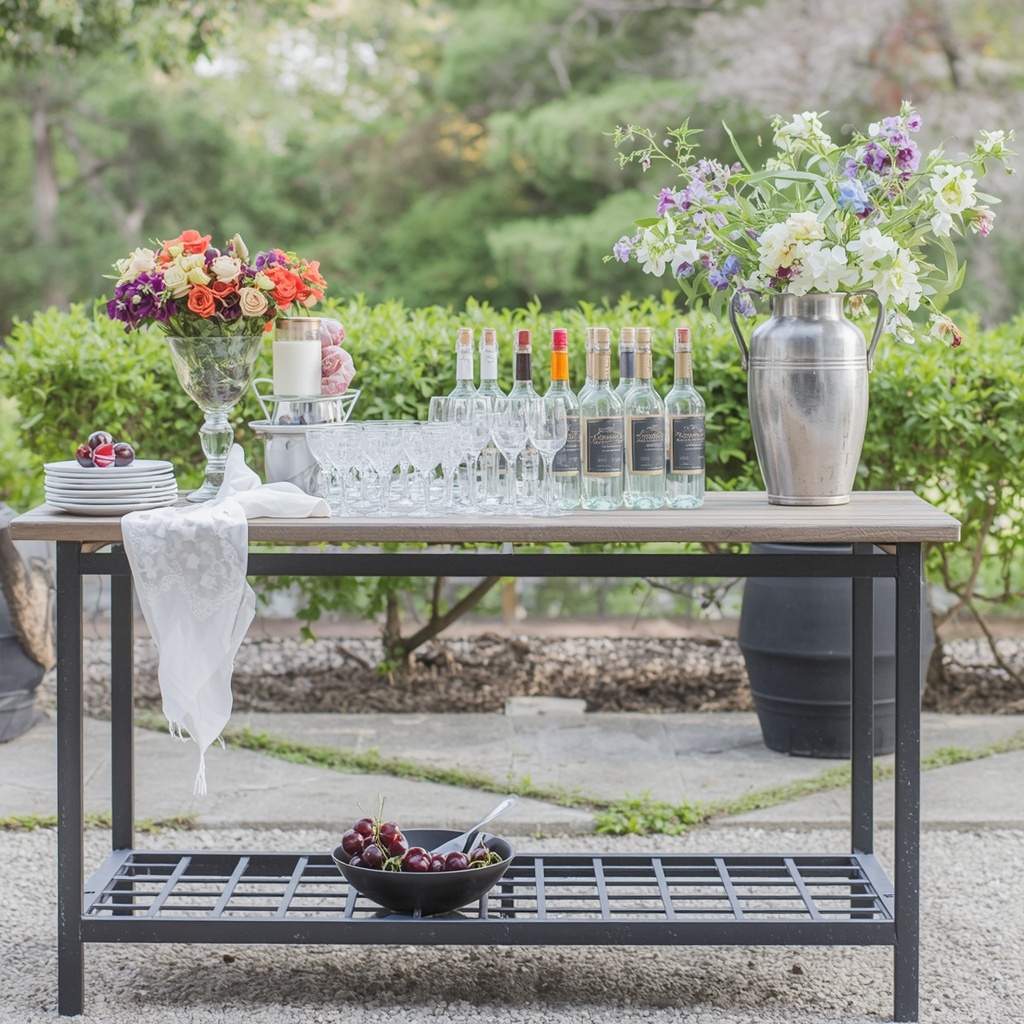
What’s the ideal height for an outdoor bar table? Standard bar height is around 40 to 42 inches, which allows guests to stand comfortably while pouring and mixing. If you’re repurposing a regular console table (around 30 inches), it still works well — just expect guests to use it more like a buffet-style station than a stand-up bar.
Do I need a separate station for non-alcoholic drinks? Not necessarily a separate station, but you should give non-alcoholic options equal visual weight on the same table. Clear labeling and matching presentation go a long way toward making every guest feel equally catered to.
How do I keep bugs away from an outdoor drink station? Cover pitchers and open containers with mesh drink covers or small domes, keep sugary garnishes in lidded containers until serving, and consider a few citronella candles or a diffuser nearby as an unobtrusive, decor-friendly deterrent.
Bringing It All Together
A chic outdoor beverage station is really a small design project with an outsized return. Get the placement right, choose furniture that fits your outdoor decor style, commit to a simple color and material palette, layer your lighting, and round it out with a few natural textures — and you’ve built something that functions as smoothly as it photographs.

The best part is that almost every element here is reusable. A bar cart, a set of coordinated trays, a few strands of warm lighting — these aren’t single-use party purchases, they’re additions to your permanent outdoor entertaining toolkit. Style it once thoughtfully, and you’ll find yourself reaching for the same setup, tweaked slightly, for every gathering that follows.