Transform your Goodwill finds and garage sale gems into stunning, high-end pieces with these expert painting techniques.
As an interior designer who has worked with hundreds of American homes, I can tell you that some of the most jaw-dropping furniture transformations I’ve ever seen started life as a $15 Goodwill dresser or a dusty garage sale end table. With the right prep work, paint, and technique, thrifted furniture can rival anything you’d find in a high-end furniture boutique.
Thrift store furniture flipping and upcycling secondhand pieces have become cornerstones of the modern DIY home decor movement — and for great reason. Not only does it save money, but it lets you create one-of-a-kind statement pieces that add character and personality to your home. Whether you’re decorating a first apartment or refreshing a farmhouse-style living room, painting thrifted furniture is one of the highest-ROI skills any homeowner can learn.
In this complete guide, I’ll walk you through every step of the furniture painting process — from choosing the right piece at the thrift store to applying a flawless topcoat finish. We’ll cover surface preparation, primer selection, paint types, application methods, and professional finishing tricks that will make your painted furniture look like it came straight from a designer showroom.
How to Choose the Right Thrifted Piece to Paint
Not every piece at the thrift store is worth your time and effort. Before you ever pick up a paintbrush, you need to know what to look for when shopping for furniture to upcycle. The bones of a piece matter far more than its current color or finish. Solid wood furniture, dovetail joinery, and sturdy hardware are all green flags that tell you a piece will hold up beautifully after a paint job.
On the flip side, pieces with water damage deep in the wood grain, broken structural joints, strong odors that don’t dissipate after airing out, or laminate that is peeling and bubbling are best left behind. Laminate furniture — the kind made with a thin paper or vinyl veneer over particleboard — is notoriously difficult to paint and rarely produces a professional result unless you use very specific adhesion primers. Stick to solid wood, plywood with a wood veneer, or metal pieces for the best outcome.
✅ Quick Thrift Store Checklist: Buy or Skip?
- Buy: Solid wood frames, tight joints, functional drawers, minimal surface damage
- Buy: Metal pieces (chairs, side tables, bed frames) — they paint beautifully
- Buy: Pieces with outdated stain or color but great silhouette and scale
- Skip: Loose or broken joints that wobble under pressure
- Skip: Peeling laminate or bubbling veneer
- Skip: Deep water stains, mold smell, or pet odor embedded in the wood
- Skip: Particleboard that is swollen or crumbling at the edges
Essential Supplies You’ll Need Before You Start
Walking into a project without the right supplies is the fastest way to end up with a streaky, peeling paint job that looks worse than what you started with. I always tell my design clients: your results are only as good as your prep. Budget for quality supplies — you’ll use them on dozens of projects over the years, and they make an enormous difference in the finished look.
Here’s a complete supply list organized by project phase. You don’t need to spend a fortune, but don’t cut corners on primer or topcoat — those two products are what separate a professional-looking finish from a flat, amateur one. Most of these supplies are available at your local hardware store or on retailers like Home Depot and Amazon.
| Supply | Purpose | Recommended Product |
|---|---|---|
| TSP Cleaner or Degreaser | Deep-clean surface before sanding | Krud Kutter or Simple Green |
| Sandpaper (80, 120, 220 grit) | Scuff, smooth, and prep surface | 3M Pro Grade Precision |
| Sanding Block or Orbital Sander | Even pressure across flat surfaces | Ryobi One+ Orbital Sander |
| Shellac-Based Primer | Blocks stains, tannin bleed, odors | Zinsser BIN Shellac Primer |
| Furniture Paint | Main color application | Annie Sloan Chalk Paint, Fusion Mineral |
| High-Quality Brush | Detail work and edges | Purdy XL Glide or Staalmeester |
| Foam Roller (4″ mini) | Smooth finish on flat surfaces | Wooster Shortcut Series |
| Topcoat / Sealer | Protect and durabilize finished paint | General Finishes High Performance |
| Tack Cloth | Remove dust between coats | Mirka or 3M Tack Cloth |
| Drop Cloth & Painter’s Tape | Protect work area and hardware | Frogtape Delicate Surface |
Step-by-Step: How to Prep Thrifted Furniture for Paint
Preparation is the unglamorous phase of furniture painting that most beginners want to rush through — and it’s exactly why most beginner paint jobs fail. The surface prep stage is where professional results are truly won or lost. A beautifully painted piece that chips or peels within weeks is a prep failure, not a paint failure. Give this phase the time it deserves, and your finished piece will look incredible for years.
Start by bringing your thrifted piece indoors or into a clean garage space and letting it acclimate. This matters more than people realize — temperature and humidity fluctuations cause wood to expand and contract, which affects how paint adheres. Work in temperatures between 50°F and 90°F for best results. Anything outside that range can affect drying time and adhesion dramatically.
Deep Clean the Surface
Wipe the entire piece down with a degreaser like Krud Kutter diluted in warm water. Use a scrub brush on carved details and inside grooves. Let it dry completely — at least 2 hours. Grease, wax, and grime are the enemies of paint adhesion.
Step 02
Make Any Repairs
Fill dings, holes, and gouges with wood filler or spackling compound. Let it cure fully, then sand flush with 120-grit sandpaper. Tighten any loose joints with wood glue and clamps — let cure for 24 hours before moving on.
Step 03
Sand the Surface
For previously finished furniture (varnish, lacquer, polyurethane), use 120-grit sandpaper to scuff the surface — you’re not stripping the finish, just giving the primer something to grab onto. For raw or lightly finished wood, 150-grit is ideal. Always sand in the direction of the wood grain.
Step 04
Remove All Dust
Use a vacuum with a brush attachment, then wipe everything down with a tack cloth. Any remaining dust or debris will be permanently trapped in your primer coat — there’s no going back once you paint over it.
Step 05
Remove Hardware
Take off all knobs, pulls, hinges, and any other hardware. Either replace it with something fresh or clean and update it with metallic spray paint. Hardware is the jewelry of your furniture — upgrading it is one of the highest-impact, lowest-cost changes you can make.
⭐ Pro Tip
If you’re working with a dark-stained piece of furniture and want to paint it a light color like white or cream, always use a shellac-based primer like Zinsser BIN first. Oil- and water-based primers will not reliably block dark tannins from bleeding through. Shellac is the only primer that can do this job properly, and skipping it is a very common — and very frustrating — beginner mistake.
Choosing the Right Paint: Chalk Paint vs. Mineral Paint vs. Latex
Walk into any craft store or home improvement center and you’ll find a dizzying array of paint options marketed to furniture painters. Let me simplify it for you. There are three main categories of furniture paint you’ll encounter as a DIYer, and each has strengths and weaknesses depending on the look you want and how much prep work you’re willing to do.
The right paint for your project depends on the piece’s intended use, the finish you’re going for, and your skill level. A dining table that sees heavy daily use calls for a very different paint than a purely decorative bookcase. Here’s an honest breakdown of the most popular furniture paint types on the market today.
| Paint Type | Prep Required | Finish Options | Durability | Best For |
|---|---|---|---|---|
| Chalk Paint | Minimal — often no primer needed | Matte, chalky, vintage | Medium (needs wax or topcoat) | Decorative pieces, quick flips |
| Mineral / Fusion Paint | Light scuff sanding | Matte to semi-gloss | High (built-in topcoat) | High-use furniture, dressers, tables |
| Latex / Cabinet Paint | Full prep + primer required | Eggshell, satin, semi-gloss | Very High | Professional-looking, durable finishes |
| Milk Paint | Moderate | Flat, organic, chippy | Low–Medium (needs sealer) | Intentionally aged or antique looks |
| Spray Paint | Scuff + primer | Smooth, even, glossy | Medium–High | Metal pieces, hardware, small items |
“The most common mistake I see with chalk paint is skipping the topcoat because the paint feels dry. Chalk paint is incredibly porous — it needs a wax or water-based polyurethane to protect it, especially on any surface that gets regular handling.”— Interior Design Professional Insight
How to Apply Paint for a Smooth, Professional Finish
Application technique separates the professionals from the amateurs. Even the most expensive paint in the world will look sloppy if it’s applied carelessly. The goal is to build up thin, even coats rather than slapping on one thick coat and hoping for the best. Thick coats drip, sag, crack, and take forever to dry — thin coats layer beautifully and dry fast.
For brush application, use a high-quality synthetic bristle brush like the Staalmeester or Purdy XL Glide — these hold more paint and release it more evenly than cheap foam or natural bristle brushes. Work in long, smooth strokes in the direction of the wood grain, and always keep a wet edge (don’t let one section dry before connecting it to the next). On large flat surfaces like table tops and dresser faces, a 4-inch foam roller gives a glass-smooth finish with almost no brush marks.
🎨 Pro Application Method: The “Tip Off” Technique
- Load your roller and apply paint to the flat surface in a “W” or “M” pattern
- Roll over the entire section to even out the paint
- Use an almost-dry brush to “tip off” — lightly glide the bristles across the surface in one direction to eliminate any roller texture
- Allow to dry fully before the next coat (follow the label — usually 1–2 hours)
- Lightly sand between coats with 220-grit for a silky smooth build
⭐ Pro Tip
Always paint in the right order: start with the inside surfaces (inside drawers, cabinet interiors, backs), then move to legs and sides, and finish with the most visible face. This way, any drips from overhead surfaces land on sections you haven’t painted yet. And never paint in direct sunlight — heat causes paint to dry too quickly at the surface while the underneath layer is still wet, leading to cracking and crazing.
Finishing and Sealing: The Step That Makes It Look Store-Bought
A topcoat is the most overlooked step in amateur furniture painting — and it’s the one that makes the biggest visual difference between a piece that looks homemade and one that looks professionally finished. A proper sealer protects your paint from scratches, moisture, and daily wear while also leveling out any slight texture variations to create a smooth, cohesive surface. Think of it as the difference between a matte lipstick with no setting spray versus a full glam look that stays perfect all day.
For most furniture, I recommend General Finishes High Performance Water Based Topcoat in either a flat, satin, or gloss sheen depending on the look you’re going for. It goes on smoothly, dries hard within 24 hours, and is available at most Woodcraft and Rockler stores as well as online. For chalk-painted pieces that you want to maintain that soft, velvety matte look, Annie Sloan Clear Chalk Paint Wax is the traditional choice — just know it needs to be reapplied every year or two on high-use surfaces.
🧴 Topcoat Sheen Guide
- Flat/Matte: Best for decorative pieces, vintage aesthetics; shows brush marks less but harder to wipe clean
- Satin: The most versatile choice — subtle sheen, easy to clean, works on almost any furniture style
- Semi-Gloss: Great for traditional or glam styles; more reflective and very durable
- Gloss: High-drama, lacquer-like finish; best for statement pieces, mid-century modern, or Hollywood Regency looks
Color Selection: How to Choose the Right Paint Color for Thrifted Furniture
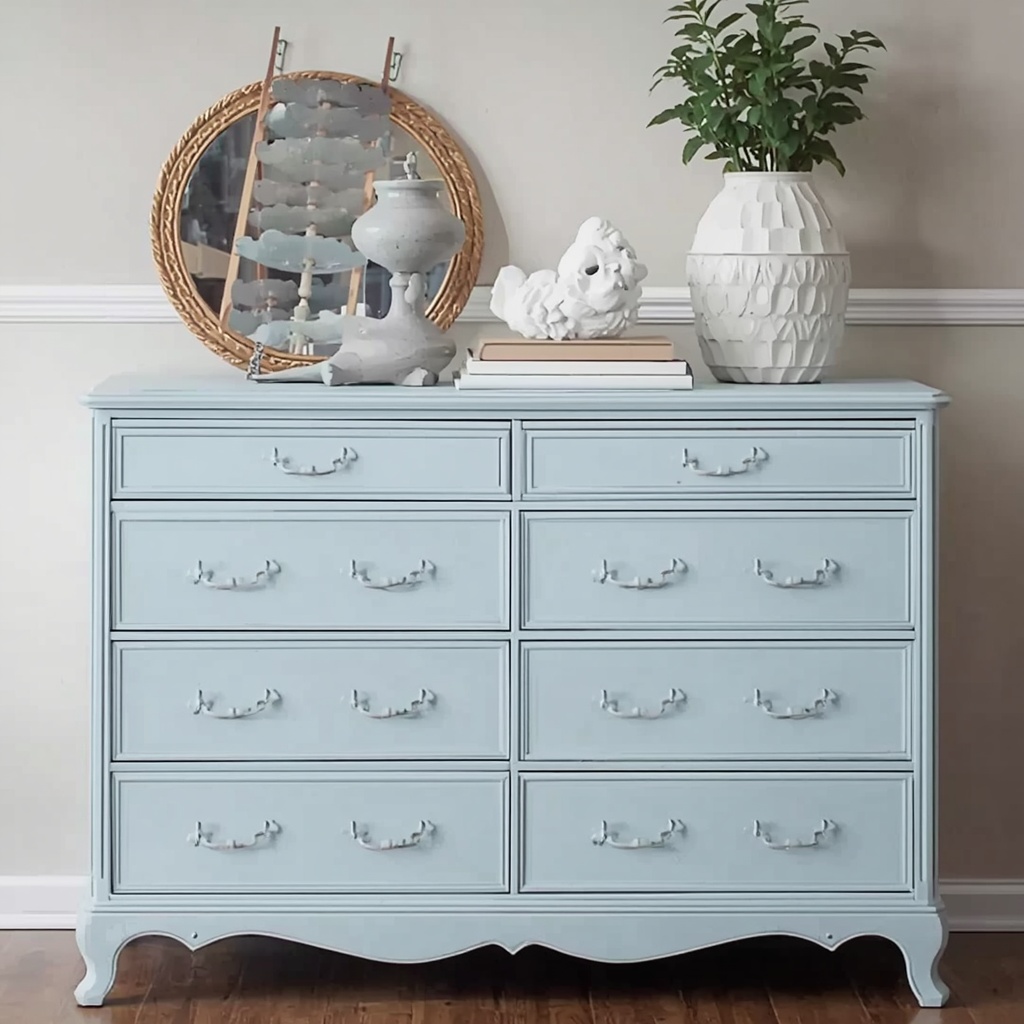
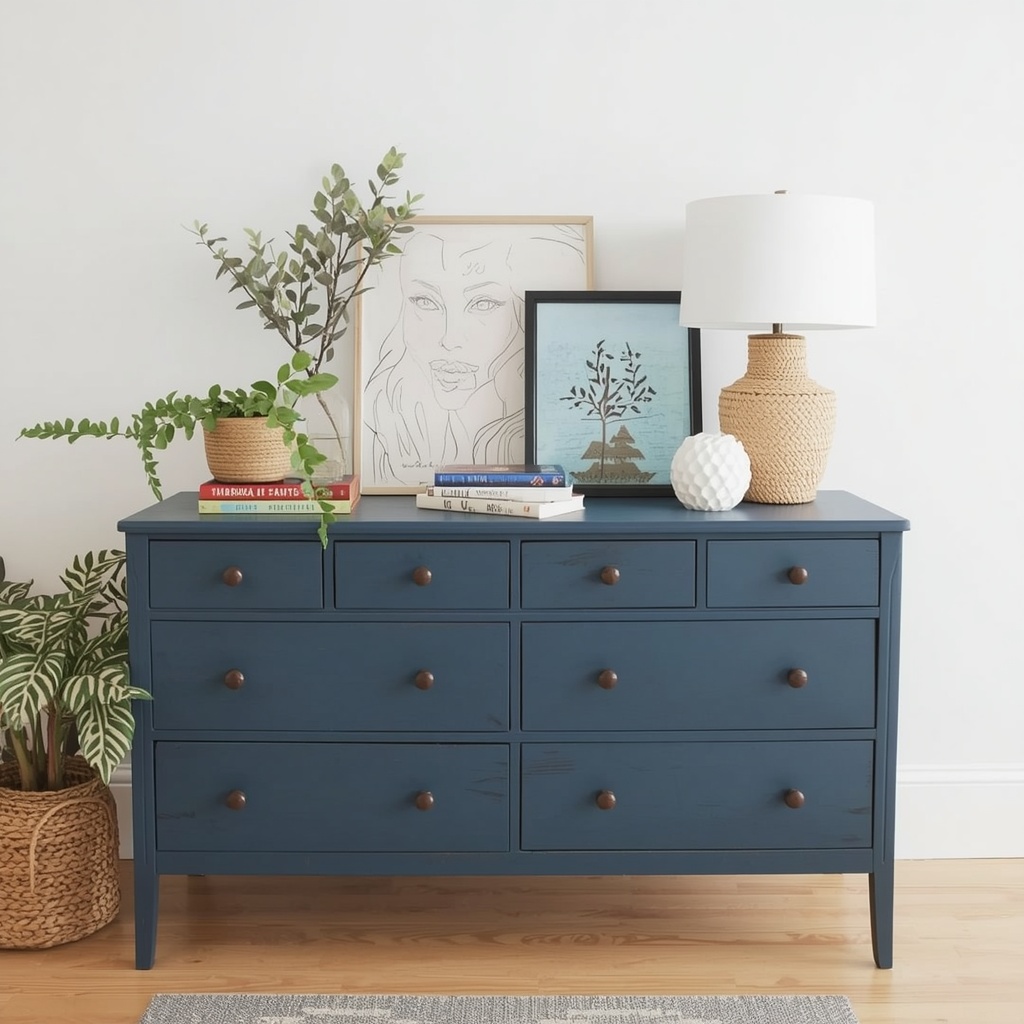
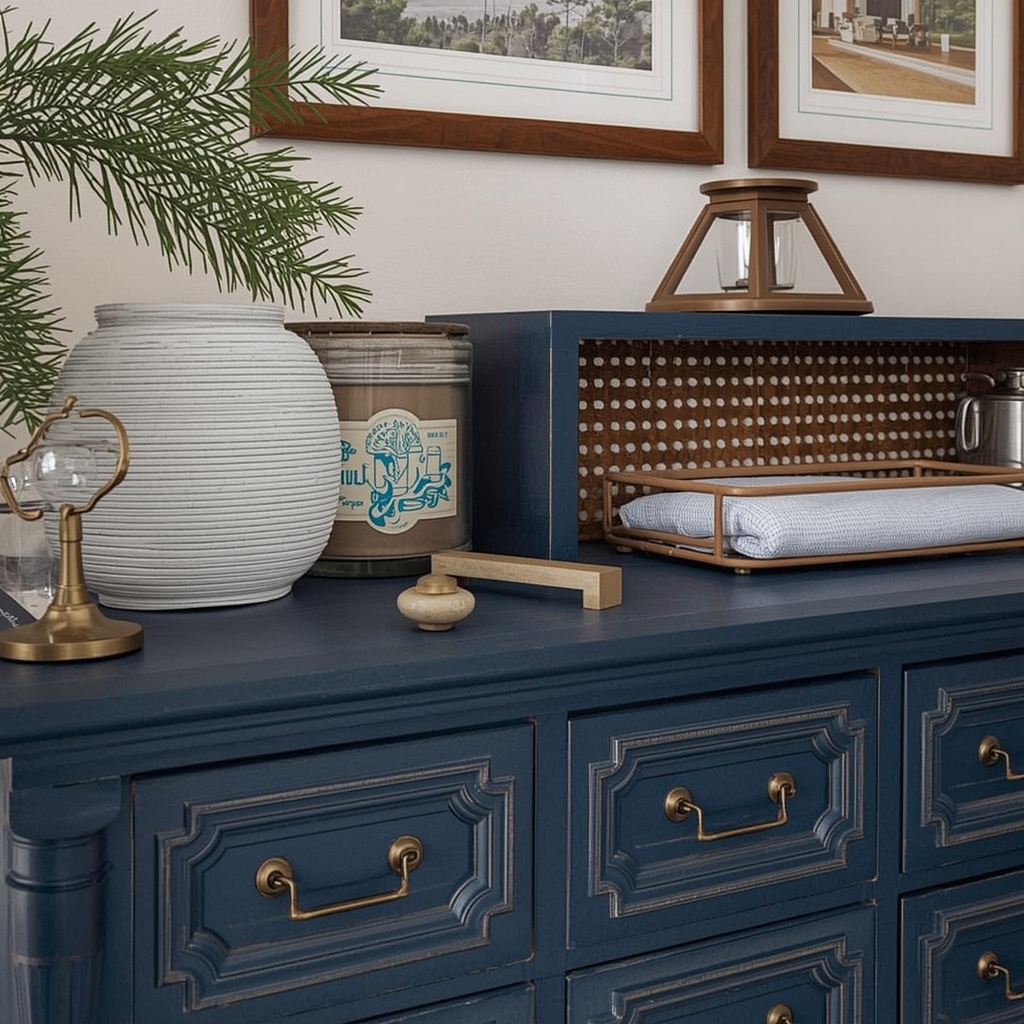
Color is where so many DIY furniture projects either shine or fall flat. The best color choice depends on three things: the room the piece is going into, the style you’re going for, and whether you want the piece to blend in or stand out as a focal point. If the piece is going into a neutral, minimalist space, consider going bold with the furniture — a deep forest green dresser or a moody navy blue sideboard can become the anchor of an entire room’s color story.
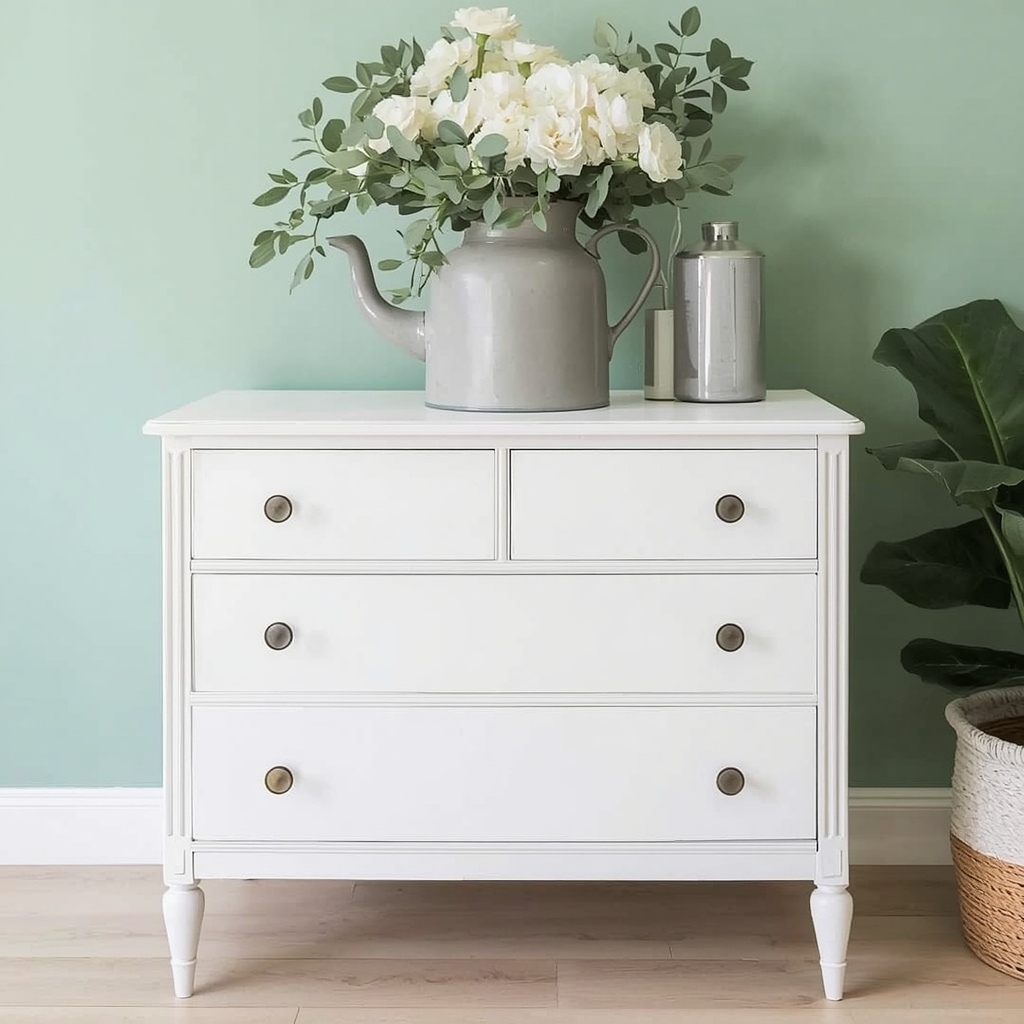
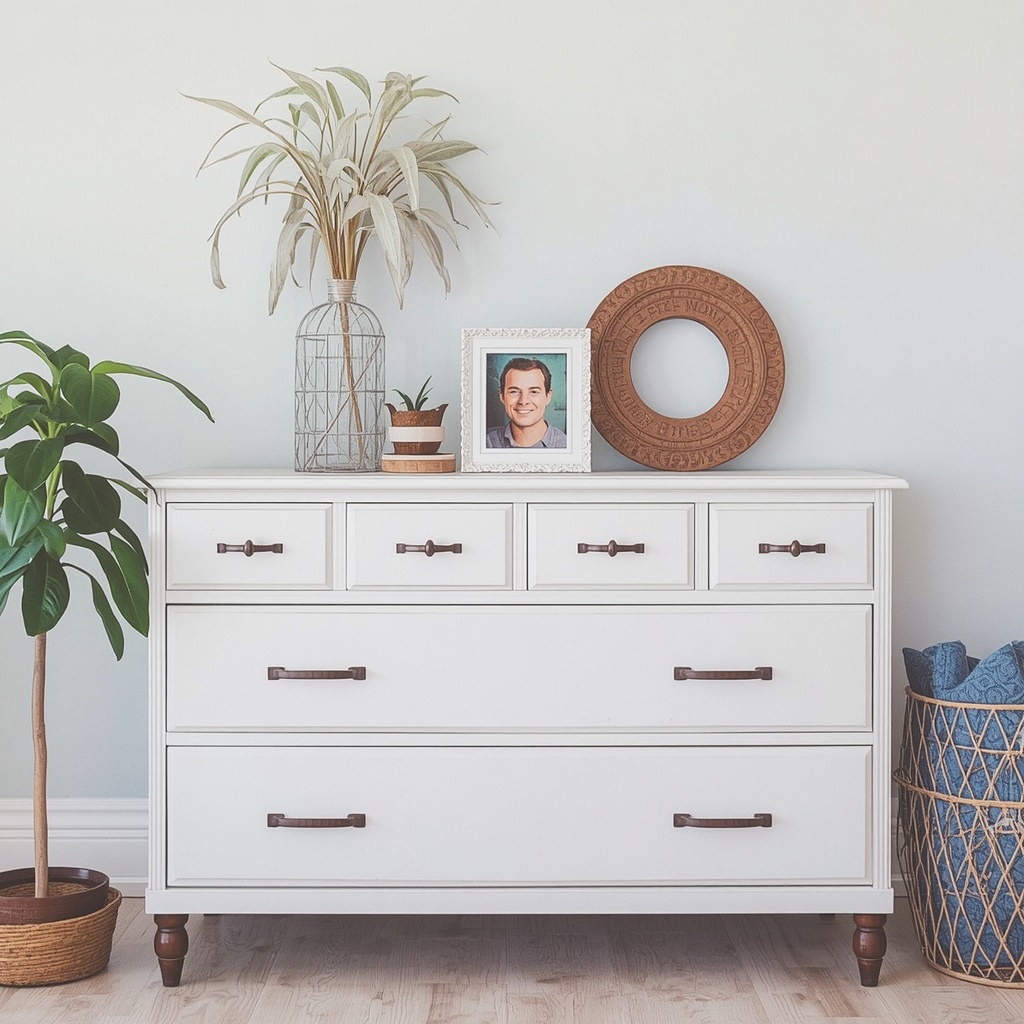
If you’re new to color selection, here’s a reliable shortcut: pull one accent color from an existing item in your room — a throw pillow, a piece of artwork, or a rug — and use that as your furniture paint color. This is called the “borrowed color” technique, and it’s one of the simplest ways to create a cohesive, professionally designed room without hiring a decorator. For a more neutral approach, warm whites like Sherwin-Williams Alabaster and sage greens continue to dominate American home decor trends.
| Design Style | Trending Colors | Best Paint Finish |
|---|---|---|
| Modern Farmhouse | Warm White, Creamy, Sage Green | Chalk Paint (matte) |
| Mid-Century Modern | Mustard Yellow, Walnut Brown, Teak | Satin or Gloss Latex |
| Coastal / Beachy | Soft Blue, Seafoam, Driftwood White | Mineral Paint (satin) |
| Maximalist / Eclectic | Deep Teal, Terracotta, Ochre Yellow | Semi-gloss or Gloss |
| Traditional / Classic | Black, Navy, Forest Green | Semi-gloss Latex |
| Bohemian | Rust, Mauve, Dusty Rose | Chalk or Milk Paint |
Common Mistakes to Avoid When Painting Thrifted Furniture
Even experienced DIYers fall into a handful of predictable traps when painting furniture. Knowing these in advance is the difference between a smooth project and a frustrating redo. The most costly mistake — both in time and money — is skipping the preparation phase. No amount of premium paint will save a piece that wasn’t properly cleaned, sanded, and primed before painting began.
Another very common error is applying too much paint in a single coat. More paint does not mean faster coverage — it means longer dry time, drips, sagging, and uneven texture. Two or three thin coats of paint will always look better than one thick coat. Patience is genuinely your most valuable tool in this process. Similarly, moving the piece too soon — before the paint has fully cured (not just dried to the touch) — causes scratches, dents, and impressions that won’t buff out.
❌ The Top 7 Furniture Painting Mistakes
- Skipping the cleaning step (oil and grease prevent adhesion)
- Using the wrong primer for the substrate (shellac vs. water-based)
- Applying paint in one thick coat instead of multiple thin ones
- Not sanding between coats for a smooth build
- Skipping the topcoat/sealer on high-use surfaces
- Painting in cold, humid, or direct sunlight conditions
- Moving or using the piece before full cure (usually 21–30 days for full hardness)
Hardware Upgrades: The Easy Win That Transforms Everything
If there’s one design secret I share with every client who’s doing a furniture refresh, it’s this: hardware is everything. A dated oak dresser with brass hardware from 1987 painted a gorgeous deep charcoal navy becomes an entirely different piece the moment you swap those old pulls for sleek matte black bar handles or aged bronze ring pulls. Hardware is to furniture what shoes are to an outfit — the finishing touch that elevates or undermines the whole look.
You can find incredible hardware at surprisingly affordable price points. Etsy is a goldmine for unique, artisan hardware. Big box stores like Home Depot and Lowe’s carry a solid range of affordable modern options. And if you want to keep the original hardware to save money, spray paint it! A can of Rustoleum Metallic in Oil-Rubbed Bronze, Matte Black, or Champagne Gold can completely transform old brass or chrome hardware in under an hour.
“The single fastest way to make painted furniture look like a designer piece rather than a DIY project? New hardware. Every single time. I have never seen a furniture flip that didn’t benefit from updated hardware.”— Interior Design Perspective
Your Thrifted Furniture Transformation Starts Now
Painting thrifted furniture like a professional isn’t about having some magical talent — it’s about knowing the right steps, using the right materials, and giving the process the time it deserves. From choosing a quality piece at the thrift store, to cleaning and sanding, to applying thin coats of the right paint, to finishing with a durable topcoat and updated hardware, every step contributes to that polished, professional result.
The best part? Every piece you flip builds your skills for the next one. Start small — a side table or a small dresser — and work your way up to larger, more ambitious projects as your confidence grows. Your home is a reflection of your creativity, and thrifted furniture is one of the most sustainable, affordable, and genuinely fun ways to fill it with pieces that feel truly yours.