
If you’ve ever spent twenty minutes hunting for scissors, tape, and the “good” ribbon while a birthday party starts in an hour, you already know why a dedicated wrapping and craft station isn’t a luxury — it’s a functional upgrade to your entire home. As an interior designer who specializes in home decor for busy American households, I’ve watched this single design choice transform chaotic kitchen tables and overstuffed closets into calm, purposeful spaces that actually get used.
A well-planned craft room or wrapping nook doesn’t require a spare bedroom or a five-figure renovation budget. It requires intention, smart storage, and a layout that matches how you actually work. Whether you’re carving out a corner of a home office, converting a closet, or dedicating an entire room, this guide walks you through everything you need to design a station that’s as beautiful as it is efficient.
Why Every Home Needs a Wrapping and Craft Station
Most homes have craft supplies and gift-wrapping materials scattered across three or four locations — a bin in the garage, a drawer in the kitchen, a bag shoved in the hall closet. This “everywhere and nowhere” storage system costs you time, money (hello, duplicate purchases), and mental energy every single time you need to wrap a present or start a project.
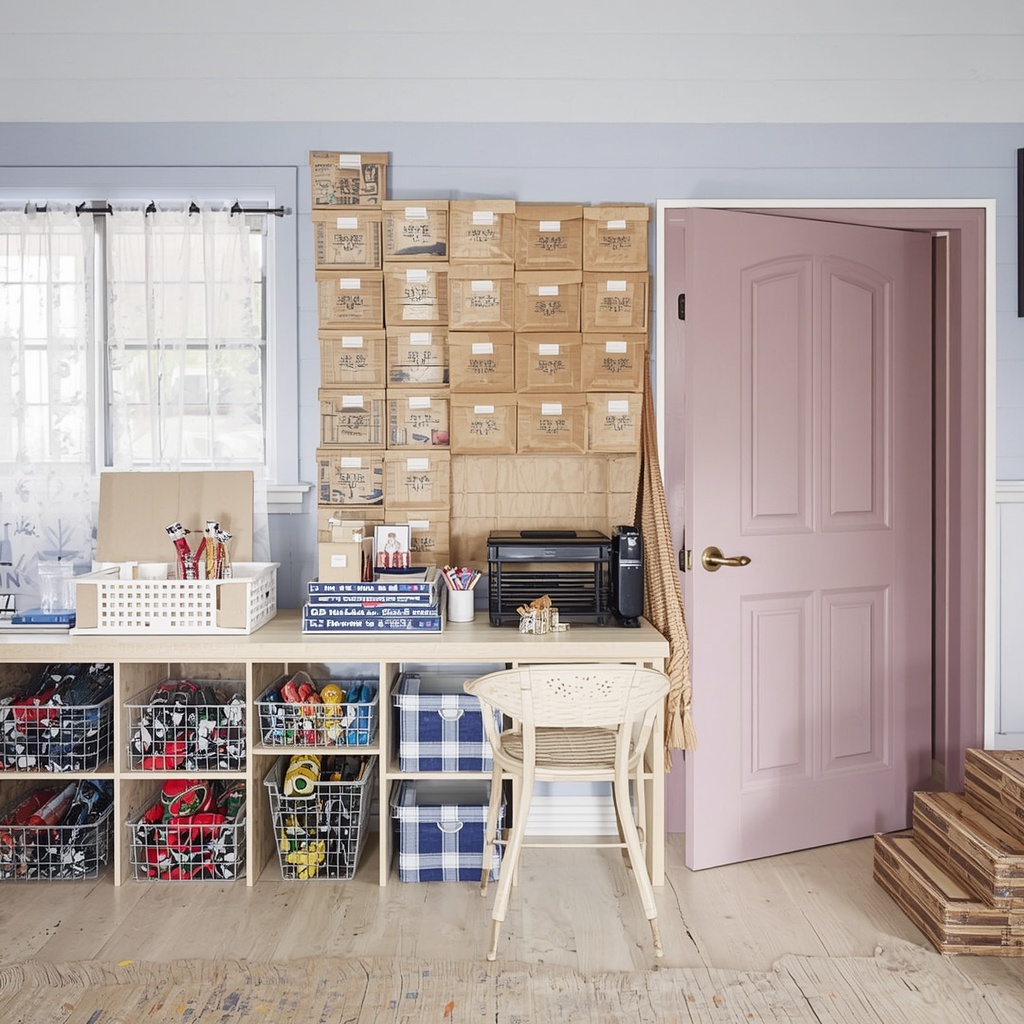
A dedicated space solves this by centralizing supplies, protecting your work surfaces, and giving you a designated zone that signals “creativity happens here.” Designers often call this a command center for creativity, and it functions much like a mudroom or laundry room: a hardworking space that keeps the rest of your home tidy by giving clutter-prone items a permanent home.
“A home without a landing zone for its everyday chaos will always feel behind. Give clutter a home, and the rest of the house breathes easier.” — a principle we return to again and again in whole-home organization projects.
Choosing the Right Location for Your Craft Nook
Before you buy a single organizer, walk through your home and evaluate potential spots with fresh eyes. The best location balances accessibility, storage potential, and lighting — not necessarily square footage.
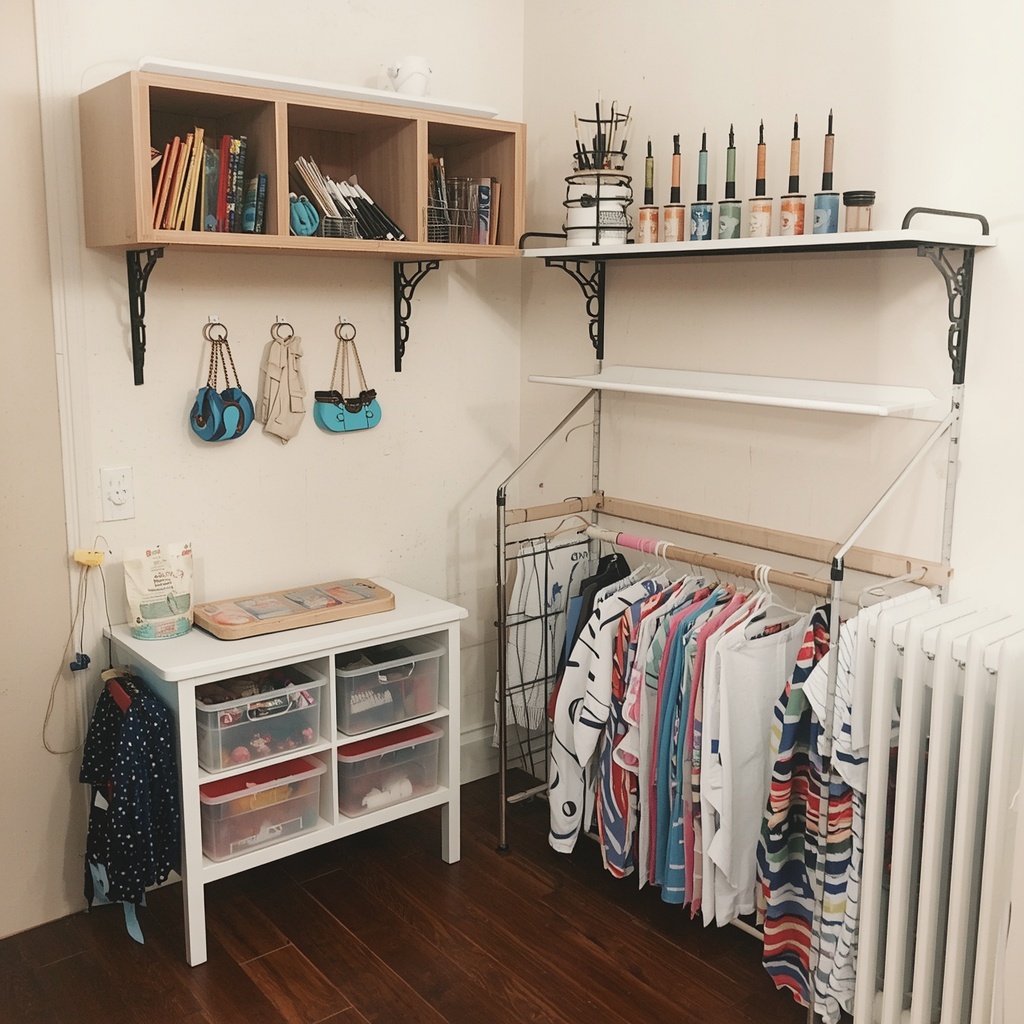
Consider these commonly overlooked spaces:
- Closet conversion – A reach-in closet with shelving removed can become a compact, door-concealed craft station.
- Under-stair nook – Awkward, unused triangular space is perfect for a built-in wrapping desk.
- Laundry room extension – Adding a fold-down table above a counter puts wrapping supplies near an existing work surface.
- Home office corner – A rolling cart tucked beside a desk keeps supplies close without dedicating a full room.
- Garage or basement zone – Ideal for messier crafts like painting, sewing, or seasonal decor projects.
Pro Tip: Before committing to a location, tape off the footprint of your intended furniture (desk, cart, shelving) directly on the floor with painter’s tape and live with it for 48 hours. This low-cost trick reveals traffic-flow problems before you spend a dime on furniture.
Essential Layout Principles for Craft and Wrapping Spaces
Good design in a craft station follows the same “work triangle” logic professional kitchen designers use. You want your primary activities — cutting, wrapping, storing, and stamping or labeling — to happen within arm’s reach of each other, without excessive backtracking.
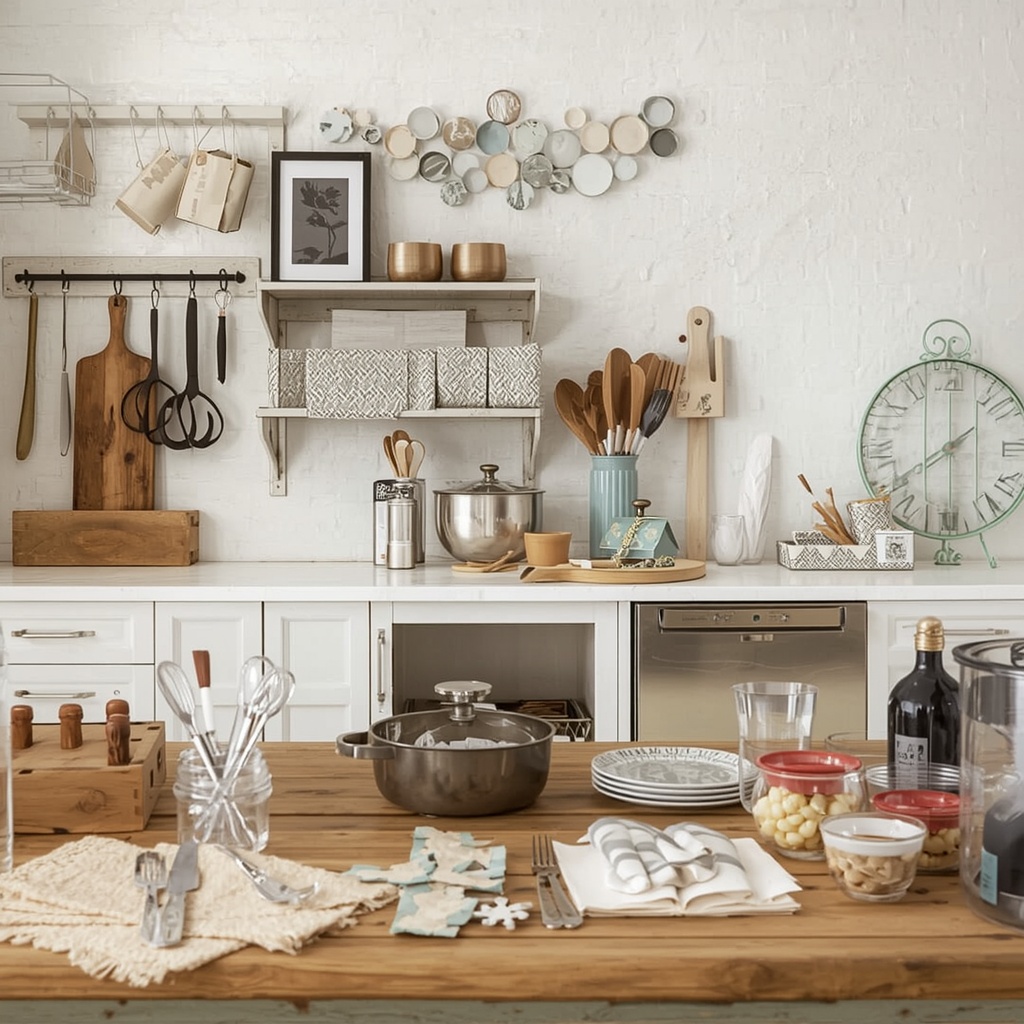
A functional layout typically includes a flat cutting and assembly surface, vertical storage for paper rolls, and small-item organization within eye level. Once those three zones are established, everything else (seating, lighting, decorative touches) can be layered in around them.
| Zone | Primary Function | Recommended Furniture |
|---|---|---|
| Work surface | Cutting, folding, assembling | Table, fold-down desk, or kitchen island extension |
| Vertical storage | Paper rolls, ribbon spools | Wall-mounted dowel rack or vertical bins |
| Small-item storage | Tape, scissors, tags, stickers | Drawer organizers, labeled bins, pegboard |
| Display/inspiration | Mood boards, seasonal decor | Corkboard, floating shelf, magnetic panel |
Storage Solutions That Actually Work
The single biggest mistake homeowners make when setting up a craft room is buying storage before measuring their actual supplies. Beautiful bins mean nothing if your wrapping paper rolls are three inches too tall for the shelf you bought.
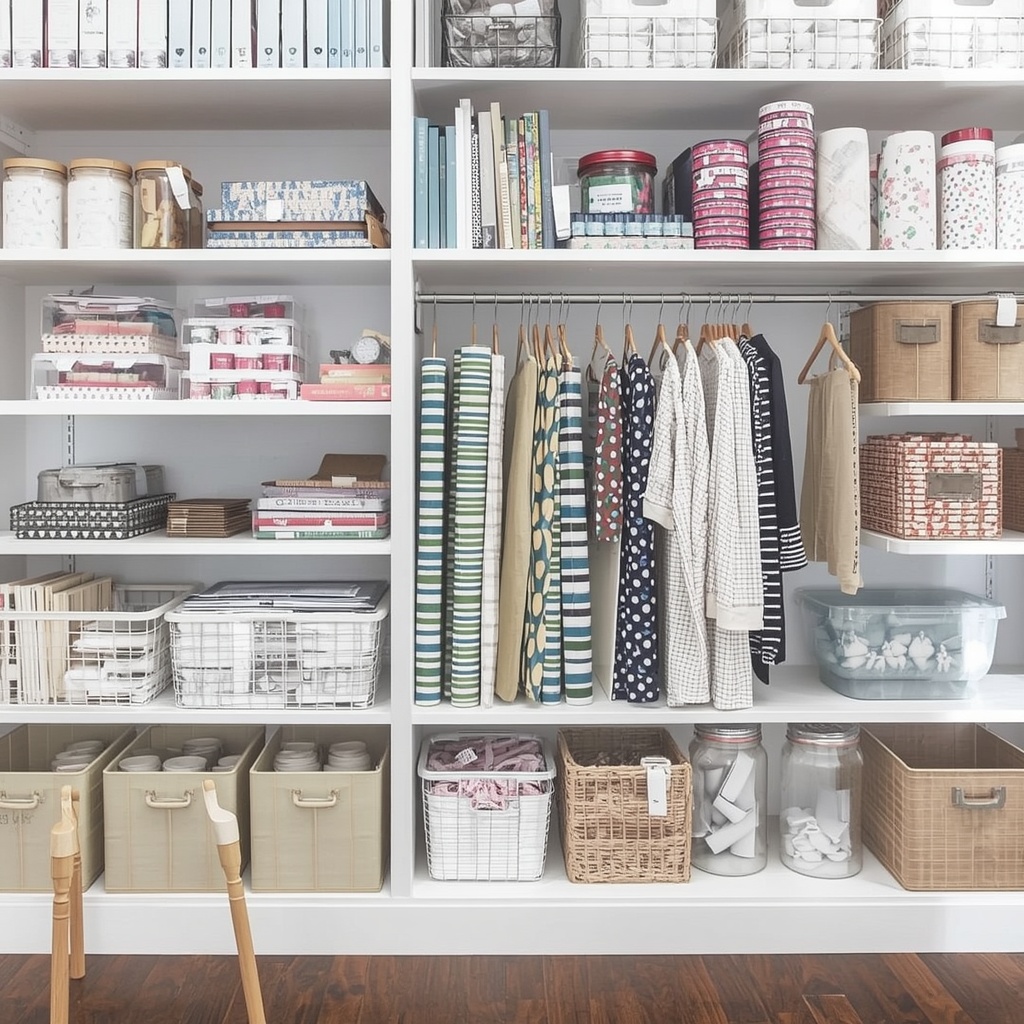
Start by sorting everything you own into categories — paper goods, ribbon and trim, tools, embellishments, and seasonal items — then measure your largest item in each category. This “measure first” approach prevents the frustrating cycle of returning mismatched organizers and ensures every bin, drawer, and rack earns its place.
Storage Ideas by Supply Type
- Wrapping paper rolls – Store vertically in a tall bin, a repurposed umbrella stand, or a wall-mounted dowel rack to prevent creasing.
- Ribbon and twine – Use a tension rod inside a drawer or cabinet so spools unwind without tangling.
- Scissors, tape, and tools – Keep in a rotating caddy or a shallow drawer with custom dividers.
- Gift bags and tissue paper – File vertically in a magazine holder, sorted by size.
- Cards, tags, and stickers – Use a stackable paper organizer or recipe-box-style bin.
- Craft paints and adhesives – Store upright in a clear shoe organizer hung on a closet door.
Pro Tip: Choose clear or labeled containers over solid opaque ones whenever possible. Visual access reduces the “buy it again because I can’t find it” cycle that quietly drains craft budgets every year.
Furniture That Pulls Double Duty
Because most American homes don’t have a spare room to permanently dedicate to crafting, furniture that multitasks is essential. A drop-leaf table can expand for wrapping marathons and fold flat the rest of the year. A rolling bar cart becomes a mobile wrapping station that tucks into a closet when guests arrive. Even a Murphy-style fold-down desk can turn a hallway into a functional craft zone without sacrificing walking space.
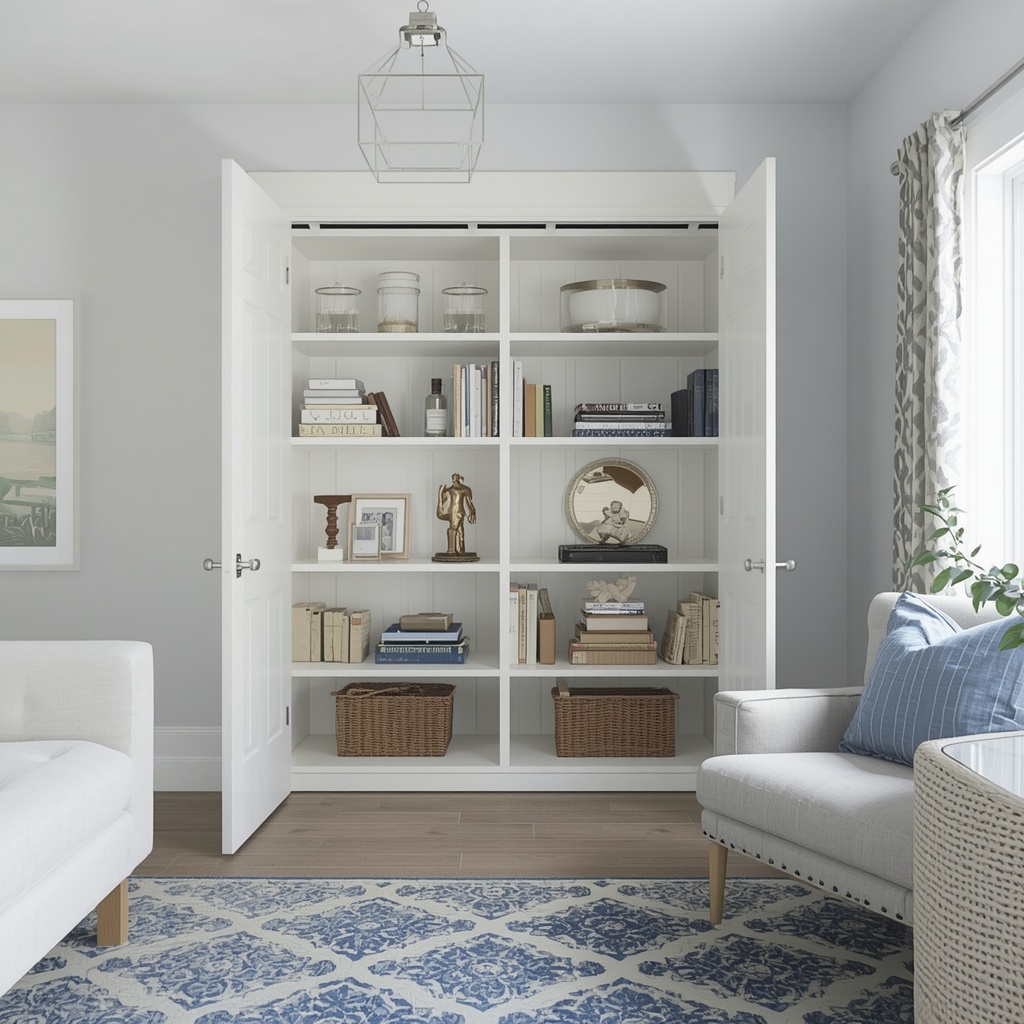
When shopping for multipurpose furniture, prioritize pieces with a stable, scratch-resistant surface — you’ll be cutting, taping, and occasionally gluing on it — and look for built-in storage underneath, such as drawers or open cubbies, rather than adding freestanding pieces later. For inspiration on flexible, small-space furniture, retailers like The Container Store and IKEA offer modular systems designed specifically for multipurpose rooms.
Lighting and Comfort Considerations
Crafting and gift wrapping are detail-oriented tasks, which means lighting deserves as much attention as storage. Natural light is ideal for color-matching ribbon and paper, but most craft nooks also need dedicated task lighting since projects often happen in the evening.
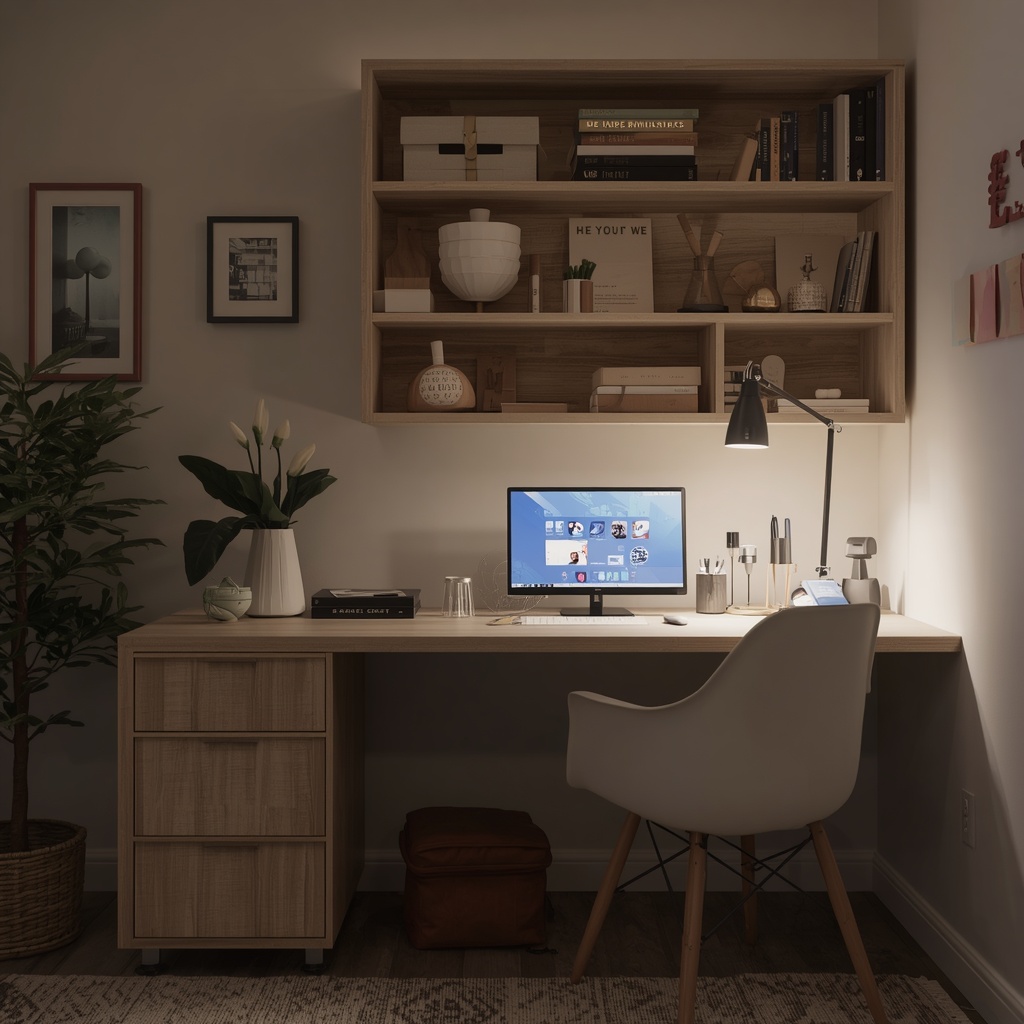
Layer your lighting the way a professional stylist layers a living room: ambient light for general visibility, task lighting directly over the work surface, and accent lighting if the space doubles as a display area for finished projects. A simple under-cabinet LED strip or an adjustable desk lamp can make the difference between a station you love using and one you avoid.
Comfort matters just as much as illumination. A cushioned stool or chair at the correct counter height prevents the back strain that comes from hunching over a table, especially during holiday wrapping sessions that can stretch for hours.
Organizing by Season and Occasion
One of the most practical habits I recommend to clients is organizing supplies by occasion rather than by material type alone. Birthday wrap, ribbon, and gift tags live together in one labeled bin; Christmas paper, bows, and ornament-making supplies live in another. This system means you can pull one container and have everything needed for a specific event, rather than gathering items from five different spots.
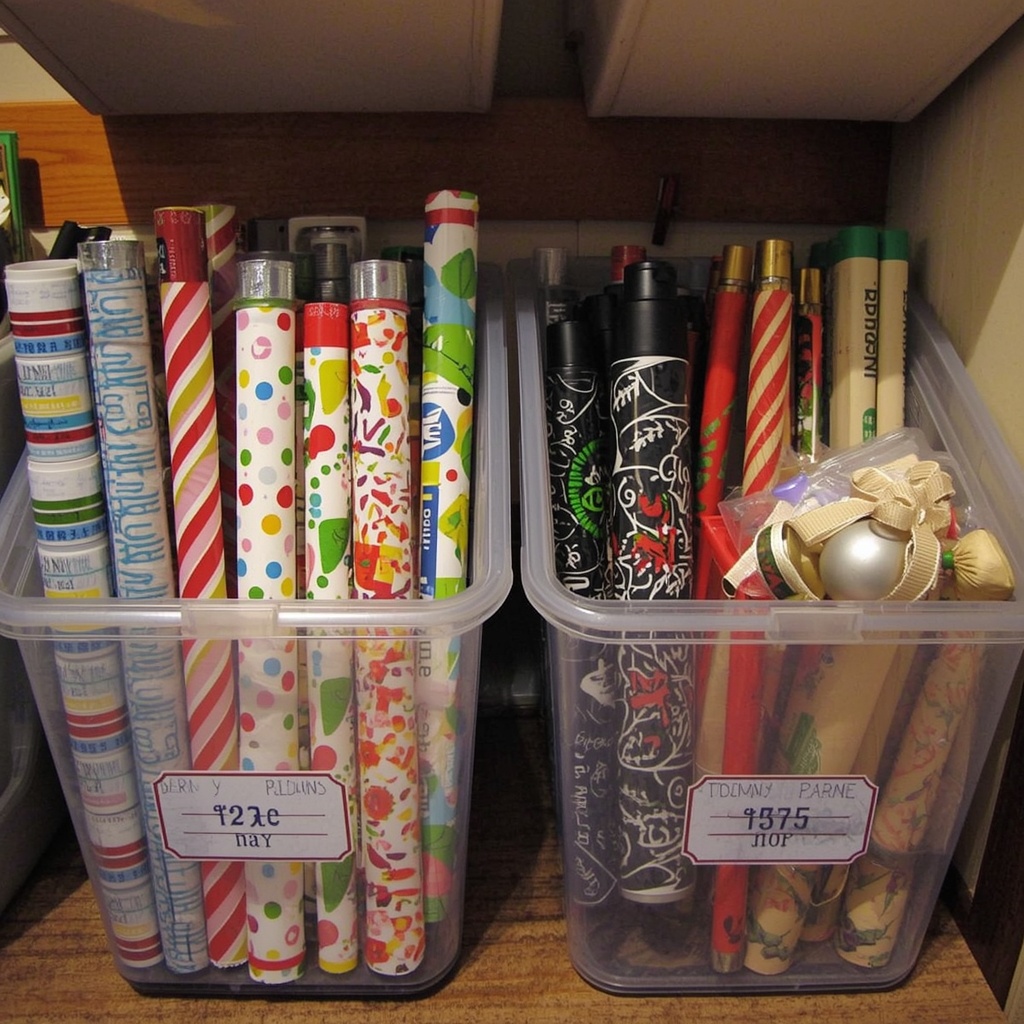
Rotating seasonal bins to the back of a closet or top shelf during their off-months also keeps your primary station lean and functional year-round. Only the supplies you’re actively using should occupy prime real estate at eye level and arm’s reach.
Pro Tip: Label bins by occasion and month (e.g., “Christmas Wrap – Nov/Dec”) so seasonal rotation becomes a two-minute task instead of a guessing game every year.
Budget-Friendly Craft Station Ideas
You don’t need a full room remodel to enjoy the benefits of a dedicated craft space. Many of the most functional wrapping stations I’ve designed cost under $300 by repurposing existing furniture and focusing spend on organizational inserts rather than new furniture.
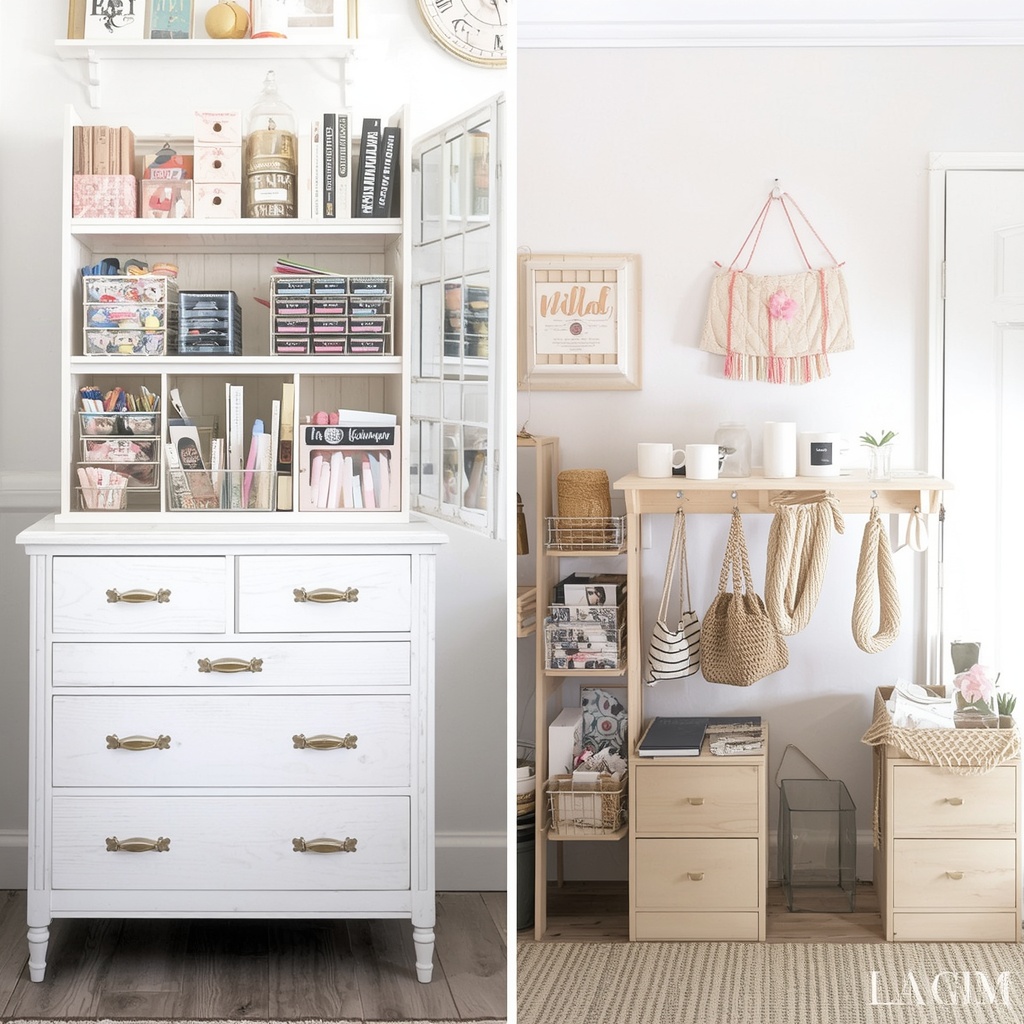
Consider these budget-conscious approaches:
- Repurpose an old dresser as a wrapping station, using the top as a work surface and drawers for supply sorting.
- Install a tension curtain rod inside a closet to hang ribbon spools vertically at almost no cost.
- Use command hooks and a pegboard panel to add wall storage without drilling into rentals.
- Shop secondary markets like Facebook Marketplace for a small table or cart, then refinish it to match your decor.
- Reuse cardboard shipping tubes as paper-roll dividers inside a taller bin.
Sample 6-Step Setup Checklist
| Step | Task | Time Estimate |
|---|---|---|
| 1 | Sort and purge existing craft/wrap supplies | 1–2 hours |
| 2 | Measure the chosen space and largest items | 15 minutes |
| 3 | Select furniture and storage containers | 1–2 hours (shopping) |
| 4 | Install vertical storage and lighting | 1–3 hours |
| 5 | Label and categorize by type and season | 1 hour |
| 6 | Style with decor and inspiration board | 30 minutes |
Styling Your Craft Station So It Feels Like Home
Function should never come at the expense of beauty. A craft station tucked into a visible area of your home — a mudroom, open office nook, or landing — deserves the same design attention as your living room. Choose a cohesive color palette, add a piece of framed art or a corkboard for inspiration, and consider woven baskets over plastic bins if the space is on display.
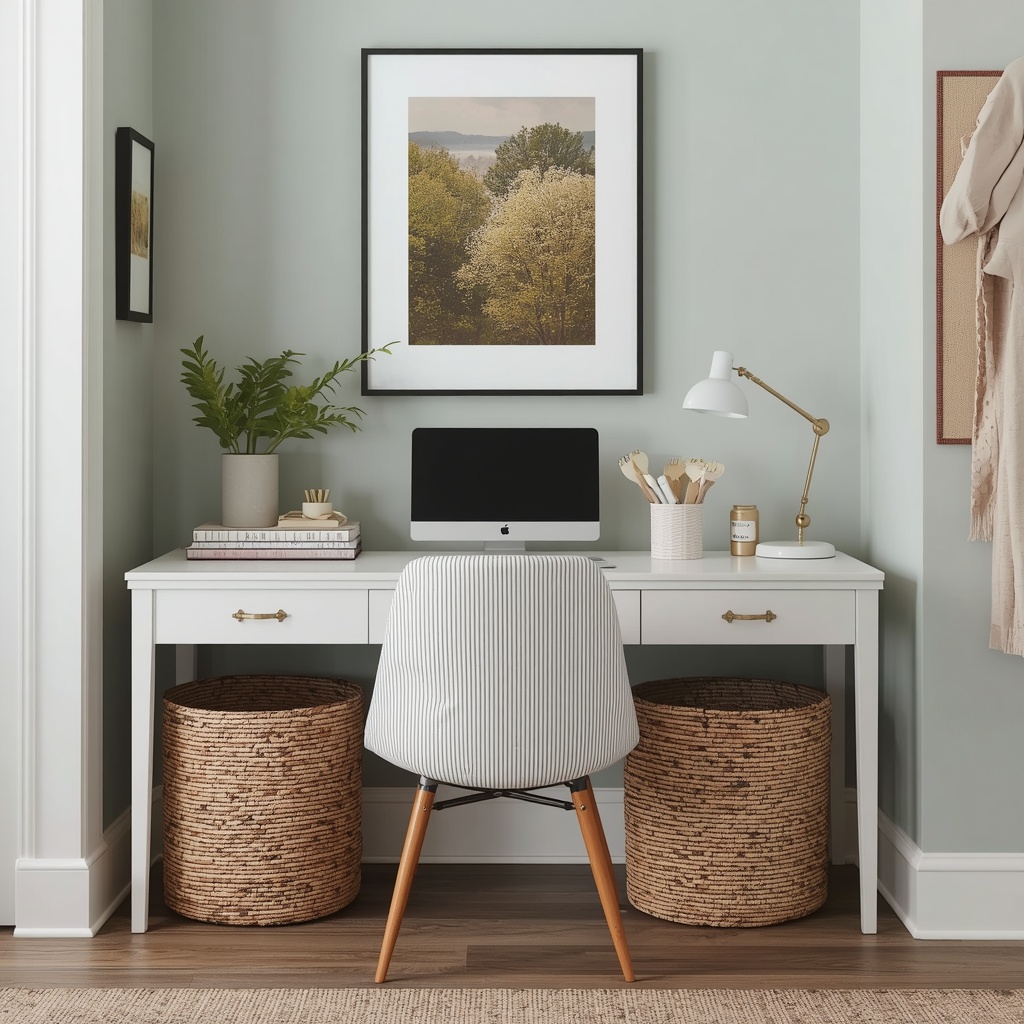
Small design touches, like a coordinating set of labels, a plant on the shelf, or a runner rug underfoot, elevate the station from purely utilitarian to genuinely inviting. When a space feels good to be in, you’re far more likely to actually use it — and maintain it — long term.
Maintaining Your Craft Station Long-Term
The best-designed craft station in the world will slide back into clutter without a simple maintenance habit. Build in a five-minute reset at the end of every project: recap markers, coil ribbon back onto spools, and return tools to their designated drawer or hook. This small ritual protects the system you worked hard to build.
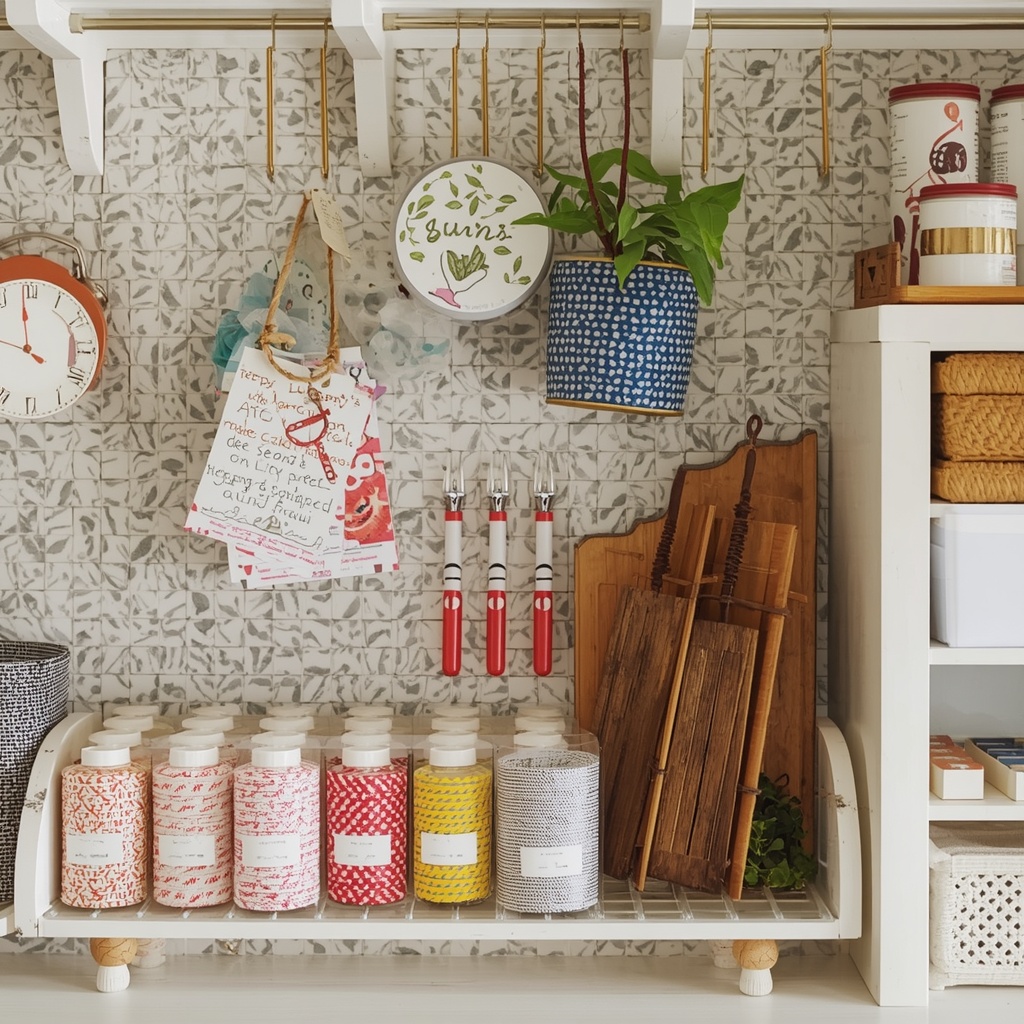
Twice a year — many designers suggest tying this to spring cleaning and the post-holiday season — do a deeper audit. Toss dried-out glue sticks, donate unused craft kits, and reassess whether your storage is still matching your actual supply volume. Habits evolve, and your station should evolve with them.
Final Thoughts
A dedicated wrapping and craft station is one of the highest-return design investments you can make in a busy household. It saves time, protects your other living spaces from creative overflow, and turns a chore-adjacent task into something genuinely enjoyable. Start small if you need to — even a single repurposed drawer with smart dividers is a meaningful upgrade — and let the system grow as your needs and space allow.
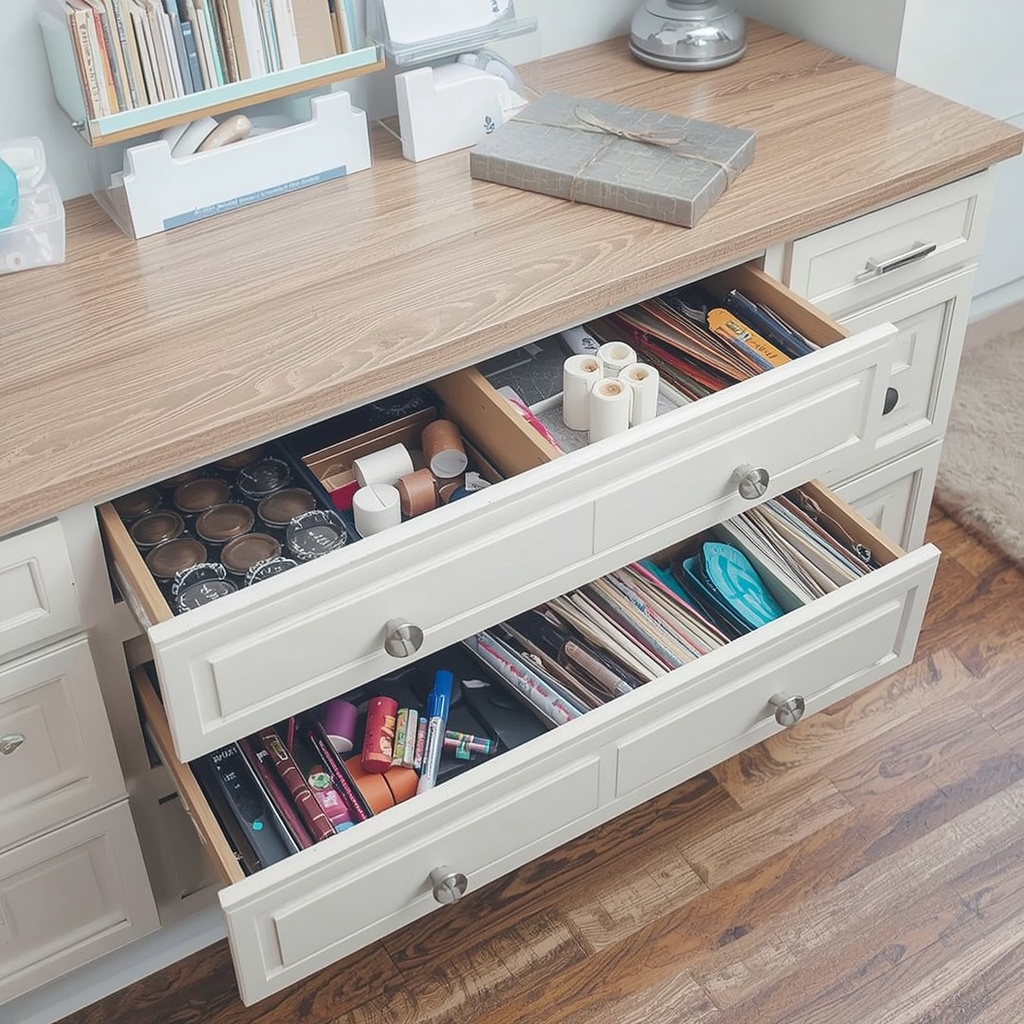
Whether you’re working with a spare closet, a corner of the garage, or a fully dedicated room, the principles stay the same: sort before you store, measure before you buy, and design a layout that matches how you actually work. Do that, and your craft station will become one of the most-used, best-loved corners of your home.