So you’ve been scrolling through Instagram and Pinterest, dreaming of a gorgeous tiled kitchen or a spa-worthy bathroom — but the idea of a full tile installation feels overwhelming (and expensive). Good news: peel-and-stick backsplash tiles have completely changed the game for DIY home decorators across America. Whether you’re renting an apartment in Chicago, refreshing a dated kitchen in suburban Atlanta, or just craving a weekend project that delivers big results, removable backsplash tiles might be exactly what you need.
In this guide, I’m breaking down everything you need to know — the real pros, the honest cons, and step-by-step installation tips that will help you avoid the most common mistakes. Let’s transform that wall.
What Is Peel-and-Stick Backsplash?
Peel-and-stick backsplash is a self-adhesive tile or panel that mimics the look of traditional ceramic, glass, stone, or mosaic tile — without the mortar, grout, or professional labor costs. These tiles typically feature a pressure-sensitive adhesive backing protected by a peel-away liner. You simply remove the liner and press the tile firmly against a clean, smooth wall surface.
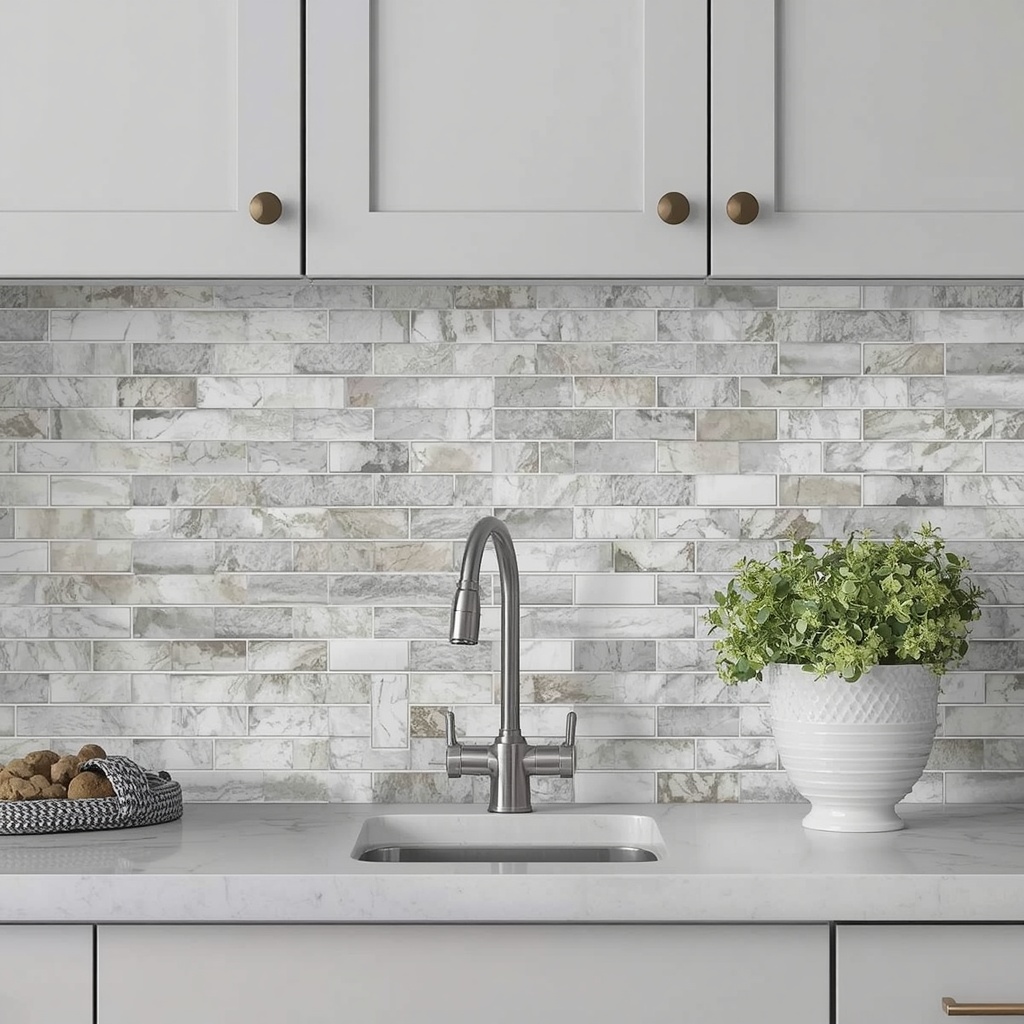
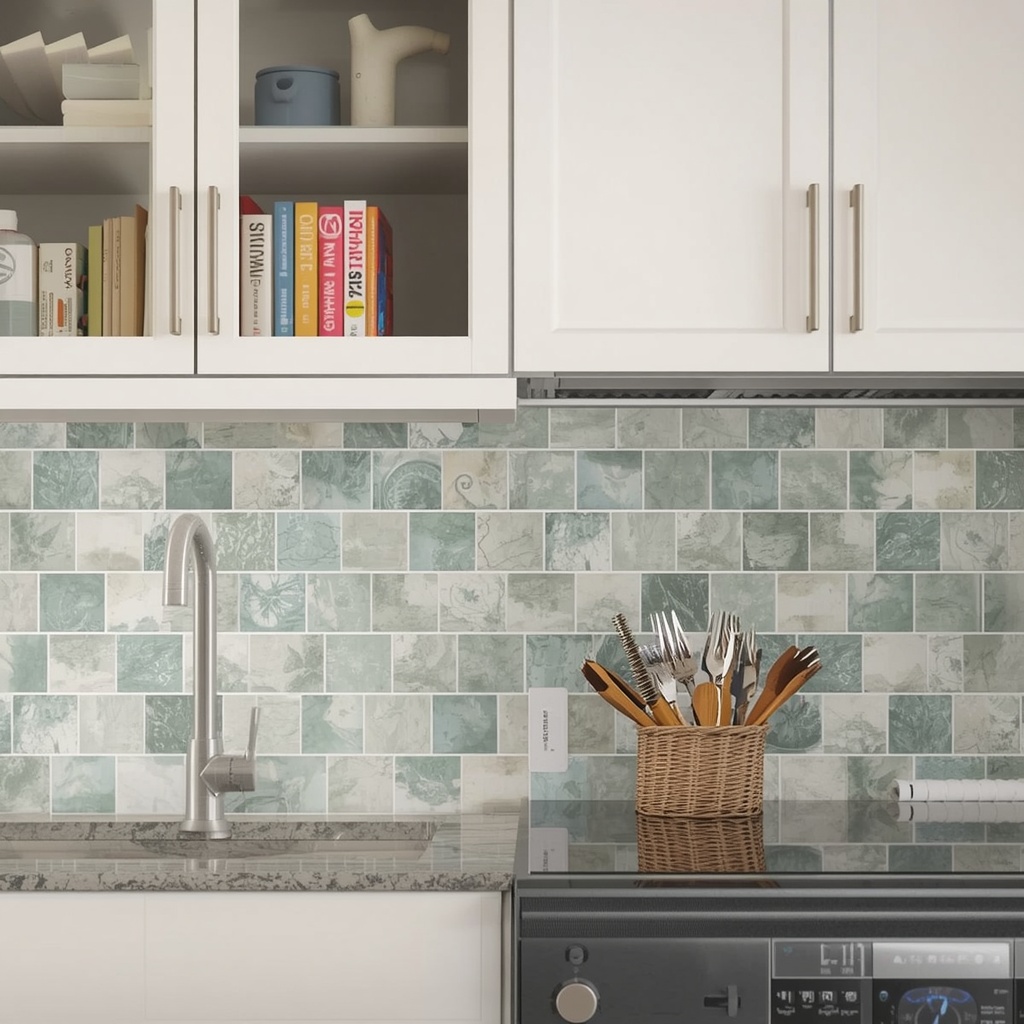
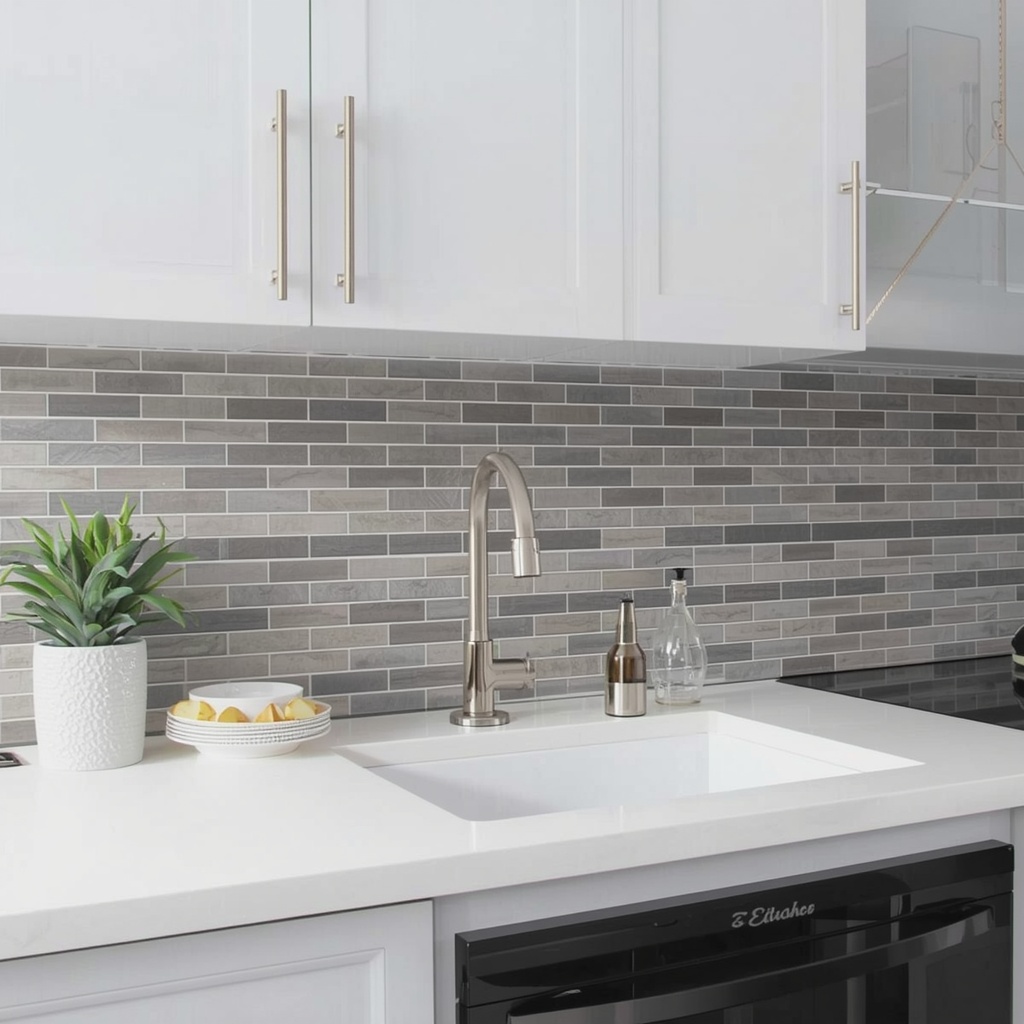
Available in a wide range of styles — from classic subway tile and herringbone patterns to Moroccan-inspired mosaics and wood-look designs — these tiles have evolved significantly in quality and realism over the past few years. Top brands like Smart Tiles, Aspect Peel and Stick Tile, and Art3d now offer options that genuinely fool the eye.
They work on a variety of surfaces including drywall, painted walls, existing ceramic tile, and glass — making them an incredibly versatile solution for renters and homeowners alike.
The Pros of Peel-and-Stick Backsplash
There’s a reason these tiles have exploded in popularity at home improvement stores like Home Depot and Lowe’s. Here’s why so many American homeowners are reaching for them:
Budget-Friendly Transformation Traditional tile installation can run anywhere from $800 to $3,000+ depending on your kitchen size and labor costs. Peel-and-stick tiles, on the other hand, typically cost between $5 and $20 per square foot — and since you’re doing it yourself, you’re saving 100% on installation fees. For a standard 15-square-foot kitchen backsplash, you could spend as little as $75 to $150 total.
Renter-Friendly and Removable One of the biggest selling points is that quality peel-and-stick tiles are designed to come off cleanly — making them ideal for rental apartments. When it’s time to move, you can peel them away without damaging the drywall underneath (assuming you prep the surface correctly first, which we’ll cover below). This also makes them a great way to experiment with a new aesthetic without long-term commitment.
Fast Installation — No Drying Time Traditional tile work requires setting mortar, waiting for it to cure, applying grout, sealing the grout, and waiting again. With peel-and-stick tiles, you can complete an entire backsplash in a single afternoon. No special tools, no muddy mixing, no curing time — just peel, stick, and admire.
Low Mess, No Specialized Skills Needed There’s no tile saw required for most designs (though a utility knife or scissors handles edge trimming beautifully). You don’t need to know anything about mortar ratios or grout consistency. If you can follow a straight line and measure twice, you can install a peel-and-stick backsplash.
Huge Variety of Styles From farmhouse shiplap to sleek metallic subway tiles, the design options are genuinely impressive. Many collections now include 3D textured surfaces, faux stone finishes, and even options that replicate handmade cement tiles — all at a fraction of the cost of the real thing.
The Cons of Peel-and-Stick Backsplash
I believe in being completely honest with my clients — and the same goes for you. These tiles aren’t perfect, and there are situations where I’d steer you away from them.
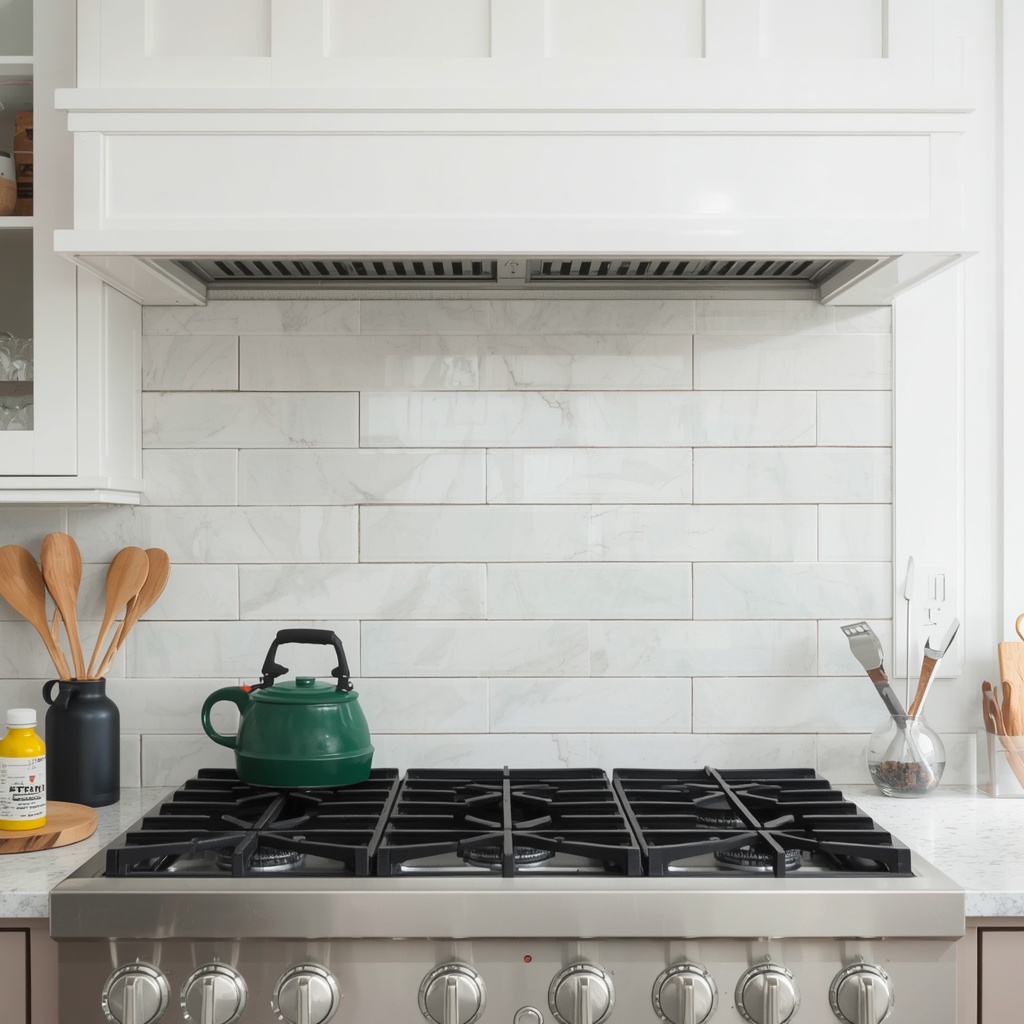
Heat and Humidity Can Cause Lifting This is the big one. Most peel-and-stick tiles are not designed to withstand extreme, sustained heat — which means directly behind a gas range or in a steamy bathroom with poor ventilation, you may start to see corners lifting or bubbling over time. The adhesive simply wasn’t engineered for those conditions. Always check the manufacturer’s temperature rating before installation.
They Don’t Look Exactly Like Real Tile Up close, most experienced eyes can tell the difference. The fake grout lines in particular tend to give them away — they’re often too uniform and lack the natural variation of real grouted tile. For a powder room you’re trying to impress guests in, this may or may not matter. For a high-end kitchen remodel where you’re trying to increase home value, traditional tile still wins.
Longevity Is Limited Real ceramic tile, installed properly, can last 20 to 50 years. Peel-and-stick tiles are a medium-term solution — most perform well for 3 to 7 years under normal conditions, after which the adhesive may begin to degrade, especially in humid environments.
Surface Prep Is Non-Negotiable Peel-and-stick tiles adhere best to smooth, clean, dry, and flat surfaces. Textured walls, surfaces with existing grease, or walls with peeling paint will cause adhesion failure. If your kitchen walls have years of cooking grease built up, the tiles simply will not stick — and the prep work required might be more than you bargained for.
Removal Can Sometimes Damage Walls While many brands claim damage-free removal, older adhesive or extreme temperatures can sometimes cause paint to peel off with the tile. Always do a test patch in an inconspicuous area first — and if you’re renting, document your wall condition before and after.
Peel-and-Stick vs. Traditional Tile: A Quick Comparison
| Feature | Peel-and-Stick Tile | Traditional Ceramic/Porcelain Tile |
|---|---|---|
| Average Cost (per sq ft) | $5–$20 | $15–$60+ (including labor) |
| Installation Time | 2–4 hours | 1–3 days |
| Skill Level Required | Beginner | Intermediate–Advanced |
| Lifespan | 3–7 years | 20–50 years |
| Heat Resistance | Low–Moderate | High |
| Removable | Yes (mostly) | No |
| Best For | Renters, DIYers, quick refreshes | Permanent installations, resale value |
| Water/Humidity Resistance | Moderate | High |
Best Surfaces for Peel-and-Stick Backsplash Installation
Before you buy your tiles, make sure your wall surface is actually compatible. Here are the surfaces that work well — and those you should avoid:
Works Well:
- Smooth painted drywall (flat or eggshell finish)
- Existing ceramic or porcelain tile (clean and smooth)
- Smooth glass surfaces
- Primed MDF or plywood panels
Avoid:
- Heavily textured walls (orange peel texture, skip trowel)
- Walls with peeling or flaking paint
- Raw, unpainted drywall
- Surfaces near open flame or above a gas burner
- Walls that get regularly splashed with water without proper ventilation
“The secret to a flawless peel-and-stick installation isn’t the tile — it’s the prep. I’ve seen beautiful tiles fail in a week because the wall wasn’t properly cleaned and primed. Take the extra hour to prep correctly, and your backsplash will look amazing for years.” — Interior design principle I follow with every single client project
Step-by-Step Installation Guide
Ready to get started? Here’s how to install peel-and-stick backsplash tiles like a pro.
Step 1: Gather Your Materials
- Peel-and-stick backsplash tiles (measure your space and add 10% for waste)
- Tape measure and pencil
- Level or laser level
- Utility knife and cutting mat (or tile scissors for softer tiles)
- Rubbing alcohol or TSP cleaner
- Microfiber cloths
- Painter’s tape
- Squeegee or credit card for pressing
- Caulk (optional, for edges)
Step 2: Clean the Wall Thoroughly
This step is absolutely critical. Use a degreaser or rubbing alcohol to wipe down every inch of the installation area. In kitchens especially, cooking grease creates an invisible film that will prevent adhesion. Let the wall dry completely — at least 30 to 60 minutes — before touching a single tile.
Step 3: Find Your Center and Plan Your Layout
Don’t just start in a corner! Find the visual center of your backsplash area — usually the center of the range hood or the center point between cabinets. Use a level to draw a faint pencil line horizontally across the wall. This is your baseline. Starting from the center ensures your pattern looks balanced, and you won’t end up with awkward slivers of tile at the edges.
Step 4: Do a Dry Layout First
Before peeling anything, lay your tiles out on the floor or counter to visualize the full pattern. This is where you’ll plan cuts and figure out how the design flows at the edges. Measure twice, cut once — always.
Step 5: Peel and Apply
Starting at your center point, peel the backing halfway off the first tile. Align it carefully to your baseline, then press it into place — working from the center outward to avoid trapping air bubbles. Once positioned, peel the rest of the backing and smooth the tile firmly against the wall using a squeegee or your palm. Apply firm, even pressure across every inch.
Step 6: Cut Edge Tiles
Use your utility knife and a straight edge to score and snap harder tile materials. For softer vinyl tiles, scissors work perfectly. Always measure each edge tile individually — walls are rarely perfectly square, and small variations matter.
Step 7: Press and Seal
Once all tiles are applied, go back over every tile with firm pressure. Pay special attention to corners and seams. For extra durability around sinks or areas that may see moisture, apply a thin bead of clear silicone caulk along the edges where the tile meets the countertop or cabinet.
Pro Tips for a Flawless Finish
💡 Pro Tip: Store your tiles at room temperature (65–75°F) for at least 24 hours before installation. Cold tiles have stiffer adhesive that won’t bond as well. This one step alone can dramatically improve how well they stick.
- Use a laser level instead of a traditional bubble level — it projects a continuous line across the entire wall, making it much easier to keep rows perfectly straight.
- Warm the adhesive with a hair dryer on low heat to reactivate it if you’re working in a cooler room.
- Don’t install near a cold wall in winter — adhesive bonds best above 60°F.
- Seal the edges with clear waterproof caulk, especially behind the sink or stove, to prevent moisture from sneaking under the tiles.
- Avoid cleaning with harsh chemicals — stick to mild soap and water. Abrasive cleaners and strong degreasers can break down the adhesive over time.
- When in doubt, over-press — most lifting issues come from insufficient pressure during installation, not adhesive failure.
Best Rooms for Peel-and-Stick Backsplash
Wondering where in your home these tiles will perform best? Here’s a quick rundown:
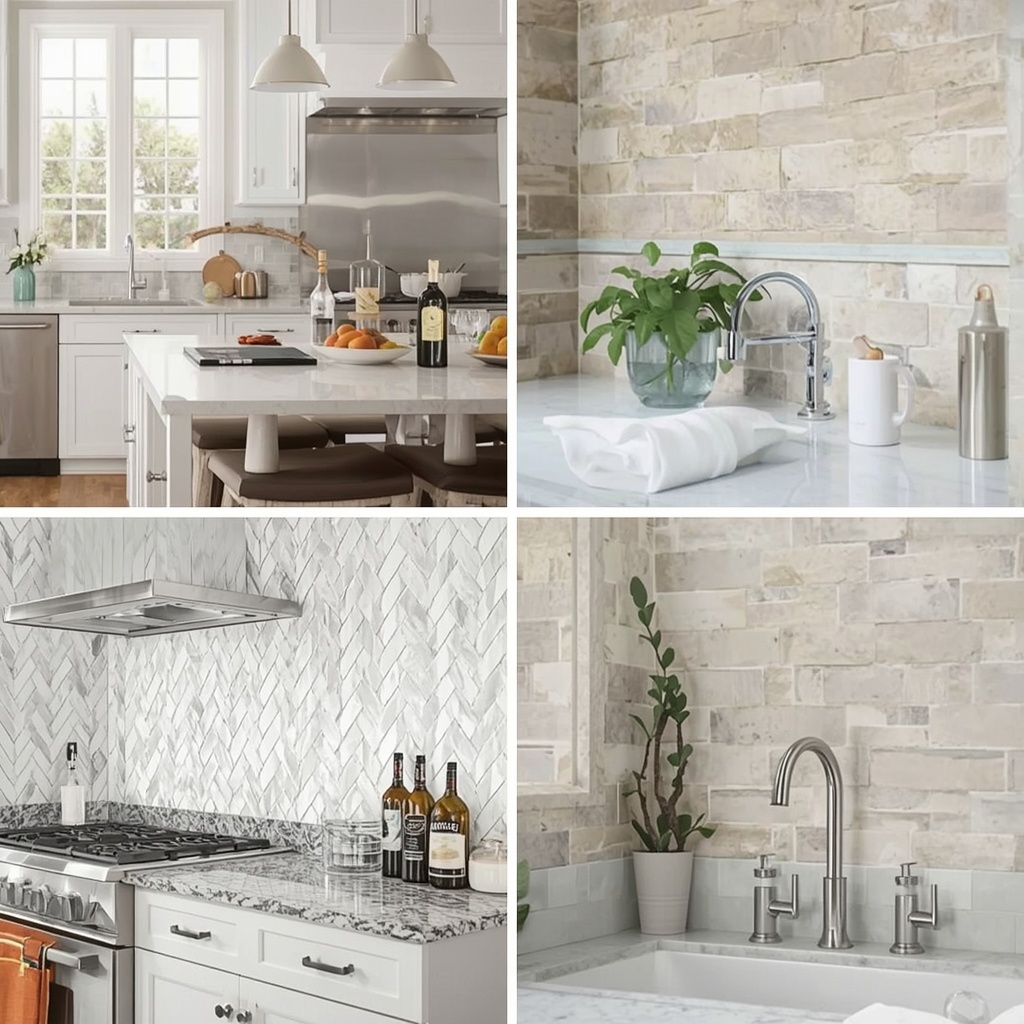
Kitchen (Behind Counters and Island): ✅ Excellent — as long as you stay at least 18 inches from direct open flame.
Bathroom (Shower Surround): ⚠️ Risky — constant water exposure and steam can compromise adhesion. Better suited for dry bathroom walls like behind a vanity.
Laundry Room: ✅ Great option — low heat, low humidity, and the tile adds a charming design touch.
Home Bar or Beverage Station: ✅ Perfect application — low heat, occasional moisture, big visual impact.
Rental Apartment Kitchen: ✅ Ideal — just document the wall condition before installation.
Top Peel-and-Stick Backsplash Brands Worth Knowing
- Smart Tiles — One of the most trusted brands in the US market; excellent grout-line realism and heat resistance ratings.
- Art3d — Offers a vast variety of designs including 3D metallic options; very popular on Amazon.
- Aspect Peel and Stick Tile — Known for their real stone and glass composite tiles that deliver a premium, authentic look.
- Stickgoo — A newer brand gaining traction for renter-friendly installations with clean-release adhesive technology.
Final Thoughts: Is Peel-and-Stick Backsplash Right for You?
As someone who has helped hundreds of homeowners transform their spaces, I’ll tell you this: peel-and-stick backsplash is one of the most satisfying DIY projects you can tackle on a weekend. The return on investment — both financially and aesthetically — is remarkable when done right.
It’s the perfect solution if you’re renting and want to personalize your space, if you’re working with a tight renovation budget, or if you simply want to experiment with a new style before committing to permanent tile work. It’s not the right choice if you’re renovating a home specifically to increase resale value, or if your installation area is directly exposed to high, sustained heat.
Prep your surface meticulously, follow the installation steps carefully, and choose a design that genuinely excites you. Because at the end of the day, a beautiful home is one you love living in — and peel-and-stick tiles can absolutely help you get there.