Your bedroom deserves a stunning focal point — and you don’t need to spend thousands to get it. These designer-approved DIY headboard projects will transform your space starting at under $30.
As an interior designer who has worked with homeowners across the United States — from New York studio apartments to sprawling Texas ranch homes — I can tell you one universal truth: the headboard is the soul of a bedroom. It anchors the entire space, sets the aesthetic tone, and signals your personal style the moment someone walks through the door. Yet so many people either skip the headboard entirely or spend money they don’t have on one that looks exactly like everyone else’s.
Here’s the secret the furniture industry doesn’t want you to know: some of the most beautiful, personality-packed headboards I’ve ever seen in my 15-year career were built by homeowners with a weekend, a few basic tools, and less than $100. DIY headboards aren’t a compromise — they’re an opportunity. This guide will walk you through the most creative, budget-friendly DIY headboard ideas trending right now, complete with cost estimates, difficulty levels, and my professional design tips to make sure your finished result looks like it belongs on the cover of a magazine.
Why a DIY Headboard Is Worth Your Time (and Money)
Before we dive into specific headboard ideas, let’s talk about why this particular DIY project delivers such outsized results. A headboard does more than fill wall space — it creates a visual anchor, improves acoustics by absorbing sound, and can even add warmth to a drafty wall. From a design standpoint, it’s the single most impactful upgrade you can make to a bedroom short of painting the walls.
Store-bought headboards for a queen-sized bed routinely cost between $200 and $800. High-end upholstered or custom headboards can easily exceed $1,500 to $3,000. Meanwhile, a beautifully crafted DIY headboard can be built for $25 to $150 depending on materials and complexity — leaving you with money to spend on luxurious bedding, blackout curtains, or statement lighting that will round out your bedroom makeover beautifully.
💡 Pro Tip
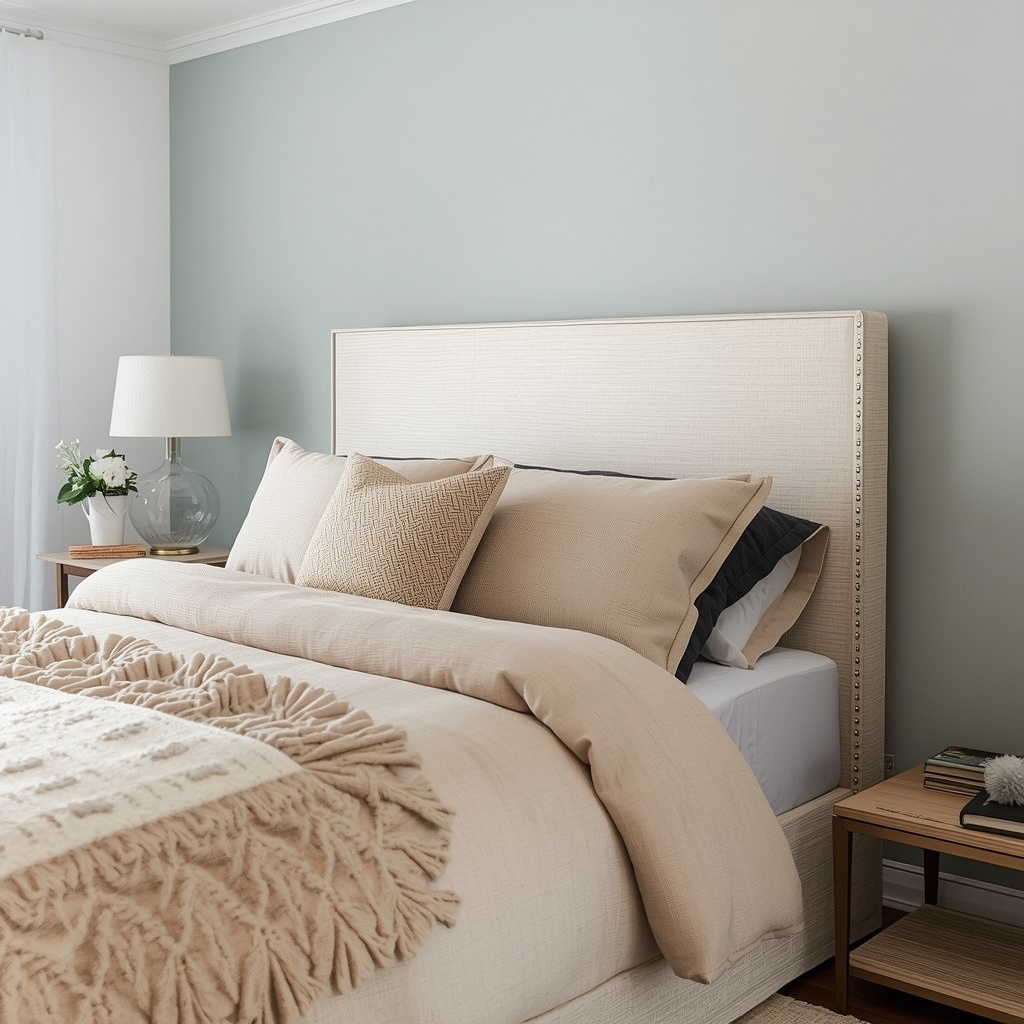
Before choosing your headboard style, pull out your existing bedding, curtains, and any rugs you plan to keep. Lay them out together on the floor or photograph them side-by-side. Your headboard should feel like a natural extension of that palette — not a separate element competing for attention. Neutral headboards (white, cream, natural wood, gray) work in virtually every bedroom and photograph beautifully if you ever plan to sell your home.
10 Creative DIY Headboard Ideas for Every Style & Budget
Whether your bedroom leans toward modern farmhouse, bohemian, minimalist Scandinavian, or classic glam, there’s a DIY headboard project on this list that will speak to your style sensibility. I’ve organized these from simplest to most involved so you can pick the right project for your skill level and available weekend time.
01
Peel-and-Stick Shiplap Panel
Faux shiplap peel-and-stick panels from Home Depot create a gorgeous farmhouse focal point with zero power tools required.$25–$50 · Beginner
02
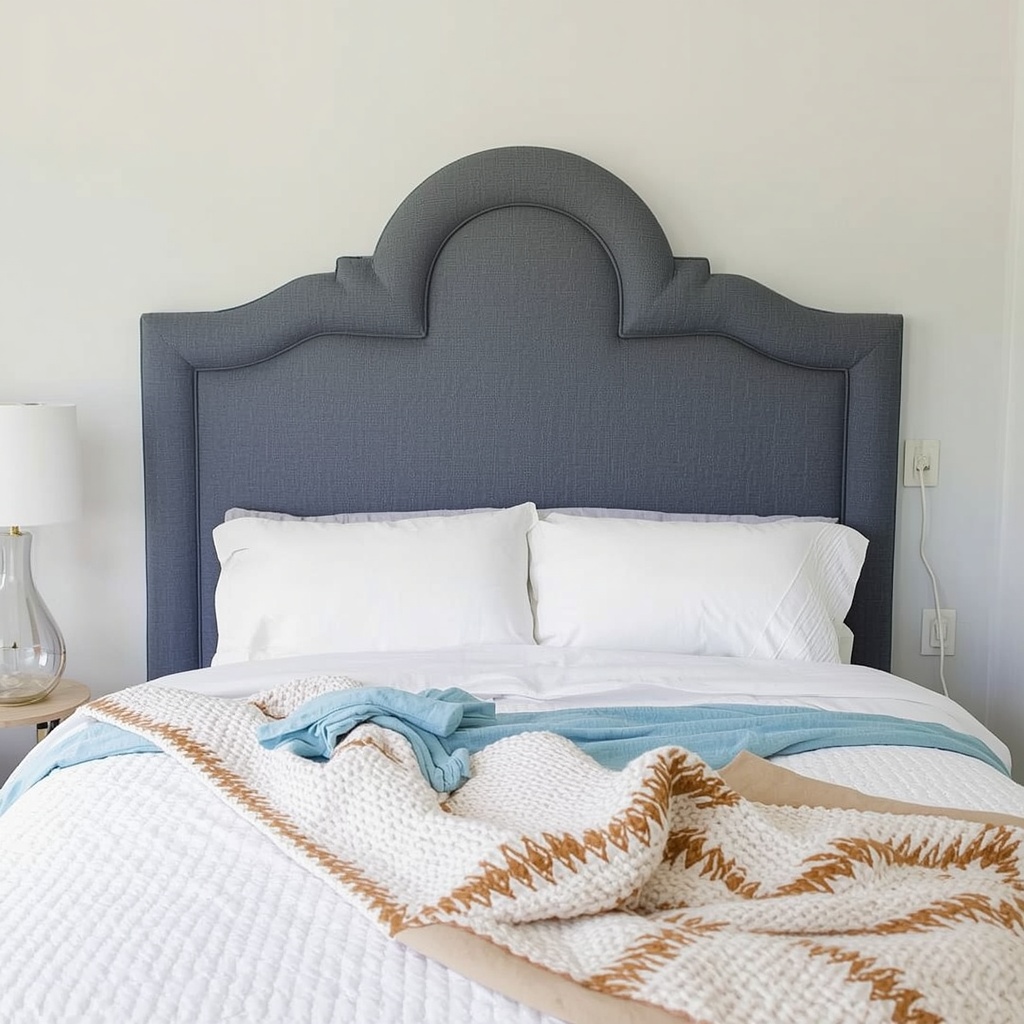
Upholstered Foam & Plywood
A classic tufted or channel-stitched upholstered headboard using a plywood base, foam, batting, and fabric of your choice.$50–$120 · Intermediate
03
Hanging Macramé Wall Art
Oversized macramé woven wall hangings make for a stunning bohemian headboard — no drilling into the bed frame required.$30–$75 · Beginner
04
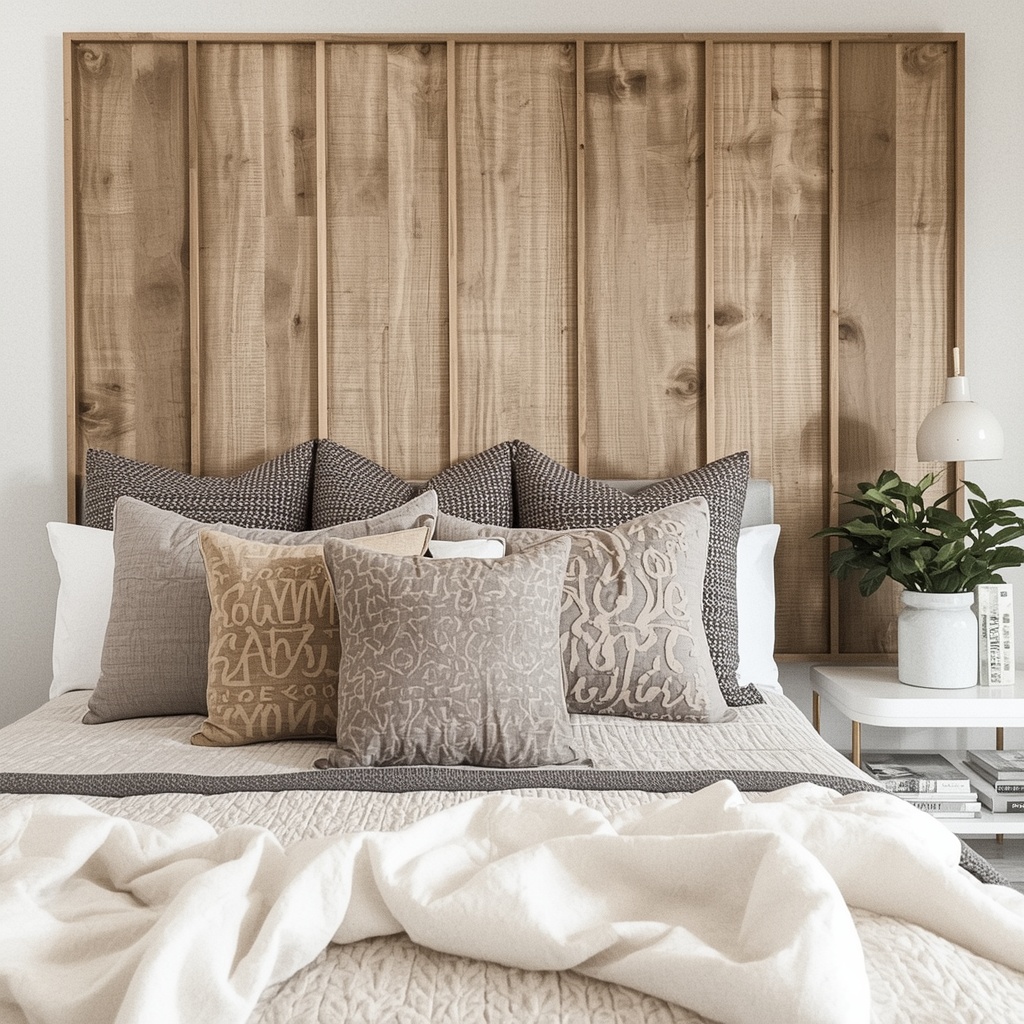
Reclaimed Wood Planks
Salvaged barn wood or pallet planks, sanded and stained, are mounted directly to the wall for a rustic industrial look.$20–$60 · Intermediate
05
Painted Arch Headboard
Use painter’s tape to create a perfect arch shape on the wall, then fill with a bold or complementary paint color. Zero materials cost if you have leftover paint.$5–$25 · Beginner
06
Vintage Door Panel
A single vintage door sourced from Habitat for Humanity ReStores or Facebook Marketplace, cleaned up and leaned against the wall.$15–$50 · Beginner
07
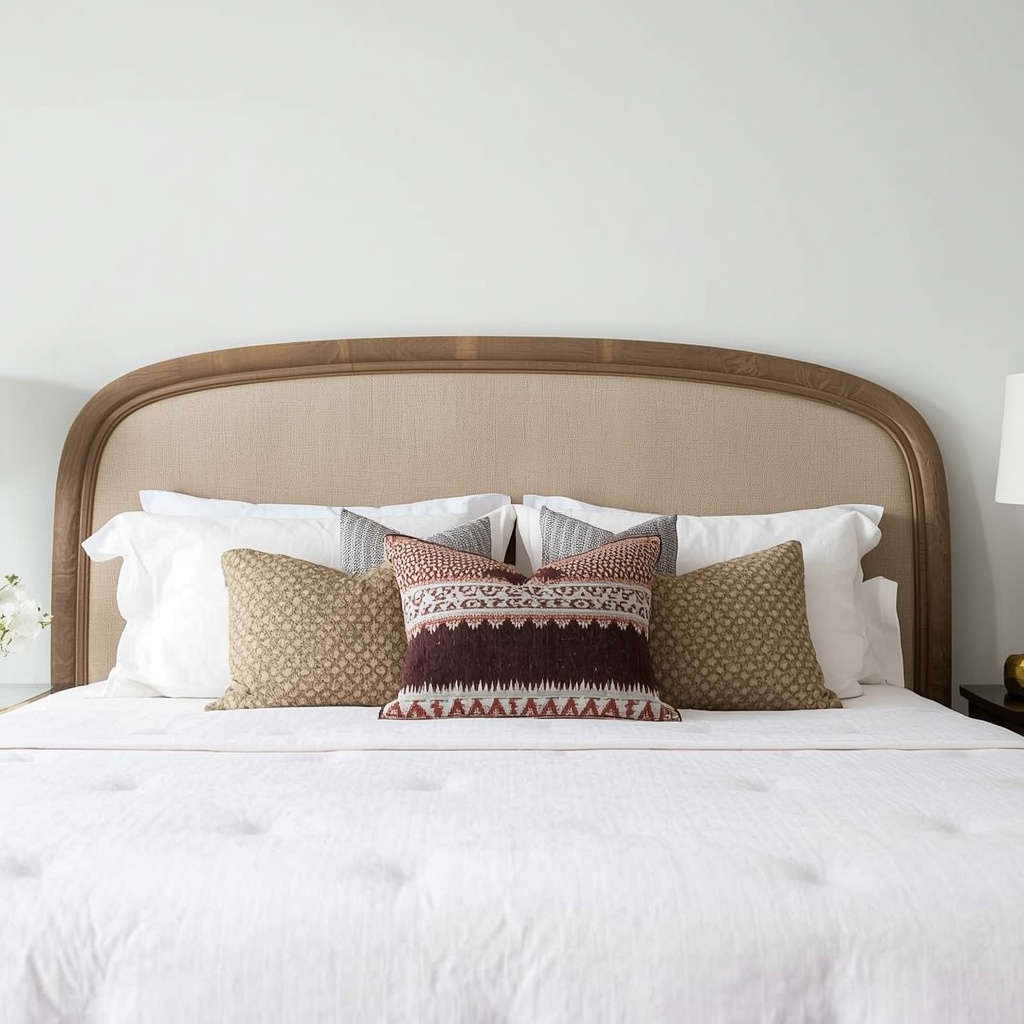
Rattan / Wicker Panel
Pre-woven rattan sheets framed in simple wood trim create an organic, coastal-chic headboard that’s having a major design moment.$60–$110 · Intermediate
08
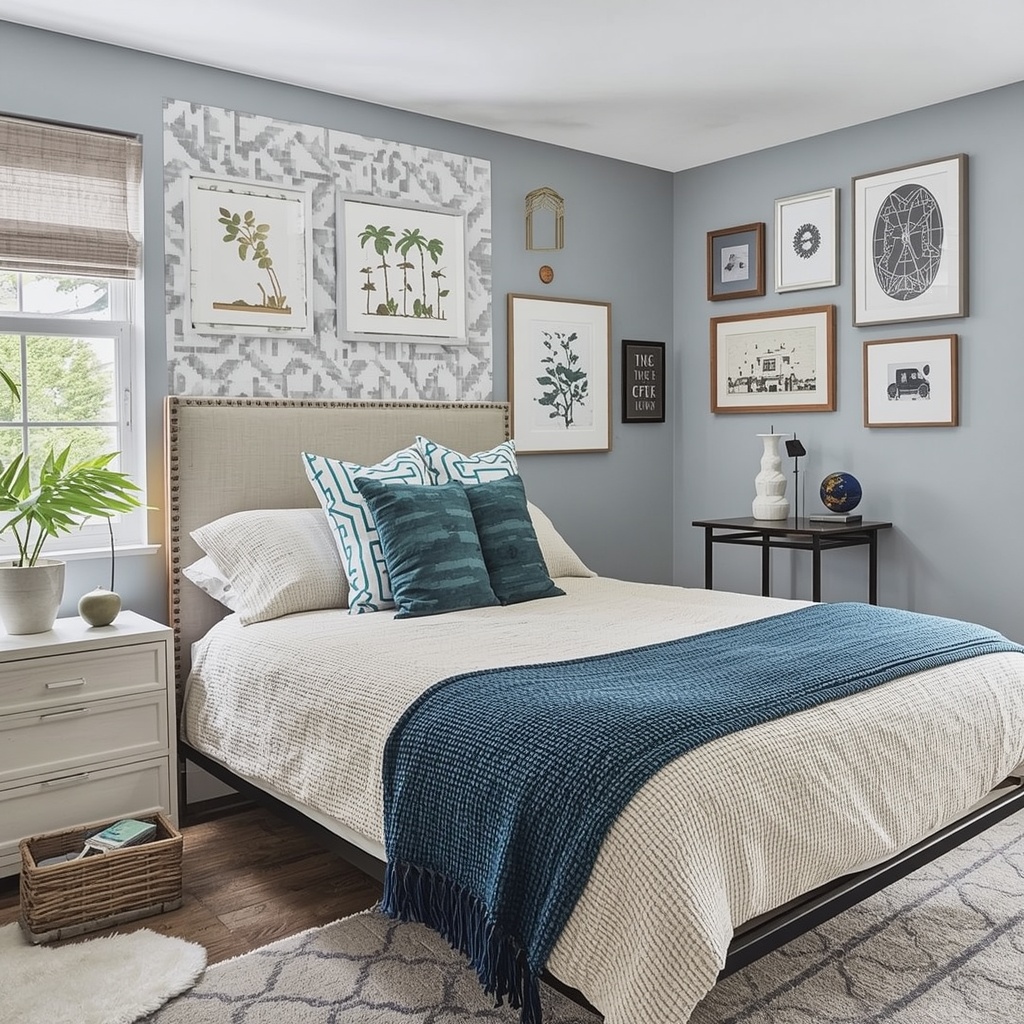
Gallery Wall Headboard
A curated collection of art prints, mirrors, and wall objects arranged in a headboard-shaped cluster above the bed.$30–$90 · Beginner
09
Curtain Rod & Drape Headboard
Mount a curtain rod above the bed and hang rich, floor-length panels behind it to create a dramatic, canopy-like headboard effect.$40–$80 · Beginner
10
Wallpaper Mural Panel
Peel-and-stick wallpaper murals in a headboard-width strip create an immersive, artistic focal point behind the bed.$35–$90 · Beginner
DIY Headboard Cost Comparison: What You’ll Actually Spend
One of the first questions I get from clients interested in DIY projects is: “What’s it actually going to cost me?” Here’s an honest breakdown so you can plan your budget realistically. These ranges are based on national average material costs in the US.
| Headboard Type | Estimated Cost | Difficulty | Time Required | Best For |
|---|---|---|---|---|
| Painted Arch (wall) | $5–$25 | ⭐ Easy | 2–3 hours | Renters, minimalists |
| Peel-and-Stick Shiplap | $25–$50 | ⭐ Easy | 3–4 hours | Farmhouse, cottage style |
| Macramé Wall Hanging | $30–$75 | ⭐ Easy | 4–6 hours | Boho, eclectic |
| Reclaimed Wood Plank | $20–$60 | ⭐⭐ Medium | 4–6 hours | Rustic, industrial |
| Upholstered Plywood | $50–$120 | ⭐⭐ Medium | 6–10 hours | Traditional, glam, transitional |
| Rattan Panel | $60–$110 | ⭐⭐ Medium | 5–7 hours | Coastal, organic modern |
| Wallpaper Mural | $35–$90 | ⭐ Easy | 2–4 hours | Bold, artistic, maximalist |
How to Build a Classic Upholstered DIY Headboard Step-by-Step
Of all the DIY headboard projects I recommend to clients, the upholstered plywood headboard offers the best balance of impact, comfort, and durability. It looks custom, it feels luxurious to lean against while reading, and it can be reupholstered if you ever want a fresh look without rebuilding from scratch. Here’s my professional step-by-step process for building one that looks like it came from a high-end furniture boutique.
Materials You’ll Need
- 3/4-inch plywood cut to your desired headboard dimensions (most lumber yards will cut this for free or a small fee)
- 2–3 inch thick upholstery foam, available at fabric stores or on Amazon — enough to cover your plywood
- Dacron batting (one or two layers wraps around the foam for a softer, rounded look)
- Fabric of your choice — budget approximately 3 yards for a queen headboard; velvet, linen, and faux leather are all excellent choices
- Staple gun with 3/8-inch staples — an electric staple gun makes the process significantly easier
- Heavy-duty adhesive spray to bond foam to plywood
- Sandpaper (120 grit) to smooth plywood edges
- French cleat or keyhole brackets for wall mounting, or headboard legs for frame attachment
- Measuring tape, scissors, and a utility knife
The Building Process
- Cut your plywood to the desired shape — standard queen headboard width is 63–65 inches. You can create a flat top, an arched top, or even geometric shapes using a jigsaw.
- Sand all edges smooth so the fabric doesn’t snag or tear as you staple it.
- Spray adhesive on the plywood face and press your foam firmly in place. Allow it to cure for at least 30 minutes before continuing.
- Wrap batting over the foam and pull it taut around to the back of the plywood, securing it with your staple gun. This layer is what gives your headboard that plush, professionally upholstered look.
- Lay your fabric face-down on a clean flat surface, center the headboard foam-side down on top, and begin stapling — always start at the center of each side and work outward, pulling fabric firmly as you go to avoid puckers and wrinkles.
- Miter your corners neatly, folding fabric the way you would wrapping a gift. Take your time here — neat corners are the difference between “homemade” and “custom.”
- Mount your headboard using a French cleat system (the most secure option) or install headboard legs to attach directly to your bed frame.
💡 Pro Tip
If you want a tufted headboard look without the intimidating tufting process, try channel tufting instead. Simply stitch or staple vertical or horizontal rows of fabric at regular intervals before you fully secure the back. This creates beautiful, even channels that look impressively tailored but require none of the precision that button tufting demands. It’s my go-to shortcut for beginner sewers who want a high-end look.
Headboard Ideas for Renters: No Drilling Required
If you’re renting your home or apartment, you might assume that dramatic headboard upgrades are off-limits. In my experience working with renters across major US cities, this is one of the most common misconceptions in home decor. The truth is that some of the most creative and visually stunning headboard solutions are specifically designed for renters who can’t put a single hole in the wall.
Freestanding headboards that lean against the wall (like a vintage door panel or a tall wood panel) require absolutely no hardware installation. Peel-and-stick wallpaper and removable wall decals can transform the wall behind your bed into a magazine-worthy statement without leaving any residue. Command strip-mounted art gallery walls, hanging fabric panels suspended from tension rods, or even a beautiful tapestry draped from a ceiling hook can create a headboard-like effect that comes down cleanly at the end of your lease. Renters have more options than they realize — and in many cases, their creative constraints produce the most inventive, personality-rich bedrooms I’ve ever had the privilege of photographing for design portfolios.
Matching Your DIY Headboard to Popular Bedroom Design Styles
| Design Style | Best Headboard Material | Color Palette | Key Texture |
|---|---|---|---|
| Modern Farmhouse | Shiplap, whitewashed wood | White, cream, warm gray | Matte, grainy wood |
| Bohemian / Global | Macramé, rattan, tapestry | Terracotta, ochre, sage | Woven, natural fiber |
| Coastal / Organic | Rattan, driftwood, linen | Sand, blue, seafoam | Airy, open weave |
| Glam / Hollywood Regency | Velvet upholstery, mirrored | Emerald, navy, blush, gold | Plush, shiny, tufted |
| Minimalist / Scandi | Natural wood, painted arch | White, birch, charcoal | Smooth, clean grain |
| Industrial / Urban | Reclaimed wood, metal pipe | Slate, black, raw wood | Rough, distressed |
| Traditional / Classic | Upholstered linen or leather | Navy, burgundy, champagne | Smooth, tailored |
Common DIY Headboard Mistakes (And How to Avoid Them)
Over the years, I’ve been called in to consult on more than a few DIY projects that didn’t quite go as planned. The good news is that most beginner mistakes are completely avoidable with a little advance planning. Here are the ones I see most frequently:
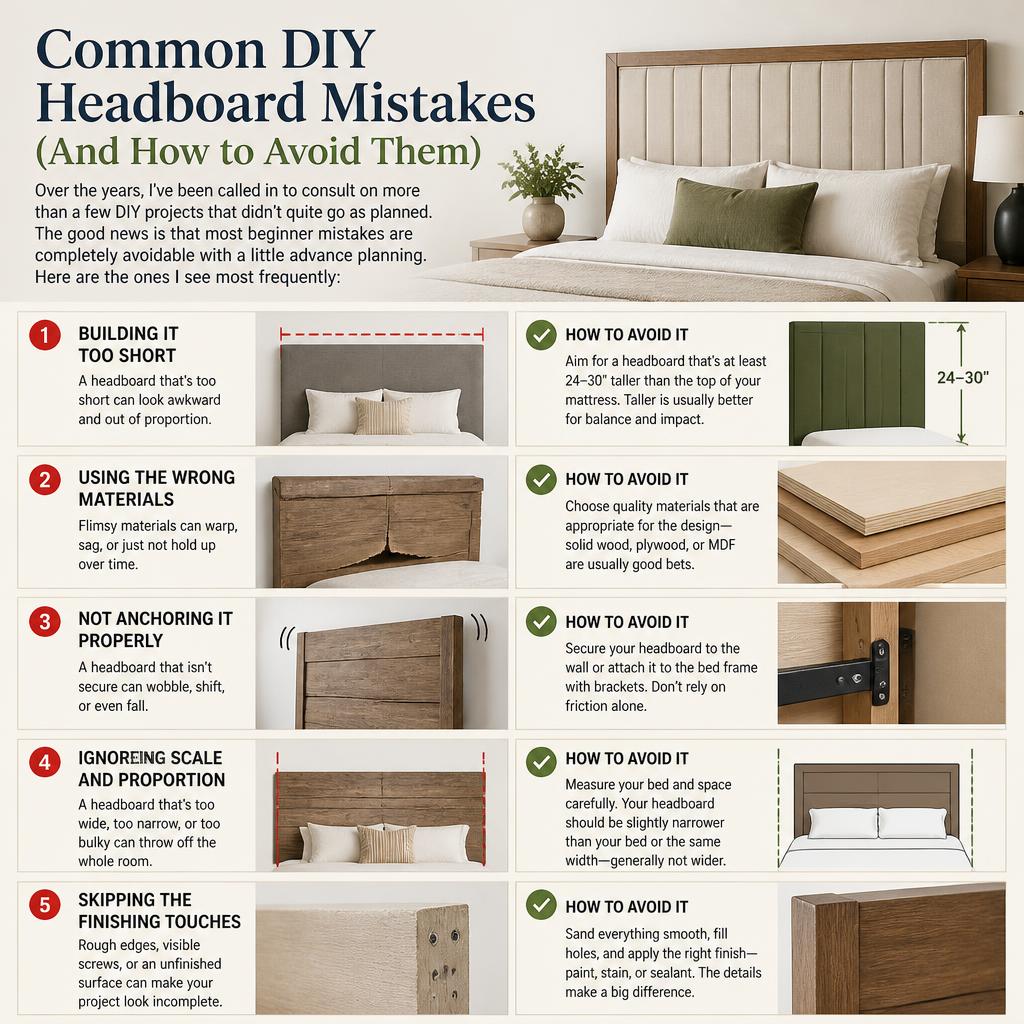
- Wrong scale: The headboard should extend at least 2–3 inches wider than your mattress on each side. A headboard that’s the same width as your mattress looks pinched and undersized — even if it’s beautiful in isolation.
- Wrong height: For a queen or king bed, aim for a headboard that sits 24–36 inches above the top of your mattress. This keeps it visually proportional and visible above pillows.
- Skipping the batting layer: If you’re making an upholstered headboard, never skip the Dacron batting layer over your foam. Without it, your headboard will look flat and the corners will be sharp rather than soft and inviting.
- Choosing fabric that’s too delicate: Silk, chiffon, and lightweight cottons won’t hold up to the tension of stapling and will look wrinkled over time. Stick to upholstery-weight fabrics or durable linen-blends for longevity.
- Not accounting for mounting: Plan your mounting strategy before you start cutting materials — the mounting hardware you choose affects the final height and placement of your headboard significantly.
“Measure twice, staple once. In upholstery, a moment of patience at the start saves hours of frustration at the finish.”— Interior Design Workshop, Atlanta Home Show 2025
Where to Source Materials for Your DIY Headboard
Smart material sourcing is what separates a $30 headboard from a $130 one. Knowing where to shop — and when — can dramatically cut your costs without sacrificing quality or aesthetics. As someone who sources materials for clients on a regular basis, here are the resources I rely on most consistently.
- Habitat for Humanity ReStore — Incredible source for reclaimed wood, vintage doors, and architectural salvage at 50–80% below retail
- Facebook Marketplace & Craigslist — Search for “upholstery fabric,” “foam,” or “wood panels” in your local area; remnants and partial rolls are often listed for a fraction of their original price
- JOANN Fabrics — Watch for their 40–50% off coupons on upholstery foam and fabric, which they run frequently throughout the year
- Home Depot & Lowe’s — Most locations will cut plywood to size in-store for free or a nominal fee, saving you the hassle of transporting full sheets
- Thrift stores (Goodwill, Salvation Army) — Vintage tapestries, macramé hangings, and wicker panels show up here regularly at remarkable prices
- Amazon — Best for foam and batting in larger quantities; compare per-inch pricing carefully as packaging can be misleading
💡 Pro Tip
If you’re buying fabric for an upholstered headboard, always order or purchase at least 15% more than your calculations suggest. Fabric directional patterns, cutting errors, and re-dos happen even to professionals. Running out of fabric mid-project and finding your dye lot is discontinued is one of the most frustrating experiences in DIY decor — one extra half-yard at the outset saves enormous stress.
Finishing Touches That Elevate Your DIY Headboard
A beautiful DIY headboard deserves an equally thoughtful supporting cast. Once your headboard is in place, resist the urge to consider the project “done” until you’ve addressed the styling details that professional designers obsess over. The headboard should anchor a cohesive vignette — not stand alone as a single statement piece in an otherwise unstyled room.
Layer your pillows thoughtfully: two European shams at the back, two standard sleeping pillows in coordinating shams, and one or two decorative accent pillows in the front. Install wall-mounted sconces flanking the headboard to provide both task lighting and visual balance — matching sconces at eye level create the kind of symmetry that makes a bedroom feel designed rather than assembled. Add a small nightstand with a textured object (a candle, a stack of books, a trailing plant) on each side, and choose a bedside lamp whose base material echoes a material in your headboard. These are the details that make the whole room look intentional and professionally curated.
Ready to Transform Your Bedroom?
A DIY headboard is one of the most rewarding home improvement projects you can take on — high visual impact, low cost, and the deeply satisfying feeling of having built something beautiful with your own hands. Whether you choose a weekend painted arch project that costs you nothing or invest a full Saturday into a plush upholstered statement piece, the result is a bedroom that finally feels like it reflects who you are.
Start by identifying your design style and setting a realistic budget. Gather your materials, clear your schedule for a weekend, and commit to the process. Refer back to the tables and checklists in this guide when you hit decision points. And remember: imperfections in handmade pieces aren’t flaws — they’re signatures. No boutique hotel, no matter how luxurious, will ever have a headboard that tells your specific story. Yours will.