
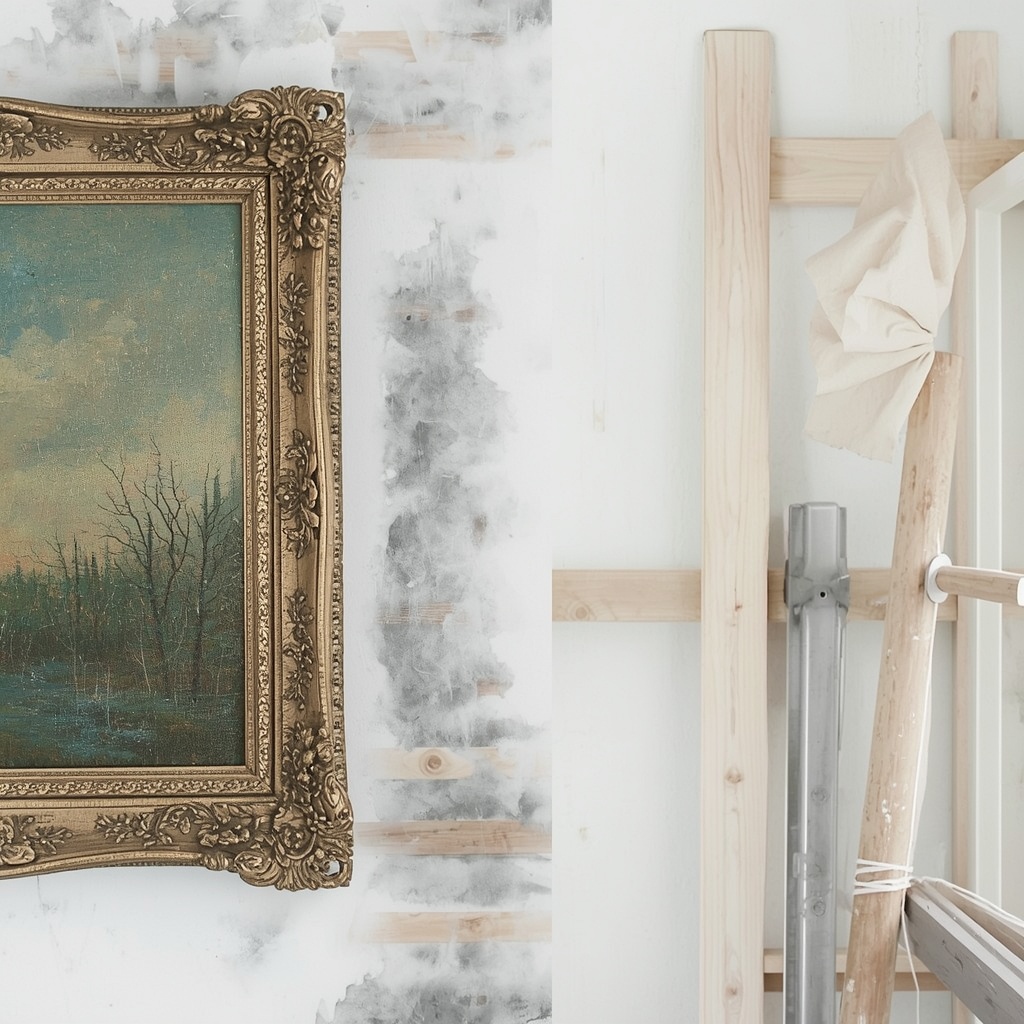
There’s a particular kind of heartbreak that only homeowners understand: stepping back from a freshly hung painting, only to realize it’s two inches too high, slightly crooked, and now there’s a nail hole staring back at you from the drywall. You patch it, try again, and somehow end up with three more holes than you started with.
As an interior designer who has hung thousands of frames, gallery walls, and statement pieces in homes across the country, I promise you this — hanging art is not about talent. It’s about method. With the right measurements, tools, and a little patience, you can hang any piece of wall art like a professional stager, the first time, every time.
This guide walks you through the exact process I use with clients, from picture hanging height rules to gallery wall layouts, so you never have to spackle another accidental hole again.
Why Most People Hang Art Incorrectly
Most art ends up too high on the wall. It’s an instinctive mistake — we tend to hang pieces at our own eye level while standing, forgetting that art should relate to the room, the furniture below it, and how people actually experience the space while sitting, walking, or lounging.
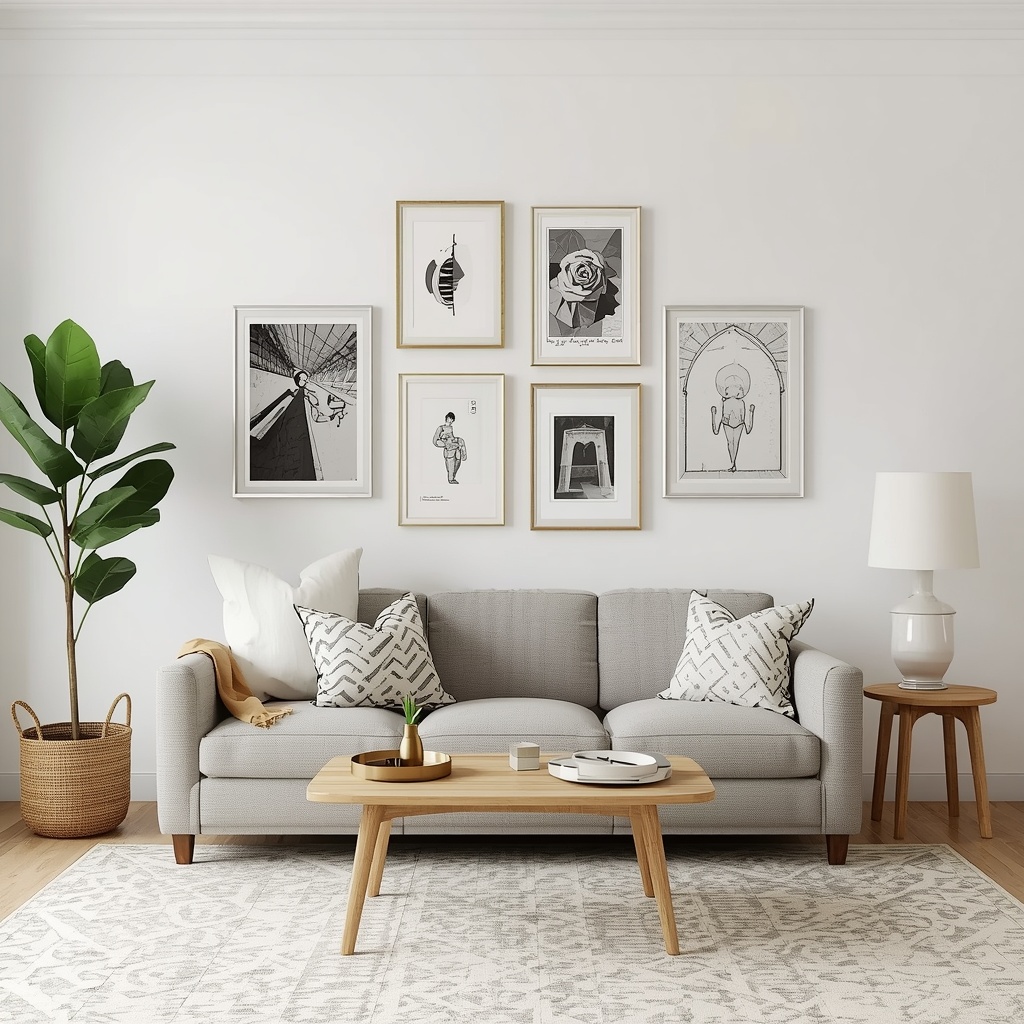
Poorly hung art disrupts the visual flow of a room. It can make ceilings feel lower, walls feel unbalanced, and even the most expensive frame look like an afterthought. The good news is that professional picture hanging follows predictable rules, not guesswork, which means it’s completely learnable.
“Art should feel like it belongs to the wall, not like it’s floating above a conversation happening beneath it.” — a principle many gallery curators live by when installing museum exhibits.
The Golden Rule: Eye-Level Hanging Height
The single most important rule in art placement is the 57-inch rule, borrowed directly from museum and gallery standards. This means the center of your artwork should sit approximately 57 inches from the floor — the average eye level for a standing adult.
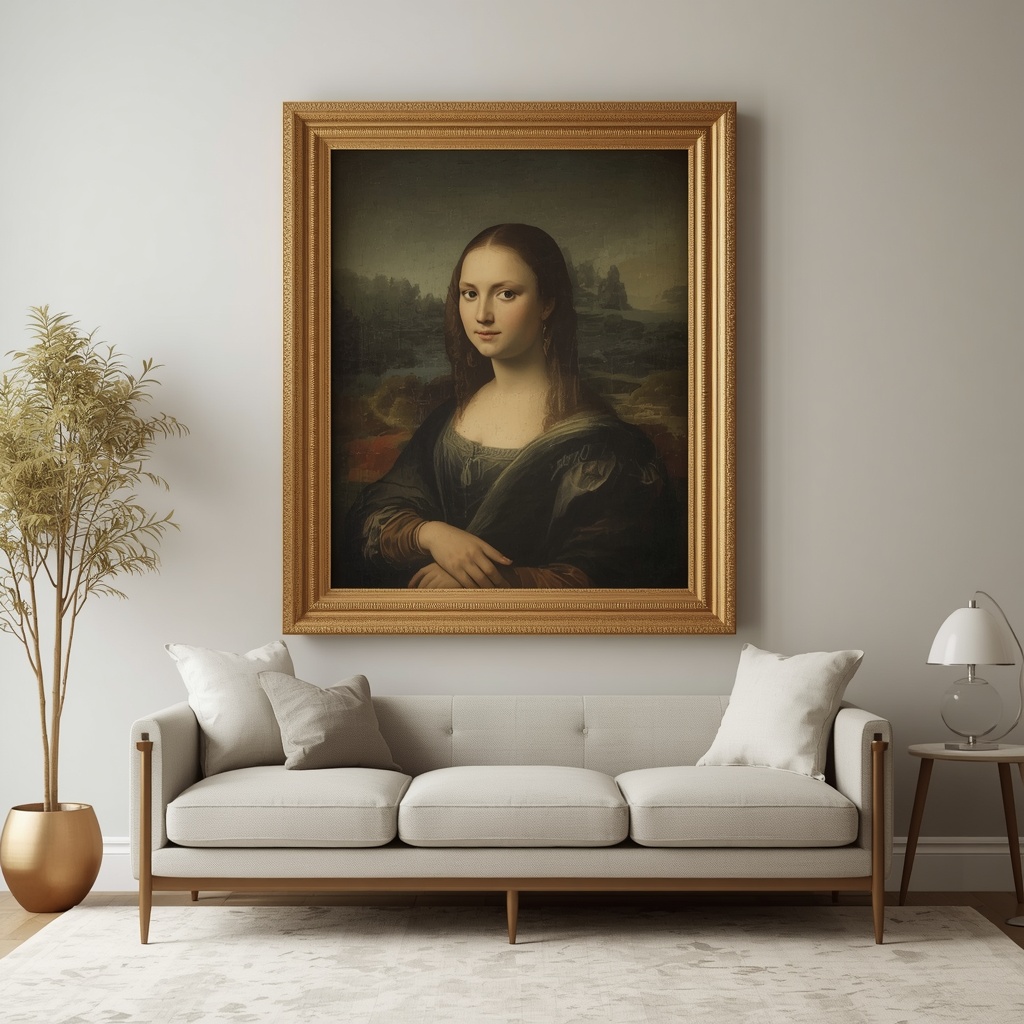
This isn’t an arbitrary number; it’s based on decades of exhibit design research aimed at reducing neck strain and creating a natural focal point. Applying it consistently across a home creates visual harmony from room to room, even when ceiling heights or furniture styles vary.
When to Adjust the 57-Inch Rule
| Room or Situation | Recommended Adjustment |
|---|---|
| Above a sofa or console table | 6–8 inches above the furniture top |
| Dining room (seated eye level) | Lower slightly, around 54–56 inches |
| Hallways and stairwells | Follow the staircase incline, keeping spacing even |
| Children’s rooms | Lower to child’s eye level, around 48 inches |
| Very high ceilings (10ft+) | Keep at 57 inches center — don’t chase the ceiling |
Pro Tip: Always measure from the floor to the center of the artwork, not the top of the frame. This single adjustment eliminates 90% of “why does this look off” moments in DIY art hanging.
Tools That Prevent Extra Holes
Before you pick up a hammer, gather the right tools. Most hanging mistakes happen because people skip measuring altogether and hang “by eye,” which almost always requires a second (or third) hole.
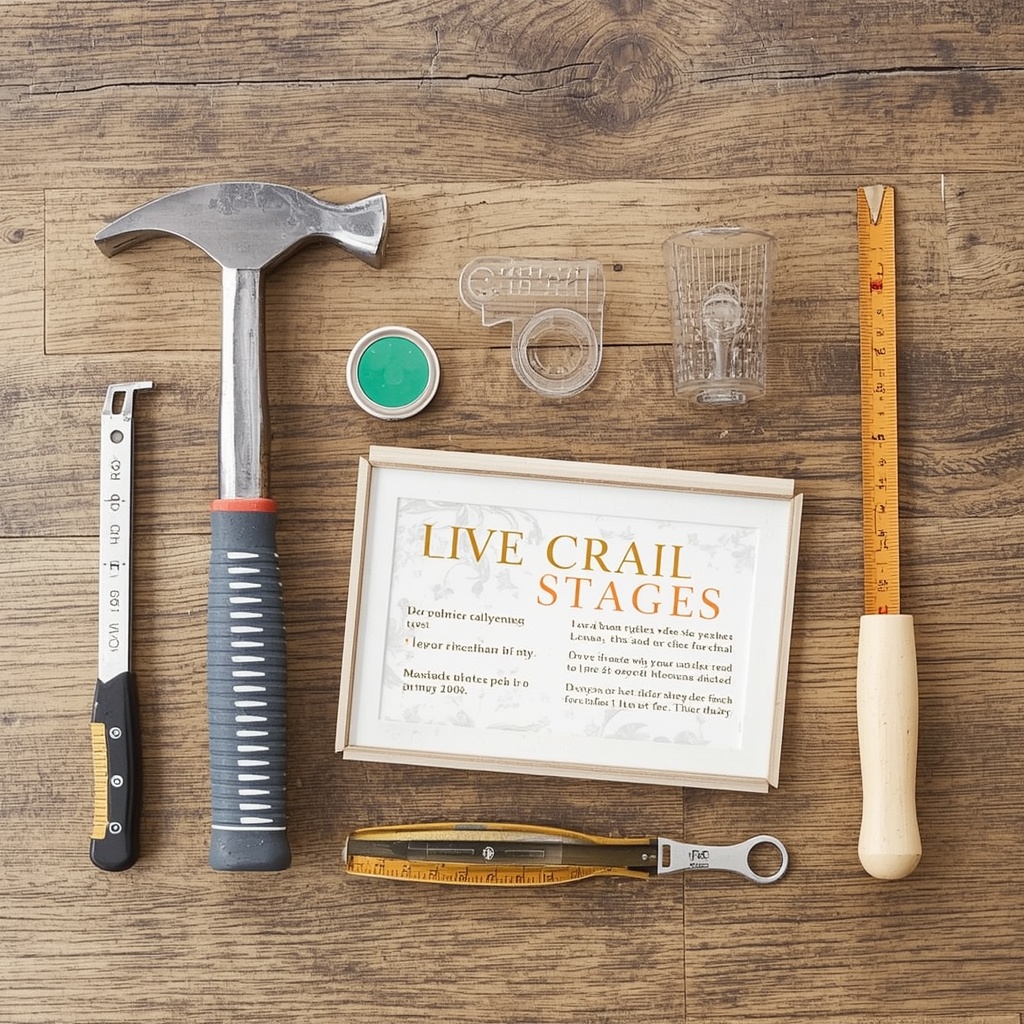
Here’s what belongs in every home decorator’s hanging kit:
- Painter’s tape – to map out placement without marking the wall
- A laser level or bubble level – for perfectly straight hangs
- A tape measure – non-negotiable for accuracy
- Kraft paper or newspaper templates – to test gallery wall layouts before drilling
- Picture hanging hooks rated for the frame’s weight – not just any nail
- Adhesive strips (like Command hooks) – for lightweight frames and rental-friendly hanging
- A stud finder – essential for heavier mirrors or canvases
Weight-Based Hardware Guide
| Frame Weight | Recommended Hardware |
|---|---|
| Under 5 lbs | Adhesive strips or small nail |
| 5–20 lbs | Picture hanging hooks (rated) |
| 20–50 lbs | D-rings with wall anchors or stud mounting |
| Over 50 lbs (mirrors, large canvases) | Stud mounting with heavy-duty brackets |
The No-New-Holes Method: Painter’s Tape Mapping
This is the single best technique for avoiding extra holes, and it’s the one I use on every client installation.
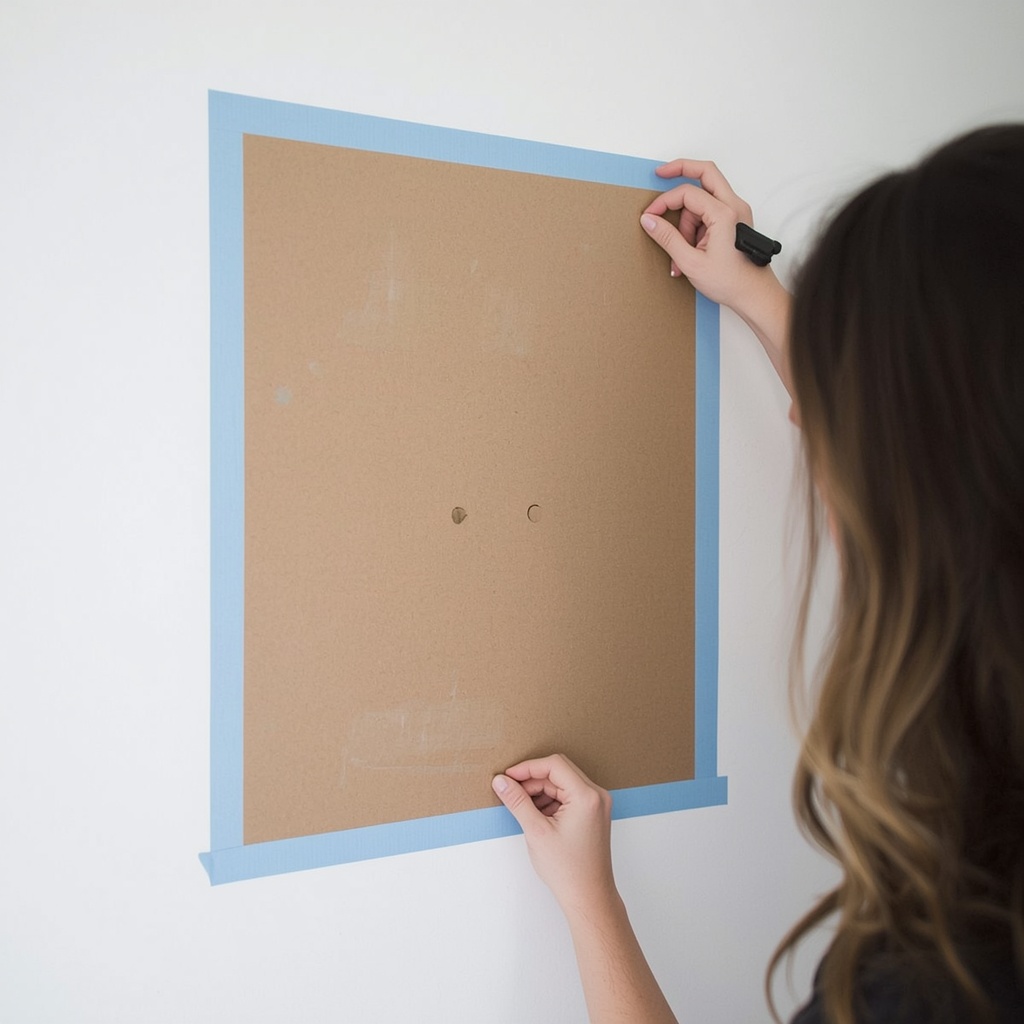
- Cut a piece of kraft paper to the exact size of your frame.
- Tape the paper cutout to the wall in your intended spot.
- Step back, check it against furniture and eye-level height, and adjust as needed — moving tape costs nothing.
- Once you’re confident, mark your hanging point directly through the paper with a pencil.
- Remove the paper and hang your hardware at that exact mark.
Because you’re only committing to a hole after the placement is fully confirmed, this method essentially guarantees a one-and-done hang. It’s especially valuable for heavier frames where re-drilling means patching, sanding, and repainting.
Pro Tip: If you already have a stray hole from a previous attempt, a dab of white toothpaste or a purpose-made spackle pen can disguise small nail holes in minutes — handy for last-minute touch-ups before guests arrive.
Hanging Without Any Holes at All
For renters, frequent redecorators, or anyone hesitant to touch a drill, there are excellent damage-free alternatives that still look polished.
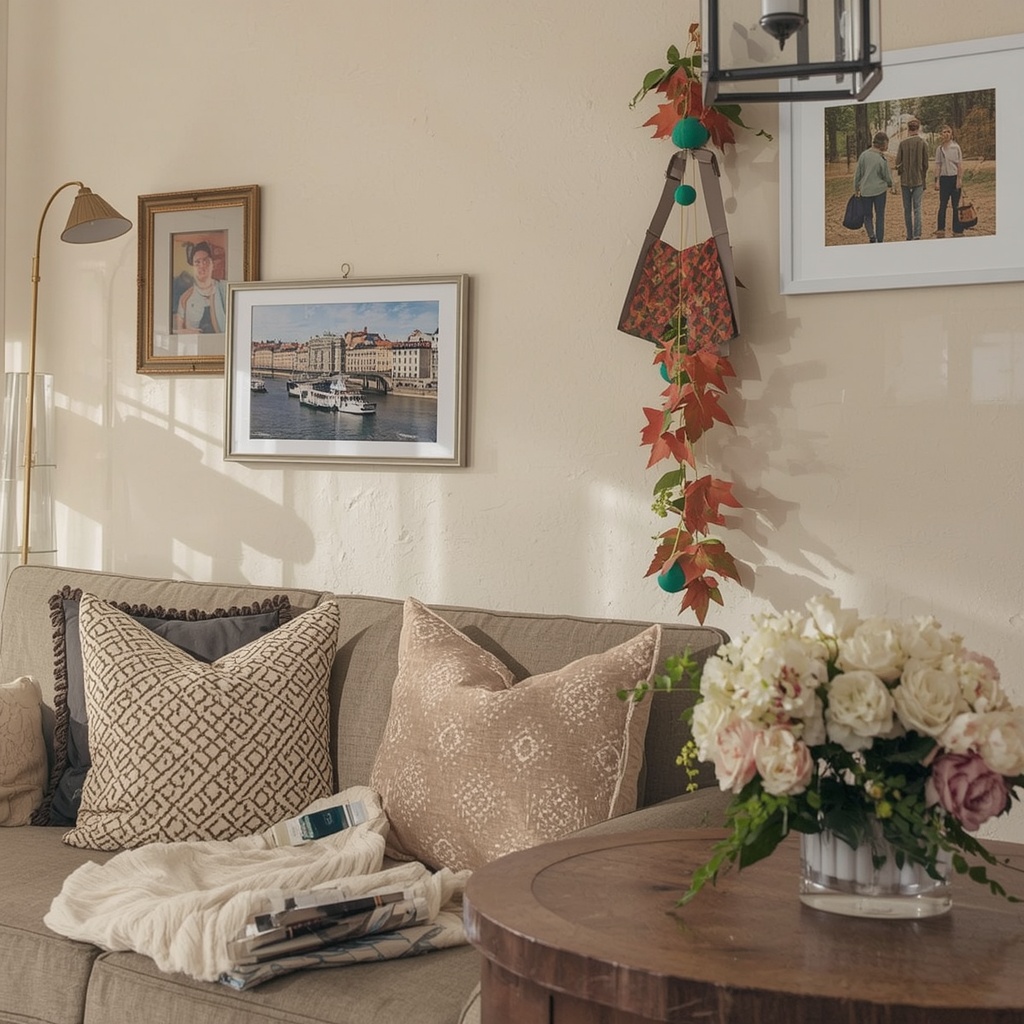
Adhesive strips and hooks have come a long way and can now safely hold frames up to 16 pounds, depending on the brand and size. They remove cleanly without peeling paint when applied and removed correctly, making them ideal for apartments and lease agreements that restrict wall damage.
Picture rail molding, a decor trend borrowed from Victorian-era homes, is having a resurgence in modern interiors. A horizontal rail installed near the ceiling allows artwork to hang from adjustable cords or hooks, meaning you can rearrange an entire wall without touching the drywall again. It’s a favorite among designers working in historic homes or rental properties where flexibility matters.
Other no-drill options worth considering:
- Leaning large-format art against the wall on a floating shelf or console
- Using a plate rail or ledge shelf for rotating art collections
- Freestanding easels for oversized statement pieces
- Tension rods or curtain systems for tapestries and fabric art
Designing a Gallery Wall Without Guesswork
Gallery walls are one of the most requested layouts in home decor, but they’re also where most hanging mistakes multiply, since one misjudged hole becomes five.
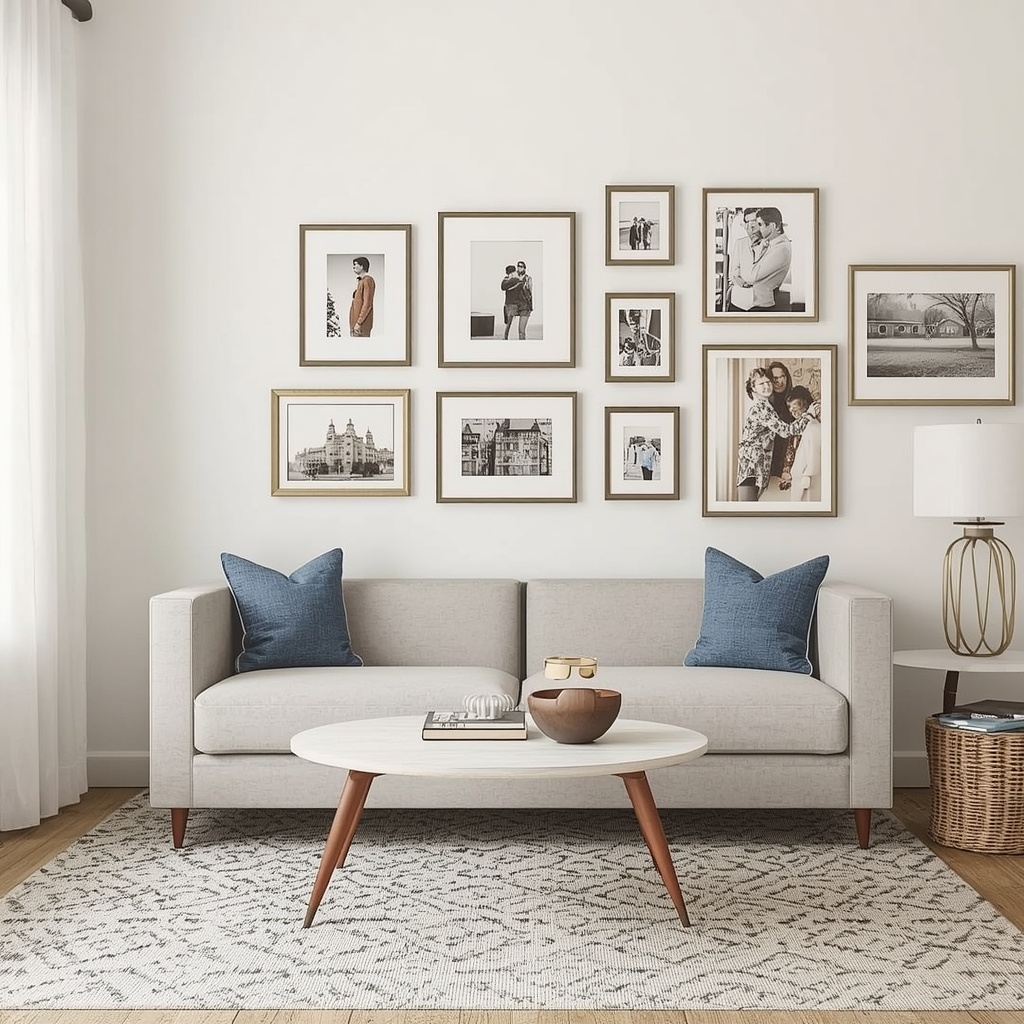
The trick is to design the entire layout on the floor first. Lay your frames out on a rug or table in your desired arrangement, keeping 2–3 inches of spacing between pieces for a cohesive gallery look. Take a photo from above so you have a reference, then transfer the layout to the wall using the kraft paper method for every single frame before any nail goes in.
Balance is more important than symmetry. A well-designed gallery wall considers visual weight — darker, larger, or busier pieces should be distributed evenly rather than clustered on one side. Anchor the arrangement around one focal piece, then build outward.
Popular Gallery Wall Layouts
| Layout Style | Best For |
|---|---|
| Grid layout | Modern, minimalist spaces; uniform frame sizes |
| Salon-style (eclectic) | Eclectic, collected-over-time aesthetic |
| Linear row | Hallways and staircases |
| Focal + satellite | One large statement piece surrounded by smaller art |
Pro Tip: Start your gallery wall from the center piece and work outward in both directions. This keeps the composition balanced even if you add more frames later.
Straight Every Time: Leveling Techniques
A crooked frame is often more noticeable than a slightly wrong height. Even professionally placed art looks amateur if it’s tilted.
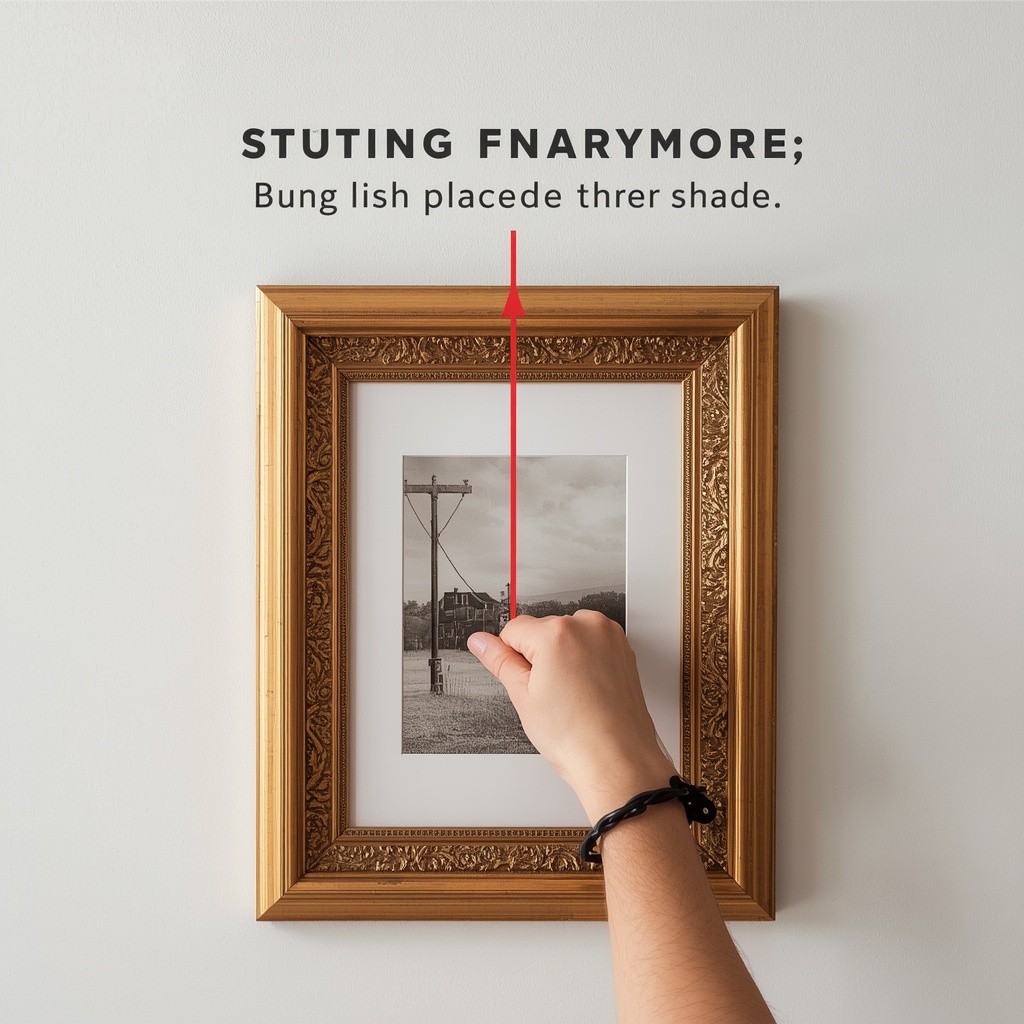
Use a small bubble level or a laser level clipped to the top of the frame before finalizing your pencil mark. For frames with wire hanging systems, add a small dot of removable putty behind the bottom corners of the frame once hung; this keeps it from shifting when a door closes or the house settles, without requiring any additional hardware.
Quick Reference: Room-by-Room Hanging Guide
| Room | Key Consideration |
|---|---|
| Living Room | Hang above furniture at 6–8 inches clearance |
| Bedroom | Center above headboard, matching bed width |
| Entryway | First impression piece; hang at true 57-inch center |
| Home Office | Position within seated eye level for video calls |
| Bathroom | Use moisture-resistant frames and adhesive-safe hardware |
Common Art-Hanging Mistakes to Avoid
- Hanging too high because you’re measuring at standing eye level instead of the room’s real sightline
- Using a single nail for heavy mirrors or canvases instead of proper wall anchors
- Skipping the paper-template step and eyeballing gallery wall spacing
- Ignoring stud location for anything over 20 pounds
- Ignoring the color and light exposure of the wall around the art, which affects how it visually settles into a room
Final Thoughts
Hanging art well isn’t about perfection on the first try with a hammer — it’s about testing before committing. Whether you’re working with a single statement painting above the sofa or building out a full salon-style gallery wall, the same principles apply: measure to the center at eye level, map your placement before drilling, and choose the right hardware for the weight of your piece.
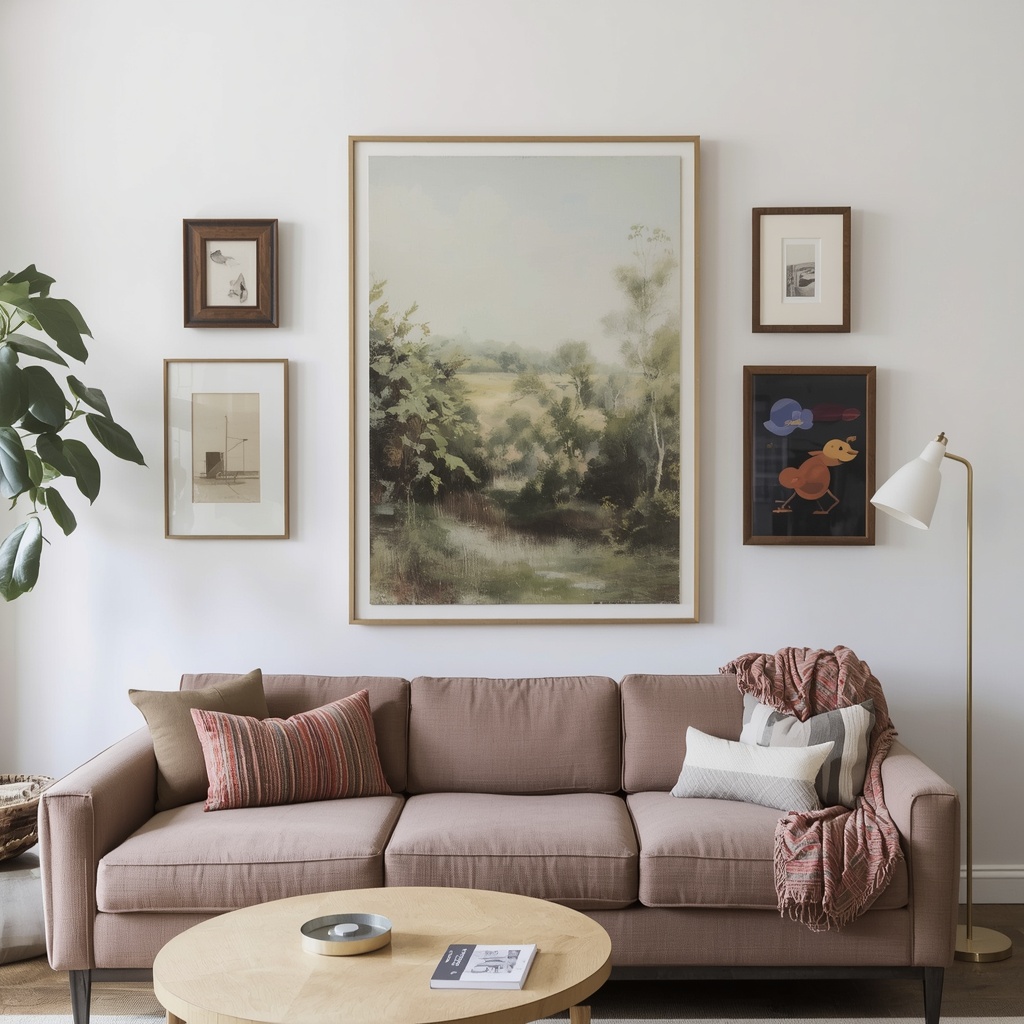
Done right, art hanging becomes one of the most affordable, high-impact upgrades in home decor — no contractor, no extra spackle, and no regretful holes in the drywall.