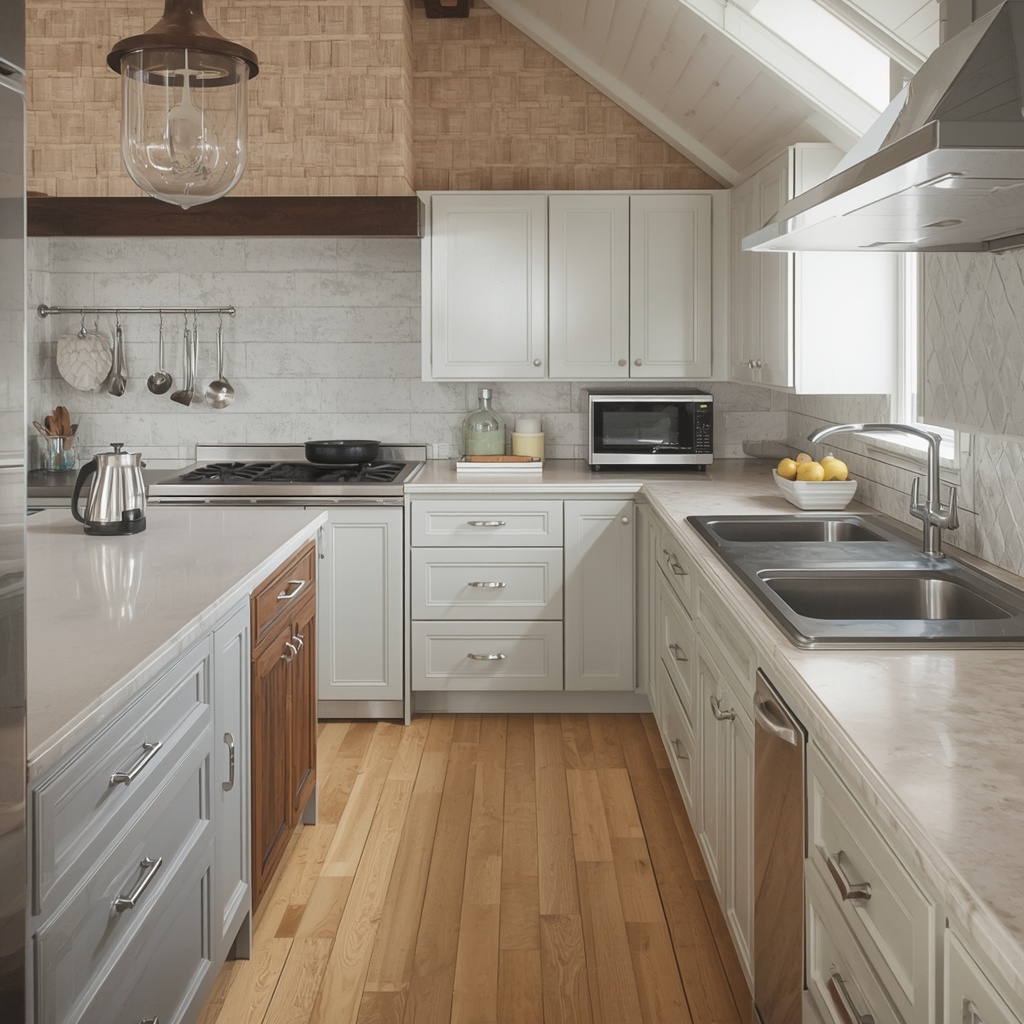
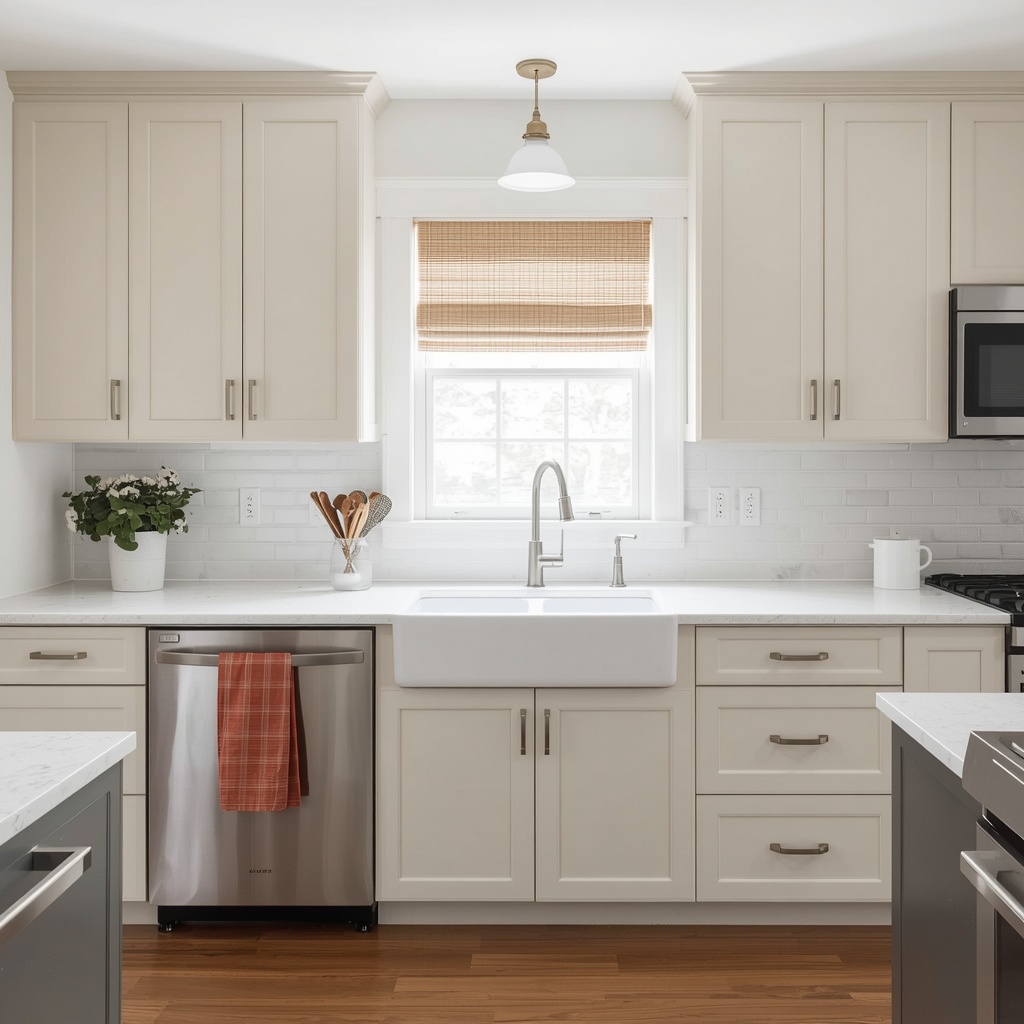
Is your kitchen feeling a little tired and dated? You don’t need to rip out your cabinets and spend $20,000 on a full remodel to fall back in love with your kitchen. One of the most budget-friendly, high-impact upgrades any American homeowner can make is refreshing kitchen cabinets with paint and new hardware knobs. As an interior designer who has worked with hundreds of families across the U.S., I can tell you firsthand: this single weekend project can completely transform the heart of your home.
In this guide, you’ll learn exactly how to prep, prime, paint, and accessorize your kitchen cabinets like a pro — no contractor required.
Why Painting Kitchen Cabinets Is the Smartest Home Upgrade You Can Make
Before we dive into the how-to, let’s talk about the why. Kitchen cabinet painting is one of the highest-ROI home improvement projects available to homeowners. According to HomeAdvisor, a full kitchen cabinet repaint costs between $900 and $3,800 when professionally done — compared to $15,000–$50,000+ for a full cabinet replacement. And when you DIY it? You can pull it off for under $300.
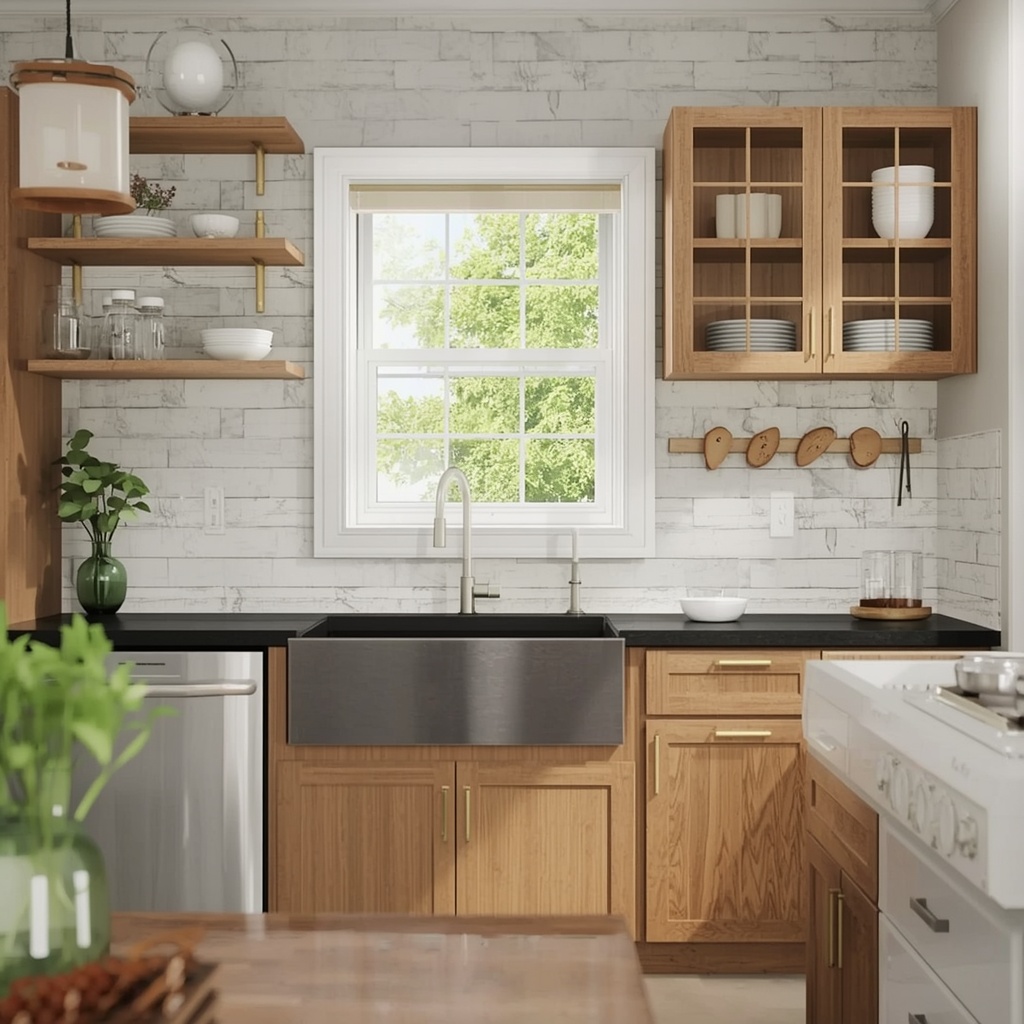
Beyond the budget benefits, updating your cabinet color and swapping out old knobs breathes new life into your entire kitchen aesthetic. Whether your style leans farmhouse, modern minimalist, transitional, or coastal, the right paint color paired with the right cabinet hardware can anchor the whole look.
Semantic benefits of this upgrade include:
- Increased home resale value
- Improved kitchen functionality and visual flow
- Updated kitchen design without structural changes
- Fresh, modern cabinet finish that pairs well with new countertops or backsplash
What You’ll Need: Tools, Supplies, and Cabinet Hardware
Before you start, gather everything you need. Running to the hardware store mid-project is the #1 reason DIY kitchen projects stall out.
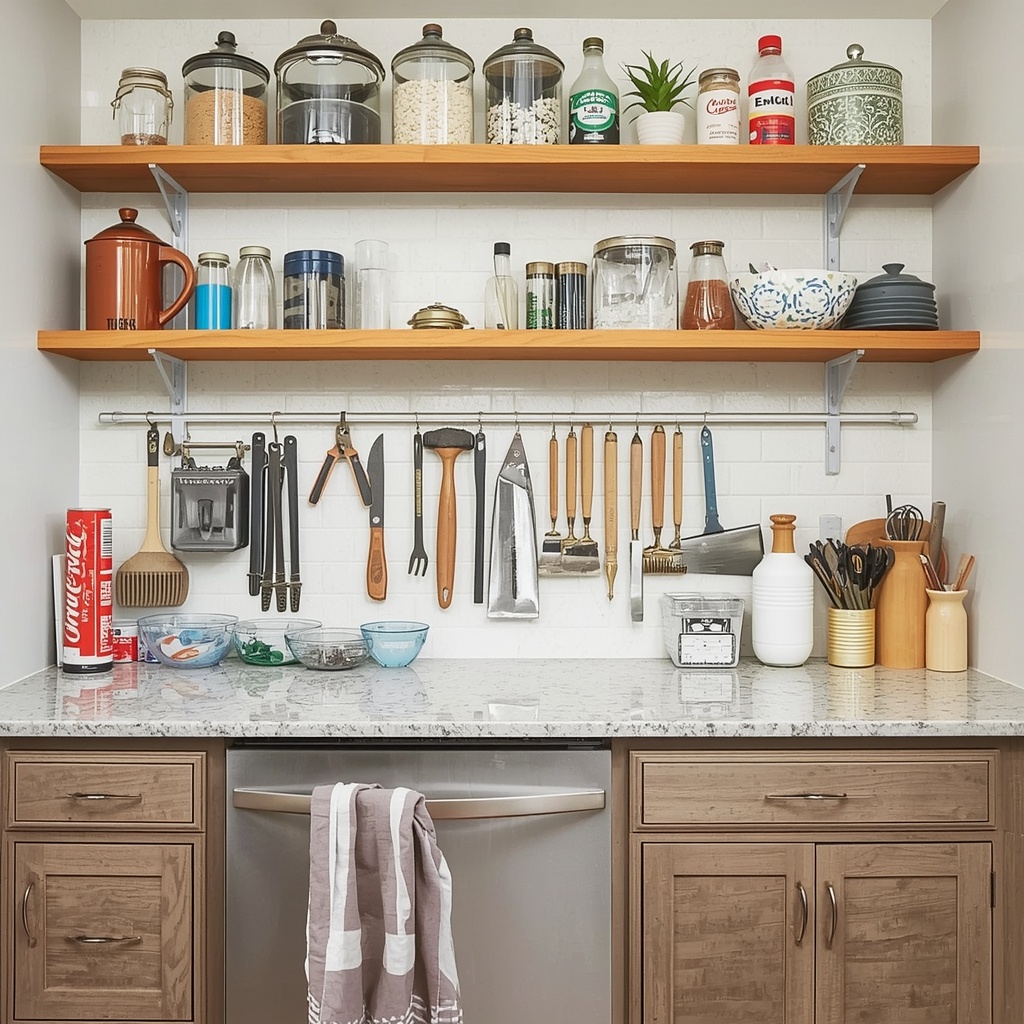
Essential Supplies Checklist
- TSP cleaner or degreaser (like Krud Kutter)
- 150-grit and 220-grit sandpaper
- Bonding primer (shellac-based or water-based, depending on your cabinet material)
- Cabinet paint (latex or oil-based — more on this below)
- High-density foam roller (4-inch)
- Angled paintbrush (2-inch)
- Painter’s tape
- Drop cloths
- Screwdrivers (flathead and Phillips)
- Wood filler or spackle (for old hardware holes)
- New cabinet knobs or pulls of your choice
- Cabinet door template/jig (optional but highly recommended for consistent hardware placement)
“The difference between a DIY paint job that looks cheap and one that looks custom comes down to prep work. Skipping sanding and priming is the fastest way to end up with peeling cabinets in six months.” — Interior Design Pro Tip
Step 1: Remove Cabinet Doors, Drawers, and Old Hardware
Start by emptying your cabinets and removing all doors and drawer fronts. Use a screwdriver to detach hinges and set the hardware aside in labeled zip-lock bags — you’ll thank yourself later.
Label each door with a piece of painter’s tape and a marker (e.g., “Upper Left 1,” “Lower Right 3”) so reinstallation is seamless. Lay the doors flat on sawhorses or a clean workspace in your garage or backyard. Never paint cabinet doors vertically unless you want drips — always paint them horizontal.
Remove all existing cabinet knobs and pulls. If you’re switching to a different hole-spacing size (e.g., going from a single-hole knob to a bar pull with 3-inch spacing), you’ll need to fill the old holes with wood filler, let it dry completely, and sand flush before painting.
Step 2: Clean and Degrease — The Most Important Step Nobody Talks About
This is where most DIYers rush, and it almost always shows. Kitchen cabinet surfaces accumulate years of cooking grease, fingerprints, and grime. Paint will not properly adhere to dirty surfaces, no matter how good your primer is.
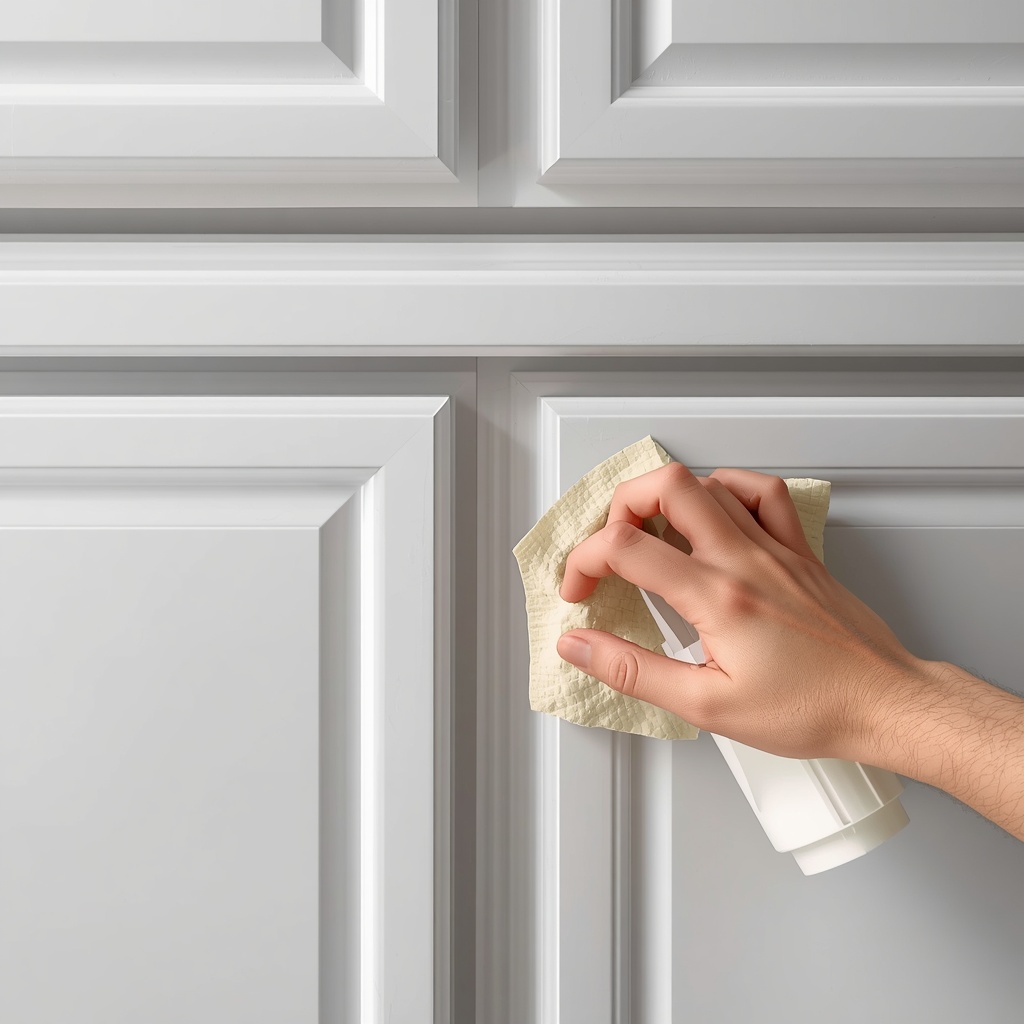
Use a TSP substitute cleaner or a dedicated kitchen degreaser like Krud Kutter. Wipe down every surface — fronts, backs, sides, and the cabinet frames inside your kitchen. Rinse with clean water and allow everything to dry completely (at least 24 hours in humid climates).
Once clean, lightly scuff all surfaces with 150-grit sandpaper. You’re not trying to strip the finish — just creating “tooth” for the primer to grip. Wipe away all dust with a tack cloth before moving on.
💡 Pro Tip: If your existing cabinets have a glossy factory finish (common in thermofoil or laminate cabinets), use a liquid deglosser like Wilbond after sanding. This dramatically improves paint adhesion without requiring aggressive sanding that could damage the surface.
Step 3: Apply a Bonding Primer
Never skip primer on kitchen cabinets. Ever. A high-quality bonding primer is what separates a cabinet paint job that lasts 10 years from one that chips and peels within 18 months.
Which Primer Should You Use?
| Cabinet Material | Recommended Primer Type | Top Product Pick |
|---|---|---|
| Wood (bare or stained) | Water-based bonding primer | Zinsser Bulls Eye 1-2-3 |
| Previously painted (latex) | Water-based bonding primer | KILZ Premium |
| Previously painted (oil) | Oil-based or shellac primer | Zinsser BIN Shellac |
| MDF or particle board | Oil-based or shellac primer | Zinsser BIN Shellac |
| Thermofoil / Laminate | Shellac-based primer | Zinsser BIN Shellac |
Apply primer with a foam roller for flat surfaces and a brush for recessed panel details. Allow full drying time per manufacturer instructions (usually 1–2 hours). Lightly sand with 220-grit after the first coat, wipe with a tack cloth, and apply a second coat if needed.
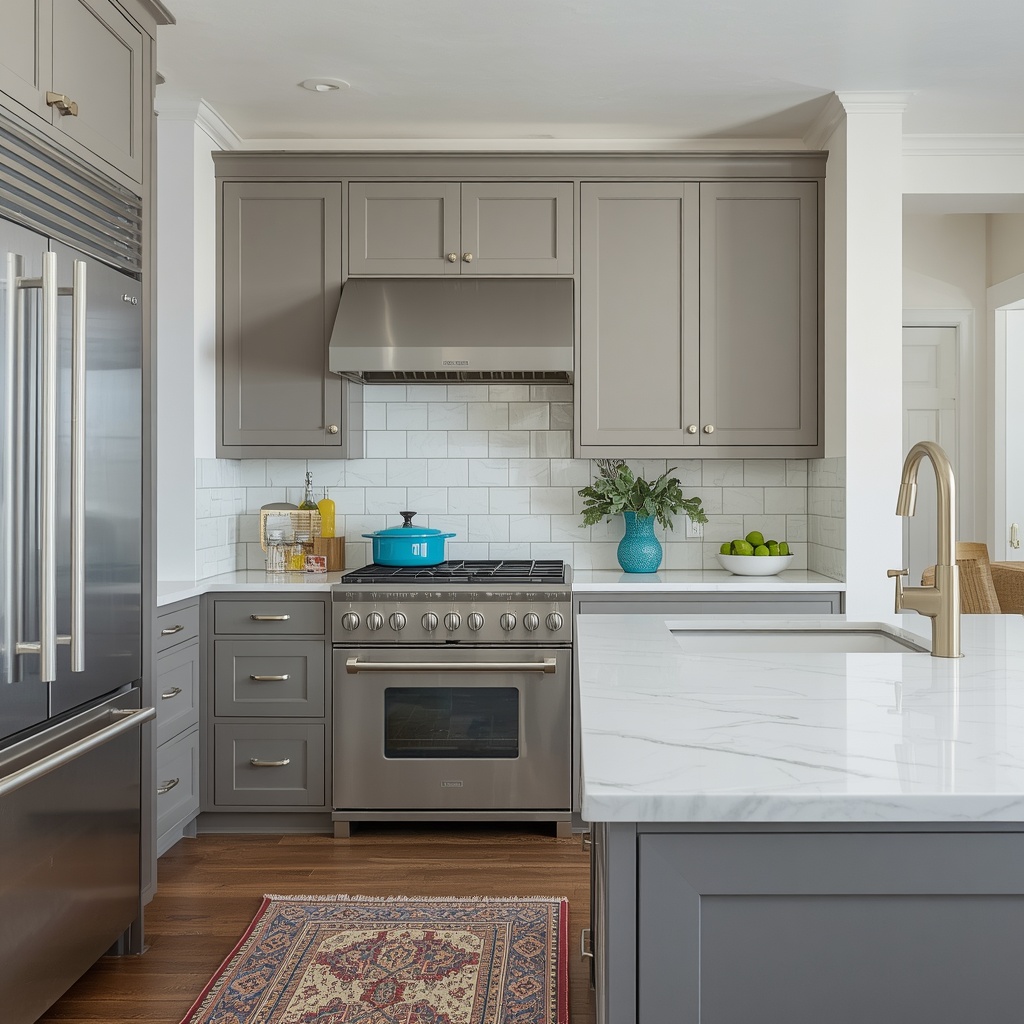
Step 4: Choose the Right Cabinet Paint
Your paint choice will make or break the final finish. For kitchen cabinets, you want a paint that is durable, moisture-resistant, and cures to a hard, scrubbable finish.
Top Paint Options for Kitchen Cabinets
Benjamin Moore Advance is consistently the gold standard among interior designers. It’s a water-based alkyd hybrid that levels beautifully (meaning almost no brush marks), dries hard, and comes in thousands of colors. It’s what I recommend to nearly every client.
Sherwin-Williams Emerald Urethane Trim Enamel is another top performer with excellent durability and a wide color range. It’s slightly less self-leveling than Advance but equally tough once cured.
Rust-Oleum Cabinet Transformations is a budget-friendly kit option that works well for renters or those wanting a simpler, all-in-one process.
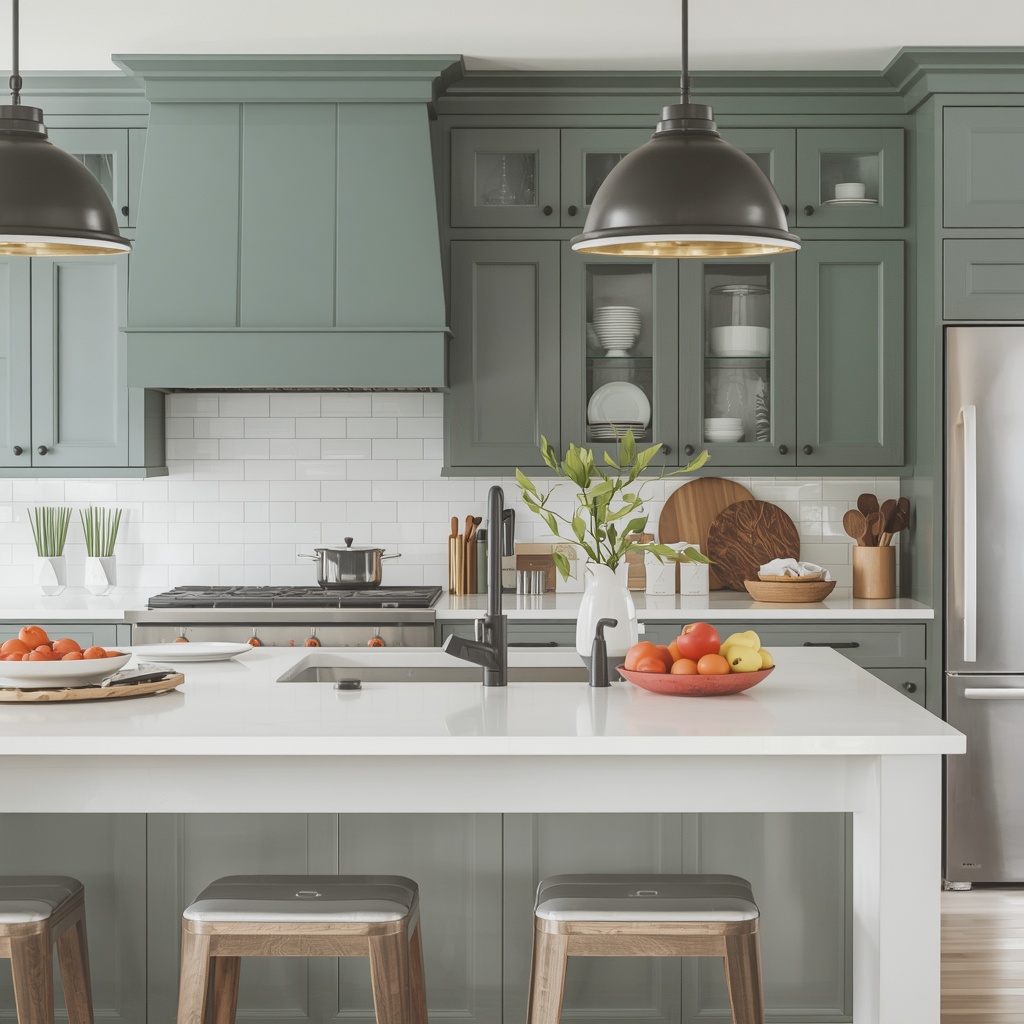
Best Cabinet Paint Colors Trending in 2025
- Greige tones (gray-beige) — timeless and versatile
- Navy blue — dramatic, high-end, pairs beautifully with brass hardware
- Sage green — earthy, calming, on-trend with the organic modern style
- Crisp white (SW Alabaster, BM Chantilly Lace) — forever classic
- Charcoal gray — sleek and modern, especially for lower cabinets in two-tone designs
Apply paint in thin, even coats. Two to three coats is standard, with light sanding between coats using 220-grit sandpaper. Allow full cure time before rehanging doors — this is usually 7–14 days for full hardness, even if the paint feels dry to the touch sooner.
💡 Pro Tip: Paint your cabinet box frames (the parts attached to your kitchen wall) first while the doors are off. Use a small foam roller for the interiors and an angled brush for edges. Getting inside the cabinet while the doors are removed is dramatically easier.
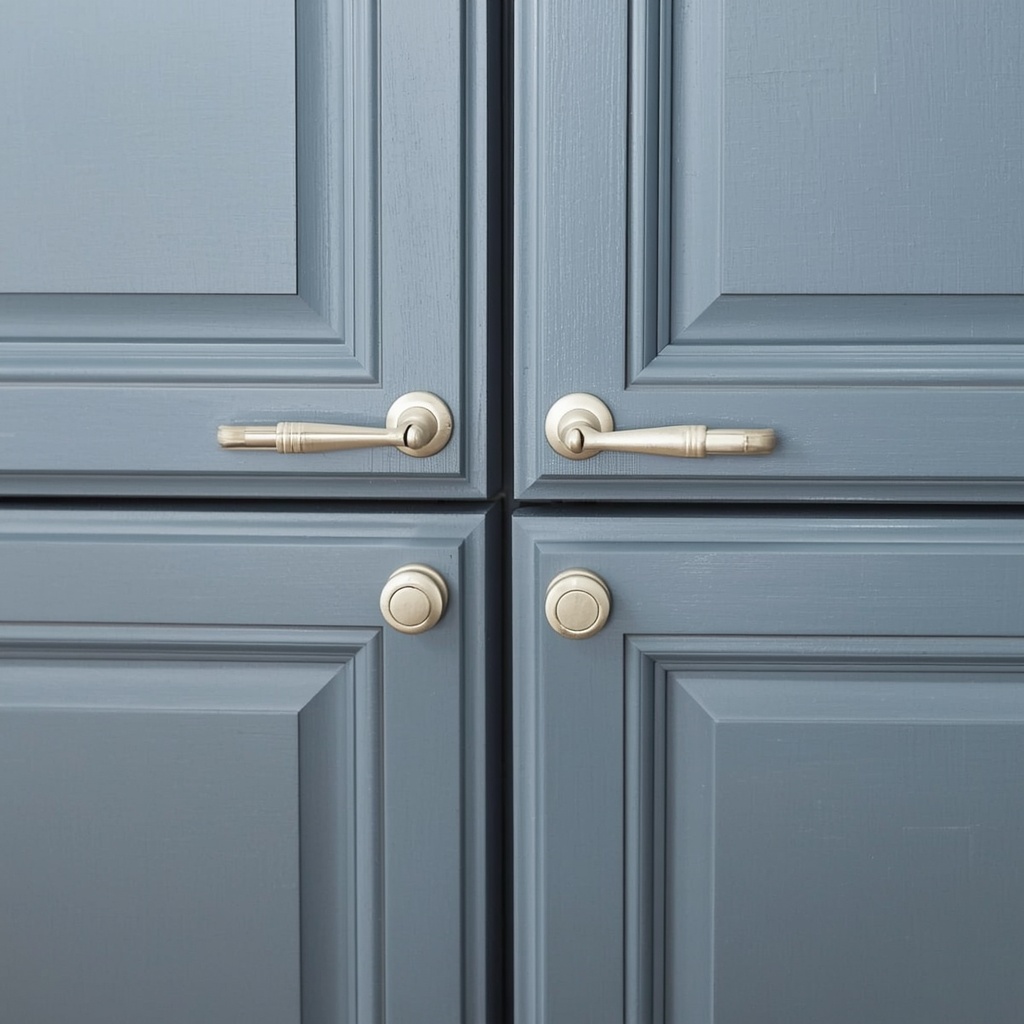
Step 5: Pick the Perfect Cabinet Knobs and Pulls
Here’s where the real magic happens. New cabinet hardware is like jewelry for your kitchen — it’s a small detail that makes an enormous visual impact. Replacing dated brass knobs with modern hardware can easily make cabinets look 15 years newer.
Hardware Style Guide by Kitchen Aesthetic
| Kitchen Style | Best Hardware Finish | Best Hardware Style |
|---|---|---|
| Farmhouse / Cottage | Matte black, oil-rubbed bronze | Cup pulls, bin pulls, simple round knobs |
| Modern / Minimalist | Brushed nickel, matte black | Long bar pulls, slim rectangular pulls |
| Traditional / Classic | Antique brass, polished nickel | Egg-shaped knobs, rope pulls, glass knobs |
| Transitional | Satin brass, champagne bronze | Simple bar pulls, round knobs |
| Coastal / Boho | Chrome, unlacquered brass | Rope pulls, shell knobs, ceramic |
Knob vs. Pull: Which Should You Use Where?
- Doors: Knobs (single hole) work beautifully on cabinet doors, especially upper cabinets
- Drawers: Bar pulls (two holes) are more functional and ergonomic for drawers
- Mix and match: Using knobs on doors and pulls on drawers is a designer trick that adds visual rhythm
Where to Shop for Cabinet Hardware
- Rejuvenation — high-end, heirloom quality
- Wayfair — huge selection, budget-friendly
- Anthropologie Home — unique, artisan-inspired
- House of Antique Hardware — restoration-friendly vintage styles
- IKEA — minimalist, affordable pulls that punch above their price point
💡 Pro Tip: Order a few extra knobs and pulls beyond what you need. Hardware lines discontinue regularly, and having spares means you won’t be in a bind if one breaks or you add a cabinet later.
Step 6: Reinstall Doors and Attach New Hardware
Once your paint has fully cured (again — don’t rush this!), it’s time to rehang doors and install your new knobs and pulls.
Use a cabinet hardware jig or template to ensure every knob and pull is installed at the exact same height and position. This is critical — inconsistent hardware placement is immediately noticeable and makes the whole project look sloppy. You can find jigs at any hardware store for under $15, or print a DIY template online.
Rehang your cabinet doors using your labeled tape system to return each door to its correct position. Check that all doors hang level and adjust hinges as needed — most modern hinges have a built-in adjustment screw for this.
Cabinet Painting Cost Breakdown: DIY vs. Professional
| Item | DIY Cost | Pro Cost |
|---|---|---|
| Primer | $20–$45 | Included |
| Paint (1–2 gallons) | $60–$120 | Included |
| Brushes, rollers, tape | $30–$50 | Included |
| New hardware (10–30 pieces) | $50–$300 | $50–$300 |
| Labor | Your time (2–3 weekends) | $800–$3,000 |
| Total | $160–$515 | $900–$3,300+ |
Common Mistakes to Avoid
Learning from other people’s mistakes is the most efficient form of education. Here are the pitfalls I see most often in kitchen cabinet DIY projects:
- Skipping degreasing — Paint won’t stick to grease. Period.
- Using interior wall paint — It’s too soft and will scratch and chip quickly. Always use cabinet-specific or trim paint.
- Rushing cure time — Hanging doors too soon leads to paint sticking to the frame and peeling off when you open the door.
- Not back-priming doors — Prime and paint the backs of doors too, even if it’s just one coat. Unfinished backs absorb humidity unevenly and can cause warping over time.
- Choosing hardware without measuring — Always measure your existing hole spacing (center-to-center) before ordering new pulls. Standard drawer pull spacing is 3″, 3.75″, and 5″.
- Painting in high humidity or cold temperatures — Ideal painting conditions are 65–85°F and below 70% humidity.
Final Thoughts: A Fresh Kitchen Without the Full Renovation Price Tag
Refreshing your kitchen cabinets with paint and new hardware is one of the most satisfying, cost-effective home improvement projects you can take on. With the right prep work, quality materials, and a little patience, you can achieve a result that looks like a professional renovation — for a fraction of the cost.
Whether you’re updating your kitchen before a home sale, refreshing a rental, or simply craving a change of scenery, this project delivers transformative results. Pick a color that speaks to your personal style, invest in quality hardware that complements your aesthetic, and give your cabinets the glow-up they deserve.