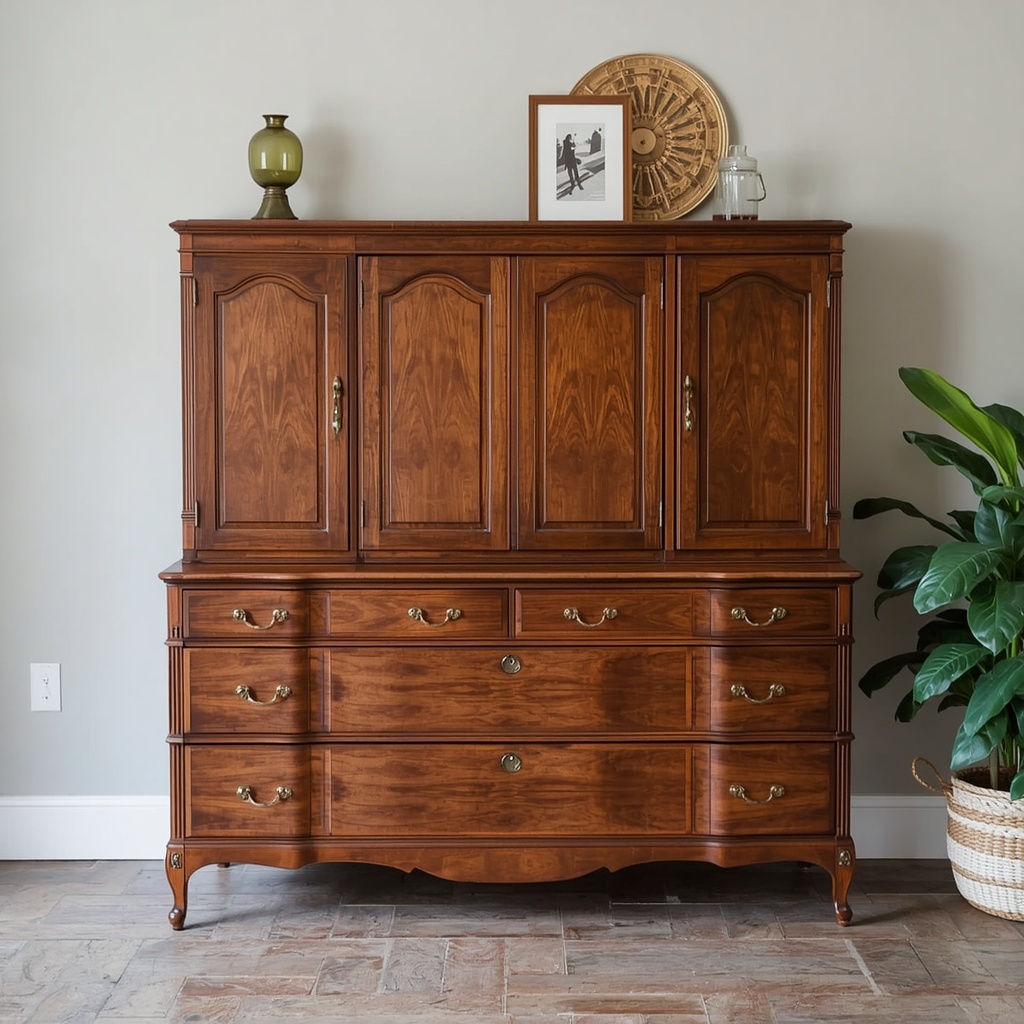
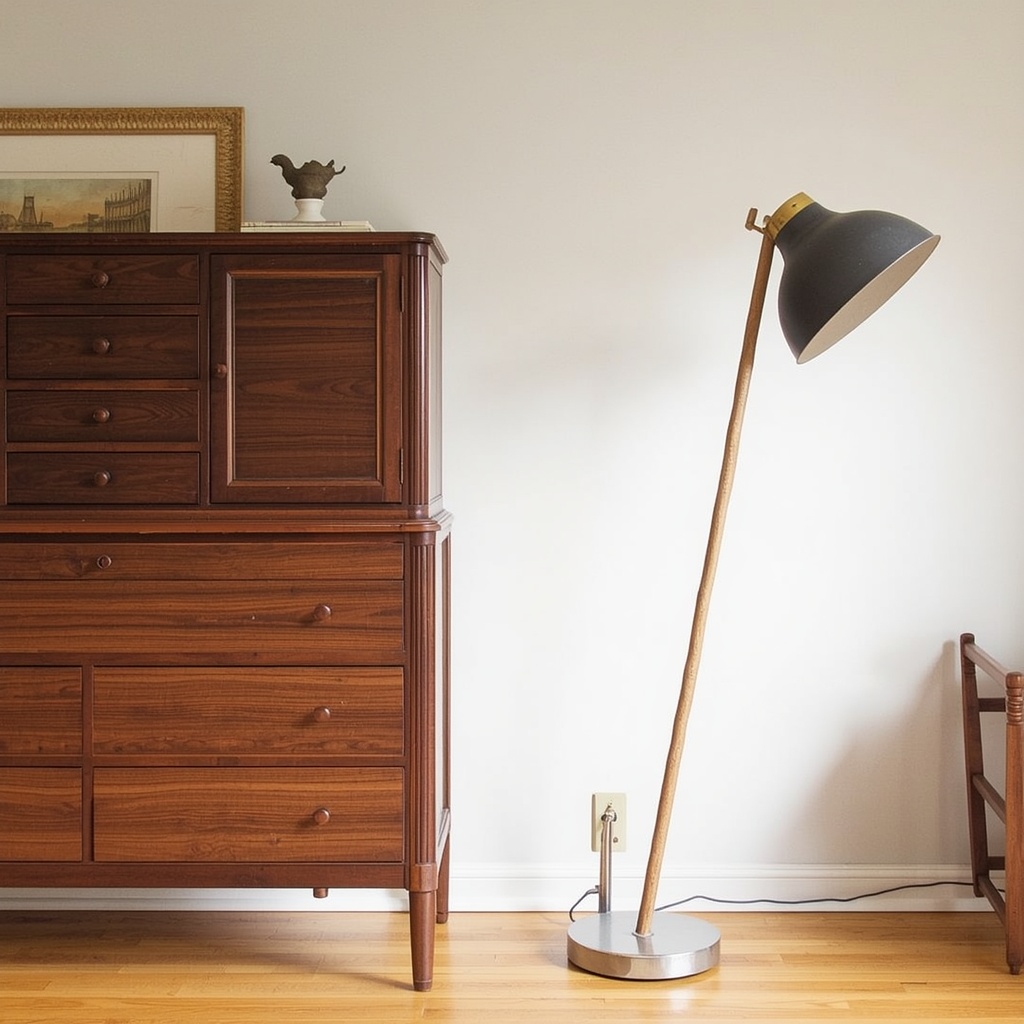
There’s a particular kind of magic in a vintage dresser with hand-cut dovetail joints, or a mid-century teak credenza that’s outlived three owners and two cross-country moves. As an interior designer who has spent years sourcing, restyling, and reviving secondhand wood furniture for clients across the country, I can tell you this: the bones are almost always worth saving. What usually needs help is the surface — decades of grime, faded finish, and a few battle scars.
This guide walks you through exactly how to clean vintage wooden furniture safely, restore its natural shine, and protect it for the next fifty years. Whether you scored a Victorian side table at an estate sale or inherited grandma’s oak hutch, you’ll learn the same techniques professional furniture restorers use.
“Wood remembers everything — every spill, every summer, every move. Restoration isn’t about erasing that history. It’s about letting the wood breathe again.”
Why Vintage Wooden Furniture Deserves a Second Life
Solid wood furniture made before the 1980s was typically built from old-growth hardwoods like oak, walnut, mahogany, and maple — denser, more stable, and far sturdier than much of today’s mass-produced furniture. That density is exactly why vintage pieces hold up so well to restoration; the wood simply has more material to work with.
There’s also a sustainability angle that fits beautifully into modern home decor. Refinishing an antique dresser keeps it out of a landfill, reduces demand for new lumber, and gives your space a layered, collected-over-time look that no big-box furniture can replicate. In design terms, vintage wood furniture brings warmth, grain variation, and patina that new furniture simply can’t fake.
Before You Begin: Assessing Your Piece
Not every scuff needs sanding, and not every finish needs stripping. The first step in any restoration project is a slow, honest assessment of what you’re actually working with.
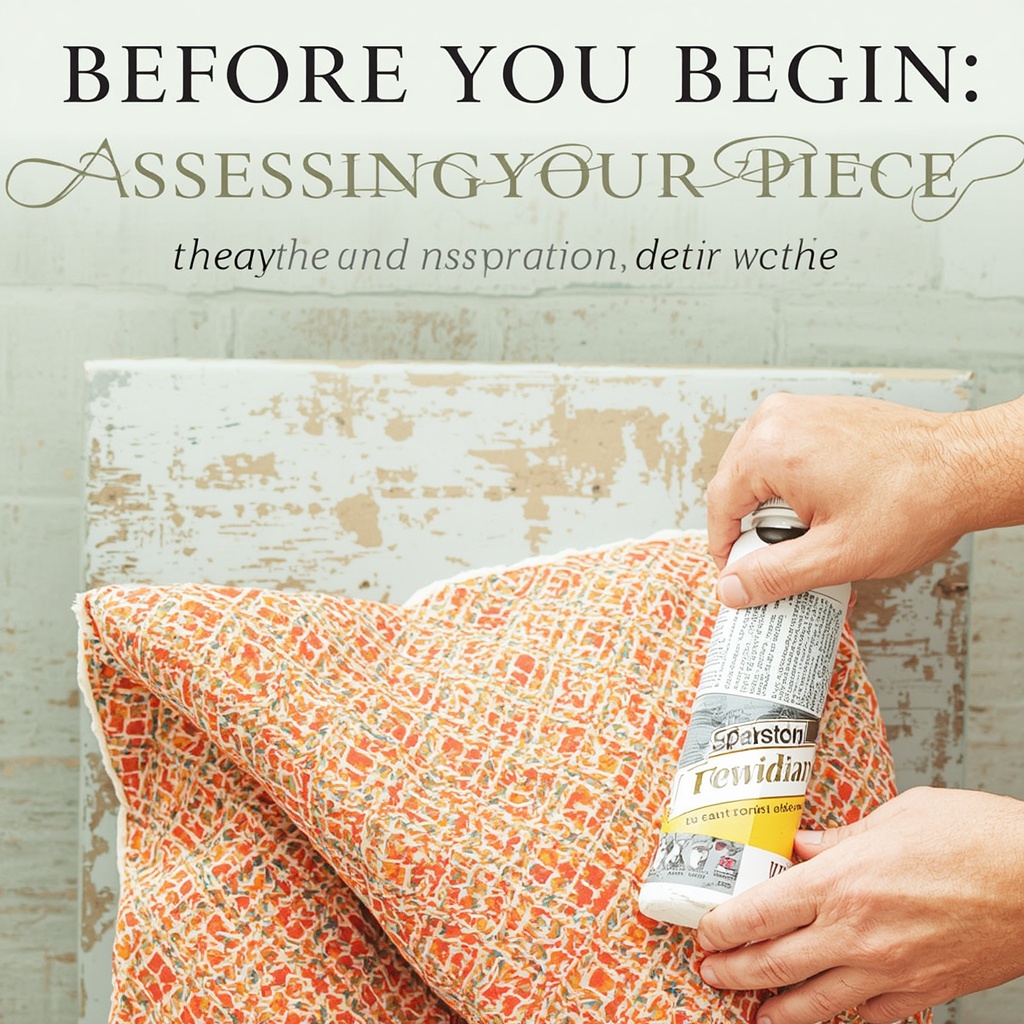
Run your hand across the surface and check for the type of finish — shellac, lacquer, varnish, or oil — since each reacts differently to cleaning products. Look closely for veneer (a thin wood layer over a substrate) versus solid wood, because veneer requires gentler handling and almost never tolerates heavy sanding. Note any structural issues like loose joints, wobbly legs, or cracked panels, since these should be addressed before cosmetic work begins.
Pro Tip: If your furniture predates 1978, test for lead-based paint before sanding or scraping any painted surface. The EPA recommends a simple swab test kit, available at most hardware stores, especially important if children or pets are in the home. Sanding old lead paint without testing first can release harmful dust into your living space.
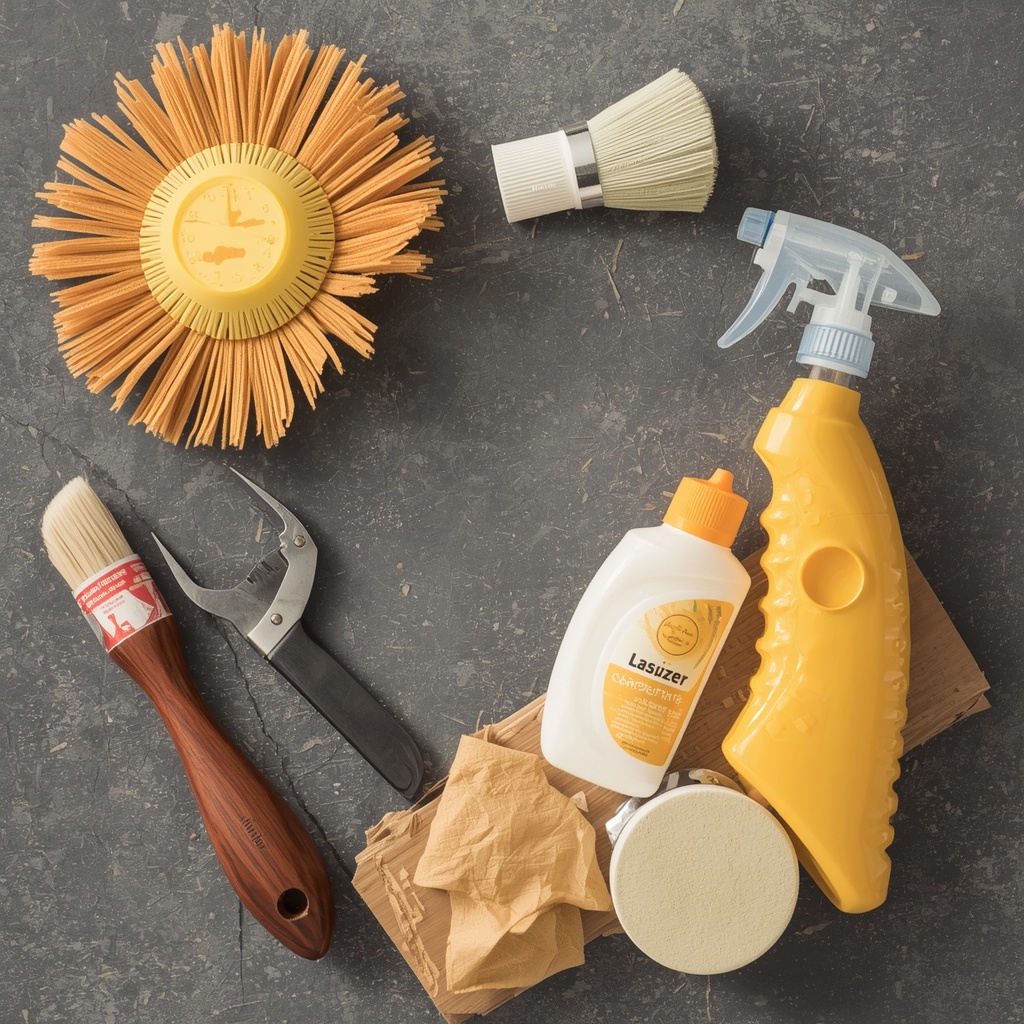
Gathering Your Cleaning and Restoration Toolkit
You don’t need a professional workshop to do this right. Most of what you need is already in your cleaning cabinet or available at a local hardware store.
| Supply | Purpose | Notes |
|---|---|---|
| Soft microfiber cloths | Dusting and buffing | Avoid paper towels; they can scratch finishes |
| Mild dish soap + distilled water | Surface cleaning | Use sparingly; wood doesn’t love excess moisture |
| Soft-bristle brush (old toothbrush works) | Cleaning carved details and joints | Reaches grooves cloths can’t |
| Mineral spirits | Removing wax buildup and grime | Always test on a hidden spot first |
| 0000 steel wool | Light buffing between coats | Very fine grade only |
| Beeswax or carnauba furniture wax | Polishing and protecting | Natural, food-safe option |
| Boiled linseed oil or tung oil | Nourishing dry wood | Restores depth to dull, dry surfaces |
| Wood filler or wax sticks | Filling small scratches and gouges | Match color to your wood tone |
| Fine-grit sandpaper (220–320) | Light surface prep | Only if refinishing is needed |
| Soft paintbrush or vacuum brush attachment | Removing dust from crevices | Gentle on carved or turned details |
Step-by-Step: How to Clean Vintage Wood Furniture
Cleaning always comes before restoring. Skipping this step means you risk sealing dirt and grime into your final finish.
- Dust thoroughly first. Use a soft brush or vacuum attachment to remove loose dust and debris from carvings, drawer tracks, and joints before introducing any liquid.
- Test your cleaner on a hidden area. Apply a small amount of mild soap solution to an inconspicuous spot, like the underside of a tabletop, and wait 24 hours to check for discoloration.
- Wipe with a barely damp cloth. Dip a microfiber cloth in a solution of distilled water and a few drops of dish soap, wring it nearly dry, and wipe with the wood grain — never against it.
- Dry immediately. Follow with a completely dry cloth to prevent moisture from seeping into joints or veneer, which can cause warping or lifting.
- Remove old wax buildup if present. Dampen a cloth with mineral spirits and gently rub in small circular motions to dissolve decades of grime and old wax layers.
- Let the piece rest. Allow the wood to air out for several hours before applying any oil, wax, or polish, so you’re not trapping residual moisture beneath a new coat.
Pro Tip: Always work with the wood grain, not across it. Wiping against the grain can force dirt deeper into the wood fibers and create faint scratch patterns that become more visible once you apply oil or wax.
Restoring Shine: Polishing, Waxing, and Oiling
This is where the transformation happens — and where a lot of well-meaning people accidentally do more harm than good by reaching for the wrong product.
A common mistake is treating every vintage piece with silicone-based furniture sprays, which can leave a sticky film and actually make future restoration harder. Natural products like beeswax, carnauba wax, and pure tung or linseed oil penetrate the wood (or sit cleanly on top, in wax’s case) without leaving synthetic buildup behind.
| Product | Best For | How Often to Reapply |
|---|---|---|
| Beeswax paste | Finished wood with shellac or lacquer | Every 6–12 months |
| Carnauba wax | High-traffic surfaces needing durability | Every 6 months |
| Boiled linseed oil | Dry, dull, unfinished or oil-finished wood | Every 1–3 months initially, then seasonally |
| Tung oil | Antique pieces needing a deep, natural sheen | Every 3–6 months |
| Furniture cream/polish | Light maintenance between waxing | As needed, sparingly |
To apply wax, use a soft cloth to spread a thin, even layer following the grain, let it haze over for 10–15 minutes, then buff with a clean cloth until it shines. For oil finishes, apply with a lint-free cloth, let it soak in for 20 minutes, then wipe away any excess so the surface doesn’t stay tacky.
“Less is always more with oil and wax. A thin coat that’s buffed properly will outperform a thick coat every time.”
Repairing Common Damage on Vintage Furniture
Most vintage pieces carry small imperfections, and the good news is that most are fixable without a full refinish.
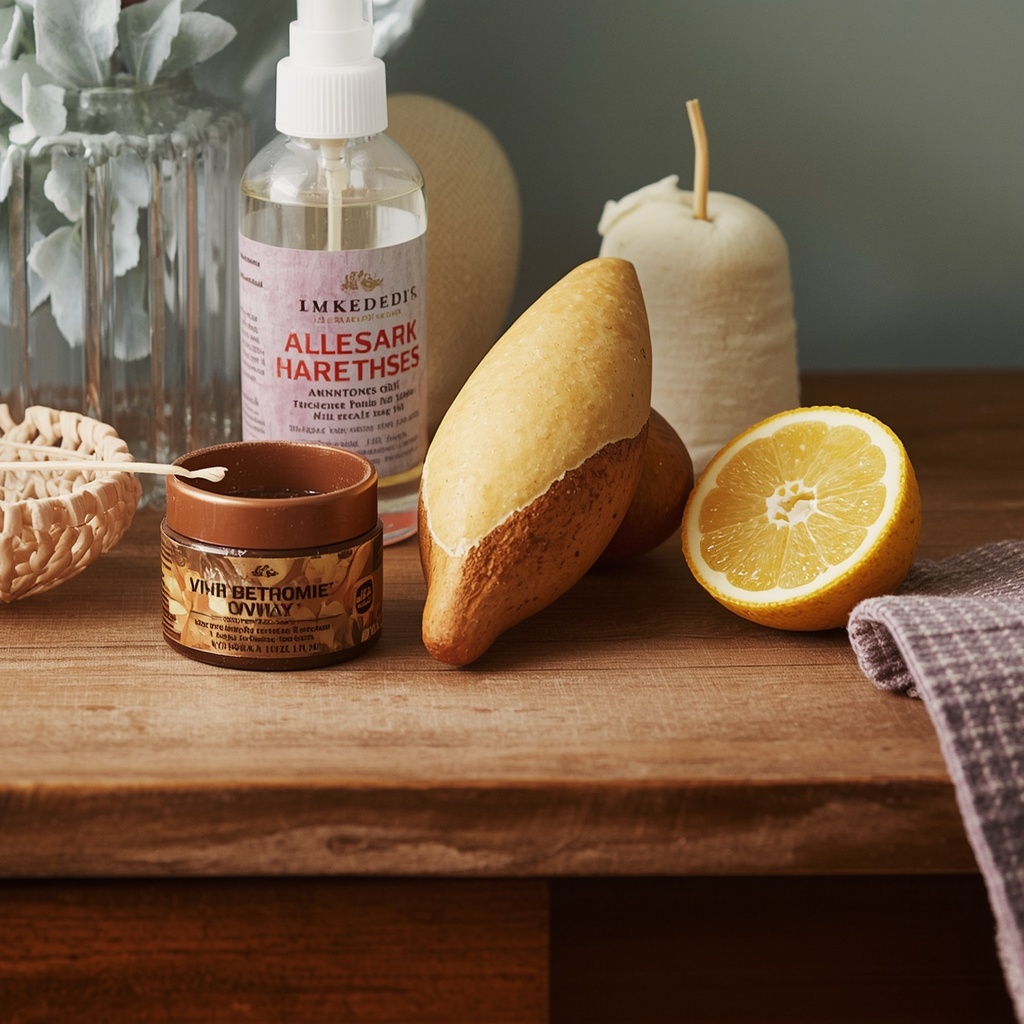
- Water rings and white spots: Gently rub a small amount of mayonnaise or non-gel toothpaste into the ring, let sit 20 minutes, then wipe clean — the oils help draw out trapped moisture from the finish.
- Surface scratches: Use a wax filler stick matched to your wood tone, or rub a walnut half over shallow scratches to mask them naturally.
- Loose joints: Disassemble carefully if possible, clean old glue from the joint, and reglue with wood glue before clamping for 24 hours.
- Sticky drawers: Rub a candle, bar of soap, or paraffin wax along the drawer runners so they glide smoothly again.
- Veneer lifting or bubbling: Use a thin palette knife to apply wood glue underneath the lifted section, then weight it down with a flat, heavy object overnight.
- Musty odors: Place an open box of baking soda or activated charcoal inside drawers and cabinets for a few days to absorb lingering smells.
Pro Tip: For deep gouges in dark woods like walnut or mahogany, a mix of instant coffee and a few drops of water makes an effective, low-cost wood filler that blends beautifully once dry.
When to Refinish vs. When to Preserve the Patina
This is the question I get asked most often by clients, and the honest answer is: it depends on the piece, not just the damage.
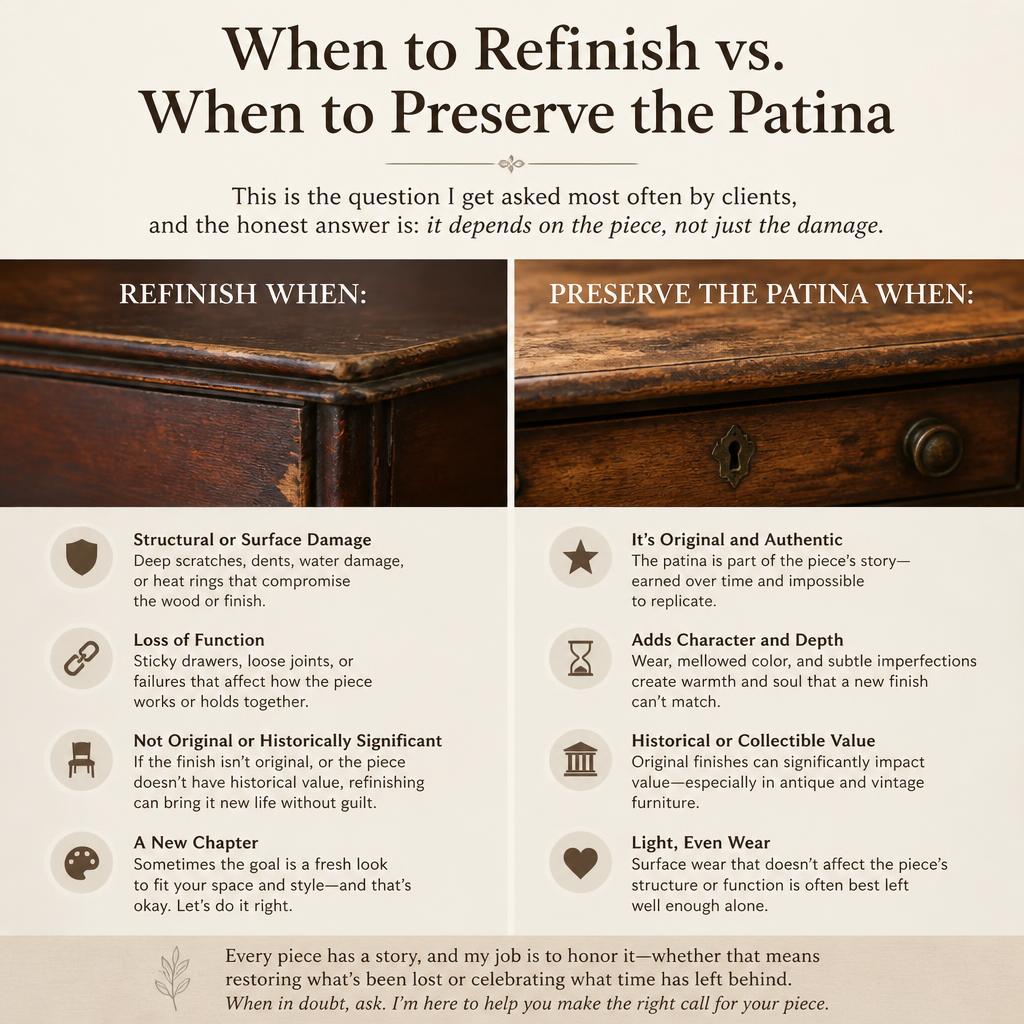
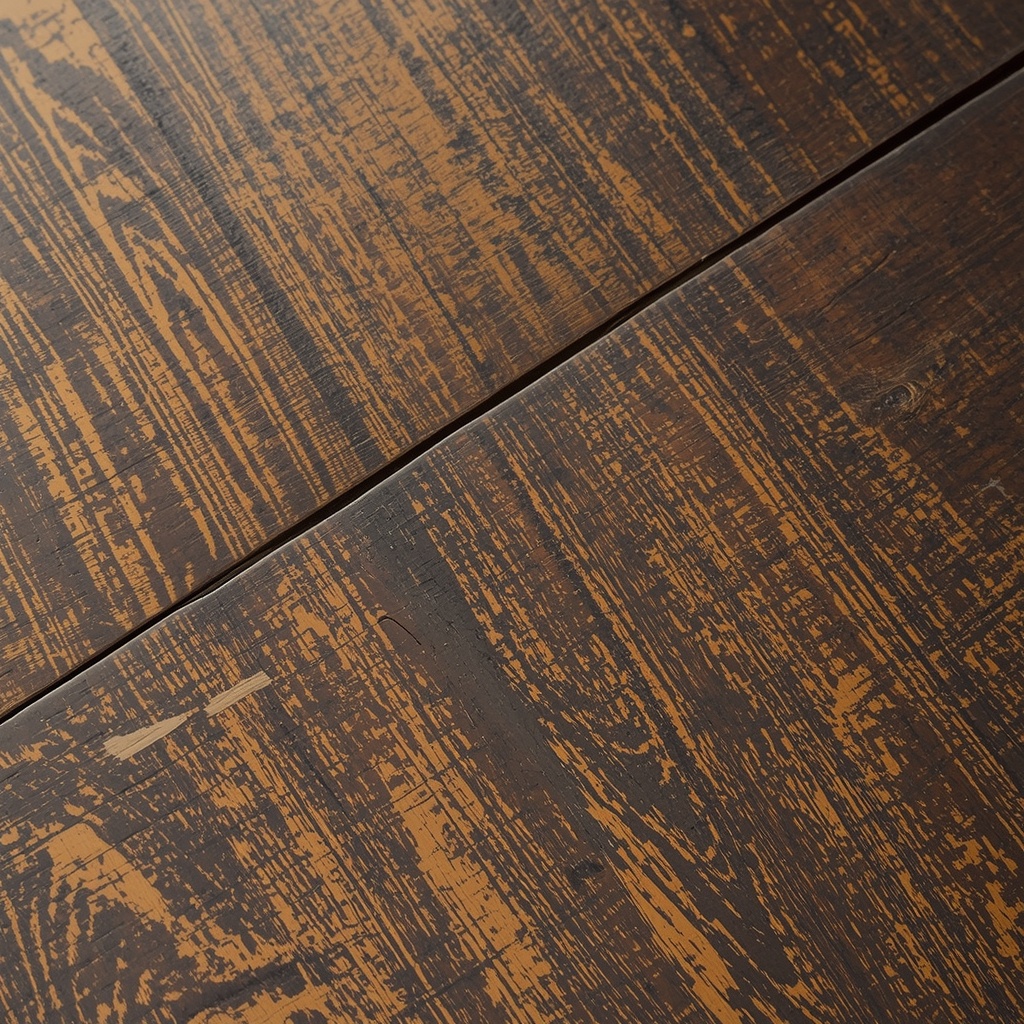
Patina — that soft, slightly uneven glow that develops on wood over decades — is part of what makes vintage furniture valuable and visually interesting in a modern home. Stripping it away and refinishing from scratch can sometimes erase the very character that made you want the piece in the first place. As a general rule, preserve the original finish whenever it’s structurally sound, and reserve full refinishing for pieces with extensive water damage, peeling lacquer, or finishes that are simply beyond saving.
If you do decide to refinish, always strip in a well-ventilated space, use a citrus-based or gel stripper for a gentler chemical process, and sand progressively from coarse to fine grit (120 to 220 to 320) to avoid visible scratch marks under the new finish. Apply your new stain or sealant in thin, even coats, allowing full drying time between layers as recommended on the product label.
Maintaining Your Restored Furniture Long-Term
Restoration isn’t a one-time event — it’s the start of an ongoing relationship with the piece.
Keep wood furniture away from direct sunlight and heating vents, both of which accelerate drying, cracking, and fading over time. Maintain indoor humidity between 35–45% where possible, since wood naturally expands and contracts with moisture levels, and dramatic swings are what cause cracking and joint separation. Use coasters, placemats, and felt pads under decor items to prevent new water rings and scratches from undoing your hard work. Dust weekly with a dry microfiber cloth, and reserve deeper cleaning and waxing for every few months rather than every week, since over-cleaning can wear down a finish faster than daily life does.
Common Mistakes to Avoid
- Using all-purpose household cleaners or ammonia-based products, which can strip natural oils and dull the finish
- Placing vintage wood furniture directly against radiators, vents, or sunny windows
- Sanding without checking for veneer or lead paint first
- Applying silicone-based polish sprays that build up a sticky, hard-to-remove film
- Skipping the patch test before using any new cleaner, oil, or stain
- Over-saturating wood with water during cleaning, which can warp panels and loosen glue joints
Frequently Asked Questions
How often should vintage wood furniture be waxed or oiled? Most pieces with a wax or shellac finish do well with a fresh coat every six to twelve months, while dry or unfinished antique wood may need oiling every few months until it stabilizes. Climate matters too — homes with forced-air heating or low winter humidity often need more frequent conditioning than humid coastal regions.
Can I clean vintage furniture with vinegar? Diluted vinegar is sometimes recommended online, but it’s actually too acidic for many finishes and can dull shellac or strip thin layers of varnish over repeated use. Mild dish soap in distilled water remains the safer, designer-trusted standby for routine cleaning.
Is it safe to use a vacuum on antique upholstery and wood trim? Yes, as long as you use a soft brush attachment on the lowest suction setting, keeping it away from loose veneer edges or delicate inlay work. For wood trim and carved details, a handheld vacuum brush is gentler than canned air, which can sometimes drive dust further into joints.
What’s the difference between restoring and refinishing? Restoring focuses on cleaning, conditioning, and repairing a piece while keeping its original finish intact, whereas refinishing involves stripping the existing finish entirely and applying a new stain or topcoat. Most vintage and antique specialists recommend restoration first, since it preserves both value and character, and reserve full refinishing for furniture with irreparable finish damage.
Will restoring my furniture affect its resale or antique value? Light cleaning, waxing, and minor repairs generally have little to no negative impact on value, and can actually make a piece more sellable by improving its appearance. However, aggressive refinishing or replacing original hardware can reduce value for genuine antiques, so it’s worth researching a piece’s history before making irreversible changes.
Matching Restoration Methods to Furniture Type
Different categories of vintage furniture call for slightly different care, and knowing the difference can save you from an avoidable mistake.
- Mid-century modern teak and walnut pieces typically have an oiled finish rather than varnish, so they respond best to regular feeding with teak oil rather than wax, which can leave an unwanted sheen on these naturally matte woods.
- Victorian and Edwardian case furniture (dressers, wardrobes, sideboards) often features ornate carving and shellac finishes, which benefit from gentle dusting with a soft brush and occasional beeswax rather than liquid cleaners that can pool in detailed grooves.
- Farmhouse and primitive pine pieces were frequently finished with simple oil or left raw, making them more porous and prone to staining, so quick cleanup of spills and regular conditioning oil are especially important.
- Art Deco furniture often combines exotic veneers with lacquer finishes, both of which are sensitive to solvents, so always test mineral spirits in a hidden spot before using them on these pieces.
- Painted vintage furniture should be checked for lead content before any sanding, and once cleared, can usually be cleaned with the same mild soap method used for bare wood, followed by a coat of clear wax to protect the paint layer.
Final Thoughts
Restoring vintage wooden furniture is part craft, part patience, and part respect for the piece’s history. Start slow, test everything, and remember that the goal isn’t to make a hundred-year-old table look brand new — it’s to let its character shine through in a way that feels intentional, cared for, and right at home in your space today.
Whether you’re refreshing a single heirloom chair or building an entire room around reclaimed and antique wood pieces, these techniques will help your furniture age beautifully for decades to come.