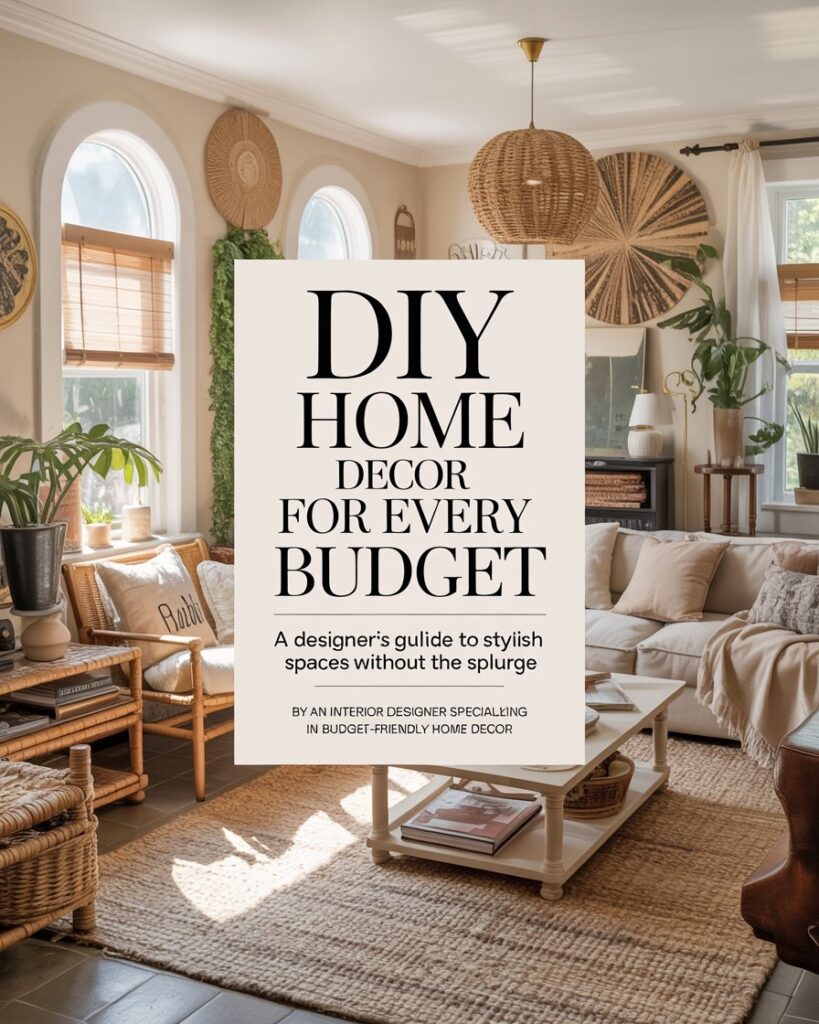
By an Interior Designer Specializing in Budget-Friendly Home Decor ·
You don’t need a five-figure renovation budget or a professional design team to create a home that feels pulled-together, warm, and uniquely yours. As an interior designer who has worked with clients across every financial spectrum — from college students furnishing their first apartment to homeowners refreshing their forever home — I can tell you with confidence: thoughtful design is about intention, not expenditure. The most beautiful spaces I’ve ever walked into weren’t necessarily the most expensive ones.
Whether you have $50 or $5,000 to spend, this guide will walk you through practical, creative, and designer-approved DIY home decor strategies tailored to real American homes. We’ll cover accent walls, thrifted furniture flips, budget-conscious styling secrets, and the kind of transformations that will have your guests asking, “Did you hire someone?” Spoiler: you didn’t — and that’s the whole point.
Under $50
Shoestring Budget
$50–$300
Mid-Range Refresh
$300–$1,000+
Full Room Makeover
Why DIY Home Decor Is Having a Major Moment
The DIY home improvement and interior decorating movement has exploded in recent years, driven by rising housing costs, a renewed interest in personal expression, and the undeniable influence of platforms like Pinterest, YouTube, and TikTok. Americans are spending more time at home than ever before, and that’s sparked a powerful desire to make those spaces genuinely livable — not just functional. The result? A booming culture of creative home decorating that prioritizes personal style over price tags.
What makes DIY home decor especially compelling right now is accessibility. High-quality paint, adhesive wallpaper, secondhand furniture, and crafting supplies are easier to source than ever. Big-box retailers like The Home Depot and Lowe’s have democratized renovation materials, while platforms like Facebook Marketplace and Craigslist have made secondhand furniture shoppable from your couch. The combination of accessible materials and abundant inspiration has empowered millions of American homeowners and renters to take design into their own hands.
Starting Smart: The Foundation of Any Budget Makeover
Before you buy a single thing, the most important step in any DIY home decor project is taking stock of what you already own. Walk through your space with fresh eyes — or better yet, take photos. Good interior design rarely starts at the store; it starts with editing, rearranging, and reimagining what’s already in your home. That lamp collecting dust in the guest room might be exactly what your living room needs. Those mismatched frames? A can of spray paint and a cohesive color palette can turn them into a gallery wall worth photographing.
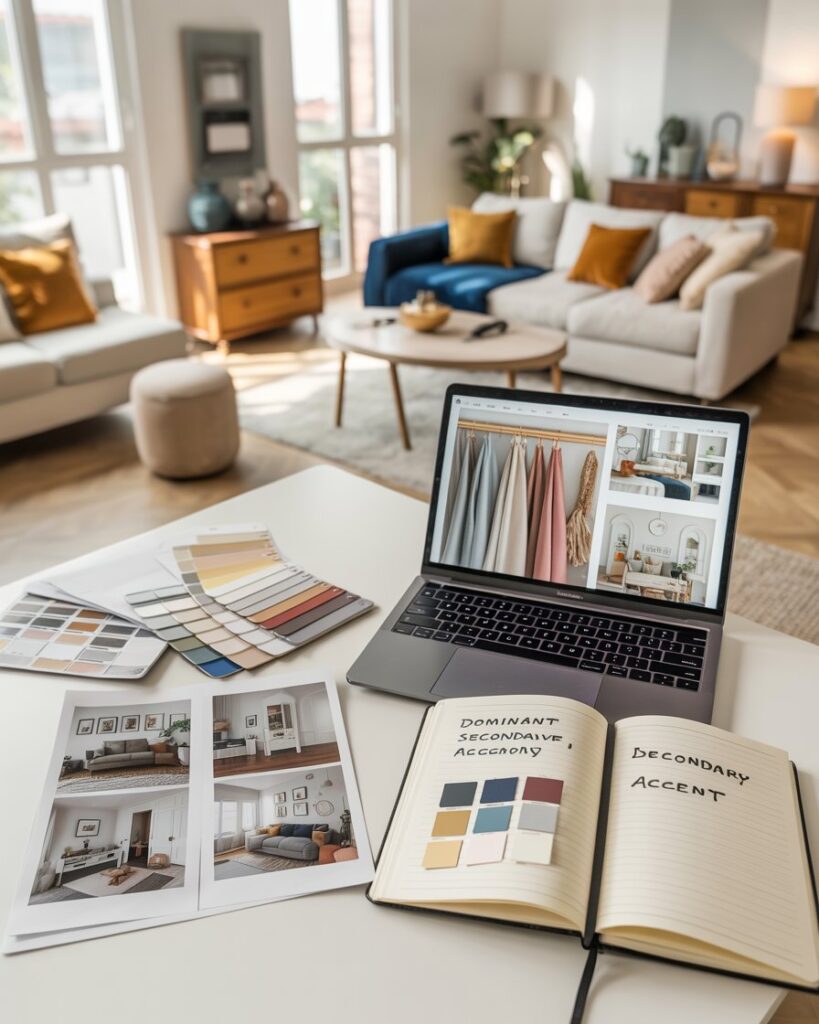
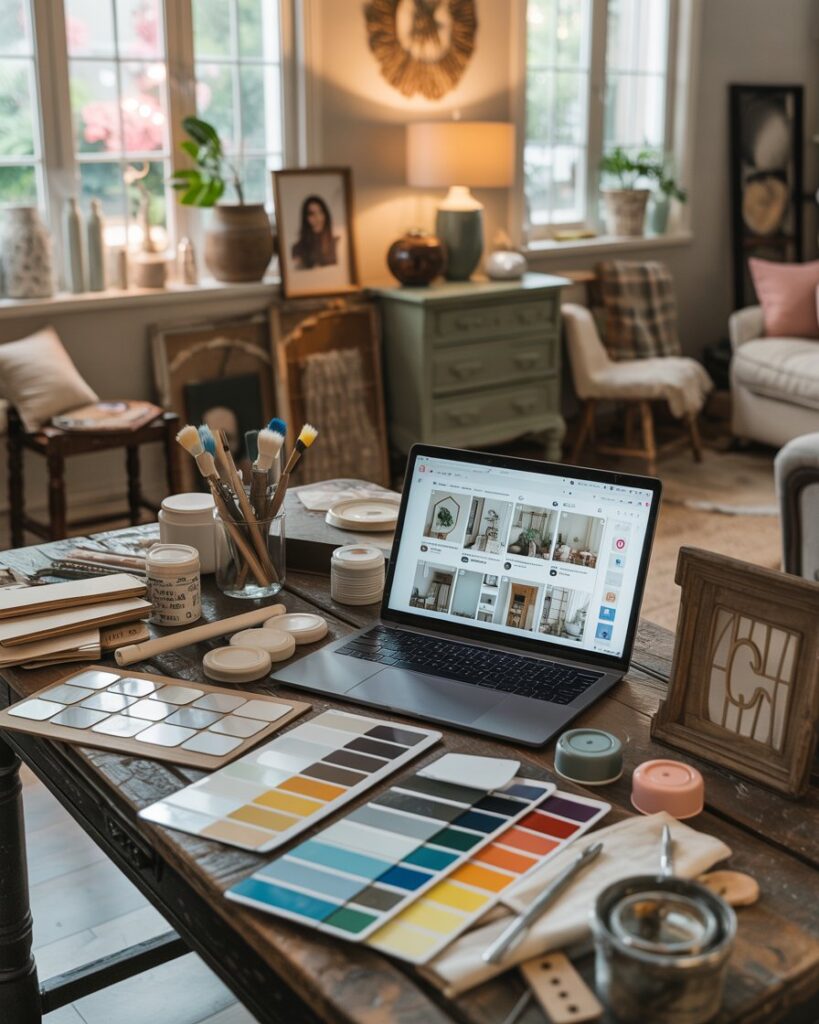
Creating a simple mood board is a design habit that pays off enormous dividends regardless of your budget. Free tools like Canva or even a Pinterest board help you visualize a cohesive look before spending a dime. Identify your color palette, your style direction (modern farmhouse? mid-century modern? coastal grandmother?), and your three to five priority items. This prevents the single most common DIY decorating mistake: impulse purchases that don’t work together, leaving you with a cluttered space and an empty wallet.
✦ Pro Tip
Always establish a “dominant, secondary, accent” color rule before purchasing anything. Choose one dominant neutral (60% of the room), one secondary tone (30%), and one bold accent color (10%). This simple formula — used by professional interior designers — instantly creates visual harmony in any space at any price point.
DIY Decor Ideas Under $50: Maximum Impact, Minimum Spend
Working with an ultra-tight budget is genuinely one of the most creatively rewarding design challenges there is. Constraints force ingenuity. With under $50, your best weapons are paint, rearrangement, and thrift store finds — and in the right hands, those tools are more powerful than any expensive furniture piece. A fresh coat of paint in a thoughtfully chosen shade can make a dated room feel current and curated in a single weekend afternoon.
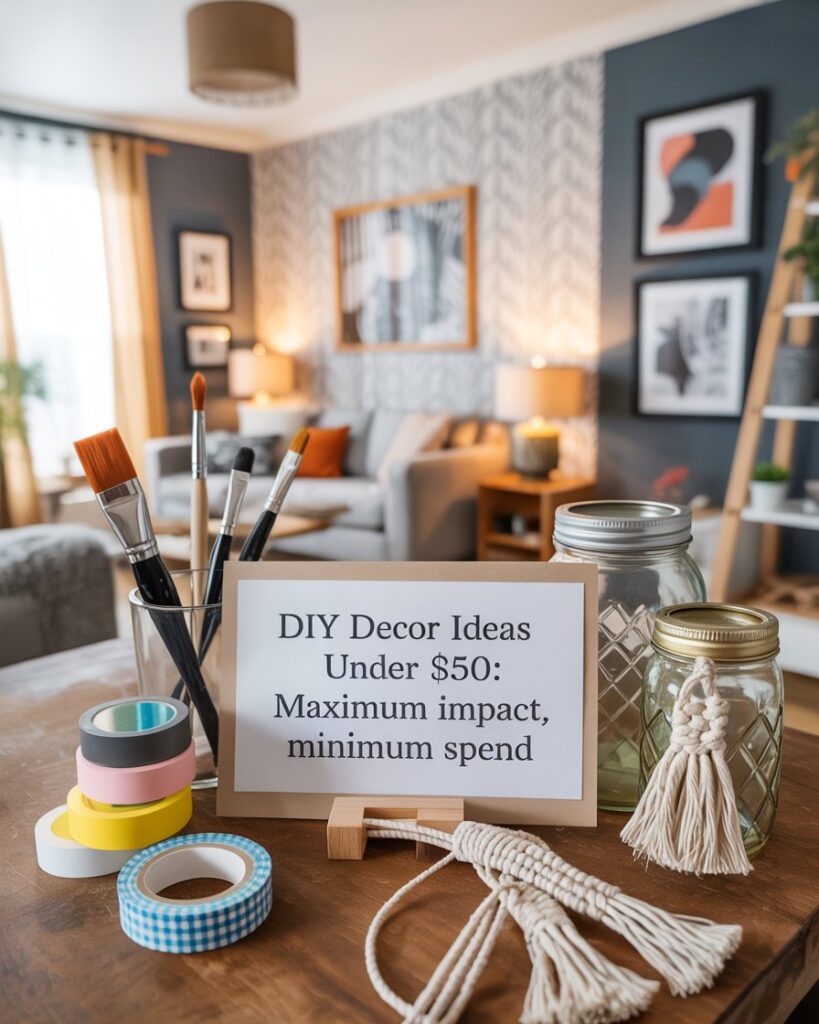
Peel-and-stick wallpaper has become a genuine game-changer for renters and budget decorators alike. Brands like Spoonflower and Tempaper offer renter-friendly options that go up in an hour and come down without damaging walls. A single accent wall in a bedroom or bathroom can completely anchor a room’s aesthetic for under $40. Pair it with thrifted frames, a $5 candle from TJ Maxx, and some rearranged furniture, and you have a transformation worth posting.
| DIY Project | Estimated Cost | Difficulty | Impact Level |
|---|---|---|---|
| Peel-and-stick accent wall | $20–$45 | Easy | High |
| Spray-painted thrift store frames | $5–$15 | Easy | Medium–High |
| DIY macramé wall hanging | $10–$25 | Medium | Medium |
| Furniture rearrangement | $0 | Easy | High |
| Painted plant pots (terracotta) | $8–$20 | Easy | Medium |
| No-sew curtain panels (drop cloth) | $15–$30 | Easy | High |
- Swap hardware on dated cabinets and dressers — new knobs and pulls cost $15–$30 and look like a full furniture replacement.
- Layer rugs for a boho-chic look: place a patterned kilim over a neutral jute rug for texture and dimension.
- Use washi tape to create a geometric pattern on a plain wall — it’s removable and completely free of damage.
- Decant pantry staples into matching glass jars for an instant, editorial kitchen refresh under $20.
- Style your bookshelf by alternating books horizontally and vertically, and adding plants, small sculptures, and candles.
“Design is not about the money you spend. It’s about the decisions you make.”— Nate Berkus, Interior Designer & TV Host
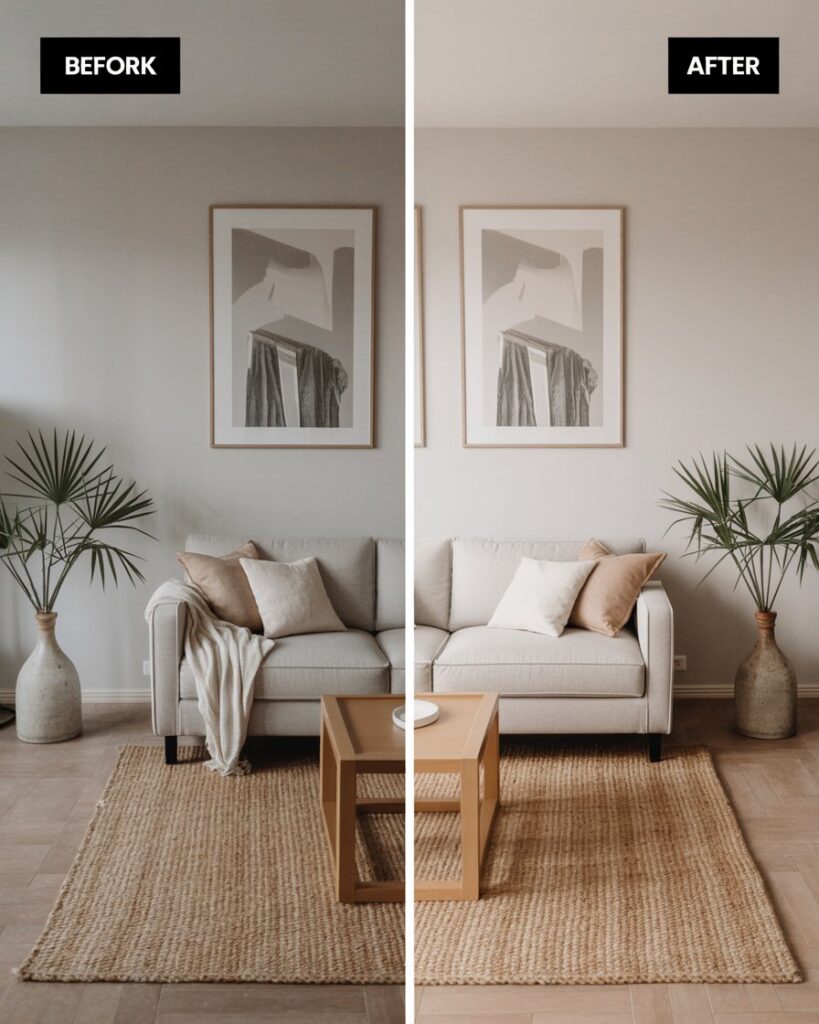
The $50–$300 Sweet Spot: Room Refreshes That Feel Like Real Renovations
The $50 to $300 budget range is where DIY home decor really starts to sing. You have enough to invest in one or two meaningful pieces — a statement mirror, a vintage rug, a can of quality paint — while still leaving room for the smaller styling touches that tie everything together. This is the budget tier where most American households can make transformative, lasting changes without financial stress or buyer’s remorse.
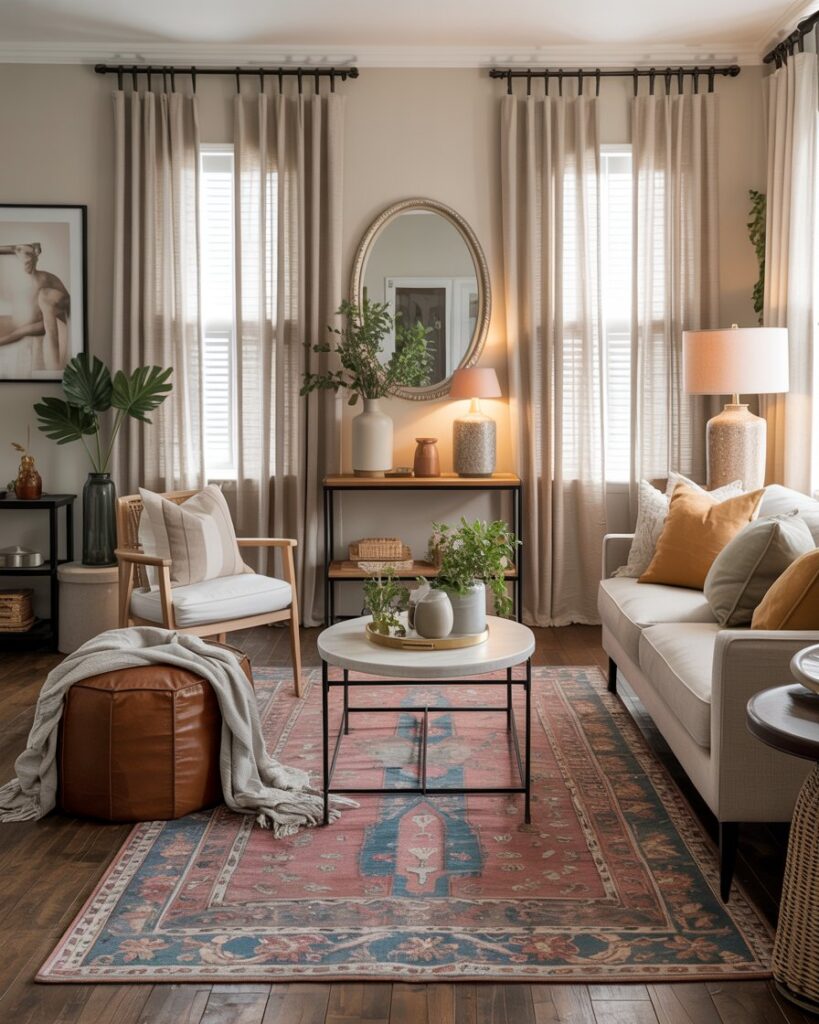
At this level, I always recommend clients start with textiles. Throw pillows, blankets, curtains, and area rugs are the interior designer’s secret weapon — they’re the fastest, most reversible, and most cost-effective way to change the feeling of a room. A $60 area rug from Rugs USA can anchor a living room that felt scattered and undefined. A pair of linen curtains hung high and wide — a classic designer trick — can make ceilings feel taller and windows feel grander on a $40 budget.
✦ Pro Tip
Always hang curtain rods 4–6 inches above the window frame and extend the rod 8–12 inches beyond the window on each side. This single technique — used on every professional photo shoot and model home — makes your windows look significantly larger and your ceilings dramatically taller. It costs nothing extra and takes five minutes.
| Room | Best $50–$300 DIY Investment | Why It Works |
|---|---|---|
| Living Room | Area rug + 2 throw pillows | Anchors furniture grouping, adds color and texture |
| Bedroom | DIY upholstered headboard | Creates a focal point, feels luxurious |
| Kitchen | Open shelving + new hardware | Adds personality and storage visibility |
| Bathroom | Framed mirror + new fixtures | Instantly elevates the entire aesthetic |
| Entryway | Console table (thrifted + painted) | Creates first impression, adds function |
One of the most underrated DIY projects in this budget range is building a simple floating shelf or open shelving unit. Basic pine boards from Home Depot, a set of black iron brackets, and a few coats of stain will run you under $60 and create a custom, built-in look that adds both storage and visual interest to a kitchen, bathroom, or living room. Style it with a rotating collection of plants, books, and small decorative objects, and it becomes the focal point of the room.
Furniture Flipping: The Art of the Thrift Store Transformation
If there is one DIY skill I would recommend every American homeowner develop, it’s furniture flipping. The ability to see potential in a beat-up dresser, a scratched dining table, or a dated upholstered chair — and to transform it into something beautiful — is genuinely one of the most valuable and satisfying design skills you can have. Thrift stores, estate sales, Facebook Marketplace, and Craigslist are overflowing with solid, well-constructed furniture that just needs a cosmetic refresh.
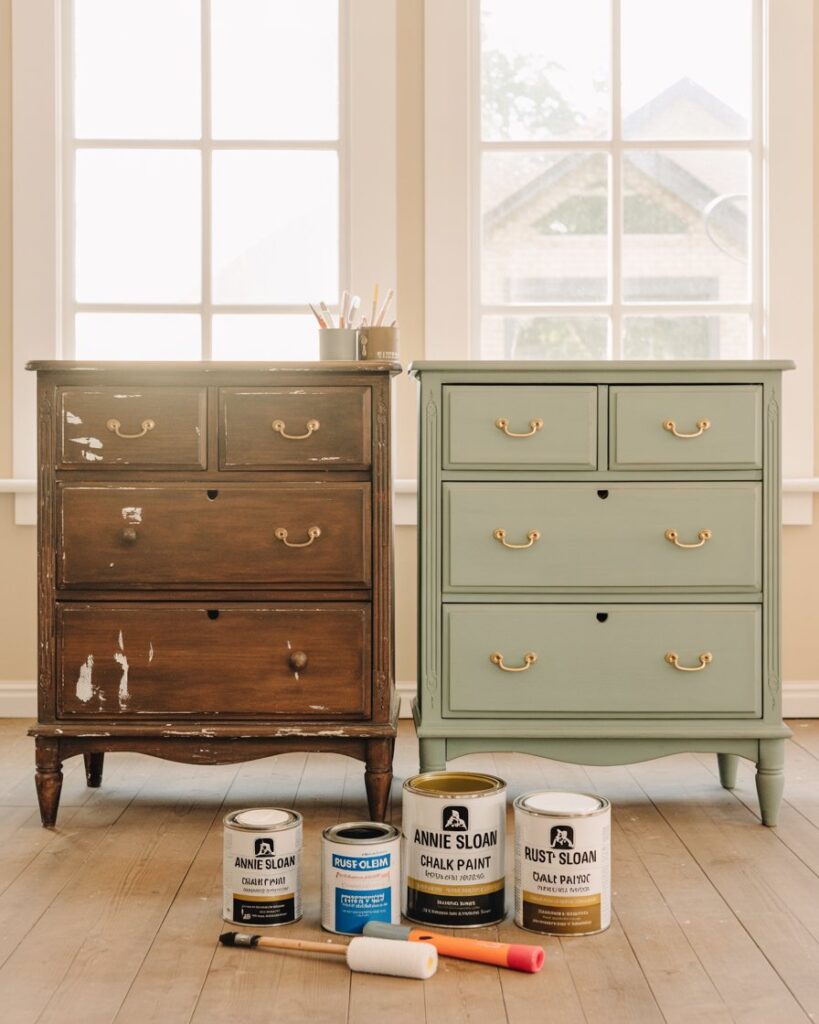
The key to a successful furniture flip is surface preparation. Clean thoroughly, sand lightly, prime if needed, and use quality chalk paint or furniture paint — brands like Annie Sloan or Rust-Oleum‘s chalked paint line are forgiving, durable, and available in gorgeous, trend-forward colors. A $25 can of paint and a $5 foam roller can make a $15 thrift store dresser look like a $400 boutique find. Finish with new hardware, and the transformation is complete.
- Source your piece — look for solid wood construction, interesting silhouettes, and structural integrity. Ignore the finish entirely.
- Clean with TSP substitute or sugar soap to remove grease, wax, and grime.
- Sand lightly (220-grit) to scuff the surface and improve paint adhesion.
- Apply a thin coat of primer if painting a glossy or stained surface.
- Apply two to three thin coats of chalk paint or furniture paint, allowing full drying time between coats.
- Seal with wax, polycrylic, or furniture topcoat for durability.
- Install new hardware as the finishing touch.
“The best room has something to say to you when you are in it.”— Billy Baldwin, Legendary American Interior Designer
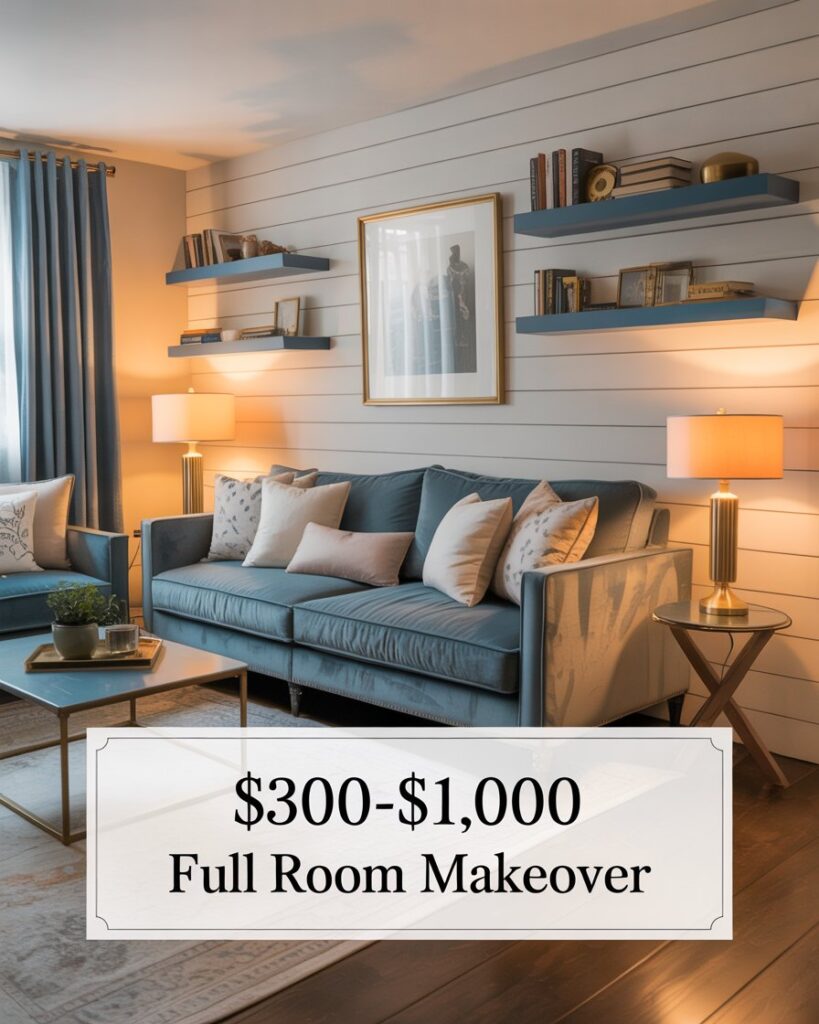
Full Room Makeovers: $300–$1,000 and Beyond
When your budget stretches into the $300 to $1,000 range, you’re entering serious transformation territory. This is where strategic investment pays off most meaningfully — focusing your dollars on the items that will have the longest lifespan and the greatest visual impact. In my practice, I call this the “anchor piece” philosophy: identify the single most important item in a room (usually a sofa, bed, or dining table) and invest the majority of your budget there, building everything else around it at lower price points.
At this budget level, consider investing in a room’s architectural details — the things that feel truly permanent and bespoke. Shiplap paneling using pre-primed MDF boards, board-and-batten walls, beadboard wainscoting, and DIY built-in bookshelves all fall into this category. These projects typically run $150–$400 in materials and dramatically change the perceived value and character of a space. Paired with thoughtful paint colors and intentional furniture arrangement, a room with architectural DIY detailing looks genuinely custom-designed.
| Project | Material Cost | Time Required | Skill Level |
|---|---|---|---|
| Board-and-batten accent wall | $80–$200 | 1–2 weekends | Intermediate |
| DIY shiplap wall | $100–$250 | 1–2 weekends | Intermediate |
| Built-in bookcase (IKEA hack) | $200–$500 | 2–3 weekends | Intermediate–Advanced |
| DIY kitchen backsplash (peel-and-stick tile) | $60–$150 | 1 weekend | Easy–Medium |
| Upholstered window seat | $100–$300 | 1 weekend | Intermediate |
✦ Pro Tip
The IKEA Billy bookcase hack — flanking a TV or fireplace with built-in-looking shelving units, adding crown molding to the tops, and painting everything the wall color — is one of the most popular and effective design tricks in American DIY decorating. For under $500, you can create a built-in that looks custom and adds thousands of dollars in perceived home value. See inspiration on IKEA’s website or search “Billy bookcase hack” on Pinterest.
Seasonal Decor Swaps: Keeping Your Home Fresh Year-Round
One hallmark of a well-designed home is a space that evolves with the seasons — and the good news is that seasonal refresh doesn’t have to mean seasonal spending. The professional approach is to invest once in a flexible “base layer” of decor and rotate a small collection of seasonal accents throughout the year. This is how design professionals keep their model homes and showrooms looking perpetually fresh without perpetual spending.
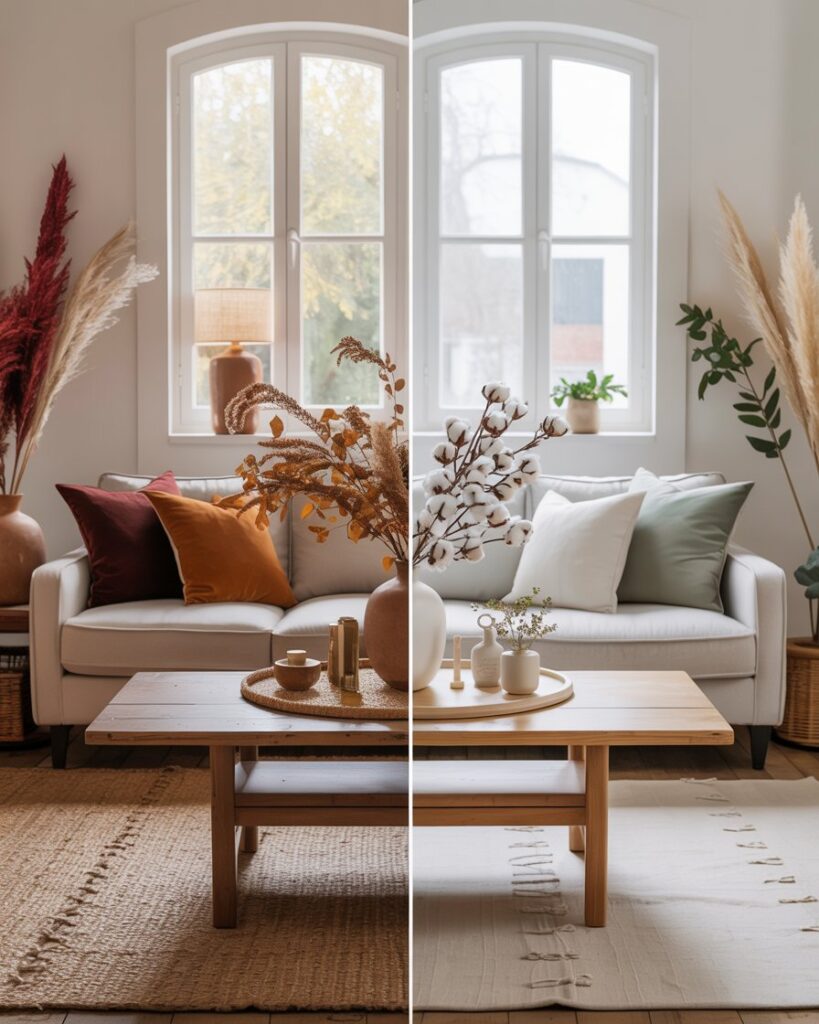
Build your rotating seasonal kit around textiles, botanicals, and small decorative objects. A set of deep burgundy and ochre throw pillow covers swapped in for fall, replaced by crisp white and sage for spring, can make the same sofa feel entirely new throughout the year. Dried botanicals — eucalyptus, pampas grass, cotton stems — are inexpensive, long-lasting, and endlessly versatile across seasons. Source them affordably at Michaels, Hobby Lobby, or directly from Etsy sellers who specialize in dried floral arrangements.
Common DIY Decor Mistakes — and How to Avoid Them
Even the most inspired DIY decorators fall into predictable traps. Knowing what they are is the first step to avoiding them — and your room will thank you for the foresight. The most common mistake I see across American homes is hanging artwork too high. Gallery walls, framed prints, and mirrors should generally be centered at eye level (around 57–60 inches from the floor to the center of the piece), not pushed up toward the ceiling where it creates a visual disconnect from the furniture below.
The second most common mistake is under-scaling furniture and rugs. A rug that’s too small makes a room feel choppy and disconnected; all furniture legs (or at least the front legs) should sit on the rug in a living room setting. When in doubt, go larger. Similarly, a single small piece of wall art on a large wall looks lost and accidental — cluster pieces together, or invest in one oversized statement piece that fills the space with confidence.
- Hanging artwork too high — aim for the center at 57–60 inches from the floor.
- Choosing a rug that’s too small — front legs of all seating should sit on the rug.
- Over-decorating — editing is a design skill; leave breathing room.
- Ignoring lighting — layer ambient, task, and accent lighting in every room.
- Matching everything perfectly — a curated mix of styles, eras, and textures looks lived-in and real.
- Skipping the prep work on painted furniture — proper prep is 80% of a beautiful finish.
Essential Resources for DIY Home Decorators
Recommended ResourcesHGTV Design 101 — Decorating BasicsApartment Therapy — Budget Decor Ideas for Every StyleYoung House Love — Approachable DIY Projects for Real HomesThrifty Decorating — Secondhand Styling InspirationPinterest Home Decor — Visual Mood Board Inspiration
“A house is not a home unless it contains food and fire for the mind as well as the body.”— Margaret Fuller
Final Thoughts: Your Home, Your Story
The most important design principle I share with every client, regardless of budget, is this: your home should tell your story. It should reflect your experiences, your travels, your taste, your family, and your sense of humor. No amount of money can buy that — and no budget constraint can prevent it. The most meaningful and memorable spaces I’ve ever designed or visited weren’t the most expensive ones. They were the most intentional ones.
Start small. Start today. Rearrange a shelf, hang that art, paint that wall. DIY home decor is not about perfection — it’s about progress, creativity, and the deeply satisfying act of making a space feel like yours. With the ideas, tools, and budget tiers outlined in this guide, you have everything you need to transform your home into a space that’s as functional as it is beautiful — no design degree, no contractor, and no six-figure budget required.
Keywords: DIY home decor, budget interior design, home decorating ideas, affordable home makeover, furniture flipping, accent wall ideas, thrift store decor, home improvement projects, interior decorating tips, home styling on a budget, peel-and-stick wallpaper, DIY wall art, room transformation, home decor trends friendly decor.